
Planning a Pergola in a Wildlife-Friendly Garden
Garden planning
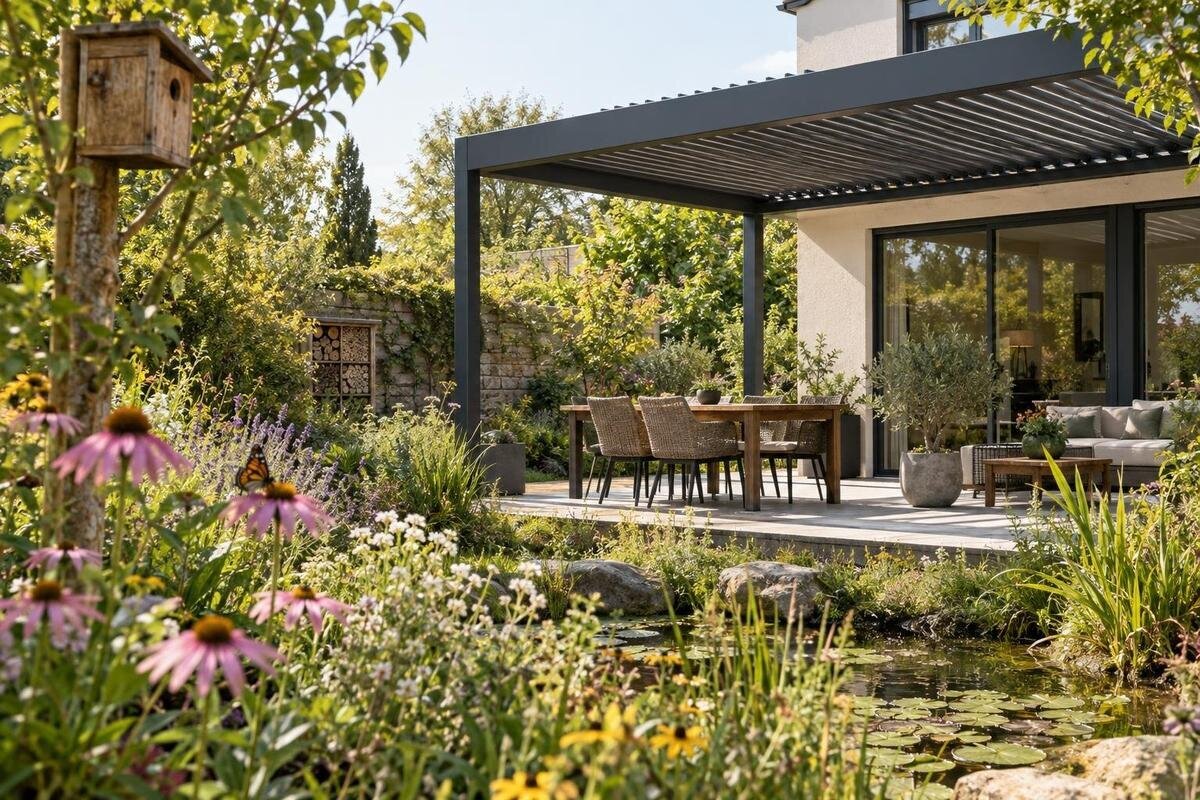
A pergola has to fit more than the seating area. In a wildlife-friendly garden, its position also affects where planting can grow, how people move through the plot, where light falls and whether routine care remains practical. Treat those as parts of one layout rather than additions to a finished structure. A pergola cannot promise wildlife benefits by style alone: the existing garden, chosen planting and how the space is used all matter. A measured plan makes the trade-offs visible before the frame and beds are fixed.

01
Set priorities before choosing a position
Begin with what the garden already contains, rather than a generic wildlife checklist. Mark established hedges and trees, existing beds, ponds or other water features, areas of long grass, leaf or log piles, and any corner deliberately left dark or undisturbed. Record what needs to remain and where you currently work or sit. These features are not interchangeable: a new planter should not be assumed to replace an established hedge or mature tree. Note seasonal changes too; a deciduous canopy alters light through the year, and a bed that looks bare in winter may still be part of the planned garden. If a species or habitat raises a specific concern, seek advice from a suitably qualified local ecologist before changing it.
Then define what the pergola needs to do for your household: provide a dining space near the house, create a separate place to sit or give an existing seating area a clearer setting. That use affects how people approach it, which views they want to retain and whether chairs need room to move back. Mark areas where added light, regular footfall, storage or excavation would be unwelcome. Separate must-haves from preferences, so you can judge a change to the layout against clear priorities. Those priorities also help decide whether seating should face the house or garden, and whether a planted edge can remain continuous. A no-change area on the drawing gives a designer something concrete to protect.
Draw the whole garden to scale
Draw the whole garden at a consistent scale before adding the structure. Include the house and boundaries, doors and windows, paving, lawn, beds, sheds, gates, steps, taps and drainage points; mark established planting, tree trunks and the spread of visible canopies. Note changes in level or places where water collects, if relevant. A measured plan is more useful than a perspective sketch for checking whether supports, furniture, routes and mature planting can coexist. Record where shade and existing artificial light fall at different times of day or year, rather than relying on one visit at midday. Include sightlines from the house and the route between the pergola and the rest of the plot.
Overlay each candidate footprint using dimensions confirmed for the exact model, showing support positions as well as the outer edge. Keep any documented clearances separate from the structure outline, and do not estimate either from a product photograph. The Bloomcabin Pergola can be identified as one catalogue option, but its name or image does not establish its dimensions or suitability for a particular position. Request the relevant product information before treating the sketch as final. Also show the space needed to reach the structure and move furniture: a drawing that marks posts only can understate the area in use. Keep an alternative location on the plan, since a small shift may preserve a route or avoid a bed.
02
Compare wall-mounted and freestanding positions
A wall-mounted position is often considered when the seating area needs to sit beside the house, but it still has to work with openings and routine access. Mark each door's full opening, window access, external lights, downpipes, vents and wall-mounted equipment; show the route from indoors to the seat and any planting along the wall. Ask an appropriate installer to assess the proposed fixing location for the particular building rather than assuming a convenient wall is suitable. Consider whether planting beside the wall will still be reachable for care. If comparing models, include the Bloomcabin Lean-To Pergola as a named wall-mounted option, then request drawings and fixing details for the exact configuration being considered.
Freestanding designs can be tested at different points in the garden, but their supports still occupy ground and may intersect paths, planting or sightlines. Compare several outlines on the same plan, marking every support point and the space between the structure and the nearest bed or boundary. A generous-looking outline can conceal an awkward post position when viewed from a path. Look at each option from the house and from the seat, not only from above on paper. If moving a support would put excavation near an established tree or a feature you intend to retain, pause and have the relevant installer or tree professional assess the location before finalising the design.
Keep paths and everyday access clear
Map the routes people use before arranging furniture. Draw the everyday line from the house to the lawn, gate, shed, tap or compost area, and note occasional access for a mower, wheelbarrow or pruning tools. Add door swings, space to pull a chair back and the path from a seat to the rest of the garden. Use measurements from the actual site and furniture rather than a universal clearance figure: a route that looks generous on paper can narrow when chairs, pots or a door are in use. Check it with the usual furniture in place and from more than one approach. Keep the main route easy to follow without weaving between supports.
Assess a regular pergola option such as Bloomcabin's regular pergola model against the space needed for these routes, not just the patio boundary. Leave room to carry tools to beds and remove green waste without stepping through planting. Show any planted connections you want to retain separately from paths used by people: the two have different purposes and should not be treated as interchangeable. Consider whether a well-used route would put repeated footfall across a planted edge, especially where people take a shortcut to a gate or tap. Adjusting the furniture or path alignment may avoid that conflict without moving the entire seating area.
03
Plan planting for the site and the structure
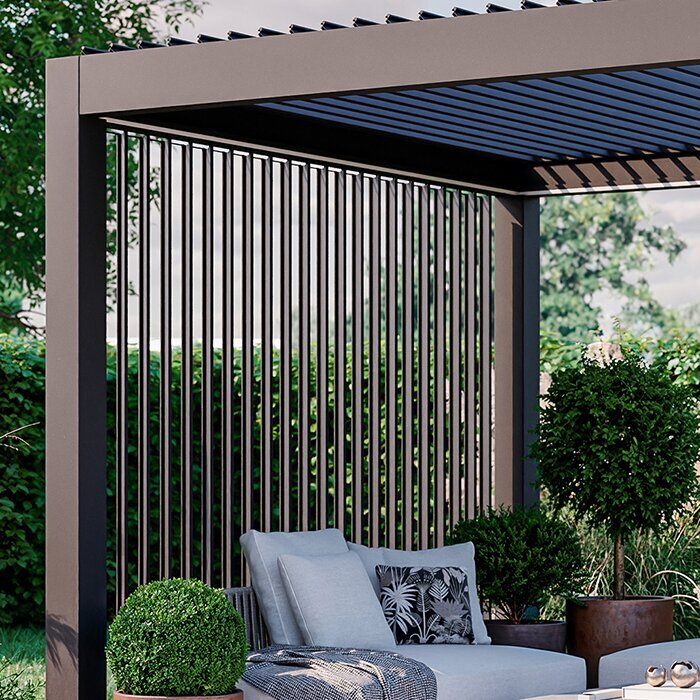
Plan planting to suit the garden, rather than adding a decorative border after the structure is fixed. Existing hedges and trees may already provide height; beside the pergola, lower shrubs, perennials or ground-covering plants may be possible where light, soil and space allow. The plan does not need every layer. For each proposed plant, record its mature height and spread, preferred conditions, seasonal appearance and care needs. Check the list with a local horticultural adviser or nursery against the actual aspect and soil instead of choosing from a generic wildlife list. If seasonal appearance is important, specify when you want plants to be at their best. For a particular wildlife aim, ask for locally appropriate advice rather than assuming a label guarantees a result.
Show expected mature spread beside the supports, seating and route edges, not just the size of a newly bought plant. That makes pruning and access easier to assess and can prevent growth from narrowing a path or obscuring a door. Note where beds will be and leave room to reach them for watering or seasonal work. If you are considering the wall-mounted Bloomcabin pergola option, overlay its confirmed dimensions with the planting plan to see where a bed might need reshaping. For containers, show the width of the pot as well as the eventual spread of the plant, and include watering access and any winter storage space needed. Document spacing and ongoing care before setting final bed positions.
Check climbing plants before using the frame
Climbing plants need a separate compatibility check. A climber can occupy more volume as it matures, need repeated pruning and add weight or debris; that does not mean every pergola is designed to carry one. Read the manufacturer's instructions for the chosen model and ask whether planting, attachments and the proposed growth habit are permitted. Do not infer suitability from the word pergola, a product photograph or a model's style. Check that the planned plant route will not interfere with documented clearances or components. If the guidance is unclear, keep the plant independent of the frame until you have an answer. For example, review the Bloomcabin Bioclimatic Aluminum Pergola information before including it in a climber plan.
Choose a plant only when its mature size and maintenance needs are understood. A self-clinging plant, a twiner and a plant that needs tying to a separate trellis do not create the same care routine, so get horticultural advice on suitable support and pruning for the species. Keep access to the base and surrounding paving or bed, and decide how fallen leaves and prunings will be cleared. Consider whether growth could make cleaning or access to components difficult later, not just how it looks when newly planted. If the manufacturer does not approve attachment to the pergola, consider a separate support only if it can be safely designed and sited; do not improvise ties or fixings to the frame.
04
Limit light spill into planted areas
Plan outdoor lighting from the places that need to be visible, rather than illuminating the whole garden by default. Mark the door threshold, steps, seating or task areas, then show where fittings would point and what lies beyond each beam. Shielded fittings aimed down towards the intended area can help keep light off hedges, tree crowns, water and neighbouring windows; confirm the effect in the actual garden because fitting position and surrounding surfaces matter. A small number of deliberately placed fittings can be easier to control than lighting every bed and boundary. Keep a darker area if that is part of the brief. Reducing unnecessary light spill is a cautious design choice, not a guarantee of benefit to any particular species; seek ecological advice if a specific species is a concern.
Choose controls around real use: a switch, timer or another suitable control can limit when light is on, but controls do not make poorly directed light low-spill. Review the plan after dark from the seating area, paths and boundaries, and revise fixture positions rather than adding more fittings to compensate. A temporary evening check can also reveal reflected light from paving or walls. When enquiring about the bioclimatic Bloomcabin model, ask whether the exact configuration has lighting options and how their positions would fit your lighting plan. Include existing house and garden lights in that review so the combined effect is clear. Ask a qualified electrician to plan and install mains-powered outdoor lighting in line with the fitting and pergola instructions.
Allow room for routine maintenance
Leave usable space for routine work around both structure and planting. Consider where you will sweep leaves, clean surfaces as the manufacturer directs, prune plants, weed beds and reach any fittings that need inspection. Avoid designing a narrow gap that can only be reached by leaning over a planted bed; the clearance needed depends on the task and should be shown on the drawing. A planted screen can also narrow access as it grows. If the chosen model has specific access or care requirements, use its documentation and ask the supplier or installer rather than guessing from an image. Think about the whole perimeter, including the side against the house or boundary, not only the side visible from the seat.
Account for the garden's own maintenance route too. Note where tools are kept, where a hose or tap is available and how pruning waste reaches a compost point or collection area. A bed with frequent pruning needs may be awkward behind fixed furniture, so choose plants and furniture positions you can realistically tend throughout the year. Use the confirmed outline of the Bloomcabin lean-to model when reserving working space around a wall-mounted option, and record planting clearance separately. The aim is a layout that stays usable during seasonal care, not one that works only immediately after planting.
05
Protect roots, soil and drainage
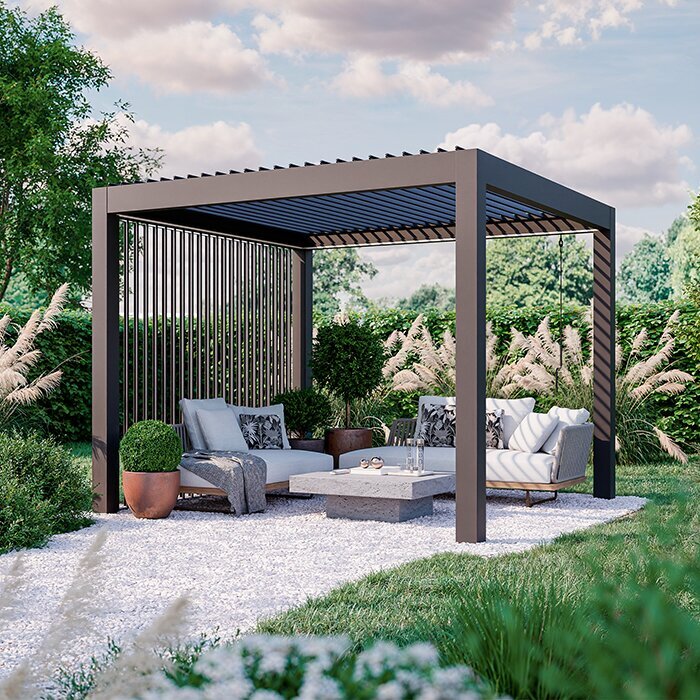
Groundworks need attention before the final position is approved. Mark known service routes, drains, gullies, downpipes, paved areas and places where water gathers; ask the installer what the selected support system and actual site conditions require. Do not set post positions or plan excavation from a sketch alone. Confirm that proposed work is compatible with surface levels and existing drainage arrangements, and identify who will resolve any conflicts before installation. If considering the regular pergola from Bloomcabin, request its foundation and ground requirements for the installer to review alongside the site plan. Also establish whether the proposed configuration collects or redirects rainwater, and show any agreed drainage arrangement on the drawing rather than leaving it to be resolved around completed beds.
Protect retained planting while work takes place. Tree roots can extend beyond the visible canopy, so its edge is not a reliable boundary for excavation; where a proposed support or work area is near an established tree, seek an arboricultural assessment and coordinate it with the installer. Agree where materials and equipment can be placed so beds, soil and existing features are not needlessly disturbed. Plan a route for carrying materials that avoids trampling retained planting. Where several trades are involved, give them the same marked plan and identify areas to keep clear rather than expecting each person to infer the planting priorities.
Review the layout in the garden
Before committing, test the layout in the garden as well as on paper. Mark candidate corners with removable markers on hard surfaces, or use string where it can be done without disturbing plants; stand at the house, along the main path and at the proposed seat. Check whether the outline blocks a route, displaces a valued bed or brings light into a corner intended to remain darker. Look from windows and boundaries as well as from the planned seating position. Repeat at another time of day if the decision depends on changing shade or views. This can expose a problem while moving the outline is straightforward, before furniture and planting are committed.
In a design consultation, ask for a dimensioned landscape drawing that brings together the selected footprint, support locations, paths, planting and lighting, with documented planting requirements such as mature spread and care. Make the brief clear about what must remain, what the pergola needs to do and where light and maintenance access matter. Have the supplier or installer verify model-specific details, and involve a qualified landscape or arboricultural professional when site conditions call for it. Record unresolved questions on the plan so they are not mistaken for agreed details. The final drawing should show how the garden works as a whole, rather than simply placing a structure in the centre of the paving.
Frequently asked questions
Can a pergola make a garden wildlife-friendly?
A pergola can be part of a wildlife-friendly garden, but the structure alone does not create habitat or guarantee wildlife activity. The wider plan matters: retain existing features where possible, choose plants for the actual site, manage lighting deliberately and leave room for care. If your aim concerns a particular species, seek local ecological advice.
Is a wall-mounted or freestanding pergola better?
Neither form is inherently more wildlife-friendly. Compare where the supports would go, what needs fixing to the house, which planting or routes might be affected and where lighting would fall. Use confirmed dimensions and ask an appropriate installer to assess the wall or site before deciding.
Can I grow climbing plants over a pergola?
Only if the manufacturer's guidance permits the plant and its support arrangement. Check mature size, weight, pruning needs, leaf fall and any model-specific clearances. Plan access to the plant's base and surrounding bed. If the pergola is not approved as a support, use a separately designed structure rather than improvised fixings.
How can I limit light spill in the garden?
Aim shielded fittings towards the areas where light is needed, avoid lighting hedges or tree crowns unnecessarily and use controls so lights are not on for longer than required. Check for spill after dark from paths and boundaries. Ask a qualified electrician to handle mains-powered installation.
What should a wildlife-friendly planting plan include?
List plant names, mature height and spread, site conditions, spacing, seasonal appearance and ongoing care. Show the plants in relation to pergola supports, paths, seating and maintenance access on the same drawing. Ask a local horticultural professional to confirm that choices suit the soil and exposure; do not rely on a wildlife label alone.
A useful pergola plan records the features to retain, where people will move, how the planting will mature and how light and maintenance will be managed. Check the exact structure against that whole-garden drawing, not against an isolated patio sketch. When the plan shows both intended uses and areas to leave undisturbed, the pergola can be positioned as one part of the garden without claiming ecological benefits it cannot guarantee.
