
Planning Raised Planters Around a Pergola
Garden planning guide
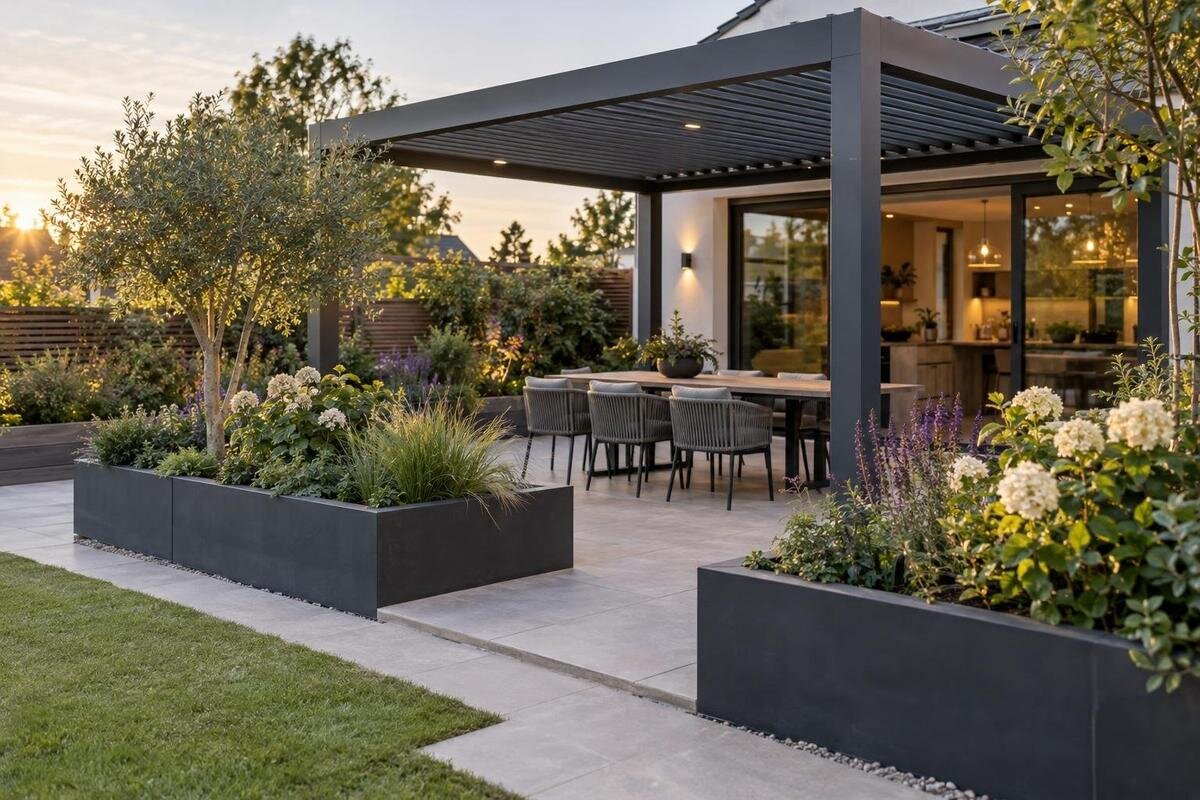
Raised planters can bring greenery around a pergola without turning the whole area into a bed, but the two elements need separate checks. The frame and its supports occupy a fixed footprint; each planter needs suitable root space, a route for excess water and room for tending and cleaning. If those needs are folded into one early sketch, a neat-looking border can obstruct a door, conceal a post or leave water where it is difficult to manage. Start with measured dimensions, choose plants before fixing the bed size, and confirm the supporting surface and drainage arrangement.
01
Draw the pergola and planter footprints separately
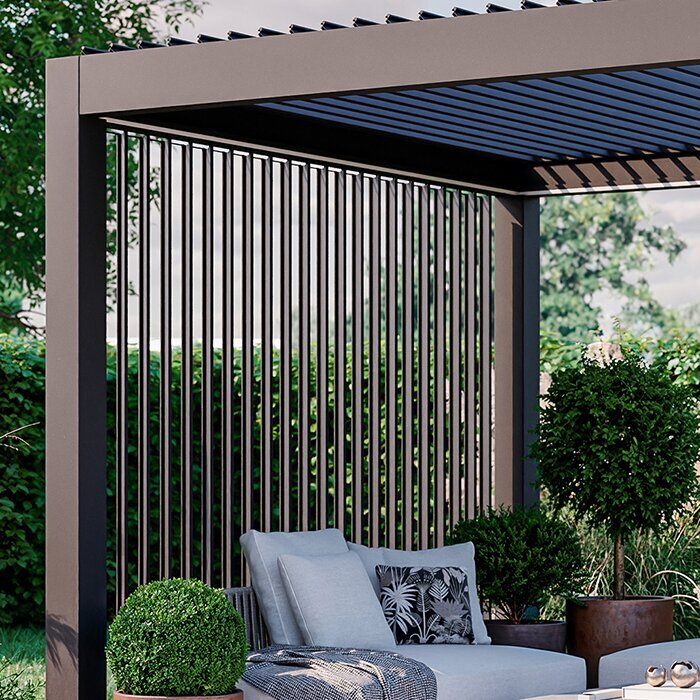
Start with a measured base plan rather than a perspective image. Mark the outside extent of the chosen pergola, every post position and any access points using information for that exact model. Add the house wall, doors, existing paving, drains, steps and other fixed features. Draw each planter by its external dimensions, including a projecting rim, cladding or feet; its usable growing area will be smaller than the overall box. A photograph cannot show support positions accurately. Treat Bloomcabin’s regular pergola listing as a model reference, then confirm the selected structure’s actual dimensions before setting out the planting. Note whether dimensions run between post centres or to outside edges; different reference points can make two plans seem to agree when they do not.
Keep the pergola frame and planters as separate shapes rather than wrapping a bed around a post. That makes it easier to see whether a box hides a support base, obstructs access or leaves an awkward strip that cannot be planted or cleaned. Show the complete planter outline and, separately, its internal growing area. Mark which items are fixed and which can move, then compare layouts with scaled paper cut-outs or temporary ground marks. This is a useful fit test, not an installation drawing: the selected pergola’s final position and installation clearances need to be confirmed from its relevant information.
Keep paths and seating usable
Draw the route people need, not just the open floor area. Trace movement from the house to the garden, through the pergola entrance and to any gate, tap or storage point that remains in use. Show door swings, steps, table and chairs, including room to pull a chair out and pass behind someone seated. Think about carrying a tray or garden tools, and include any mobility equipment used regularly. A route that works only when furniture is pushed against a wall is not reliable for everyday use. Test its width against the actual furniture and household habits rather than choosing a generic clearance.
Use temporary markings to show both planter corners and pergola posts, then walk the routes while a chair is pulled out and while carrying a watering can or small tool. This can reveal a pinch point where routes turn or clearances overlap. When planning around the Bloomcabin Lean-To Pergola, plot its confirmed wall-side and post positions first; the strip beside the house is not automatically spare space if a door, window, tap or cleaning route uses it. Check access around the frame as well as into the seating area, and adjust the planter outline before treating it as fixed.
02
Set planter size from root requirements
Select plants before fixing the planter’s internal size. Different plants need different root depth and volume; compact herbs, seasonal flowers and woody shrubs should not be assigned the same growing space by default. Use documented requirements for the plants or ask a knowledgeable nursery or garden designer, particularly for a mixed bed where one vigorous plant may need more room than its neighbours. Decide how many plants will share the container and whether they are intended to remain there for several years. The size of a young plant’s pot does not show its permanent root needs, so keep the plant list and its growing requirements with the plan. Check that plants sharing a bed also have compatible requirements for moisture, growing medium and light. Observe the proposed position at different times of day, taking account of the house, nearby planting and the chosen pergola arrangement. If you want seasonal flowers around permanent shrubs, reserve space for replacing them without disturbing the shrubs’ roots rather than treating every gap between young plants as spare capacity.
Measure usable length, width and depth inside the finished planter, not just the outside dimensions. Liners, internal supports or other specified components can reduce the space available to roots, so check the final clear dimensions before ordering or building. Consider how the bed will be accessed: if you can tend it from one side only, its width affects how easily you can reach the plants and soil. Whether you are comparing Bloomcabin Bioclimatic Aluminum Pergola or another design, derive planter volume from documented planting requirements; the pergola’s name or appearance does not determine root space.
Check the surface before adding filled planters
An empty planter can give a misleading impression of its eventual weight. The container, growing medium, plants and water held after watering all contribute once it is in use. Think about where it will stand: a bed on ground is different from one on decking, a raised platform or another constructed surface. Do not assume that a surface which looks substantial can carry any planter you choose. Include the intended finished size and location in the plan, rather than deciding on a larger bed after the supporting area has already been set out. Also distinguish a container with a base from an open-bottomed raised bed. The latter may allow roots into the ground below, but only where that ground is accessible and suitable for the planting. A box placed over paving should not be planned as though it offers the same rooting space as a bed over soil.
Where the supporting surface has a load limit or its capacity is uncertain, ask a qualified structural professional to assess the proposed filled planter before installation. Keep the planter independently supported; do not use it to brace, anchor or retain a pergola post. If the Bloomcabin Pergola model is on your shortlist, show its post positions and the planter base as separate elements so the relevant professionals can review their relationship. Do not rely on a product image or a style choice to establish what a deck or other surface can carry.
03
Plan watering and drainage routes
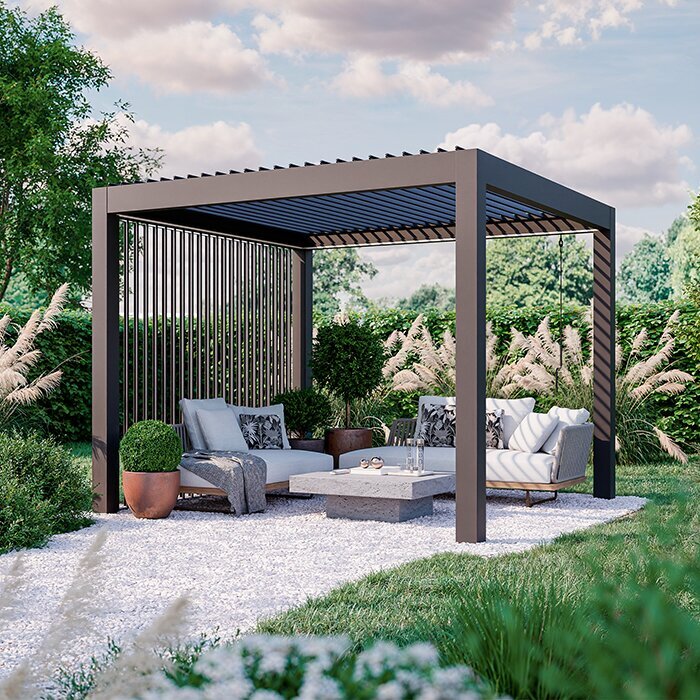
Decide how you will water the planters and how excess water will leave them. Mark the likely route for a hose or watering can, including any doorway or seating area it could cross. If the watering arrangement includes a connection that needs occasional attention, make sure it remains reachable after the planters and furniture are in place. Keep water entering the planter separate in your plan from the route for surplus water: choosing a watering method does not, by itself, settle where drainage will go. Check how much rainfall can actually reach each bed in its proposed position; do not assume every planter beside a pergola receives the same amount. For an irrigation system, plan access to its controls and connections and allow for different planting needs where appropriate. You should still be able to inspect the growing medium and check moisture rather than relying solely on a fixed watering schedule.
Identify where each planter’s drainage outlet is intended to discharge, and avoid leaving water on a main path, beside a wall or around a pergola support. Keep existing drains accessible rather than covering them with a bed or its edging. Do not assume that water will simply disappear through paving. Where the route depends on paving levels or existing drainage, ask a landscaper to confirm the detail. For the bioclimatic pergola option, keep planter drainage as a separate design item; do not assume any arrangement associated with the chosen structure will handle water from a planter.
Leave room to clean and inspect the frame
Allow for the routine jobs that happen around the structure as well as the planting itself. Fallen leaves, loose soil and plant debris can collect on paving and near supports; surfaces and accessible frame areas may need sweeping, wiping or inspection. Consider which sides of each post and planter you can reach with a hand or ordinary cleaning tool. The gap does not need to be an arbitrary standard measurement, but it does need to be useful for the cleaning and maintenance described in the relevant instructions.
Avoid leaving a very narrow slot that is too small to reach but wide enough to collect debris. Either provide practical access or have the installer and landscaper agree a suitable edge detail; do not close a gap without considering the intended clearances and drainage. A wall-side arrangement needs the same thought: with a wall-mounted Bloomcabin option, keep any junction or surface that must be maintained accessible. Check the selected model’s installation and maintenance information before fixing a planter close to the frame or house.
04
Allow for mature plant growth
Plan for the plants at their expected mature size, not as they look in a nursery pot. Record the likely height and spread of each choice, and consider how the foliage will extend beyond the planter’s rim as it grows. A plant that fits the box on delivery may later lean into a path, conceal a post or make cleaning harder. Choose plants that suit the available space rather than relying on frequent pruning to keep an unsuitable choice within bounds. A nursery or garden designer can help confirm mature dimensions where they are unclear.
If the selected pergola has moving components, check their documented operating clearance and keep mature foliage outside it. Do not infer clearances from a product photograph or from the appearance of a neighbouring model. A listing such as the Bloomcabin bioclimatic model identifies what you are considering; its own product information is what you need to check for relevant clearances. Also view the planting from seated and standing positions so taller growth does not obscure an entrance or an access point you need to reach.
Coordinate planter edges with paving
The outside shape of a raised bed affects how people use the space. Include projecting rims, corners and feet in the outline, then check their position beside chairs, table legs and the usual walking line. A long planter along one side may leave more usable floor than a continuous border, while shorter groups can keep a route open at an entrance. Which arrangement works depends on the measured space and furniture, so compare the finished outlines rather than deciding from a planting sketch alone.
Show where the planter edge meets the paving and how that edge will be cleaned. Soil can spill onto a path during planting or upkeep, and a narrow, inaccessible joint makes sweeping awkward. If the planter is built into the landscape, coordinate its boundary and finished paving with the people designing those elements, including any drainage detail. When assessing a regular pergola option, compare the confirmed frame footprint with the finished planter boundary; a visual impression of the open space is not a substitute for those measurements.

05
Make future planting work manageable
Plan how you will reach the beds when plants need replacing or the growing medium needs attention. Bags of compost, tools and a wheelbarrow take up space, even if they are only brought through occasionally. Identify a practical route from the garden entrance to each planter and a place to set materials down without blocking a doorway or covering the seating area. This is different from the everyday walking route: a path that feels clear on an empty plan may be awkward when you are carrying supplies or working beside a full bed. For permanent shrubs, consider how a replacement plant and its root ball could be brought in, and how removed material would leave the garden. If access depends on moving furniture, identify which pieces can realistically be moved. Do not count a large planter as movable simply because it can be repositioned before filling; its practical handling needs will change once planted.
If the pergola, paving and planters are being handled as separate jobs, agree the sequence and handover points with the people doing the work. The right order depends on the design, but each installer needs to know where the frame, planter edges and drainage route are intended to go before access is closed off. Agree who will confirm dimensions and how the paving and planter meet. Leave the completed layout with enough access for planting and later maintenance, rather than treating installation as the only use the space will have.
Confirm the layout on a dimensioned drawing
Before ordering, bring the key decisions together on a dimensioned landscape drawing. Show the pergola’s confirmed footprint and post positions, the planter’s external and usable internal dimensions, the intended plants and their documented root requirements, mature spread, walking routes, cleaning access and drainage outlets. Note the supporting surface and distinguish confirmed measurements from items that still need checking. Add a side view where planter height matters: a plan viewed from above cannot show whether a tall rim obstructs a window or how foliage sits beside seated occupants. Label the intended soil level separately from the top of the planter, since overall height is not necessarily usable soil depth. Where the ground changes level, show that relationship rather than assuming every planter sits at the same height. A rendering can help communicate appearance, but it cannot prove that the planter fits, that a route remains usable or that the surface can support a filled bed.
Review the same drawing with the pergola supplier or installer and the person responsible for the landscape design. Compare freestanding and wall-mounted arrangements using their actual dimensions and access requirements, not just their appearance in photographs. If the plan involves a structural surface or uncertain drainage, ask the relevant qualified professional to assess that point. A design consultation is most useful when it can work from the measured layout and documented planting requirements; style alone does not establish performance or suitability.
Frequently asked questions
How much space should I leave between a planter and a pergola post?
There is no single gap that suits every layout. Allow enough room to reach and clean the post, follow the pergola’s installation and maintenance information, and account for the plant’s mature spread. If those needs cannot be met, change the planter’s position or length.
How deep should a raised planter be?
Choose the depth from the root requirements of the plants you intend to grow, not from a general rule. Check the usable depth inside the finished planter after allowing for its construction, and confirm the planting requirements with a suitable nursery or garden professional.
Can a raised planter be built around a pergola post?
Plan the planter and pergola frame as separate elements. Do not use a planter as a support or brace for a post, and avoid hiding areas that need inspection or maintenance. Show both positions on the plan and have the installer confirm their relationship.
Where should water from a raised planter drain?
Decide on an outlet route that does not leave water on a path, against a wall or around a pergola support. Keep existing drains accessible, and ask a landscaper to confirm the route where it depends on paving levels or existing drainage.
Can I put a filled planter on decking?
Do not judge the load from the empty planter. Growing medium, water and plants add weight. If the decking or supporting surface has a load limit, ask a qualified structural professional to assess the proposed filled planter before it is installed.
A good layout is not the one that fits the greatest number of planters. It gives each bed suitable root space and a clear drainage route while keeping paths, seating, the pergola frame and its maintenance areas usable as plants mature. When a measured drawing shows those relationships clearly and the supporting surface and planting requirements are confirmed, the planters can be chosen for the space they will actually occupy—not the space a photograph seems to leave.
