
Replacing an Old Awning with a Pergola: What Changes?
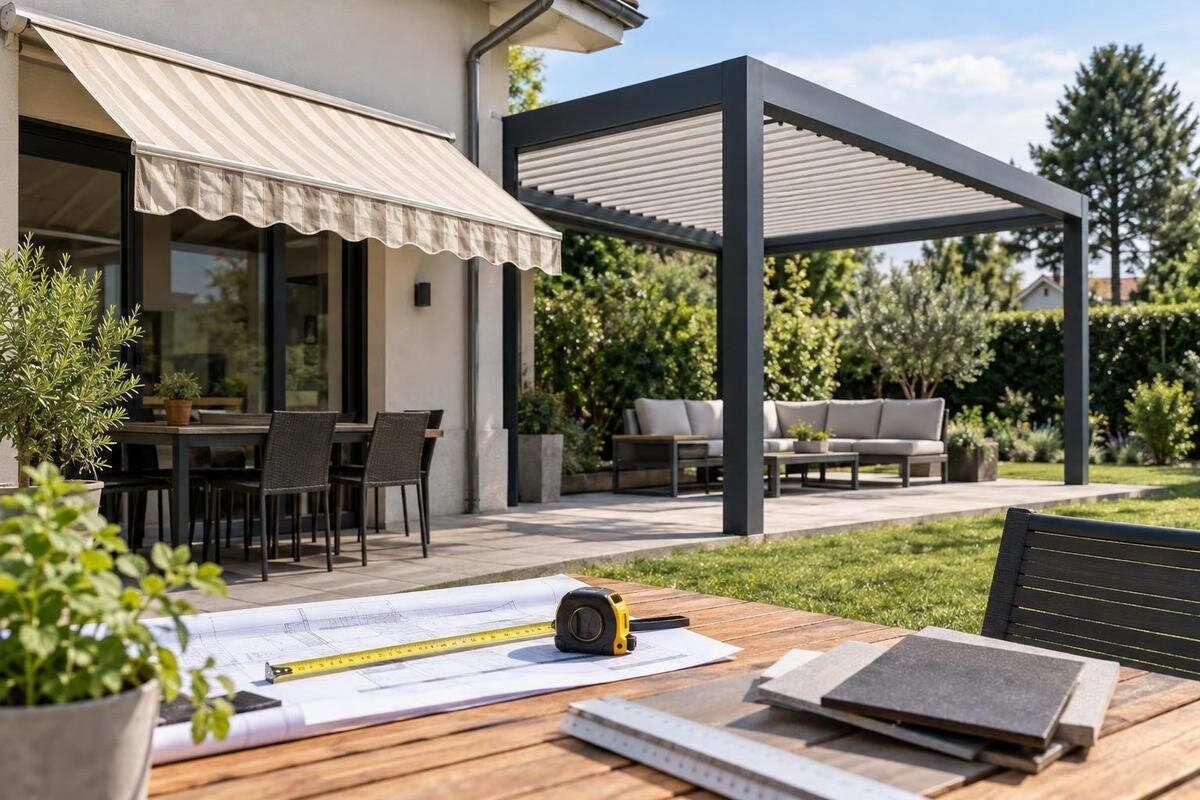
Pergola replacement planning
Replacing an old awning with a pergola can leave you with two distinct jobs: removing the existing installation and preparing the house and terrace for a different support layout. Brackets may not match the new connection points, while old holes, faded finishes, wiring and rainwater routes still need attention. A clear conversion plan records what comes down, what remains, what needs repair and who is responsible for each stage before work begins.

A pergola replacement involves more than removal and fitting
The visible change may be overhead cover, but a replacement also affects the wall, terrace and final finishes. An awning leaves its own brackets and, in some installations, a motor or wiring; the pergola must be planned around its own support arrangement. Matching the old outline does not mean the new connections will land in the same places. Treat removal, inspection, repairs and installation as separate parts of the project, rather than assuming that a pergola quote includes every task. This distinction matters when different firms are responsible for taking down the awning and fitting the replacement.
Set out the sequence in writing: record the current installation, remove equipment, inspect surfaces that were hidden, agree repairs for any damage discovered, then install and finish the new work. A wall can look sound while covered, and earlier paving repairs or service routes may not be obvious from a quick visit. Name the person who can approve a change if removal uncovers damage, and state whether work pauses until that decision is recorded. If separate contractors are involved, agree who protects exposed areas between visits and who disposes of the old equipment. A simple responsibility schedule helps prevent unfinished repairs falling between firms.
Record the awning, wall and services before removal
Before anything is dismantled, take dated photographs of the full elevation and closer views of every bracket, end plate, cable route, switch, sensor or control that belongs to the awning. Include the wall above and below the fittings, nearby doors and windows, drainpipes, and the patio edge. These images help distinguish old defects from damage caused during removal and give the pergola installer a useful view of constraints that may not be obvious from a single measurement. Photograph equipment labels or paperwork if they are accessible without taking anything apart; do not rely on memory for the number or approximate position of fixings.
Record the awning’s approximate width, projection and mounting height, plus any known age, previous repair or operating fault. Note whether its support sits on brickwork, render, cladding or another finish if you know; leave uncertain construction for a site survey rather than guessing from appearance. Put the proposed model name in the enquiry too: Bloomcabin Bioclimatic Aluminum Pergola, for example, identifies a particular catalogue option, while a general phrase such as ‘a pergola’ does not. Ask for the selected configuration and a dimensioned drawing before treating any product name as a set of site dimensions.
Plan repairs for redundant wall fixings
Once the old brackets are removed, inspect each exposed fixing area before a repair is specified. A rendered wall, exposed brickwork, timber cladding and a panel system need not present the same repair problem; a neat surface patch can hide a loose edge, a crack or evidence of water entry. Photograph the exposed holes and surrounding finish, and note whether damage extends beyond the bracket footprint. Do not let cosmetic repairs obscure a condition that the installer or building professional still needs to assess. If the surface is damaged or its construction is uncertain, ask an appropriate professional to identify what must be repaired before new work proceeds.
The repair scope should say what happens to redundant screws, sleeves or anchors, who seals abandoned openings, and which finish is reinstated. The method depends on the wall build-up and should be specified by someone competent to assess it. If a wall-mounted option such as Bloomcabin Lean-To Pergola is being considered, obtain its proposed connection drawing early and compare it with the old fixing pattern. The new layout may leave a visible strip of unrepaired marks even if the pergola fits the area, so agree whether local patching, repainting or broader finish work is included. If an exact finish match may not be possible, define the acceptable repair area before work starts.
Assess the new support positions independently
Do not treat the awning brackets as ready-made pergola supports. Their presence does not establish that a different structure can use the same points. Ask the pergola supplier or a qualified installer to review the proposed supports and the actual building fabric, including cladding, insulation zones, masonry condition or concealed construction that may affect a connection. The same care applies to any proposed post base: the visible paving finish does not show what lies below or whether a location is appropriate. Where drawings are unavailable, make a site assessment part of the quote rather than relying on assumptions from photographs.
Request a plan and elevation that show proposed wall connections and/or post positions, not only an overall rectangle. Review those points against doors, windows, gutters, vents, outside lights and service routes; moving a support to miss one feature can change the rest of the layout. Have the responsible professional confirm the connection detail and identify assumptions in writing before ordering. If their review depends on opening a surface or obtaining a building detail, record that as an unresolved item, rather than treating the current appearance as proof of what is behind it. Also agree which contractor will resolve any questions about the wall or ground before installation.
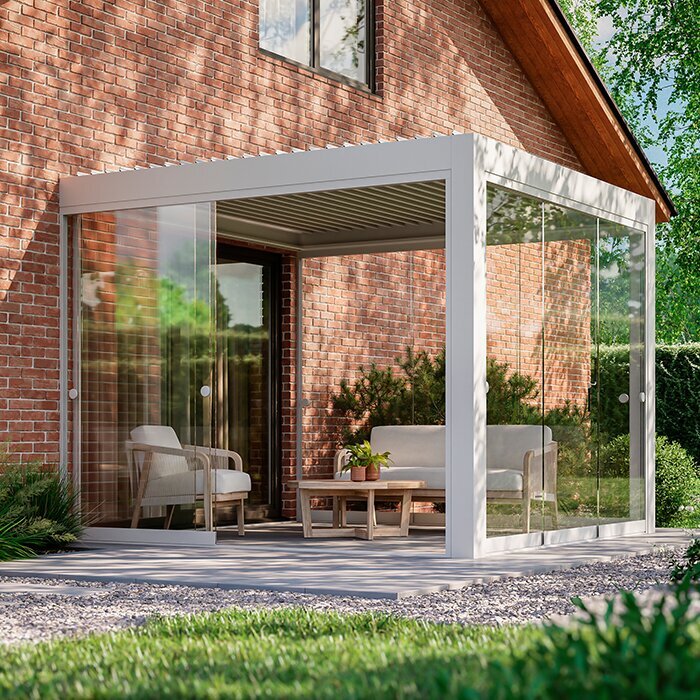
Measure the proposed footprint, not the old awning outline
Measure the terrace and façade again for the new proposal; the old awning’s width and projection are not a pergola setting-out plan. Include the edge of the paving, thresholds, door swings, accessible routes, steps and places where furniture or bins must still pass. Check height against windows, opening lights, soffits, guttering and existing wall features. A scaled site sketch is more useful than a photograph alone if it marks fixed obstacles and the usable area, but the supplier’s dimensioned drawing is needed to relate that space to actual support positions. Note any uneven or recently repaired surface for the installer to assess.
Compare the drawing’s outside dimensions and support centres with your measurements; do not compare only the area described on a product page. The Bloomcabin Pergola listing gives an area range of 97–258 ft², but that range does not specify support positions for your chosen configuration or show whether they clear a doorway. Ask for the drawing that matches the quoted size and configuration, with relevant connection lines and overhangs identified. Mark door leaves in their open position and show the route people will use across the patio. This gives each contractor the same reference if the footprint needs to change.
Map rainwater routes and existing services
Record how rainwater behaves around the patio before work starts: note downpipes, gullies, channel drains, low points and places where water currently collects, rather than assuming the existing awning tells the whole story. The pergola design may alter where water is gathered or released, so its route needs to be explained for the configuration under consideration. Ask where water leaves the structure, whether a connection to existing drainage is proposed, and which contractor is responsible for any new pipework or ground changes. Do not accept ‘drainage included’ as a complete description without a location and scope.
For a quote involving the bioclimatic pergola listing, request a written, model-specific explanation of water paths and any separate site drainage work; the product name alone cannot establish where water will go at your home. Include the old awning’s motor, cable route, switches and any lights in the survey, then identify what will be disconnected, retained or moved. Any electrical work should be assessed and carried out by a suitably qualified electrician, with the boundary between that work and the pergola installation made clear. If new electrical features are proposed, list them separately instead of assuming they are part of the basic replacement.
Agree how the wall and paving will be made good
Removing the awning may reveal colour differences, dirt shadows, filled holes or weathering that cannot be hidden by the new structure. Decide what a satisfactory finish means before quoting: a local patch, repainting a larger wall section or another specified repair are different scopes. On the terrace, mark old fixing points, cracked or replaced paving and any proposed new base locations. Ask who makes good a disturbed surface and whether the finish will match existing materials; do not assume that removing a bracket leaves a clean, level result. Photographs taken before removal give a fair reference when checking completed repairs.
Coordinate finish repairs with the final connection drawing. Where a wall-mounted proposal such as a wall-mounted Bloomcabin pergola is under consideration, confirm the intended fixing positions before deciding how much of the old bracket area can be patched or repainted. New work may cover some marks and leave others visible, so the contractor should state the limits of the repair rather than promise an unspecified ‘make good’. Ask who supplies matching paint, masonry or replacement paving, and whether decorating follows installation or must be booked separately. If repairs happen first, agree how they will be protected during later work and who will address any damage.
Check property consent and responsibility
Consent is a site-specific check, not something to infer from the awning already being there. Before committing to removal or a new order, establish who controls the wall and terrace and whether a landlord, freeholder, managing agent, residents’ body or insurer needs to be consulted. A shared façade, restricted access, drainage change or visible alteration may raise questions that do not arise for a wholly private wall, but the answer depends on the property and proposal. Verify planning, building-control, lease or other consent requirements with the relevant local authority or qualified adviser; do not rely on general online advice or assumptions.
Give whoever reviews the project a specific drawing and description: site position, overall dimensions, proposed wall or ground supports, finish, removal work and any drainage changes. If the item being discussed is the regular Bloomcabin pergola listing, include that exact product identity, but do not treat a catalogue page as approval for your property. Ask the reviewer what else they need and who is responsible for obtaining it. Keep the response with the quote and final drawing, including any conditions on access, appearance or timing, so installers work to the agreed proposal rather than an earlier sketch. Confirm who can authorise shared access or temporary storage if these affect neighbours.

Include the full conversion in the quote
Ask for a quote that follows the whole conversion, not just the new structure. It should identify survey and setting-out, awning dismantling, removal of brackets, disposal, wall and paving repairs, pergola supply and installation, any base or ground work, drainage and electrical tasks. For each line, establish whether it is included, excluded or awaiting a site finding. Include access arrangements, protection of doors and paving, and whether another trade must attend before or after the installer. A headline price is difficult to compare fairly if one scope includes removal and making good while another stops at assembly.
Name the selected item and configuration in the request—Bloomcabin’s Bioclimatic Aluminum Pergola page can identify one catalogue option—then ask the supplier to confirm the quoted size and drawing. Check which survey details are assumed, which repairs may change after dismantling, and how a variation is agreed before extra work proceeds. The written quote should state who clears waste, reinstates finishes and coordinates any electrician or drainage contractor. Ask whether the initial site visit is included or whether the proposal remains subject to verification. If the installer supplies a separate contract, check that both documents use the same product name, drawing revision, removal boundary and completion standard.
Agree the sequence and handover
Agree the timing before anyone takes down the awning. The product configuration, support layout, access plan, repair responsibilities and any required property decisions should be settled far enough to avoid leaving an exposed wall while drawings or consent questions are still being resolved. If removal reveals unexpected damage or construction, decide in advance who inspects it, what work stops, how a revised price is authorised and how the site is protected in the meantime. A written pause-and-approval process tells the homeowner and contractor who may restart the job. Also agree whether the household will need to keep doors or parts of the terrace clear during each visit.
At handover, keep the agreed drawing, final product name, repair details, drainage route, electrical records where relevant, and photographs of areas covered during installation. Record outstanding snags and the person responsible for closing each one; do not mark work complete merely because the old awning is gone and the pergola is standing. If the selected model is Bloomcabin’s Lean-To Pergola, keep that identity alongside the approved site-specific documents rather than using the catalogue page as a substitute for them. The project file should show what was removed, what remains and which product or maintenance documents were actually supplied.
Frequently asked questions
Can a pergola use the awning’s old fixing holes?
Possibly, but do not assume the holes or brackets are suitable for a different structure. Have the wall and proposed supports assessed, then follow the connection details for the selected design. Include any abandoned holes in the repair scope.
Will the pergola fit in the same position as the awning?
Not necessarily. The awning’s outline does not show where the pergola’s supports will sit. Compare the proposed dimensions and support positions with doors, paving edges, drains and routes across the terrace.
Who should remove a motorised awning?
Agree in writing whether the awning supplier, pergola installer or another contractor is responsible. Include disposal and any electrical work in the scope; a suitably qualified electrician should assess electrical disconnection or changes.
Do I need permission to make the change?
That depends on the property and proposal. Check with the relevant local authority and, where applicable, the landlord, freeholder, managing agent or insurer before ordering or arranging removal.
What should a conversion quote include?
Ask for a clear scope covering removal, disposal, repairs, pergola supply and installation, support or ground work, drainage, electrical work if needed, and exclusions. It should identify the selected configuration and explain how changes are agreed.
A well-planned awning-to-pergola conversion accounts for the old fixings as carefully as the new supports. Record the existing installation, assess the proposed layout independently, and agree who handles repairs, drainage and electrical work. With a written scope, drawing and handover record, the project is less likely to leave an unclear gap between taking the awning down and completing the new installation.
