
Planning Retractable Pergola Screens and Side Guides
Pergola planning guide
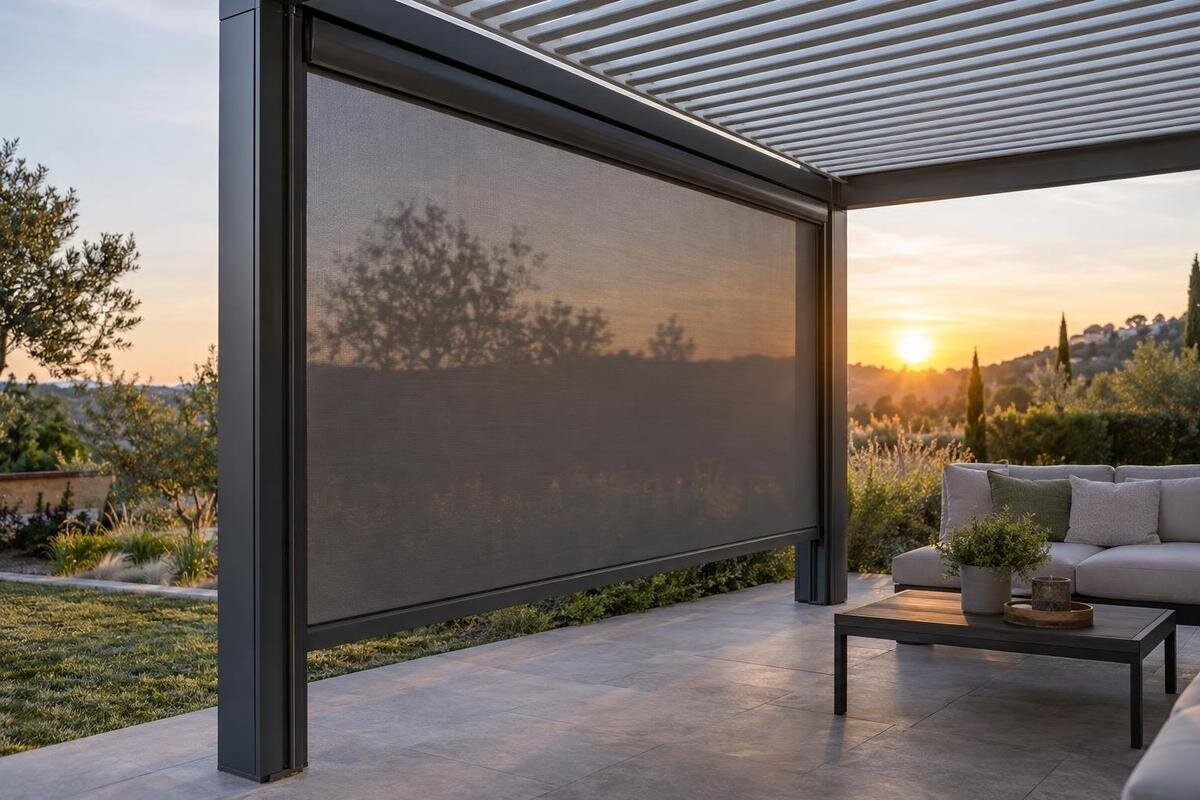
A retractable pergola screen needs room when it is retracted as well as when it is drawn across a side. Its cassette or storage position, side guides and moving edge can affect the clear opening, nearby doors, furniture and the view, even when the fabric is out of sight. The right layout depends on the exact pergola and screen design, not on a nominal bay size alone. Plan both end positions, keep maintenance access in the drawing, and verify that the proposed screen is supported for the specific model before treating it as part of the design.
What remains when a screen is retracted
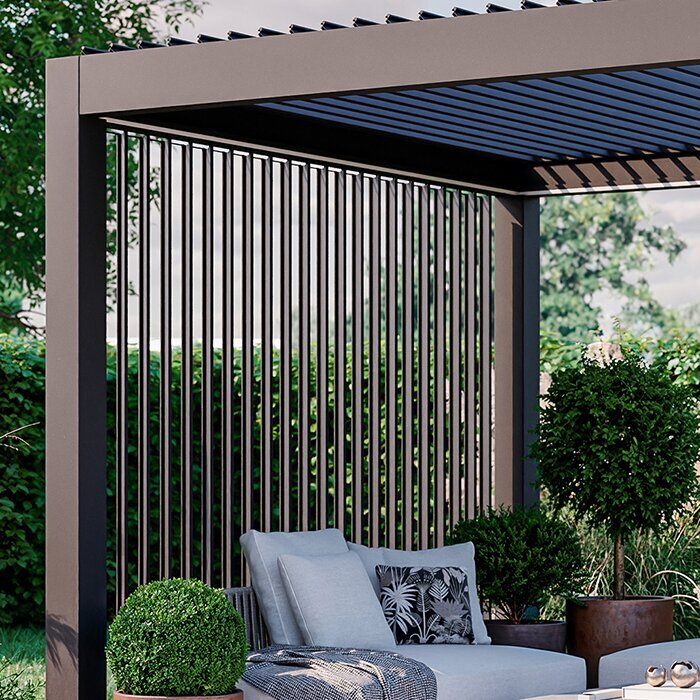
An open pergola bay is not necessarily the full clear width available once a retractable screen is specified. Side guides can take up space at the edges, while a lower bar, stops or other fittings may remain visible at the end of travel. In a roller arrangement, the fabric winds into a cassette, but the cassette itself stays in place; other screen designs may store differently. Treat the drawing for the proposed system, not a generic illustration or photograph, as the reference for which components stay fixed and which move. Where a clear view matters, show the remaining fixed outline as well as the fabric area that clears.
Sketch the opening twice: with the screen fully deployed and fully retracted. Show the fabric plane, the cassette or other storage point, both guide lines and the final position of any moving rail. This separates the unobstructed bay from the usable opening after hardware is fitted. It also exposes details a front-on view can hide, such as a cassette projecting below a beam or a guide sitting proud of a post. If the system has intermediate stopping positions, note the ones you expect to use; a partly raised screen may leave fabric or a rail within a sightline. Do not draw the storage zone as empty space until its dimensions are confirmed.
Measure the opening and its approach
Measure the actual mounting opening rather than relying only on the pergola’s overall footprint or a nominal bay size. Record the clear width between the potential guide-fixing faces and the clear height from the likely upper mounting area to the intended floor or stopping surface; ask the supplier to confirm the reference points it uses. If surfaces vary, take measurements at more than one point and report them instead of selecting the most favourable figure. Mark projections around the opening too: wall trim, guttering, downpipes, door and window handles, lights, vents or brackets can conflict with a cassette or guide. If the patio is unfinished, record the proposed finished surface separately from its current level.
Record how the opening is used as well as its dimensions. Show doors fully open, the normal route between house and garden, and the position of chairs or a dining table when people are seated and moving around it. Allow for the width taken by guides before deciding that a passage is comfortable; do not plan to solve a tight fit by narrowing access later. Note fixed planters beside the posts, and any floor slope or uneven threshold that the installer needs to assess. For an enquiry about the Bloomcabin regular pergola, send these measurements with the chosen side marked on a sketch. Distinguish measurements taken on site from dimensions copied from an existing plan.
Where the cassette and fabric will sit
In a common vertical roller layout, the fabric retracts into a cassette above the opening, while vertical side guides remain beside the fabric. That is only one arrangement, so confirm whether the proposed screen sits on the inner or outer face of the frame and whether its case projects down, sideways or away from the beam. Request the overall dimensions, including end covers, brackets and any space needed for access, not just the cloth width. Check whether the cassette extends beyond the clear opening at either end. A case that fits between posts on paper may still conflict with fascia, wall fittings, roof components or a nearby door; show any projection in the elevation rather than assuming the case will sit flush.
Consider how the stored assembly looks from the garden, from the house and from the seats you use most. A retracted screen may leave the view open while its cassette and guides remain in sight. If a fascia or trim is planned, establish whether it would restrict operation or servicing before using it to conceal the hardware. When discussing the lean-to pergola model, put the house wall, soffit, windows and doors on the same drawing. Include the depth of projecting fittings and mark the space between them and the proposed cassette. This helps distinguish a visual concern from a physical clash that requires a different approved mounting position.
How side guides meet the pergola frame
Side guides control or retain the screen edge, but their form and fixing arrangement vary. A narrow-looking track in a photograph does not establish its actual projection or how it attaches. Ask for a section drawing showing the guide against the exact pergola post, including whether it sits on the inside, outside or another approved face, and how the screen edge engages with it. The drawing should give the remaining clear width and show the position of any stop, catch or lower rail when the screen is down. Ask for the mounted profile’s full width and depth, not a fabric-width measurement that leaves the hardware out.
Check the bottom of each guide against the finished patio and any existing door threshold. The interface can affect how easily the edge is cleaned, whether a projection sits in a walking line and where leaves or grit could collect. Even a low profile may create a raised edge; the actual cross-section shows its relationship to the floor. Do not assume every guide can be fixed to every post face, or that the wall or frame can be drilled wherever needed. Have the system supplier or installer confirm the approved mounting detail and alignment requirements for that screen; do not alter a profile on site to make a mismatched part fit.
Choose sides around sun, views and airflow
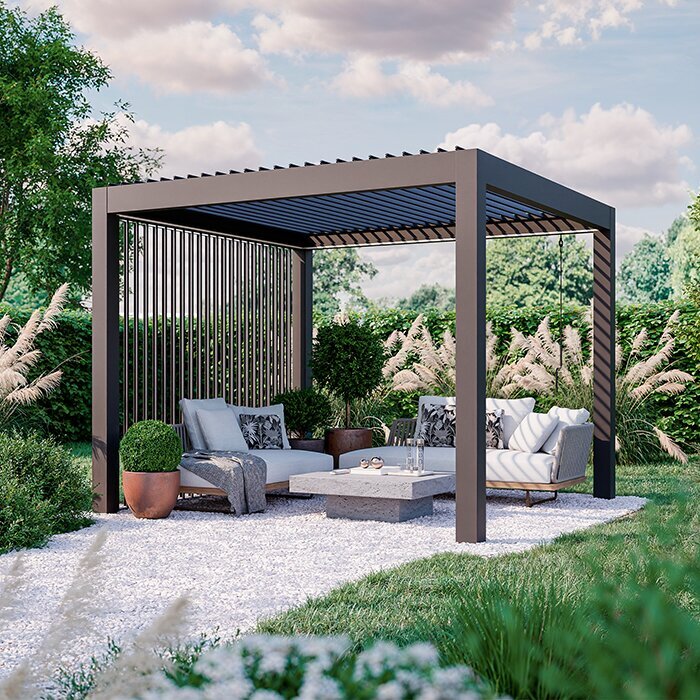
Choose the screened sides from actual use rather than assuming all sides should be covered. Note when low or late sun reaches the seating area, which direction you look from the table, and whether you need to preserve a view through a particular bay. A simple plan with the house, pergola and sightlines is more useful than choosing from a photograph alone. If glare is a concern, record when it occurs and compare the screen positions that would address that side without closing off other views. Mark important views from seated height too, so the cassette and guides are considered as well as the fabric.
Consider fabric openness and colour as part of the choice, since a screen can change the view, daylight and airflow. Ask for the relevant specification or a sample and assess it from both sides of the opening; do not assume a screen gives complete privacy, excludes insects or provides uniform shade. If you are considering the bioclimatic aluminium pergola, include your preferred screened sides in the configuration enquiry. For adjacent screens, ask how their guides meet at the corner and whether each panel can move independently. Show which sides you would usually keep open, rather than treating separate bays as an uninterrupted enclosure.
Keep the travel and operating area clear
Draw the movement area for the screen, not just the outline of the fabric. Depending on the design, the moving edge travels along the guides and finishes at a sill, floor or other stop; nearby furniture, a projecting door handle or stored items may obstruct it. Mark a dining chair pulled back, a planter, outdoor storage and anything that stays beside the frame. Include the bottom rail’s path and resting point, where applicable, and show a door fully open if its leaf moves near the screen. If something must be shifted every time the screen is used, decide whether that is realistic in everyday use rather than treating it as a one-off installation issue.
Plan access to the control as carefully as the fabric path. For a hand-operated screen, show where a person stands and reaches without furniture blocking the approach. For a motorised option, confirm what controls are offered, where they can be reached and what is included; do not infer a motor from the word retractable. In an enquiry for the regular pergola model, describe the usual approach from the house or garden so the control position can be considered alongside the layout. Keep a frequently used doorway usable in both screen positions. A control behind a chair or on the far side of a lowered panel may be inconvenient even when the screen itself moves freely.
Check the screen’s weather limits
A deployed side screen changes exposure and airflow through that side of the pergola, but it should not be treated as a sealed wall or a guarantee of weather protection. A fabric panel may have different limits from the roof or frame, so one component’s stated performance cannot be carried over to another. Ask for the operating limits and use instructions that apply to the exact screen, including when it should be retracted. If limits depend on screen size or on how many sides are deployed, get those distinctions stated; do not choose a wind limit from general advice or from the appearance of a sample.
Consider the weather the screen will meet in normal use: gusts, driven rain, damp fabric and debris may affect how and when it is operated, but the answer depends on the design and its instructions. When enquiring about screens for the bioclimatic pergola model, describe whether the intended side faces an exposed garden or a more sheltered patio. Ask whether the fabric may be stored when wet, how it should be dried and what to do if the guides become obstructed. Keep these answers with the screen's use instructions. They should explain how to manage the particular fabric and mechanism, rather than leaving you to infer suitable use from the roof specification.
Plan access for cleaning and inspection
Maintenance access belongs in the first layout, not as an afterthought once a cassette has been boxed in. Check how the cassette, guide channels and any end covers are reached for ordinary cleaning and service. Ask whether access is needed from one end, from below or by removing a component; the required method varies. Avoid placing permanent joinery, a fixed awning, tall storage or dense planting across the stated access area. If cleaning or inspection would require moving a built-in seat or removing trim, decide that before the surrounding area is finished. A neat retracted position is not useful if the guides cannot be reached.
Plan where leaves, dust and grit can be removed from the guides without trapping them behind furniture or against a threshold. Follow the screen maker’s cleaning and maintenance instructions for the fabric and components; do not assume oil, solvent, abrasive tools or high-pressure water are suitable. Keep enough room to see the fabric edge and check for visible wear. When discussing a screen configuration for the Bloomcabin Pergola, ask how a damaged guide, fabric panel or cassette component would be accessed for servicing. Establish whether surrounding trim would have to be removed, and whether that trim can remain accessible once the patio furniture and planting are in place.

Confirm compatibility with the exact pergola
Compatibility is specific to the pergola version, opening dimensions and screen assembly. A screen that fits one bay or frame arrangement may not fit another, even if product names sound similar. Ask the supplier to confirm in writing which sides are supported for the exact model, how the cassette and guides attach, and whether the proposed screen is an approved option. If it is a third-party product, request confirmation of the intended fixing method rather than assuming a standard track can be added to the frame. Include the size and orientation of every opening; approval for one side does not confirm a different side or a paired-corner arrangement.
Before ordering, have the drawing or quotation identify the screen itself, its operating method, cassette position, guide profile, resulting clear opening and maintenance access. It should make clear which items are supplied together and which are separate options, rather than making a photograph do that work. For an enquiry based on the Bloomcabin Bioclimatic Aluminum Pergola page, include the exact model details and ask for the proposed screen assembly to be named in the response. Check that the quotation and drawing describe the same configuration. Keep the compatibility confirmation, operating instructions and care information together so there is a clear record of what has been agreed.
Draw the deployed and retracted positions
Bring the decisions into a plan view and an elevation for every screened side. Show the frame, mounting surfaces, cassette projection, guide width, floor or threshold, fabric plane and fully retracted position. Add the fully deployed screen and any intermediate position that matters in use. Include nearby doors, windows, wall fittings, seated sightlines and the ordinary circulation route. Label which measurements describe the opening and which describe the hardware, using consistent units throughout. Comparing both positions makes it easier to spot a screen that clears a chair when raised but blocks access when lowered, or a stored case that remains conspicuous from inside.
Use the drawing to check actual use, not simply whether the parts fit between posts. Can people pass, open the adjoining door, reach the screen control and get to the guides for cleaning in each position? If the answer depends on moving a permanent fixture, revise the layout or get an approved alternative before installation. For a scheme based on the wall-mounted pergola, include the house elevation and identify the affected opening on the plan. Date the final drawing and keep it with the pergola specification. If the cassette position or guide profile changes during the enquiry, update both views so the installed assembly can be compared with one consistent, agreed layout.
Frequently asked questions
Are retractable screens compatible with every pergola?
No. Fixing points, opening dimensions, frame configuration and the intended side all matter. Ask for written confirmation for the exact pergola and screen combination. Do not treat a third-party screen as included or supported unless the supplier confirms it.
Where does a screen go when it is retracted?
In a common roller arrangement, the fabric winds into a cassette while the side guides remain in place, but other designs store differently. Ask for a drawing of the retracted assembly, including its case and any rails or end fittings.
How much clearance does a screen cassette need?
There is no universal amount: case dimensions, mounting surfaces and service access vary by system. Use the screen drawing’s full outer dimensions, not just the fabric width, and check how far the cassette projects from the beam or beyond the opening.
Can I add a third-party pergola screen?
Only after confirming that its dimensions and fixing method are suitable for the exact pergola. Ask the supplier or installer to review the proposed cassette, guides and intended side. Do not assume a generic track can be added because its width appears to match.
How should I maintain a retractable pergola screen?
Follow the maintenance instructions for the exact screen. Check how to reach the cassette and guides, and use only the cleaning methods specified for the fabric and components. Do not assume that lubricants, solvents or pressure washing are suitable.
A retractable screen includes both fixed hardware and moving parts, not just a panel of fabric. Even when retracted, its cassette and guides occupy space and may affect the view, usable opening and access for cleaning. A drawing that shows both positions makes those details easier to assess before installation. Pair it with written confirmation for the exact pergola and screen combination, and base the layout on how people use the space rather than assuming the screen will fit or behave like a wall.
