
Timber Window Maintenance: Cleaning, Recoating and Long-Term Care
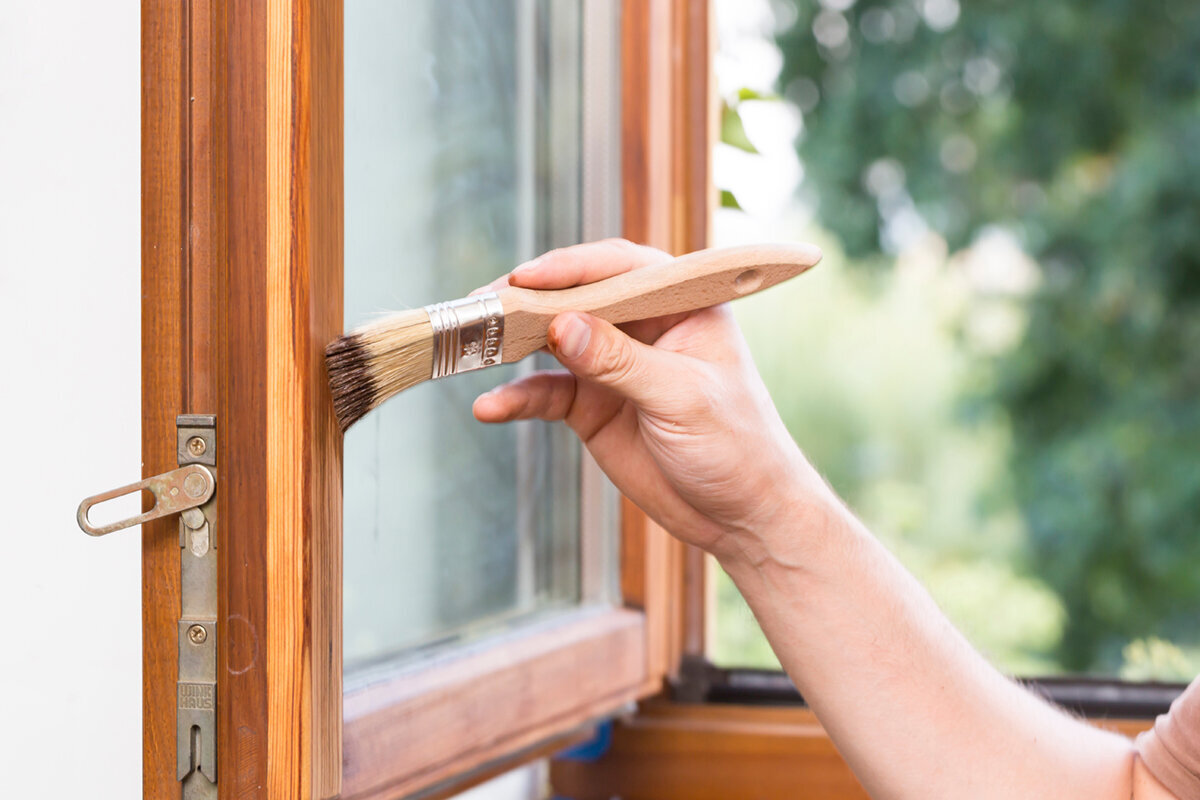
Timber window maintenance
Timber-window maintenance is easier to control when access, other building work and the condition of each opening are considered together. Scaffolding may disappear at the end of a retrofit, planting can obstruct a ground-floor frame, and an outward-opening sash may expose different edges from an inward-opening design. Before arranging cleaning or recoating, record what can be inspected safely and which areas will need professional access. Review the finish, lower edges, glazing perimeter, moving parts and junction with the surrounding wall. Then separate washing, local finish repair, full recoating, hardware adjustment and investigation of moisture into different tasks. That prevents fresh paint from concealing a recurring problem and gives a decorator or window professional a clearer scope. A short, repeatable record is more useful than relying on a universal maintenance interval.
Survey each opening before choosing the work
Choose a dry day with useful daylight and review one elevation at a time. Operate each sash or door normally, then close and latch it. Note rubbing, resistance, loose-feeling handles and changes in the closing line. From safely accessible positions, inspect faces, lower rails, corners, sill areas, glazing perimeters and frame-to-wall junctions. A visible room-side face can look sound while an exposed external edge is deteriorating. Take one wide photograph identifying the opening and close images of individual concerns, using a consistent name such as “rear bedroom left”.
Classify the findings before requesting products or quotations. Dust, pollen and surface film normally belong to cleaning. Dullness, fine cracking, worn corners or visible timber indicate finish care. Sticking and difficult latching suggest an operational review. Recurrent staining, soft fibres, an opening joint or a damp patch needs investigation before recoating. Water may be arriving from an adjacent surface or wider building detail rather than through the painted face. Record the elevation, symptom, date and proposed action so that a contractor receives specific evidence instead of a general report that the paint is failing.
Make safe access part of the maintenance scope
Identify which faces can be reached safely from indoors, which require suitable external access and which should be left to an appropriately qualified professional. Do not lean through an opening, stand on a sill or use a sash for support. A ground-floor bay, a first-floor side window and a roof-level opening may require different methods. Nearby planting, paving, conservatory roofs and rainwater pipes can affect reach and where cleaning water or preparation debris will fall. Allow enough time for washing, drying and inspection instead of compressing every stage into unsuitable weather.
Opening style affects the sequence. With a single-sash outward-opening side-hung window, inspect only those edges safely accessible while the sash is in its normal operating range; do not force it further for reach. Inward-opening units can make some exterior-facing surfaces easier to approach from inside, but hinge-side and lower edges still need controlled access. Ask anyone quoting for the work how glass, hardware and adjoining finishes will be protected, and how all included faces will be reached. A smaller, achievable scope is better than a broad promise that leaves vulnerable edges untreated.
Check the whole opening
Clean timber, glass and hardware separately
Remove loose debris with a soft cloth, brush or suitable low-suction vacuum attachment. Wash timber with clean water and a mild cleaner confirmed as suitable for the existing finish, following its instructions. Work methodically, avoid letting cleaner dry in corners and rinse residues where directed. Let the surface dry before assessing colour or coating continuity. Abrasive pads, sharp scrapers, aggressive solvents and pressure washing can harm finishes, scratch glass, disturb seals or drive water towards joints. If the care guidance permits, test an unfamiliar cleaner on a small discreet area first.
Use glass cleaner on glass rather than as a universal frame cleaner. Keep it away from timber, seals and hardware where practical, and wipe accidental residue promptly. Clean handles and accessible metal components with a dry or lightly damp cloth unless their care information specifies another method. Gently clear loose dirt from accessible ledges and drainage routes without probing seals or dismantling components. On a fixed non-opening window, there are no hinges to check, but its finish, glazing perimeter and sill still experience different patterns of dirt and exposure. Cleaning should reveal the condition, not introduce water into the assembly.
Judge the finish by condition, not a fixed date
No single recoating interval suits every timber window. Orientation, shelter, colour, previous treatment and local exposure all affect how the finish changes. Compare similar openings on different elevations and pay particular attention to horizontal surfaces, lower rails and sharp edges. Look for fading, loss of surface continuity, fine splits, flaking, worn corners or timber becoming visible. One exposed window may need earlier attention while sheltered examples remain serviceable. The purpose of regular inspection is to identify a manageable loss of protection before it becomes a larger preparation or repair task.
Separate an isolated mark from widespread deterioration. A small scuff surrounded by a stable finish may need a compatible local repair, while broad dullness or cracking can justify a wider recoat. Peeling over a damp-looking area requires a different response because covering it may hide the source. Preparation, primer, coating system and drying conditions depend on the existing finish and applicable product instructions. Confirm compatibility with the window supplier, coating manufacturer or a qualified decorator before sanding or applying a new product. Record the product, colour reference, date and openings treated for the next inspection.
Match preparation to the actual condition
Preparation can turn a decorating task into a repair decision. Wash and dry the surface before removing anything, then deal only with loose or unsound material using a method suitable for the coating system. Do not automatically strip stable finishes or round off crisp profiles. Protect hinges, seals, glass and tracks from dust and debris as work proceeds. If sanding or cleaning reveals soft fibres, an open joint, repeated dark staining or timber that will not remain dry, pause the cosmetic work. The cause and repair scope need to be understood before a new finish covers the evidence.
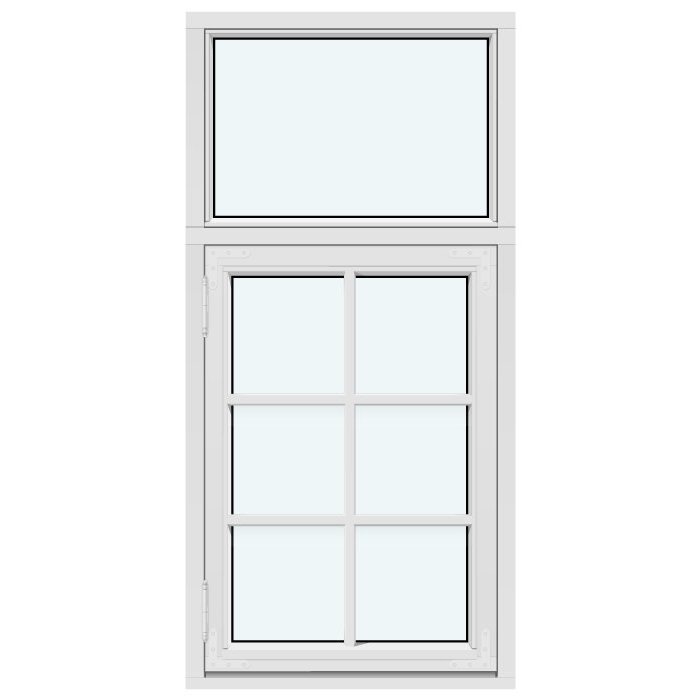
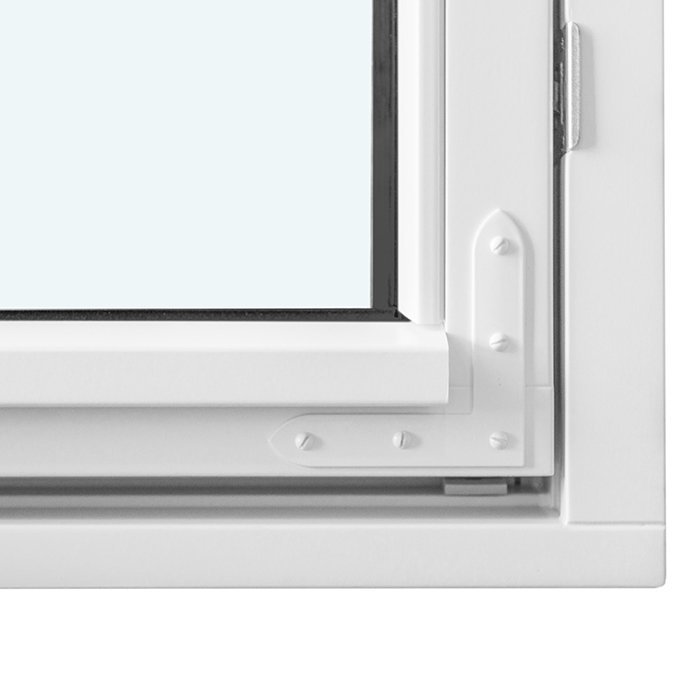
Detailed designs need enough time for their edges, corners and individual elements to be inspected. This matters with a historic-style kombi outward-opening side-hung window, whose combination format should be reviewed component by component rather than treated as one broad face. Ask a decorator to distinguish washing and touch-up, preparation and recoating, and timber or joint repair. These are separate scopes with different consequences. The quotation should also explain protection for glazing, decorative bars, seals, ironmongery and adjoining surfaces. Clear preparation wording makes competing proposals easier to compare and the finished job easier to inspect.
Keep possible water clues visible
Look for debris on lower surfaces, staining below a joint, coating damage concentrated at an edge or a mark that returns after rain. Note whether the pattern affects a single opening or several windows on the same elevation. Visually review nearby elements such as gutters, projecting details, vegetation and surfaces that may create splash, without assuming that any one item is the cause. This is evidence gathering rather than a diagnosis. Recoating may improve appearance, but it should not replace assessment where wetting, staining or local deterioration repeatedly returns.
Large glazed and sliding openings need a distinct housekeeping check because tracks and threshold zones can collect grit. For a Patio Life side-sliding patio door, follow its care information for accessible track and drainage areas, removing loose debris without using tools that might harm seals or moving components. Treat the timber finish, glass and running mechanism as separate maintenance items. If movement becomes difficult, water remains unexpectedly or staining returns, photograph the precise location and obtain competent advice. Applying lubricant, sealant or coating without identifying the affected component can obscure the problem or create another maintenance issue.
Check the whole opening
Review operation without coating moving parts
A window can require finish care and operational attention at the same time. Open and close it periodically so that changes are noticed early. Wipe accessible hinges, handles and locking points, then use only care products specified for that hardware. Excess oil or an unsuitable spray can attract grit, reach the timber coating or affect nearby seals. Do not paint hinges, catches, locking plates or moving contact surfaces. If a sash suddenly rubs, needs lifting to latch or no longer holds its expected position, avoid forcing it. Continued pressure can damage both hardware and the surrounding finish.
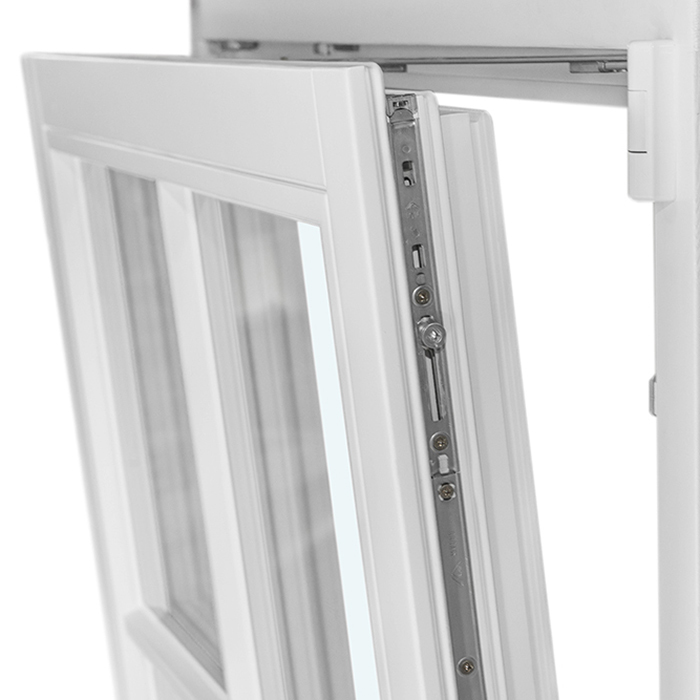
With a single-sash inward-opening window, inspect the room-facing surface, accessible exterior-facing surface, hinge side and closing edge in a deliberate order. Look for rubbed coating at contact points, then close the sash and check whether the line appears even. Mark and photograph a recurring rub instead of immediately sanding it away, as the contact may reflect an adjustment issue. On windows with several sashes, test each one separately before operating them together. If adjustment is required, use someone familiar with the opening type and its hardware rather than experimenting with screws or settings.
Inspect glazing edges, bars and seals carefully
The narrow line where glass meets the frame is an important inspection area. After cleaning, look for trapped dirt, a break in the nearby finish, movement in a surrounding detail or a local mark that returns after wet weather. Do not pick at seals, cut away material or bridge an unknown edge detail with coating. Clean glass with non-scratching tools and maintain the adjoining timber according to its own finish guidance. If the construction of a glazing edge is unclear, photograph it and ask the supplier or an experienced professional before using a filler, sealant or coating product.
Divided window layouts create more corners and transitions to inspect. On a two-sash outward-opening side-hung window, check each sash perimeter and the central meeting area, taking care not to leave cleaning residue in narrow details. Treat decorative bars according to their actual construction and the relevant care information; a visible division does not reveal how it is made or attached. For major refurbishment or replacement discussions, retain photographs of the existing sightlines and bar arrangement. Appearance can then be reviewed alongside practical questions about access, cleaning and the number of edges that future maintenance will involve.
Coordinate recoating with the wider building programme
If insulation work, external decoration, gutter repairs or landscaping is planned, sequence the trades so that dust, mortar splashes, tapes or knocks do not damage a newly finished frame. Agree who protects the windows and who removes that protection. A recoat scope should identify the starting condition, preparation boundaries, proposed coating system and response to unsuitable drying weather. It should also list exclusions, such as concealed timber repair, access beyond the agreed method or investigation of suspected water entry. These details prevent a maintenance quotation from becoming ambiguous after preparation starts.
Daily use makes entrance-door timing particularly important. Panelled entrance doors with outward opening may require finish inspection alongside separate checks of the handle area, lower edges and threshold zone. Plan coating work for a period when the entrance can be protected and used only as permitted by the product instructions, rather than rushing between household activities. Ask when masking can be removed and when the finish may be touched or closed against adjoining surfaces. On a larger project, give the maintenance specification to both installer and decorator so that incompatible products are not applied by different trades.
Know when routine care has reached its limit
Seek a qualified assessment if timber feels soft, a joint opens, dampness or staining returns, glazing-edge details appear compromised or an opening cannot be operated normally. Also pause when the previous coating is unknown, since unsuitable preparation or incompatible products may create further work. A professional can separate cleaning, finish repair, hardware adjustment, timber repair and investigation of the surrounding construction. Supply dated photographs, elevation details, notes about operation and any past product information. This evidence helps the visit focus on the specific concern rather than turning immediately into a discussion about colour or wholesale replacement.
Replacement is an alternative, not the automatic response to a worn finish. If a broader project is already considering new units, an outward-opening Passive House window with super-low Uw is a named configuration that must be assessed against the complete opening, installation design and project specification; its title alone does not establish suitability. Ask for repair and replacement proposals to be separated, with the observed condition behind each recommendation. Bloomcabin windows and doors have a 5-year warranty, and delivery is 4–6 weeks subject to order confirmation. For existing units, their own order documents and care guidance remain the correct maintenance starting point.
Frequently asked questions
How often should timber windows be cleaned?
Use condition and exposure rather than one rigid calendar date. Clean when dirt, pollen, insect residue or other deposits are accumulating, and inspect the finish at the same time. Exposed elevations may need attention sooner than sheltered ones. Use a method compatible with the existing finish and assess it only after drying.
Can I repaint over a small crack in the coating?
First clean, dry and inspect the area. An isolated crack may be a local finish defect, but repeated cracking, staining, soft timber or an opening joint needs further assessment. Confirm the required preparation and compatibility of any repair coating with the supplier, coating manufacturer or a qualified decorator before applying it.
Should I pressure-wash timber window frames?
Do not assume pressure washing is suitable. It can damage a coating, disturb seals or direct water towards joints, making the original condition harder to interpret. A soft cloth or brush, clean water and a mild compatible cleaner provide a more controlled starting point. Follow the care guidance for the particular finish.
What should I photograph during an inspection?
Take one wide image that identifies the opening, followed by close views of worn edges, cracks, stains, joints, glazing perimeters and recurring damp-looking areas. Include relevant nearby details where safe and practical. Add the date, elevation and a note about operation so later inspections can make a meaningful comparison.
Can one maintenance plan cover windows and patio doors?
Yes, but use it as a framework rather than an identical checklist. All timber surfaces need suitable cleaning and finish inspection. Doors also have frequent-contact areas, thresholds and hardware, while sliding products include tracks and running components. Record each opening type separately and use its own care information for specific products and procedures.
Next steps
Effective timber-window care follows a controlled sequence: arrange safe access, clean gently, inspect the dry finish and choose an action proportionate to the evidence. Keep coating work separate from hardware adjustment, timber repair and investigation of recurring moisture. Coordinate maintenance with other retrofit or decorating work so that newly treated surfaces are not damaged by later trades. A brief opening-by-opening record, including dated photographs and products used, makes future comparisons more reliable. It also gives decorators, suppliers and qualified professionals a clearer basis for scoping work when routine cleaning and recoating are no longer enough.
