
What Should a Complete Greenhouse Kit Include?
A greenhouse can look complete in a product image yet leave important choices unresolved. This guide explains what should be supplied in a greenhouse kit, what commonly remains optional, and how to build a sensible equipment list before you place an order.
The useful question is not simply whether a greenhouse is supplied as a kit. It is whether the kit gives you a clearly defined structure that can be installed safely and then used as intended. Frames, glazing, doors, roof vents, fixings and base arrangements all deserve a line-by-line check. So do the practical items that turn an attractive shell into a workable growing space.
British gardens bring particular considerations: exposed positions, uneven ground, narrow side access, boundary walls and changing temperatures across the year. A specification that suits a sheltered patio may need adjusting for an open plot. Thinking through siting, access, ventilation and water before purchase is usually more helpful than adding accessories after the greenhouse has been installed.
This is a kit-content checklist rather than a guide to judging competing quotations. Use it to establish the ingredients you need, then ask suppliers to state precisely what is included, what is excluded and which elements depend on the chosen size or configuration. That makes it much easier to compare like with like without making assumptions from photographs.
Start with the shell · 01
The structural kit should be unambiguous
The core of any greenhouse kit is its load-bearing frame, supplied in the stated dimensions, profile finish and layout. Read the product description for the roof form, eaves, ridge, door position and any panels that vary by size. A complete structural list should make clear which frame members, brackets, trims and connection pieces arrive with the greenhouse, so installers are not left to improvise essential joins.
Glazing belongs in the core specification too, but it should be described rather than assumed. Check the glazing material selected for your configuration, which panels fit where, and how they are retained in the frame. Also look for details of seals, cappings or clips where relevant. These small components influence the quality of the completed enclosure and are easy to overlook when concentrating on the overall footprint.
- Ask for a component schedule that separates permanent structural parts from accessories, upgrades and site-preparation items before you commit to a layout.
- Check that the stated dimensions suit both the growing area you want and the practical route for carrying components into position.
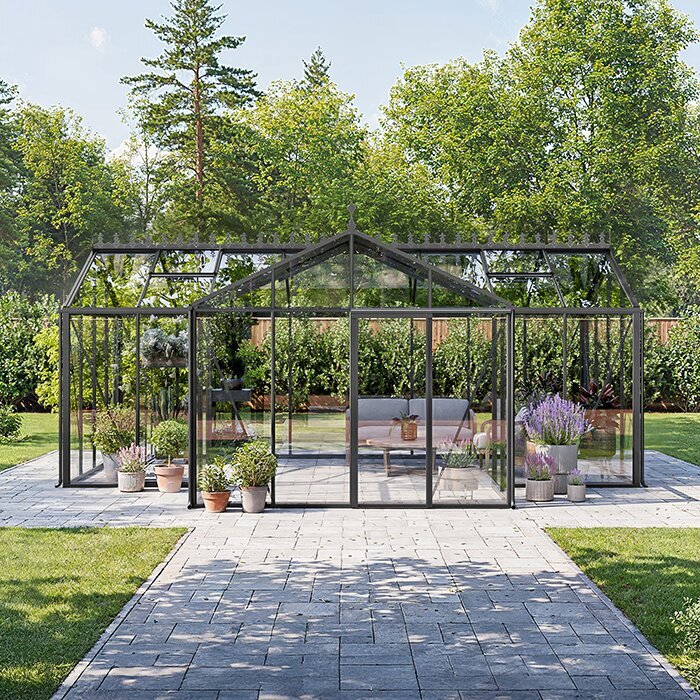
For a freestanding starting point, explore a standard Classic greenhouse kit with the chosen frame and glazing arrangement clearly defined.
Access and placement · 02
Doors, foundations and fixing points matter
A door is not a decorative finishing touch: it determines how comfortably you can enter with trays, pots and a wheelbarrow-sized load. Confirm the opening arrangement, handles, hinges, threshold details and any required clearance in front of it. Think about daily use in wet weather too. A door that opens into a cramped path or against planting can make a well-proportioned greenhouse frustrating to use.
The greenhouse needs a prepared, level base that suits both the model and the ground conditions. Some kits include a dedicated base component; others require a separately planned foundation or mounting solution. Do not treat those approaches as interchangeable. Ask what is needed for anchoring and where fixings sit, then decide whether a professional groundworks contractor is appropriate for your site and chosen construction.
- Measure approach paths, gates and corners as well as the finished footprint; long frame parts and glazing need a realistic carrying route.
- Keep drainage in mind when choosing the level and surrounding surface, particularly beside lawns, beds or a wall that sheds water.
Where a wall-side position makes sense, consider a full-size regular Lean-To greenhouse and plan the door swing, base and approach route together.
A growing climate · 03
Ventilation should be part of the kit conversation
Greenhouses warm quickly when the sun appears, even on a mild British day. Roof vents, side ventilation where offered, and the door all contribute to air movement. Establish how many vents are supplied with the selected size, where they are positioned and whether any extra vents can be added. A larger space or sunny site may call for a more deliberate ventilation plan than a compact, shaded corner.
Vent operation is another distinction worth making early. Manual vents may suit a greenhouse you visit frequently, while automatic openers can be considered where conditions change during the day and regular attendance is not always possible. Neither choice removes the need to observe the plants and seasonal conditions. Instead, select a combination that fits your routine, crop choices and the amount of sun the site receives.
- Map the sun across spring and summer, noting nearby fences, trees and buildings that may create shade or restrict airflow.
- List ventilation components separately from shading, since reducing direct sun and exchanging warm air solve different growing problems.
A standard Classic greenhouse with roof ventilation can provide a straightforward basis for tailoring day-to-day air management.
Water and rain · 04
Plan water handling before fitting out
A kit may include roof guttering, downpipes or rainwater collection options, but the exact provision should be checked for the selected greenhouse. Ask where water exits the roof and where a water butt, drain or soakaway could sensibly sit. Avoid placing storage where it obstructs a door, access path or maintenance point. Water management is easier to arrange before staging and pots fill the interior.
Inside, decide how you will get water to plants at their busiest. A watering can is flexible, but an irrigation layout may be preferable for a larger collection or periods away from home. This is normally an accessory and needs its own thought about supply, timers, routing and drainage. Keep hoses and pipes tidy and accessible, rather than allowing them to become trip hazards across the entrance or working area.
- Check whether guttering and downpipes are included for your chosen configuration, then plan their discharge point before installation begins.
- Choose a watering method that matches how often you can check plants, especially during hot spells and holiday periods.
A full-size regular Lean-To greenhouse beside a water source can simplify everyday watering, provided drainage and wall-side details are planned carefully.
Workable interior · 05
Staging turns space into a useful greenhouse
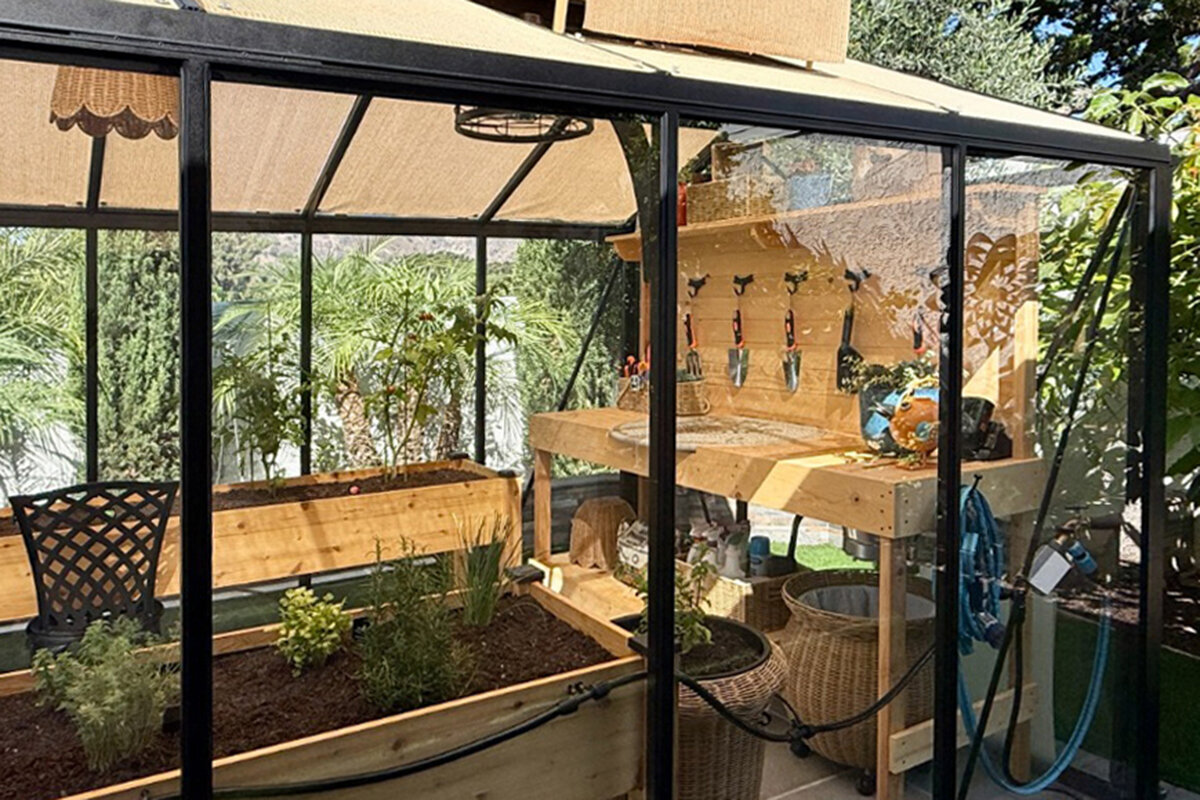
Staging, benches and shelving are often among the most valuable greenhouse accessories, yet they are rarely universal requirements. First decide what must happen inside: sowing seeds, potting on, storing trays, displaying plants or simply tending larger containers. A broad work surface is useful for propagation, while narrow shelving can preserve circulation. Leave enough clear floor space to turn, kneel and carry watering equipment without brushing foliage.
Choose materials and layout with cleaning, light and watering in mind. Open shelving can keep the space visually light and allow airflow around pots, while solid worktops may suit messy potting tasks. Position taller storage where it will not shade your main growing area. Freestanding furniture also gives you flexibility to rearrange the interior as your planting habits change through the seasons.
- Sketch benches and paths to scale, including the space needed for a chair, seed trays and a bucket beside the work surface.
- Reserve the brightest positions for plants rather than filling every glazed side with shelving or stored garden equipment.
A standard Classic greenhouse for staging layouts offers a flexible freestanding interior to organise around your preferred growing routine.
Light and protection · 06
Specify shade, heating and power separately
Shading is an active choice, not a one-size-fits-all attachment. Consider which elevations receive the strongest sun, when that happens, and which plants will occupy the space. Internal blinds, shade netting and temporary seasonal solutions each affect light differently. The most suitable option should be easy to use and should not prevent you opening vents or accessing plants when conditions demand attention.
If you hope to extend the season, heating and electrical equipment deserve careful planning rather than a last-minute purchase. Determine what power source is appropriate, whether qualified electrical work is needed, and how equipment will be kept clear of water and combustible materials. A greenhouse can still be highly useful without heating; make the decision according to the plants you intend to grow and the level of supervision you can provide.
- Select shading after observing the site, because a greenhouse shaded by mature trees has different needs from one facing open afternoon sun.
- Discuss any electrical installation with a suitably qualified professional and check that equipment instructions suit the intended greenhouse environment.
For a wall-side growing space, a full-size regular Lean-To greenhouse for seasonal shade lets you consider the building’s existing shade pattern alongside your accessory choices.
Finish and maintenance · 07
Small fittings support long-term use
A greenhouse kit should identify its visible finish and the fittings that complete the enclosure, including door furniture, glazing retainers and any roof or gutter components specified for the model. Before ordering, consider how the colour will sit against brick, timber fencing or planting, but do not make appearance the only criterion. You will also want practical access to panels, gutters and vents for seasonal cleaning and routine checks.
A sensible maintenance plan begins with knowing what parts can be inspected and adjusted. Keep the manufacturer’s assembly information and spare-parts details somewhere accessible after installation. From time to time, check fixings, moving hardware, drainage routes and the condition of seals or retaining pieces according to the supplied guidance. Addressing a loose fitting early is generally simpler than waiting until it affects normal use.
- Keep a labelled record of the chosen configuration, finish and accessories so replacement enquiries are based on accurate information.
- Build clearance for cleaning into the siting plan; dense shrubs pressed against glazing can obstruct maintenance and reduce usable light.
Choose a standard Classic greenhouse in your preferred colour only after confirming the practical fittings and maintenance access that support everyday ownership.
The real scope · 08
Separate the kit from installation costs
A greenhouse purchase can involve more than the packaged components. Ground clearance, levelling, base construction, installation labour, electrical work, water connections and landscaping may all sit outside the structural kit. List these separately when setting your budget. That way, an apparently complete greenhouse is assessed as a complete project, with site work and finishing decisions visible rather than unexpectedly deferred.
It is also worth identifying which choices are genuinely optional and which are necessary for your intended use. A water butt may wait until later; a sound foundation cannot. Staging can be added gradually; adequate ventilation should be resolved at the specification stage. Ask for a current quotation that distinguishes the greenhouse, selected accessories and any available installation-related services, then confirm scope in writing before proceeding.
- Create two columns: essential before installation and useful after installation. This prevents accessories from distracting from base, anchoring and access decisions.
- Check planning and property considerations with your relevant local authority where appropriate, and ask your insurer whether you need to notify them.
When scoping the whole project, a full-size regular Lean-To greenhouse installation should account for the supporting wall, ground preparation and every selected accessory.
Comparison
What belongs in the kit, and what needs a separate decision?
Use this table as a prompt when reading a specification. Inclusion can vary by model and configuration, so it is not a substitute for the current product details. The important point is to distinguish the enclosed structure from equipment, preparation and services selected for your particular garden.
| Component | Why it matters | What to clarify |
|---|---|---|
| Frame and connections | Form the greenhouse structure | Profile, finish, dimensions and structural fittings supplied |
| Glazing and retainers | Enclose the growing space | Material, panel positions, seals and retaining method |
| Door and hardware | Controls access and everyday use | Opening arrangement, furniture, threshold and clearance needed |
| Ventilation components | Helps manage internal conditions | Number, locations, operation and optional additions |
| Base and anchoring | Supports stable installation | Included base parts, foundation requirements and fixing points |
Included structure
Confirm the frame, glazing, door, ventilation components and their specified fittings, rather than assuming every visible feature in an image belongs to the chosen kit.
Site-ready essentials
Establish who is responsible for ground preparation, the base and anchoring. A sound installation starts with a level, suitable support beneath the greenhouse.
Useful extras
Prioritise accessories around your routine: work surfaces for propagation, shade for sunny aspects, watering for regular care and storage for tools kept close at hand.
Plan your kit in five practical steps
A short planning sequence makes it easier to choose only the equipment that earns its place. Begin with the site and intended use, then move from essential building components to accessories and services.
01
Measure the site
Record footprint, height, boundary clearance, sun, drainage and access from delivery point to final position. Include space to open the door and clean external glazing.
02
Define your growing routine
Decide whether you will sow, pot, grow edible crops, overwinter plants or display specimens. This determines the value of staging, shelves, heating and watering equipment.
03
Confirm the core specification
Check frame, glazing, door, vents, fixings, guttering and base requirements for the exact configuration. Mark every item as included, optional or arranged independently.
04
Design the interior
Lay out paths, work surfaces, pots and storage before buying furniture. Protect ventilation routes and reserve bright positions for plants rather than clutter.
05
Cost the whole project
Seek a current itemised quotation and separately allow for ground preparation, installation, utilities and finishing work. Check relevant local requirements before work starts.
Complete greenhouse kit checklist
Take this list to product pages, conversations and your own site survey. It is designed to reveal missing decisions before they become awkward or costly to resolve.
01. Frame dimensions, roof shape, colour and all named structural connection components are clearly specified for your selected configuration.
02. Glazing material, panel layout and every retention or sealing component are described rather than left to product photography.
03. Door location, opening clearance, handle and threshold details work with the garden path and your normal equipment.
04. Roof vents and other ventilation elements are listed, including their quantity, position and whether operation accessories are selected separately.
05. The base approach, ground preparation and anchoring requirements are understood before the greenhouse is scheduled for installation.
06. Guttering, downpipes and a sensible destination for roof water are planned without blocking access or maintenance space.
07. Staging, shelving, shading and irrigation are chosen around actual plants and tasks, not added simply to fill space.
08. Installation scope, electrical work, water connections and relevant local authority or insurer checks have been considered separately from the kit.
Frequently asked questions
Does a complete greenhouse kit always include a base?
Not necessarily. A product may have a supplied base component, a compatible option or a requirement for a separately prepared foundation. Check the specification for the exact model and ask how it is intended to be anchored. Your ground conditions and installation method will determine what preparation is suitable.
Are shelves and staging normally included?
They are commonly treated as accessories because interior needs vary greatly. Some gardeners need broad potting benches, while others want open floor space for large containers. Decide on your growing tasks first, then choose staging dimensions and placement that preserve a safe, workable route through the greenhouse.
How many roof vents do I need?
There is no universal number that fits every garden. Size, orientation, exposure, planting density and how regularly you can attend the greenhouse all matter. Confirm the vents supplied with your selected configuration, then consider whether additional ventilation or automatic openers suit the way you will use it.
Should I buy heating with my greenhouse?
Only if it supports a clear planting aim and can be installed and supervised appropriately. Heating may help with certain seasonal plans, but it introduces equipment, power and safety considerations. Review the equipment instructions, plan its position carefully and obtain professional advice for any electrical work required.
Can I add accessories later?
Many accessories can be introduced after installation, particularly staging, shelves, shading and watering equipment. It is wiser, however, to settle decisions that affect the structure or site early, including the base, anchoring, ventilation provision, door clearance and rainwater route. Check compatibility before purchasing later additions.
Do I need permission or to tell my insurer?
Requirements can depend on the property, location, dimensions, siting and policy terms. Check with the relevant local authority if you are unsure about planning or building-related requirements, and contact your insurer to understand whether notification affects your cover. Keep written records of any advice you receive.
Explore greenhouse configurations
Build your list from essentials outward
The best greenhouse kit is not the one with the longest accessory list. It is the one whose structural contents are clearly stated and whose remaining choices suit the garden, the growing plan and the way you will look after it. Start with frame, glazing, access, ventilation and a sound installation approach before turning to interior comforts.
Once those foundations are clear, equipment becomes easier to choose with confidence. Make a written list of included parts, optional additions and site work, then use a current Bloomcabin quotation to confirm the configuration you are considering. A careful checklist now creates a greenhouse that is easier to install, organise and enjoy.
Find the greenhouse format that suits your site, then refine the equipment list around how you intend to grow.
