
When to Replace Windows During Renovation Work
Renovation planning guide
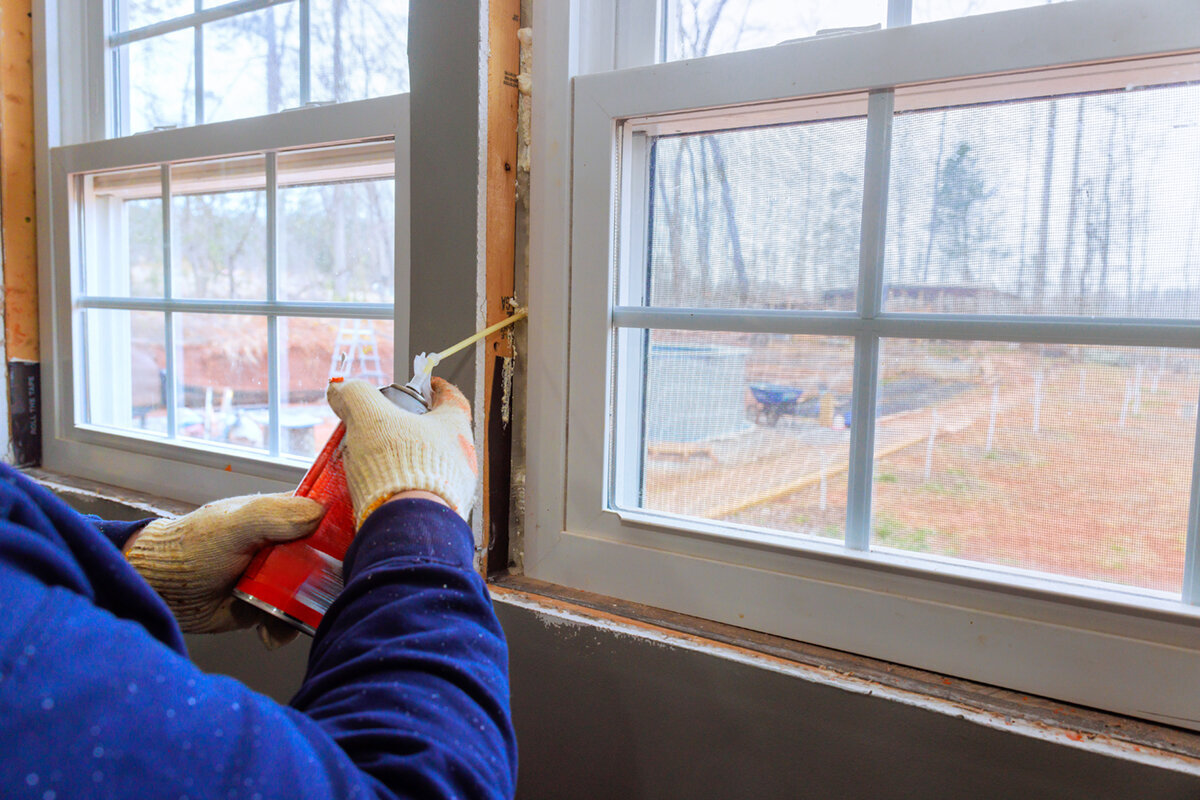
A replacement window is easiest to fit when the surrounding wall is still accessible, yet a renovation rarely follows one neat line from strip-out to decoration. Insulation may change the wall build-up, plasterers may need a stable internal return, and cladding teams may need the frame position fixed before they can form tidy reveals. The practical question is not simply whether windows come “before” or “after” the other trades. It is when each opening is sufficiently understood to install the frame, connect it to the intended wall layers and protect it from later work. A good sequence starts with a survey of every opening and ends only when interior and exterior interfaces have been made good. This guide helps you choose the stage, identify trade-offs and brief the people sharing responsibility for the junctions.
01 / Survey the openings
Start with the wall strategy, not the fitting date
Put the proposed sequence aside until you know what is changing at each elevation. A straightforward like-for-like replacement in a sound opening is different from an alteration involving repaired masonry, a deeper internal lining, external insulation or new cladding. Create an opening schedule with room, elevation, opening size, intended window operation, existing defects and proposed finished wall faces. Include doors: their threshold level and access route can govern the work around them. This schedule lets the surveyor, installer, insulation contractor and plasterer discuss the same locations rather than making general assumptions about the house. It also reveals where one room can be completed while another remains open for wider building work.
The essential decision is the intended position of the frame within the finished wall construction. If insulation will alter the depth of the reveal, fitting a window first without agreeing that position can create awkward returns or leave a later trade trying to bridge an avoidable gap. Conversely, delaying replacement until all wall finishes are complete can mean cutting back freshly finished surfaces to expose a fixing and sealing zone. Ask for a section drawing or a marked-up site sketch for each wall type. It should show the existing structure, insulation where proposed, frame, internal finish, external finish and sill. It need not prescribe a universal detail; it gives the project team a common reference for the actual wall.
Survey openings before insulation hides their condition
Insulation should not be used to disguise uncertainty around an opening. Before any layer covers the area, inspect the sill zone, reveals, lintel area and the surface that will support the installation. Record uneven masonry, movement cracks, decayed timber, damp staining, redundant fittings and services that could affect removal. The purpose is not to diagnose every issue from appearance alone; it is to decide what needs investigation or repair before a new frame arrives. Measurements also need to be tied to the prepared opening, not merely to the visible old frame. An apparently regular internal reveal can conceal a different condition further out in the wall.
Where internal insulation is planned, decide whether it stops short of the opening until the new unit is in place or whether a planned return will be formed later. The answer affects access, protection and the finished reveal depth. Where external insulation is proposed, establish how it meets the frame and what happens at the sill and head before the boards or render system closes the edge. A fixed non-opening window can simplify the question of sash clearance, but it does not remove the need to coordinate its perimeter with the wall layers. Confirm the survey dimensions, finished floor relationship and proposed frame line after any opening repairs, not simply at the first visit.
02 / Agree wall build-ups
Fit before final plastering where internal returns matter
Final plastering is usually best held back around a replacement opening until the frame has been installed and the internal junction can be completed. This avoids breaking a new finish during removal, allows the installer to work to the real reveal and leaves the plasterer with a defined edge. It is particularly helpful when old plaster is fragile or when the new unit sits differently from the old one. Agree the boundary: will the installer leave a prepared internal perimeter, will another trade form the reveal, and who supplies or fits the final trim if one is used? “Making good” is too vague unless it identifies the extent and finish expected in each room.
Do not confuse a temporary internal repair with a final decorated surface. In an occupied home, a staged approach may keep dust and weather exposure manageable: remove and replace one room or elevation at a time, protect the new frame, then complete the local internal finish once the junction is ready. Inward-opening windows deserve an early room check because furniture, blinds, radiators and finished window boards can restrict the sash after plaster thickness changes. A single-sash inward-opening window is a named opening arrangement, so ask the designer or installer to verify the actual clearances and practical use at the proposed location before the surrounding finishes are set.
Treat external cladding as a frame-interface decision
New cladding should normally be planned around the installed frame rather than treated as a surface that can simply be cut back later. The cladding contractor needs a confirmed reveal depth, head treatment, side junctions and sill relationship. Installing cladding first may protect the building temporarily, but it can make later removal more disruptive and leave awkward edges around the replacement unit. Installing windows first without agreeing the cladding line has the opposite risk: the frame can appear recessed or exposed in a way nobody intended. The solution is coordination, not an assumed universal order. Review one representative opening on site before the full elevation progresses.
Cladding also affects practical access. Outward-opening sashes need a clear arc outside after trims, pipes, lights, railings and planting are considered. A wide opening may be appealing at a garden-facing room, but temporary scaffolding and later cladding work can complicate how it is protected and used during renovation. If a large opening is part of the plan, identify whether the frame will be installed before or after heavy materials are moved through the building; do not assume it can remain an access route indefinitely. A set of outward-opening bifold doors should therefore be discussed alongside the intended external finish and exterior clearance, not selected solely from the internal layout.
03 / Fit frames and doors
Choose the right moment for external insulation
External insulation can make the replacement-window sequence more forgiving only when the team has agreed how it will return to the frame and how the wall face will finish. A useful working order is to repair and prepare the opening, establish the frame position, install the window, then bring the insulation and finish to the planned junction. This keeps the perimeter visible while the critical work is done. It does not mean every external insulation system follows one detail, nor that one trade should make decisions for another. The relevant qualified professionals should establish a project-specific approach appropriate to the existing wall and chosen system.
A later window installation may be reasonable in a carefully staged scheme where temporary protection is needed first, but it should be an explicit plan. Ask how much insulation or finish will be omitted at each opening, how it will be weather-protected, what will be removed later and who reinstates it. This is especially important where a high-performance window is being considered: the outward-opening passive house window with super-low Uw title describes a particular product configuration, but the outcome at the wall depends on the whole installation and surrounding construction. Request the product information and proposed junction approach early enough to resolve them before insulation coverage begins.
Keep sills, thresholds and drainage routes visible
The lower edge of an opening is often where a late change causes the most rework. Window boards, plaster depth, external sill level, paving and door thresholds all meet there, sometimes with little tolerance for adjustment. Before fitting, establish the existing substrate, the desired internal level and the external finish level. Do not allow a new external surface, such as paving or decking, to dictate the frame position after the unit is ordered. The installer and relevant trades need to know where the finished surfaces will land so they can plan the sill and threshold junction rather than leave it to a last-minute trim.
Patio doors require an even broader conversation because the opening connects internal use with external access. Confirm the intended floor build-up inside, the external surface outside, movement of furniture during works and the point at which the opening must become secure and weather-tight. A Patio Life side-sliding patio door may be an alternative where the layout favours sliding rather than a swinging leaf, but its selection still needs to be coordinated with the completed threshold area. Keep wet trades and abrasive exterior works away from unprotected new components, and agree who is responsible for cleaning and checking the unit after adjacent work is finished.
04 / Complete finishes
Plan operation, ventilation and future access before finishes
Operation affects sequencing because it determines what must remain clear when the job is complete. Mark sash swing, handles, blinds, curtains, radiators, furniture, external lights and any proposed cladding features on the room and elevation drawings. A window can be physically installed yet become inconvenient if a later window board, blind recess or external fitting conflicts with the way it opens. For upper floors, also ask how cleaning and future access will be approached. These are design and use questions, not assumptions that can be settled after plastering and decorating have fixed the available space.
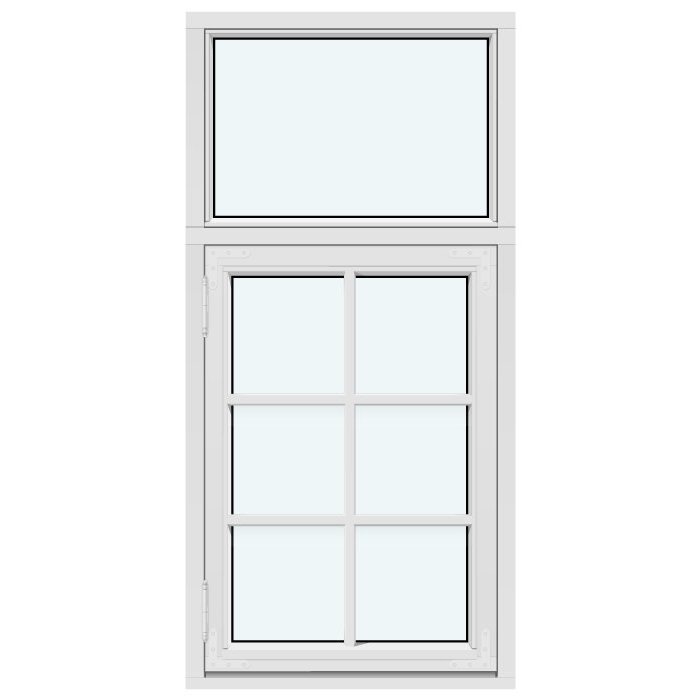
An opening sash and a fixed pane can be combined where the brief calls for view, daylight and controllable opening in different parts of the same elevation. The supplied Kombi combination window is one configuration to consider when discussing that arrangement. Its presence in a plan should prompt questions about sightlines, which part is intended to open, whether the dividing arrangement suits the façade and how internal finishes will meet each element. Set out these choices before cladding or plastering creates edges that are costly to alter. The product title alone does not determine suitability, ventilation performance or the detail required for a particular project.
Use a sample opening to settle the handovers
On a multi-window renovation, one representative opening can prevent the same unresolved issue appearing across the property. Choose a location with the typical wall build-up, reveal condition and finish. Walk through removal, substrate preparation, frame placement, perimeter connection, insulation return, internal finish, external finish and protection. Photograph the agreed stages and add notes to the scope. The sample is not a substitute for checking unusual openings, but it exposes practical questions while changes are contained. It is also the right time to compare the visual effect of frame position against the external face and internal reveal rather than relying on a verbal description.
Name an owner for each task. The window installer may prepare and fit the unit, while a builder repairs the opening, an insulation team continues the wall layer, a plasterer finishes internally and a cladding contractor completes externally. Make clear who supplies ancillary materials, who removes temporary protection, who returns after another trade and who signs off visible damage. Include what happens if the discovered opening differs from the survey. Without this, a gap between scopes can turn into delay or an improvised finish. The sample-opening record should travel with the site schedule so that every elevation is judged against the agreed approach rather than memory.
05 / Inspect and hand over
Order only after dimensions and finishes are stable
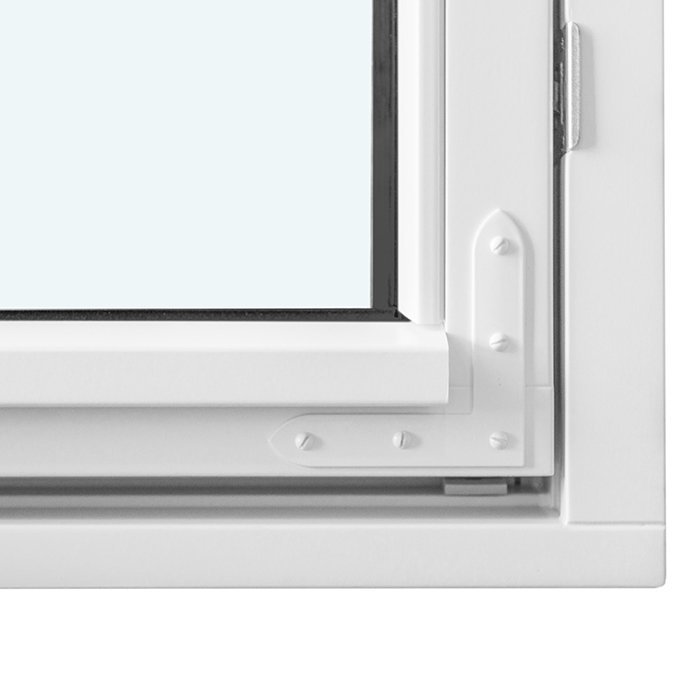
Ordering should follow confirmation of the prepared opening concept, not precede it. Re-check dimensions after demolition or repairs where existing construction was uncertain, then verify handing, opening direction, frame appearance, glazing-bar layout where applicable and the relationship to the finished internal and external faces. Traditional-looking replacements deserve particular care because changing reveal depth or cladding thickness can alter the proportions seen from outside. A historic-style Kombi outward-opening side-hung window may suit a design discussion about traditional appearance and operation, but final selection should be checked against the actual opening and façade composition rather than an isolated product image.
Build realistic decision time into the programme. Bloomcabin windows and doors have a 5-year warranty. Delivery is typically 4–6 weeks, subject to order confirmation. Those confirmed business facts are useful for scheduling, but they do not replace the need to hold final dimensions until the interfaces are understood. Avoid starting irreversible plaster, cladding or trim work on the assumption that a unit will solve an unresolved wall detail. If the renovation includes structural changes, unusual openings or a significant alteration to the building envelope, seek project-specific input from the appropriate qualified professionals before ordering materials.
Protect new units while the renovation continues
Early installation can protect the building from weather and make internal work more comfortable, but it also puts finished products into an active site. Agree a protection plan before fitting: which trades will work nearby, where materials will be carried, how dust and wet work will be controlled, and when protective coverings can safely be removed. Avoid assuming that a cover makes all later activity harmless. Abrasive dust, plaster splashes, paint, knocks from boards and repeated opening during material handling all need active site management. Inspect frames, glass, hardware and visible seals at handover and again before final completion, when adjacent finishes are complete.
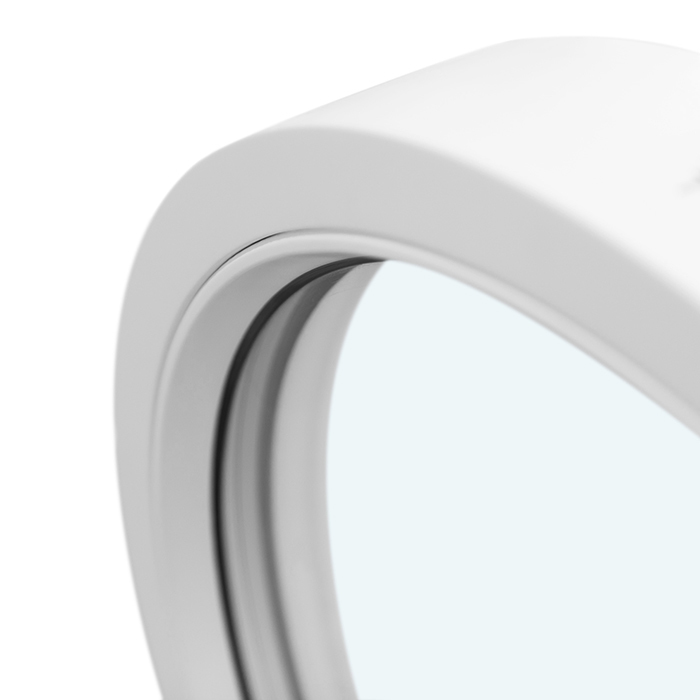
Staging can be the sensible alternative to replacing every window on day one. For example, work through the weather-exposed elevation first, then move room by room after each surrounding interface is ready. A round fixed window may be planned as a distinctive feature, yet its shape makes the accuracy of the prepared opening and the finished reveal especially apparent; leave enough access to form the perimeter carefully. Keep a simple issue log for each opening, recording damage, outstanding making good, missing trims and any change agreed on site. Final decoration should follow, not conceal, that review.
Common questions
Should windows be replaced before internal insulation?
Usually, decide the frame position and junction with the proposed internal insulation before either is finalised. The window is often fitted before the final insulation return and plaster finish so the perimeter remains accessible. A staged alternative can work if the temporary edge, later removal and reinstatement responsibilities are written into the project scope.
Can I install cladding before replacement windows?
It can be possible in a planned sequence, but cladding installed first may need to be cut back for later replacement. More commonly, the opening is prepared, the frame position is confirmed, the window is installed and cladding is brought to the agreed reveal. Review a sample detail before committing the whole elevation.
When should plastering take place around new windows?
Hold back final plastering at the opening until the replacement frame and internal perimeter approach are known. This reduces the risk of damaging a new finish during removal and allows the reveal to meet the actual frame. Agree whether the installer, plasterer or another contractor completes each part of the internal making good.
What should be checked before ordering replacement windows?
Confirm prepared-opening dimensions, handing, opening direction, frame position relative to finished wall faces, sill or threshold levels, internal finishes and external cladding or insulation interfaces. Also check operating clearance, access for installation and protection during later work. Record variations between elevations rather than treating every existing opening as identical.
Do doors need a different sequence from windows?
Often, yes. A patio or entrance door affects access, floor levels and the external surface more directly than a typical window. Decide when it stops being a route for moving materials, then confirm threshold and finished-surface relationships before installation. Protect it carefully if other trades must continue working nearby after fitting.
What to do next
The best time to replace windows is the point at which the opening has been inspected and repaired, the finished wall build-up is agreed and the perimeter can still be reached from inside and outside. For many renovations, that is before final plastering, cladding, trims and decoration, not necessarily before every other task. Map each opening, resolve frame position and sill or threshold levels, test one representative detail and assign every handover to a named trade. Where the work goes beyond straightforward replacement, obtain project-specific advice from the appropriate qualified professionals. Then place the order only when the measured opening and the surrounding finishes are stable enough to support a durable, coherent result.
