
Window and Door Delivery Checklist
Project delivery guide
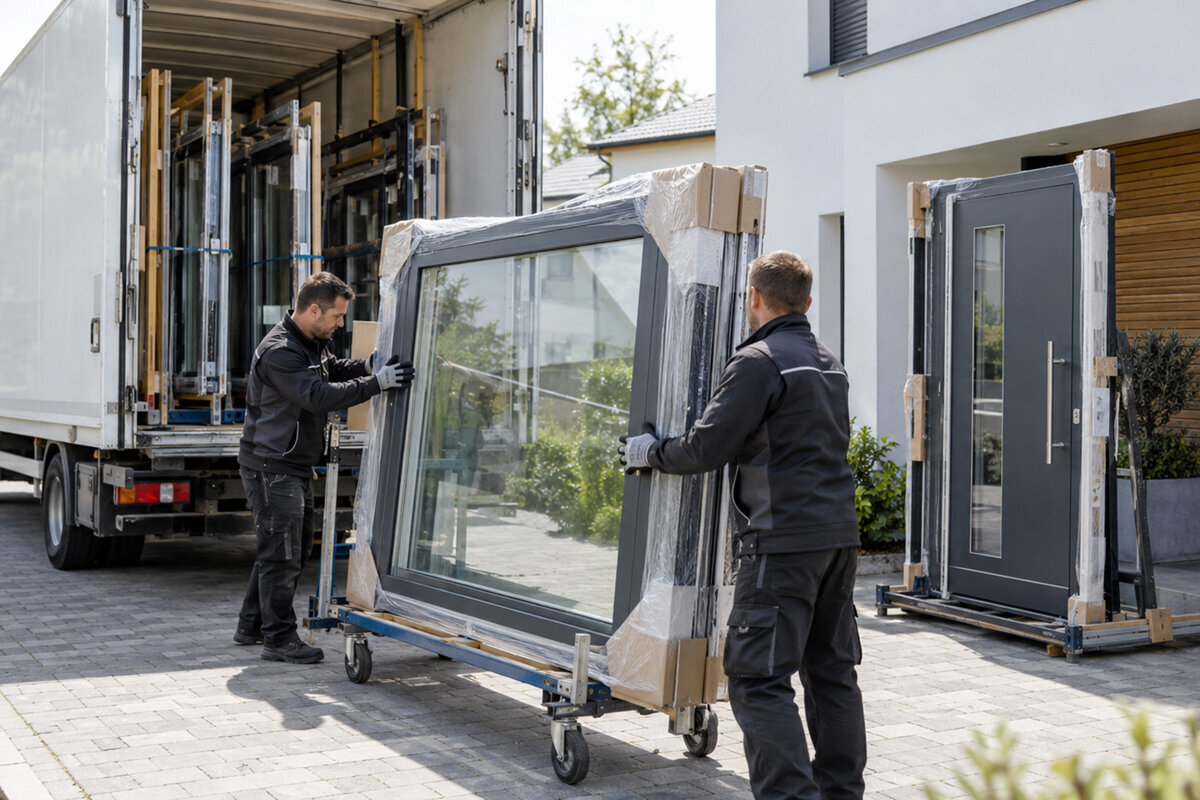
A replacement project can be ready on paper yet lose momentum at the kerb. The pinch point is often not the chosen window or door, but coordinating a vehicle, a clear carrying route, a protected set-down area and an installer who may not be fitting for several days. This is particularly important in an occupied retrofit, where furniture, newly decorated rooms and everyday access compete for space. Treat delivery as a controlled handover rather than a simple drop-off. Before the appointment, work from the confirmed order and decide who will receive it, where each package will go and what should happen if access or visible condition differs from expectations. On the day, check identity, quantity and external condition methodically, then keep every item protected, identifiable and accessible in fitting order.
Plan delivery as part of the retrofit sequence
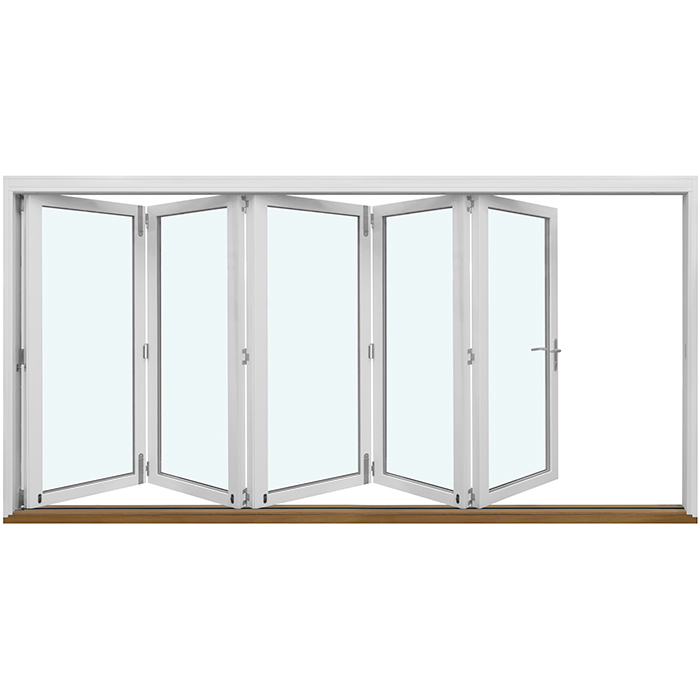
Start with a room-by-room receiving plan. List each opening reference, product type, floor level and intended fitting stage beside the order confirmation. A small fixed unit can be staged differently from a large glazed door assembly, so avoid a vague instruction such as “put everything in the garage”. Record the route from vehicle to storage, changes in level, narrow gates, internal turns and unfinished or slippery surfaces. For a project including outward-opening bifold doors, obtain the actual package details and handling guidance before delivery; the title alone does not establish panel count, packed dimensions, weight or lifting arrangement. Confirmed information determines the people, equipment and space required.
Use the installation programme to decide where products should wait. Mark openings that are ready, those still affected by plastering or structural work, and rooms that must remain usable. Packages for the first fitting stage need an unobstructed route, while later items should not block household circulation or access for other trades. Decide where accessories and paperwork will be kept, and give each storage zone the same opening references used on the order. This simple chain from order to room reduces mistaken placement. It also reveals conflicts early: for example, a clear garage may be convenient for delivery but unsuitable if scaffolding components must pass through it the following morning.
Confirm the appointment and handover roles
Ask the seller or carrier for the confirmed delivery date, expected arrival process, contact method and anticipated vehicle type where available. Bloomcabin states delivery takes 4–6 weeks, subject to order confirmation, so arrange demolition, scaffold changes and installer attendance from confirmed details rather than the general timeframe. Give the receiving contact the order number, complete address, relevant access notes and a backup telephone number. Resolve arrangements for controlled parking, shared drives, gates or managed building entrances beforehand. If the vehicle cannot reach the preferred set-down point, agree an alternative rather than leaving that decision until products are waiting at the kerb.
Set out who is responsible for unloading, movement beyond the drop point, paperwork, visible inspection and reporting concerns. Do not presume the driver will carry packages through the property, cross an active building site or negotiate steps. The receiver should be able to pause and seek clarification if the route is blocked, the expected handling support is absent or a package appears unsafe to move. Ask the installer where products should be placed, but do not assume they will attend delivery unless agreed. A named lead receiver and backup prevent an improvised handover to a neighbour or tradesperson who lacks the order documents and cannot make informed placement decisions.
Before delivery
Measure the whole route, not only the opening
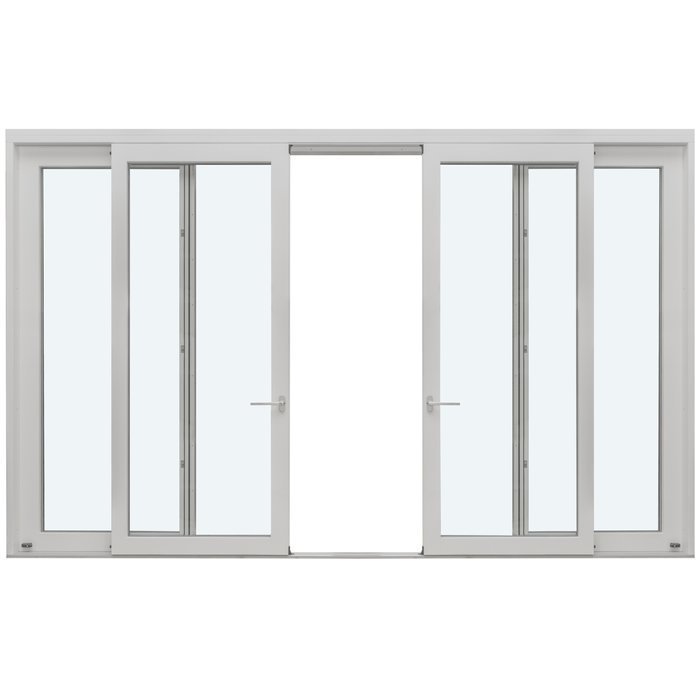
Walk the full route and measure restrictive points such as gate widths, alleyways, porch turns, hallway corners and clear headroom. Note steps, loose gravel, soft ground, steep changes of level and parked vehicles. Measure with normal obstructions in place rather than relying on a remembered doorway width. A product may suit its final aperture yet be awkward to carry around a side passage or staircase. For Patio Life side-sliding patio doors, use the confirmed order information when discussing access: the product title identifies the opening design but does not reveal the delivered package dimensions, weight, number of packages or handling method.
Clear the route fully, rather than making a narrow path down the middle. Move bins, pots, bicycles, rugs, low furniture and fragile objects, and protect vulnerable surfaces where appropriate. Keep pets, children and residents away from the handling area. Where access crosses shared space or a neighbour’s land, agree practical arrangements in advance. A difficult route may require another set-down point, more handling support or a changed installation sequence. Do not remove glazing, straps or protective packaging merely to negotiate a tight turn unless the responsible supplier or qualified installer specifically directs it. If the route cannot be made suitable, raise the problem before dispatch or the confirmed appointment.
Prepare a controlled receiving zone
Choose a level, stable set-down area that does not obstruct unloading, household exits or the installer’s later work route. It should minimise unnecessary movement without preventing preparation around the openings. Mark separate zones by room or opening reference when similar units are arriving. This is useful with fixed non-opening windows, which may be difficult to distinguish once several protected packages are grouped together. Keep the packing list, order confirmation, charged phone or camera, marker pen, tape measure and relevant drawings at the receiving point. The aim is to identify and document products while labels and delivery personnel are still available, rather than reconstructing the handover later.
Consider weather, security and other trades as well as convenience. Packaging does not turn an exposed driveway into suitable long-term storage. If outdoor holding is the only option, obtain product-specific direction before delivery and decide whether the arrangement is acceptable. An indoor zone should be away from wet trades, plaster dust, paint spray and busy circulation. Leave enough room to view packages from more than one side before they are placed behind other materials. Arrange the zone so first-install items remain accessible, and reserve a separate place for anything awaiting clarification. A clearly quarantined package is less likely to be moved, opened or fitted by mistake.
Check documents, labels and quantities
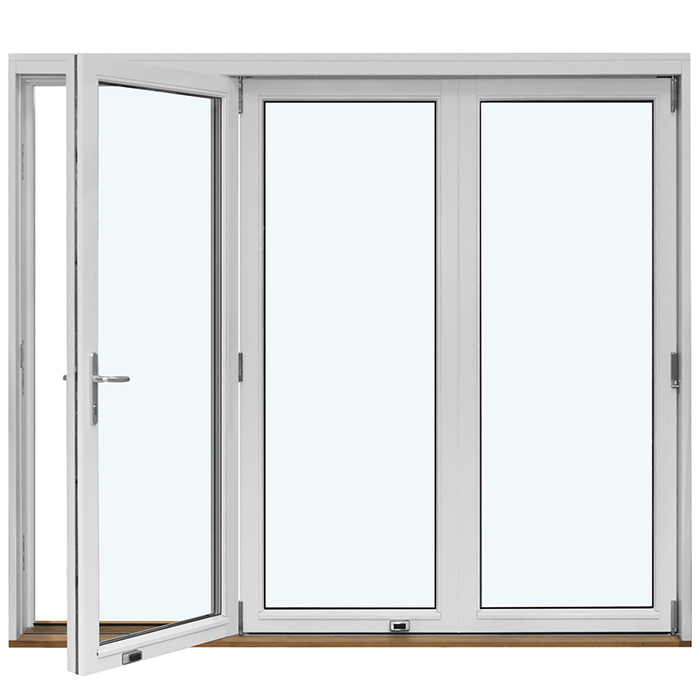
Begin with the order records rather than appearance. Compare the delivery note, order confirmation and package labels, checking quantities and opening references where shown. Confirm that product categories broadly correspond with the order: fixed windows, opening windows, entrance doors or patio doors. If the project includes outward-opening panelled entrance doors, match the labelled package to the intended entrance before storage. Do not rely on colour, approximate dimensions or where the driver sets an item down. Similar products may serve different elevations or rooms. Keep labels attached until the fitter has reconciled every package with the project information, and record shortages, apparent duplicates or unexplained identifiers promptly.
Count accessory cartons, documentation packs and separately listed items, not only the main frames. A small hardware box can be overlooked once the shipment is distributed between rooms. Do not open sealed components solely to investigate unless the supplied instructions permit it or the seller requests it. Take wide photographs showing the received group, then clearer images of labels so each package can be traced. Retain the delivery note and subsequent correspondence together. If an item cannot be identified, mark it as unallocated instead of guessing. A reference such as “unallocated package, label A14, stored in rear room” is more useful than “large frame somewhere downstairs”.
Inspect visible condition without causing damage
Inspect outer packaging before unloading where practical and again after each package has been placed safely. Look for tears, crushed corners, punctures, wet areas, displaced protection, broken strapping or impact marks. Photograph the whole package first, followed by close views that locate the concern in context. Note the label, date, time and an objective description such as “cardboard split at lower corner”; avoid diagnosing concealed damage. With fixed triangular and angled windows, pay particular attention to protecting projecting corners and the unusual package outline during set-down. The shape is not itself a concern, but it may require a more deliberate storage position.
Visible inspection does not mean dismantling every package at the kerb. Follow shipment-specific unpacking instructions and avoid cutting straps, operating sashes, lifting glass or removing protection simply to conduct a closer check. Those actions may make later handling less controlled. If the packaging raises concern, isolate the item, document what can be seen and contact the responsible seller for the next step. State whether the issue is a shortage, label mismatch, packaging concern or visible product concern. Keep notes factual and retain protective materials unless advised otherwise. This preserves useful evidence and prevents an unnecessary inspection from introducing fresh marks or losing parts.
Before delivery
Brief handlers before the first move
Explain the planned route, pause points, set-down position and package sequence to everyone involved before lifting begins. Use handling support suited to the actual shipment and follow its instructions. Do not assume a frame is a handhold or that packaging allows a glazed item to take a side load. Keep fingers away from pinch points and avoid leaving one person with an unbalanced share. A pivot roof window must be handled according to its own packing guidance rather than treated as interchangeable with a conventional wall window. The operating description identifies the configuration; it does not establish how the delivered package should be lifted or supported.
Do not drag packages, stack frames casually, rest objects against glass or lean units wherever space appears available. Use stable support at the points and in the orientation directed for the shipment. If instructions are missing or unclear, pause and ask before moving the package again. Keep moving parts closed, secured and protected while awaiting fitting, and never use products as temporary benches or site barriers. Where frame, glazing or hardware packages are separate, preserve their references and relationships. In an active refurbishment, mark a no-go area around stored products so another trade does not relocate them simply to reach materials behind them.
Store in installation order
Arrange storage around the fitter’s sequence without sacrificing dryness, stability or security. Put early-install items where they can be retrieved without shifting unrelated packages. Keep each unit with its label, accessories and opening reference. For Kombi combination windows, use the confirmed order records to establish which package belongs at each opening rather than sorting similar-looking parts by guesswork. Keep drawings and approved revisions in the project file, not loose among packaging. Before installation starts, compare the latest opening schedule with the stored references so a superseded room label or design change does not direct the wrong product to an aperture.
Use a dry, clean area with a stable surface and clearance from doors, trolleys, ladders and stored building materials. Avoid active leaks, standing water, saturated floors and work that may deposit paint, mortar, plaster or heavy dust. Do not place heavy objects on packages or compress products into a corner merely to gain floor space. Recheck storage after severe weather, plumbing work or a change in site activity. If fitting is delayed, review whether the arrangement remains suitable and tell the relevant parties. Product-specific instructions take precedence over a generic checklist, particularly for orientation, ventilation of packaging or any limits on storage conditions.
Give the fitting team a usable handover
Send the installer or project lead a concise delivery summary: packages received, quantities checked, storage locations, accessories recorded and items held for clarification. Include photographs of visible concerns and identify which openings are ready. Note any remaining building work, access equipment or room preparation. If the order contains single-sash outward-opening side-hung windows, the installer still needs the approved opening schedule and site information; the title cannot confirm dimensions, handedness or project-specific fitting details. Early notice lets the team adjust its sequence logically instead of discovering an inaccessible, unmatched or queried item after work has started.
Separate receiving observations from technical decisions. A receiver can report a split carton, wet patch or unmatched label, but should not alter a frame, approve it for a changed opening or substitute hardware. Nor can a delivery checklist establish compatibility with an existing wall, threshold build-up, ventilation approach or other project-specific requirement. Refer those questions to the responsible installer, designer, seller or suitably qualified professional. If an opening has changed since the order, identify the affected package and keep it protected while the project team reviews the information. A clear boundary between observation and technical approval protects the evidence and avoids premature alterations.
Maintain traceability as fitting begins
Keep the delivery file available until every package has been allocated and installation is under way. Tick off each opening reference as the item leaves storage, and note any accessory box issued with it. This simple chain of custody prevents a small component being treated as spare material or a later-phase unit reaching the wrong room. For outward-opening double-leaf patio doors, verify the opening reference against current project documentation before preparation begins rather than inferring the location from package size or storage position. The purpose is orderly coordination, not a second technical inspection by the homeowner. Any discrepancy should be resolved before irreversible work proceeds.
After the first delivery on a phased project, note what caused avoidable friction. The vehicle may have needed more turning space, room labels may have been unclear, or small accessories may have required locked storage. Improve the plan before the next shipment. Retain the order confirmation, receipt, photographs, correspondence and product instructions in one project folder. Bloomcabin provides a 5-year warranty for windows and doors, so keep relevant order and product records accessible if a matter needs to be discussed later. Where handling, storage, fitting or visible condition is uncertain, stop improvising and seek direction while the item, packaging and facts remain available for review.
Frequently asked questions
Should installation be booked for the delivery day?
Only when the confirmed arrival process, unloading plan, route and installer availability have been coordinated. A delay or inspection query could disrupt the programme. Agree the arrangement with the seller and installer, and retain a dry, secure fallback storage option in case fitting cannot begin as expected.
Which delivery photographs are most useful?
Take overall images before packages are moved, clear photographs of labels and close views of tears, crushed areas, moisture marks or displaced strapping. Include a wider view that locates each concern on the package. Store the files with the delivery note and a factual record of the date and time.
Can windows and doors be stored outside under a cover?
Do not assume a cover makes outdoor storage suitable. Follow the instructions for the delivered products and packaging. If protected indoor space is unavailable, ask the seller or responsible installer for guidance before delivery. Water exposure, security, ground stability, wind and accidental contact all need site-specific consideration.
Must every package be opened immediately?
Not necessarily. First check labels, quantities and visible outer condition, then follow the shipment-specific inspection instructions. Unplanned opening may make handling and storage harder or separate components from their references. If something appears wrong, photograph it, isolate the package and ask the responsible seller what further inspection is appropriate.
Who should sign the delivery paperwork?
Choose someone with the order details, enough time to compare the shipment and authority to record concerns. They should understand the agreed unloading and receipt process and retain a copy of the paperwork. Confirm beforehand how observations are recorded rather than trying to interpret unfamiliar receipt wording while the vehicle is waiting.
Next step
A successful window and door delivery is organised before the vehicle reaches the property. Use the confirmed order to plan access, handling roles, a protected receiving zone and storage in fitting sequence. At handover, identify and count packages, photograph external condition and record concerns without unnecessary unpacking. Keep every product dry, stable, secure and connected to its opening reference and accessories. This checklist supports coordination; it does not replace shipment-specific instructions or qualified installation judgement. A clear record gives the seller, receiver and fitter the same information when decisions are needed.
