
Window Installation Joints: Tapes, Seals and Insulation
UK window and door buying guide
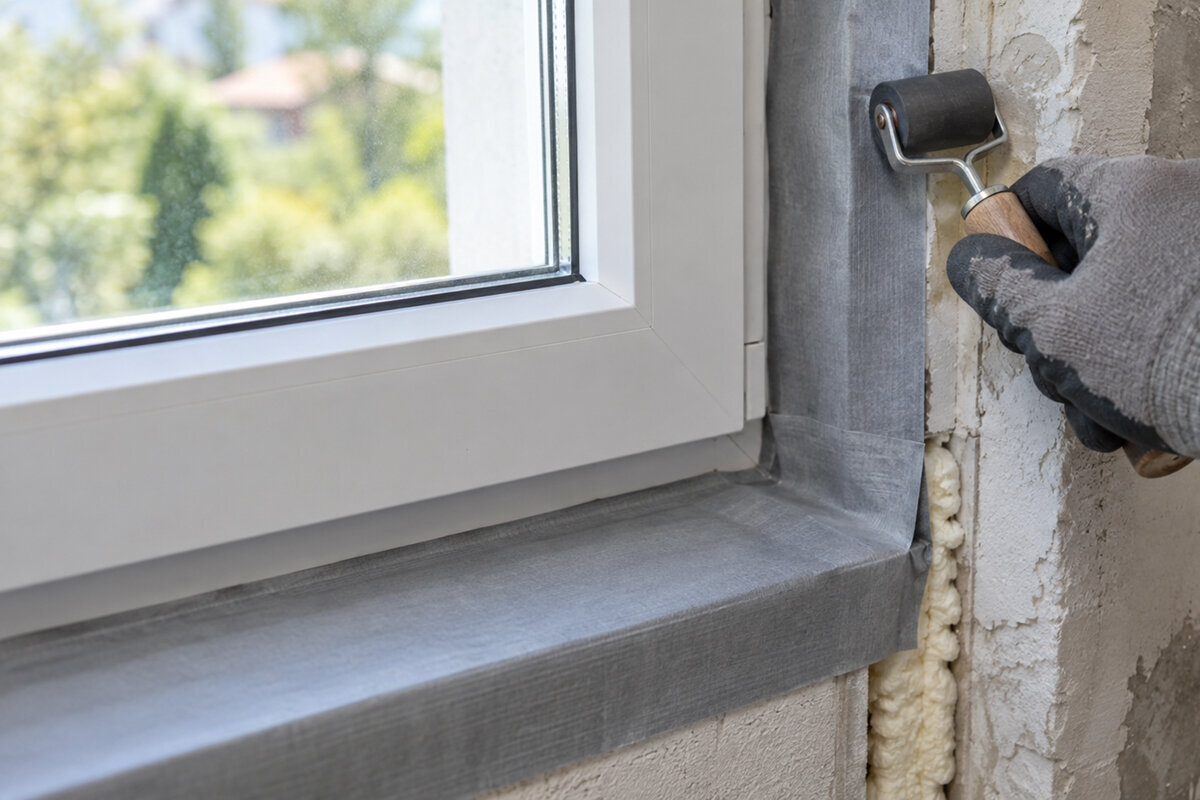
A replacement window can look complete on fitting day while its most consequential site-made component is already hidden by trims: the joint between the frame and the wall. In a UK retrofit, removing the old unit may uncover irregular brickwork, timber packers, patched render, damaged plaster returns or an uncertain route through the existing weathering layers. Access, frame position and the amount of fabric being removed determine which repairs and connections are possible. The visible external seal is therefore only one part of the specification. A coordinated joint must support the frame, manage water, insulate the perimeter, restrict unwanted air movement and meet the new finishes. Define those functions before ordering, allocate them to the relevant trades and include a check while the opening is exposed rather than after the architraves are fitted.
Define how far the replacement work goes
Begin by distinguishing a replacement within retained components from full-frame removal or the formation of a new opening. Retaining sound parts can reduce disturbance, but it also limits access to concealed interfaces. Full removal reveals more of the perimeter and may allow defective material or awkward frame positioning to be corrected, although making good becomes more extensive. Record where render, tiles, plaster, cladding, decorative brickwork, blinds, radiators and window boards meet the existing unit. These conditions affect working room, sightlines and whether a tape or membrane can reach a suitable surface. The quotation should state exactly what is removed, retained and reinstated rather than relying on the broad phrase “window replacement”.
Agree how unexpected conditions will be handled before work starts. An opening may prove damp, uneven or locally unsound once the old frame is removed, and the installer should not have to choose silently between covering the problem and undertaking unpriced repairs. Establish who can approve extra work, how evidence will be recorded and whether the opening can be made temporarily secure if a larger repair is needed. Confirm the carrying route, working space at the elevation and protection for floors and nearby finishes. This turns the replacement scope into a practical handover document instead of leaving product ordering, installation and making good as disconnected decisions.
Assign one clear purpose to every layer
Read the joint from outside to inside. The outer connection deals with weather and should help water move out rather than become trapped behind a trim. The middle gap accommodates fitting tolerance and receives suitable insulation. The inner connection limits air movement between the room and the perimeter. Sealants, pre-compressed tapes, membranes, liquid-applied products, backer rods, insulation and flashings may all be useful, but they are not interchangeable. Insulation does not automatically create an airtight line, and a neat external mastic bead does not replace a considered water route. Ask the installer to label each proposed product by function, position and substrate so omissions and incompatible assumptions become visible before fitting.
The sill, jambs and head need separate views because gravity and adjoining finishes affect each location differently. At the sill, identify how water reaches the exterior and whether an existing or new cill forms part of that route. At the jambs, show the transition to the wall and reveal finish. At the head, avoid a sequence that directs water behind the frame connection. A marked section sketch can be sufficient if it records layers, overlaps and responsibilities clearly. It should also identify interfaces with render beads, cavity closers or cladding trims. The window installer and the trade completing the reveals must follow the same sequence, or a later finish may obstruct drainage or break the inner connection.
Assess the complete opening
Survey the opening, not just the frame size
A useful survey records more than width and height. Include reveal depth, diagonal variation, sill condition, the intended frame position and any existing drainage features. Note restricted access caused by pipes, handrails, planting, roof edges or internal fittings. Moving the frame inwards or outwards changes the external reveal, internal lining depth and surfaces available for tapes and seals. Photographs with dimensions visible are helpful where patched render or an extension meets older construction. If the wall build-up cannot be confirmed without removal, record that uncertainty and add an inspection stage rather than designing the joint around an assumption. Also mark the intended internal and external faces so installation depth is unambiguous.
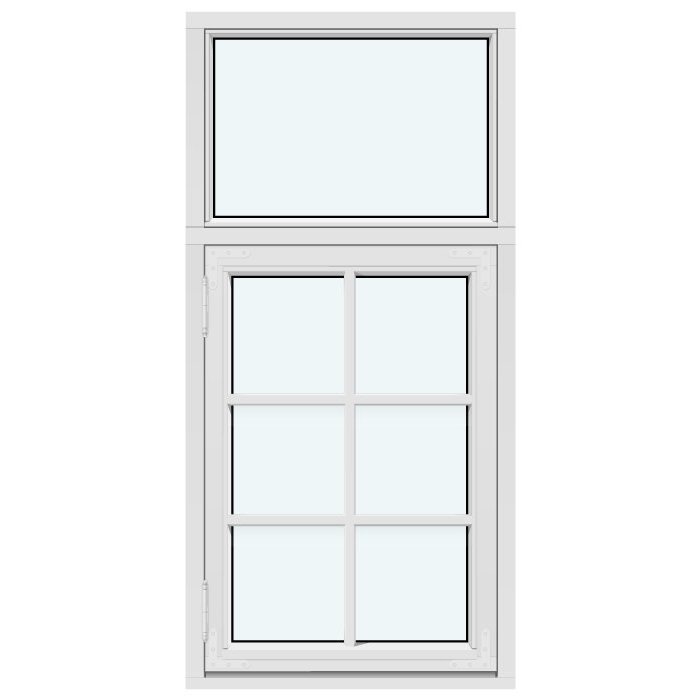
Operation should be checked alongside the perimeter detail. A fixed non-opening window has no sash clearance to resolve, but it still needs planned support, insulation and continuous frame-to-wall connections. With a single-sash outward-opening side-hung window, the survey must also consider external swing and access to the completed joint. Check for conflicts with a downpipe, railing, deep reveal or planting, and decide whether outside edges can be finished and later inspected. Product operation changes setting out and access; it does not reduce the work required around the frame. Confirm opening direction on the survey so that a correct overall size is not paired with the wrong handing or an impractical finishing arrangement.
Resolve support, fixings and movement first
The frame must be supported in its intended position and kept square while the joint is completed. Packers, bearing points and fixings perform different tasks from insulation, even though they occupy or cross the same perimeter zone. Ask how the installer will check level, plumb and diagonals, where the frame bears and when opening parts will be adjusted. A very tight, irregular gap is not evidence of accuracy if there is no usable space for the specified insulation or tape. An unexpectedly wide gap should trigger a review of the opening and support arrangement rather than an automatic decision to fill it. The planned gap must suit fitting tolerance and the selected joint materials.
Tapes and sealants depend on joint geometry, movement and surface condition. Tape needs adequate contact with a clean, stable substrate; sealant needs an appropriate joint shape and backing where specified. Neither should be stretched across a deep hollow or attached to friable paint, dusty masonry or loose render. Ask who prepares the background and whether levelling, repair or primer is needed before adhesive products are applied. Low-expansion foam may insulate a suitable gap, but it should not be expected to straighten a poorly positioned frame. The work sequence should place substrate preparation and frame checks before filling and sealing, allowing the underlying geometry to be corrected while it remains visible.
Match insulation to the accessible gap
Perimeter insulation reduces the discontinuity between the window and wall, but its application must suit the actual width, depth and accessibility of the gap. Flexible mineral wool, controlled low-expansion foam and purpose-designed perimeter products are alternatives rather than universal solutions. Foam should be applied without distorting the frame or obstructing a drainage route. Mineral wool needs careful placement so corners and deeper areas are not left empty. Ask the quotation to identify the product category, application sequence and inspection method. Clarify whether loose legacy material will be removed and how the installer will reach behind retained linings. A promise that the opening will be “fully insulated” does not explain the method or make the concealed result checkable.
A high-performing unit cannot compensate by itself for an incomplete wall connection. If considering an outward-opening Passive House window with super-low Uw, discuss how its frame position, perimeter insulation and inner air-control line relate to the surrounding construction. The named configuration does not establish the quality of the site-made joint. The same principle applies to an ordinary replacement where access is limited. Ask whether insulation can run continuously at corners, beneath the sill area and around necessary packers without interfering with support. Photographs taken before the inner seal and trims are added can show whether the accessible joint depth was treated and whether local voids were corrected while they could still be reached.
Create a continuous room-side connection
The internal tape or seal is useful only when it forms a continuous connection between the frame and a suitable room-side surface. Decide whether the reveal will finish in plaster, plasterboard, timber lining, tile or another material, because that choice determines when the connection is made and where it terminates. An architrave conceals the joint but does not provide continuity by itself. If tape is proposed, ask what it adheres to, how corners and changes in depth are folded, and whether the background needs primer or levelling. If sealant is selected, request the intended joint shape and backing arrangement. Compare whether each system can be installed continuously on the surfaces that will actually exist.
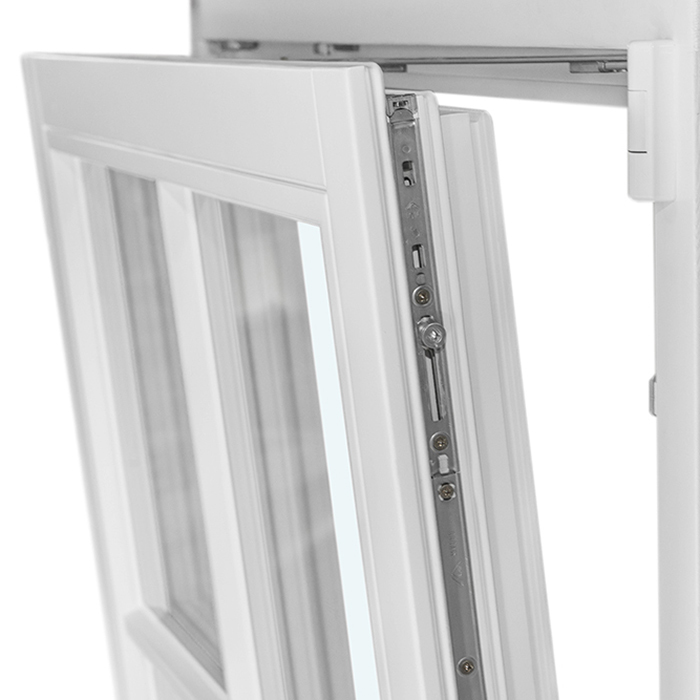
Opening direction can affect access to this inner line and the surrounding finishes. For a single-sash inward-opening window, check the sash arc, handle position, blinds, radiator and reveal depth before agreeing how the room-side connection will be completed. A deep or uneven return may need a prepared transition rather than tape stretched across hollows. Coordinate plastering and decoration so they protect and cover the connection instead of being used to fill unexplained gaps. At corners, ask how continuity will be retained without bulky folds that prevent the lining from sitting correctly. Inspect the inner line before window boards, liners or architraves remove access to it.
Assess the complete opening
Design the exterior for weather and maintenance
The outside of the joint must respond to the surface it meets. Brick, stone, render, cladding and timber reveals present different profiles and preparation needs, so colour-matched sealant cannot be the whole specification. Identify how the head, jambs and sill connect to existing cills, flashings, render beads or cladding trims. Confirm whether an external tape will remain exposed or receive a compatible finish. Where sealant is used, ask what its defined role is and whether it remains accessible for inspection and renewal. Wide cover trims may produce a tidy edge, but they should not simply hide an unresolved water route, unsuitable background or gaps that were never inspected.
Thresholds concentrate several interfaces at low level. For Patio Life side-sliding patio doors, request a dedicated section showing the threshold in relation to the internal floor, external paving or decking, nearby drainage and supporting construction. Clarify how the jamb weathering turns into the threshold detail and who completes the surrounding surfaces. Final external levels should not be left to a landscaper who has not seen the door drawings. Avoid attaching rails, cables or other items through the critical perimeter without agreeing how penetrations will be treated. A maintainable design leaves relevant seals observable and gives future work a clear boundary instead of burying the entire connection behind permanent finishes.
Coordinate wide doors and adjoining trades
Door sets add repeated loading, low-level finishes and larger components to the jointing plan. When assessing outward-opening bifold doors, request a threshold section as well as an elevation. It should identify support beneath the frame, perimeter insulation, the internal air-control connection and the intended route for external water. Check where folded leaves occupy space and whether completed patio levels, steps or railings affect movement. Floor build-ups must be confirmed before the threshold position is fixed, particularly when screed, tiles or engineered flooring are incomplete. A statement that the doors will be silicone sealed does not answer these setting-out questions or allocate responsibility for the adjoining construction.
Installation sequence becomes critical where a door meets a side panel, wall return or corner. Some membranes or tapes may need applying before adjacent components restrict access. Confirm the lifting route, temporary storage area and protection from dust or rain while adhesive products are prepared. After the frame is positioned, check its level, diagonals and perimeter gaps again before sealing. Map the handovers between installer, plasterer, electrician, flooring contractor and landscaper, including who may alter finishes near the threshold. A narrow unassigned strip between trades can interrupt an otherwise coherent detail. Naming the owner of each interface is more reliable than assuming the final contractor on site will recognise and repair incomplete work.
Use unusual shapes to expose weak assumptions
Non-rectangular frames reveal whether a proposal has been designed or merely copied from a standard window. A fixed triangular and angled window introduces sloping interfaces and acute corners where familiar tape folds and trim junctions may not work. Ask how outer overlaps preserve an outward water path, how the internal connection turns each corner and where the frame receives support. Confirm that manufacturing dimensions, the site template and final finish thickness refer to the same geometry. The detail should show how the perimeter will be protected or covered without concealing an unsealed corner. Special shapes do not justify invented performance claims, but they do justify earlier drawings and a clearer installation sequence.
A roof opening also shows why orientation changes the surrounding system. With a pivot roof window, the interfaces include the roof covering, flashing arrangement, underlay, insulation and internal lining rather than a conventional vertical masonry reveal. Products selected for an ordinary wall window should not automatically be transferred to this position. Ask who connects each surrounding layer, who forms the reveals and when junctions will be checked before closure. Tapes, seals and insulation are not accessories chosen independently of the building. They form transitions between a specific product and a particular wall or roof build-up, so substrate, slope, exposure, access and finishing sequence all belong in the purchasing discussion.
Convert the quotation into an inspection plan
A comparable quotation separates survey, removal, opening preparation, support and fixing, perimeter insulation, external weathering, internal air sealing, trims and making good. It should state who supplies the tapes, primers, sealants and insulation, and who checks compatibility between products used together. Include a pause-and-report process for rotten timber, unstable masonry, moisture, concealed services or other conditions that require a changed detail. Request photographs of the prepared opening, frame support, insulated gap and completed inner and outer connections before they disappear. Photographs do not replace competent fitting, but they create a shared record and make approval of necessary changes more informed than a description given after finishes are complete.
Compare proposals against the same assumed opening, frame position and reinstatement scope. One price may cover only frame fitting and a visible seal, while another includes background repairs, layered connections and restored reveals. Recheck opening direction, access, cill arrangement and final floor levels before approving manufacture. Bloomcabin windows and doors have a five-year warranty, and delivery is typically four to six weeks subject to order confirmation. Use that period to coordinate access and adjoining trades, but do not start irreversible making-good work from an estimated date alone. Final measurement, order confirmation and installation-detail approval should refer to the same drawings so the unit and opening are not managed as separate projects.
Frequently asked questions
Is foam enough around a replacement window?
Foam may provide perimeter insulation where the joint and application suit it, but it should not be assumed to support the frame, manage external water or complete the room-side air seal. Ask the installer to identify those functions separately and show how the foam is kept clear of any intended drainage route.
Are airtightness tapes always better than sealant?
No. Tape and sealant are alternative ways of forming parts of a connection. Suitability depends on substrate, joint geometry, movement, access and finishing sequence. Compare the proposed preparation, corner treatment and continuity rather than choosing solely by material name. Either method can be undermined by a loose, uneven or contaminated background.
Why are separate sill, jamb and head details useful?
Each location meets water and adjoining finishes differently. The sill needs an outward route, jambs connect to the side reveals, and the head must avoid leading water behind the frame. Separate views reveal changes in overlap, substrate and access that a generic perimeter note can easily conceal.
When should trims be fitted?
Fit trims after the relevant perimeter layers have been completed and checked. Internal trims can hide insulation, fixings and the room-side connection; external trims can conceal weathering interfaces. Agree photographs or an inspection before closure, particularly when removing the old frame may expose conditions not visible during the original survey.
What if the old opening is not square?
Ask how the new frame will be supported, packed, fixed and kept square while maintaining workable perimeter gaps. The answer should also cover repairs to unsound masonry or timber and the approval process for extra work. Sealant, trim or foam should not be presented as a correction for an unsuitable opening.
Plan your next steps
A reliable window joint starts with the opening, not a favourite tube of sealant. Define the replacement scope, survey the interfaces and assign separate roles to support, weather management, insulation, room-side air control and finishes. Then request sill, jamb and head details, a named material sequence and a check before concealed layers are covered. Whether the project involves one casement, a shaped fixed light or a wide door set, this preparation makes quotations easier to compare and gives every trade a clear boundary. The aim is not merely a neat perimeter, but an installation whose hidden decisions were resolved before access disappeared.
