
Window Reveals, Sills and Trims During Replacement

UK window replacement guide
A replacement window is often measured as a width and height exercise, then discovered to be a finishing project once the old frame comes out. The new unit may sit in a different position within the wall, have a different frame depth or open in a new direction. That can alter the depth of the internal reveals, the usefulness of the sill, the line of the external trim and the amount of glass seen from the room. Access adds another layer: furniture, blinds, radiators, tiles and external planting can all affect how easily junctions are renewed. Treat the opening, rather than the window alone, as the item being specified. Before ordering, record the condition and dimensions of every visible return, decide which details are worth preserving, and agree who will make good the surfaces uncovered by removal.
Buyer’s check 1
Begin with the room, the access route and the replacement scope
Plan a survey from the room outwards. Note whether furniture can be moved, whether curtains or blinds must come down, and whether a radiator, worktop, tiled splashback or fitted shelving ends at the opening. Outside, identify obstructions to access and any features immediately below or beside the window. These practical conditions influence whether installers can remove old trim cleanly, protect surrounding finishes and work on the outer junction. They also help distinguish a straightforward frame change from a broader opening refurbishment. A narrow reveal beside a kitchen worktop, for example, may be far harder to reinstate than an open plastered wall in a spare room.
Ask for the proposed scope in component terms rather than accepting “installation and finishing” as a general phrase. List the old frame, internal lining or jamb, internal sill board, casing, plaster returns, external sill, external trim, sealant and any local decoration. For each one, state retain, remove, repair, replace or exclude. This makes allowances for unknown conditions easier to discuss before demolition. It also prevents an attractive product quotation from being mistaken for a complete room-finish quotation. Delivery for Bloomcabin windows and doors is 4–6 weeks subject to order confirmation, so use that interval to finalise access, finishes and decisions that depend on the confirmed opening.
Map the reveal before choosing frame position
A reveal is the finished surface returning from the face of the wall to the frame at the head, sides and bottom of a window. Its perceived depth comes from wall thickness, frame position and the thickness of any lining or finish. A new frame can be positioned differently from the old one even where the broad opening size is retained. The consequence may be a stronger shadow line, a shallower recess or unequal-looking returns. Look at each window from a doorway and from the usual seating position; variation that disappears in a close inspection can be prominent across a room of aligned openings.
Record reveal depths at several locations, not just one central point. Measure the left and right returns, head and lower area, then note where plaster is uneven, where wallpaper terminates and where tiles meet the opening. Photograph the corners square-on and at an angle. Diagonal measurements are useful for describing an opening that is out of square, but they do not replace a record of visible finishes. For a replacement involving a single-sash inward-opening window, also consider the inward clearance created by the final reveal and sill: a handle and sash must be usable in the furnished room, not merely in an empty aperture.
Buyer’s check 2
Decide what the internal sill needs to do
An internal sill can be a small finishing ledge, a deep practical surface or simply the lower reveal covered with a board. Its existing projection may change if a new frame sits further in or out, if the sill is renewed, or if its front edge is replaced with a different profile. Start by deciding its job. Does it support plants, meet a tiled wall, provide a clean line above a radiator, or need to remain deliberately narrow so a sash can open? The answer determines whether retaining it is sensible and whether a new sill should match neighbouring rooms or be treated as a separate detail.
Check the sill from underneath and at both ends. Staining, softness, cracked paint, movement, gaps against the frame and a failed joint to the wall all deserve a decision before the old window is removed. A sound sill with a valued profile may be retained if the replacement method allows; replacement is an alternative where condition, dimensions or the new frame arrangement make retention impractical. Do not assume that a new frame will automatically conceal an old sill-to-frame junction. Ask where the internal air and finish line will be, how the sill ends return into side walls, and whether the final ledge will stay level and visually continuous.
Choose operation before finalising trims and coverings
Operation changes the clearance zone around the finished opening. An inward-opening sash requires room inside for its swing, handle and cleaning position. An outward-opening sash moves that question outdoors, but may meet a projecting external sill, a downpipe, planting or a path. A top-hung arrangement introduces a different opening path and may sit close to blinds or curtains. Test the selected operation with the intended sill depth and window treatments in mind, rather than adding those items after the order. The visible frame, reveal and trim should support day-to-day use as well as the elevation.
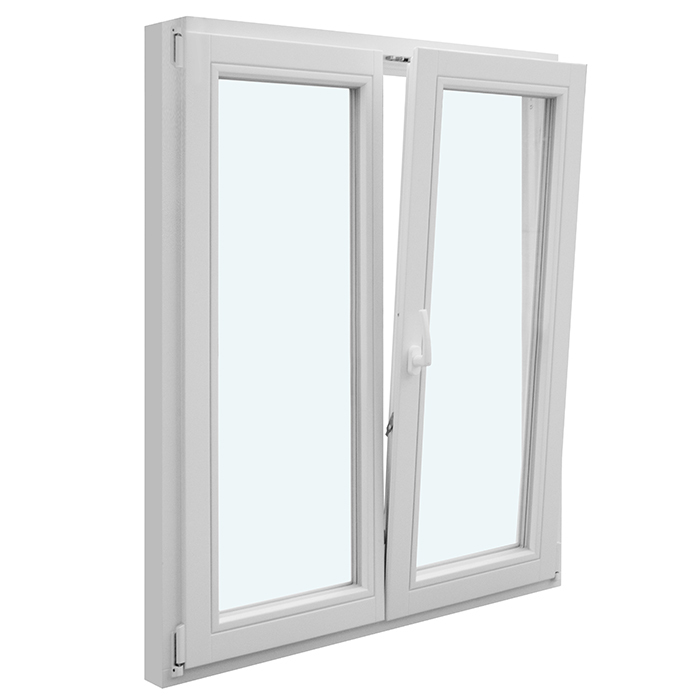
A window that combines functions can make the surrounding detail particularly important. With a Kombi combination window, establish which part opens, which area remains fixed and where handles will be reached once reveal linings and blinds are in place. Mark proposed bracket positions for blinds or shutters before closing the opening with new trims. For external views, consider the open sash against any adjacent trim projection rather than looking only at a drawing of the closed unit. This is also the moment to agree whether a curtain track, pelmet or blind is a separate trade item and whether it needs backing or a clear fixing surface.
Buyer’s check 3
Retain casing only when it suits the new junction
Internal casing, often called architrave, hides the joint where a window lining or frame meets the wall finish. It can be an important repeated feature in a period interior, yet retaining it is not automatically the least disruptive option. Removal can split old paint, disturb wallpaper and reveal an uneven wall edge; keeping it may leave too little coverage for a changed frame position or an irregular gap. Assess its profile, width, condition and relationship to skirting and door architraves. If only one window is altered, a near match that is visibly different can be more distracting than a planned local redesign.
Where existing casing is to remain, identify exactly where it will meet the new frame and whether it needs careful removal and refitting. Where it will be replaced, approve a sample profile, width, material, finish and corner treatment before work starts. Square-edged trims create a quieter contemporary line; shaped casing can relate better to established interior joinery. Neither substitutes for a sound underlying junction. Make-good plaster may be the better alternative in a room with no architrave, while a trim can be useful where it creates a deliberate, serviceable edge. Include painting, caulking and repairs to disturbed adjacent walls in the scope rather than treating them as assumed extras.
Treat the external sill as a water-management detail
The external sill is not merely a visual ledge. It directs water away from the wall face and forms part of the visible transition between frame and exterior surface. Its length, projection, end details, level and relationship to render, brickwork, cladding or stone all need review. A sill that looked adequate with the previous frame may leave a different line once the replacement is fitted. Conversely, reusing an existing sill can help preserve a façade rhythm where it is sound and compatible with the planned installation. Examine cracking, loose bedding, staining, failed paint and open joints before choosing retention.
Ask the installer to show the intended sequence at the lower outer junction: where the frame ends, how the sill relates to it, and how the junction to the surrounding wall will be completed. Avoid choosing an external finish by colour alone. A deep trim may cast a pronounced shadow; a minimal finish can make an uneven substrate more apparent. At a bay, porch or highly visible front elevation, view proposed sill and trim proportions from across the street as well as close up. If a single-sash outward-opening side-hung window is being considered, check the opened sash against the sill projection and nearby external features as part of the same review.
Buyer’s check 4
Use external trims deliberately, not as a late cover-up
External trims can cover a perimeter joint, frame an opening visually or bridge a change between the new frame and an imperfect wall edge. They are not interchangeable with repair to unstable render, loose masonry or decayed adjacent material. First establish the condition of the substrate and the desired façade line; then determine whether a trim is appropriate. On a simple elevation, a narrow, consistent surround may be unobtrusive. On an elevation with existing decorative details, a new flat trim can interrupt established proportions. Compare neighbouring windows, particularly where only some are being replaced.
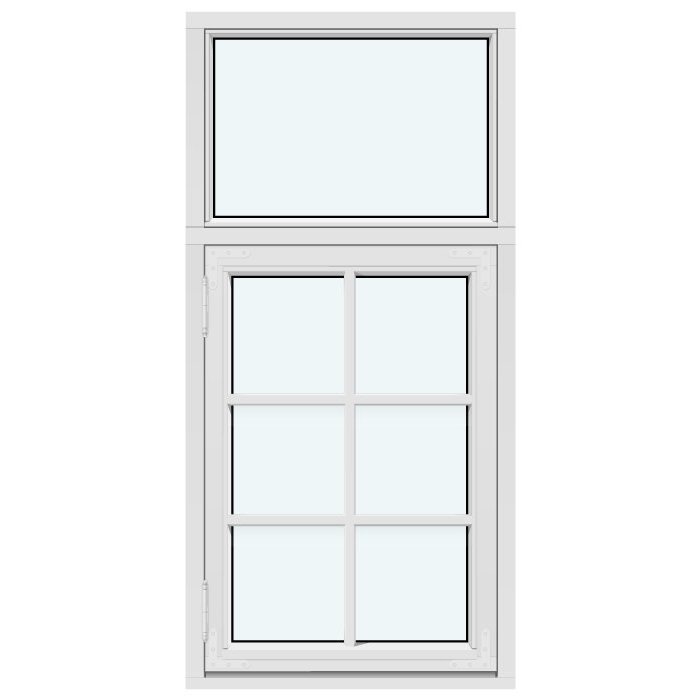
Trim selection should cover geometry as well as appearance. Request the face width, depth, finish, corner method and the treatment at head, sides and sill. Ask whether old trim is removed, overclad or left in place, and what happens at cracks or stepped surfaces beyond its edge. For a historic-style Kombi outward-opening side-hung window, preserve the distinction between the window’s historic-style appearance and the separate decision about the surrounding façade detail. The product title does not establish the right trim profile for a particular building. A measured elevation sketch and photographs of nearby openings give the contractor a clearer basis for proposing an appropriate junction.
Protect glass area, sightlines and decorative bars
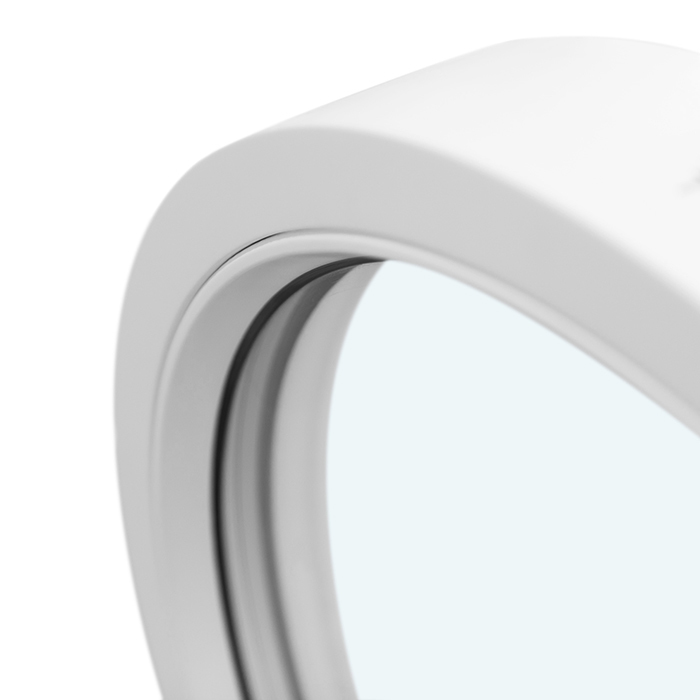
A replacement with the same nominal opening does not necessarily present the same amount of visible glass. Frame dimensions, sash layout, frame location and the amount of trim visible around the unit all affect the view and daylight impression. This matters most where a room has a low ceiling, a deep wall or an aligned run of windows. Ask for the visible frame and glass arrangement to be reviewed alongside the finished reveal, not as an isolated product image. Compare the proposed opening with nearby retained windows and doors; where the scheme includes a round fixed window, check its surrounding finish separately.
Decorative bars add another visual reference line that can be altered by a change in frame position or trim width. Specify whether decorative bars are required, their pattern and how they align with adjacent openings. Do not describe decorative bars as glass-dividing bars unless that is genuinely the intended configuration. A fixed window without decorative bars may suit a view-led location, but its stillness can make unequal reveals more noticeable than on a divided opening window. For a mixed elevation, sketch horizontal and vertical alignment lines through heads, sills and bar positions. This simple drawing often reveals whether apparently minor finishing changes will disrupt the composition.
Buyer’s check 5
Coordinate insulation, linings and the visible finish
The space between a replacement frame and the surrounding structure needs an installation approach appropriate to the opening and project. From a buying perspective, the important point is that concealed work and visible finishes must be coordinated. A lining may make a rough internal return straight and clean, but it also reduces reveal depth. A thicker finishing build-up can alter the usable sill and the line where casing lands. Ask for a section drawing or a plain-language description of the proposed build-up at head, jamb and sill, including which surfaces will remain visible after completion.
Thermal ambition can make this coordination more exacting, particularly when comparing an outward-opening Passive House window with super-low Uw with a conventional replacement option. The named configuration alone does not determine how it should be fitted in a particular wall or what performance the completed opening will achieve. Discuss the frame’s intended position with the designer or suitably qualified professional responsible for the wider project, then assess the practical finish consequences. Will a lining be required? Does it crowd blind fittings? Can the internal sill remain useful? These are specification questions, not details to leave until site work has already exposed the structure.
Turn unknowns into a written handover plan
Old openings can conceal irregular masonry, deteriorated timber, voids, previous repairs or finishes that break away during removal. A good buying decision does not pretend these possibilities do not exist; it assigns a process for handling them. Before work begins, agree who can authorise additional work, what photographs or explanation will be provided, and whether the team should pause before altering a visible feature not covered by the original scope. Identify sensitive areas such as original tiles, decorative plaster, stone sills, electrical accessories, alarms and finished external landscaping. Protecting them may affect sequencing and access.
At order stage, compile one opening schedule for every window. Include product configuration, handing and opening direction, finished frame position, reveal treatment, internal sill treatment, casing or trim profile, external sill decision, external trim decision, decorations excluded or included, and named responsibility for each finish. A fixed triangular and angled window is a useful reminder that non-rectangular openings need especially clear templates and finish decisions at every changing angle. Revisit the schedule after final measure and before manufacture. Bloomcabin windows and doors carry a 5-year warranty; retain the order details, finish records and handover information with the project file.
Common questions
Will a replacement window always make the reveal deeper?
No. Reveal depth depends chiefly on where the new frame sits within the wall and on any new lining or finish. A frame moved towards the exterior can make the internal recess appear deeper; a frame positioned nearer the room can reduce it. Confirm the proposed section, rather than relying on the old arrangement.
Can an existing internal sill be kept?
It may be possible when it is sound, its dimensions work with the new frame and the intended junction can be finished properly. Retention should be a stated scope item, not an assumption. Check the sill’s ends, lower frame joint, level, condition and the clearance required by the selected opening method.
Are trims necessary around every replacement window?
No. Some openings are finished with plastered returns, while others use casing internally or trims externally. The suitable approach depends on the existing wall finish, frame position, desired appearance and the condition of the opening edge. Ask what will form the final visible line at each side, head and sill.
What should be measured besides the window opening?
Record widths and heights at more than one point, diagonals, wall thickness, reveal depths, sill projection and the available clearance for opening sashes. Also photograph tiles, wallpaper, radiators, blinds, external features and neighbouring window details. These records support decisions that a basic aperture measurement cannot answer.
Who is responsible for painting and repairing finishes after installation?
Responsibility varies by contract, so it should be written down before work begins. Separate the window supply, removal, installation, plaster or lining work, trim fitting, sealant, decoration and external repairs. Name what is included, what is excluded and who approves unexpected remedial work found after the old frame is removed.
Next step
The best replacement window projects resolve the junctions before the window arrives. Start with access and the opening method, then decide the frame position, reveal depth, sill role and the fate of internal and external trims. Record what makes the existing opening valuable, but be realistic about items that cannot be retained cleanly within the proposed scope. A clear opening schedule, photos and a written allocation of making-good work turn uncertainty into decisions that can be priced and coordinated. Select the window configuration and the surrounding finish as one package, then confirm final dimensions and details before order confirmation.
