
Windows Above a Kitchen Sink: Reach, Clearance and Cleaning
Planning a kitchen sink window
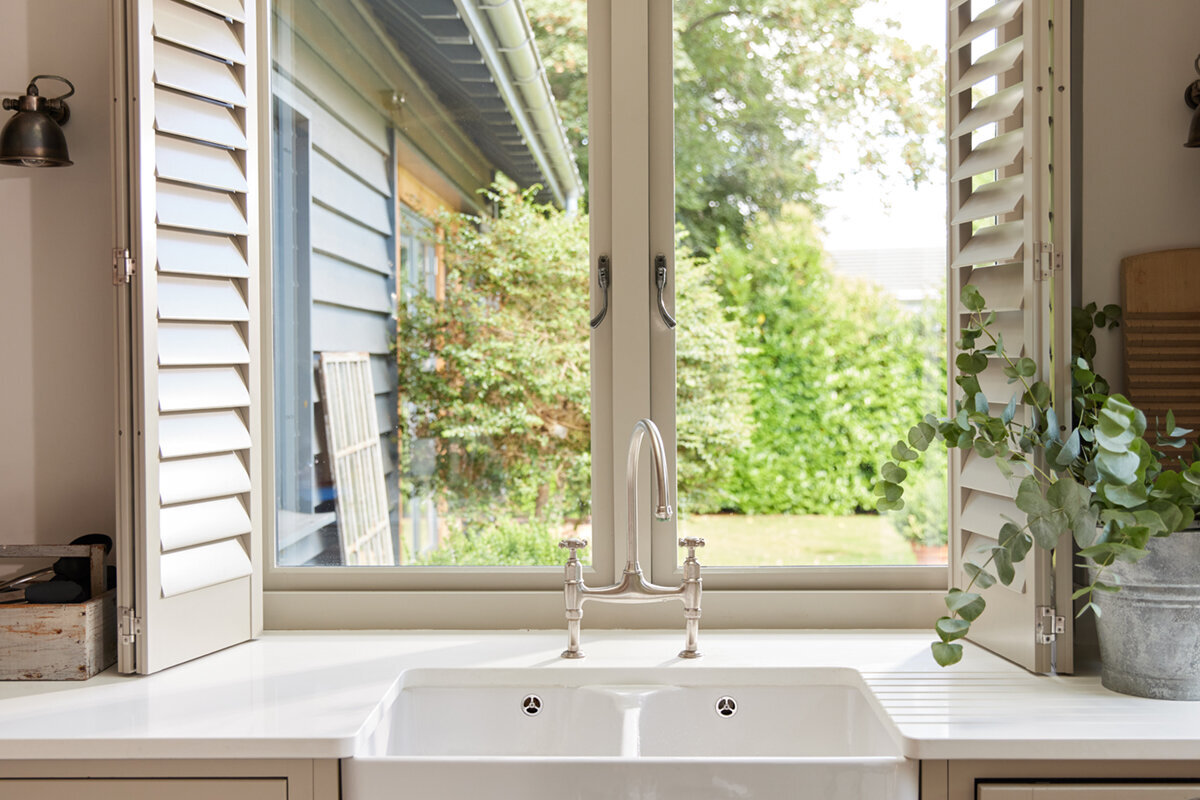
A kitchen window can look perfectly placed until the sink, tap and everyday clutter are installed beneath it. In a retrofit, the problem often appears late: the replacement window follows the existing opening while a deeper worktop, larger bowl or taller mixer changes the operating reach. A new kitchen offers more flexibility, but only if the cabinetry, plumbing and window are coordinated before ordering. Treat the window above the sink as working equipment. You should be able to reach and release the handle from a stable position, move the sash without striking the tap, and clean both faces of the glass by a method you would genuinely use. The right choice comes from testing finished dimensions and complete opening movements, not simply selecting the most attractive arrangement on an elevation.
Begin with the movement you will repeat
Stand where washing-up normally happens and rehearse the whole action: reach, unlock, open, hold or secure the sash, then close it again. The relevant reach begins at the front of the worktop because the counter and sink separate you from the window. A deep bowl, projecting sill or broad drainer can make a modest drawing dimension uncomfortable in practice. Mark the proposed handle relative to the sink centreline and ask each regular kitchen user to test it. A window that works only when the counter is empty and someone leans over a wet bowl is not comfortably positioned.
Create a full-size wall mock-up with tape, showing the glass line, sill, handle and moving sash edge. A cardboard panel can represent the leaf while a box or template stands in for the tap. Include the finished worktop, upstand and splashback rather than testing against bare walls. If a divided inward-opening arrangement is being considered, compare the mock-up with the control positions of a two-sash inward-opening window. Photograph the test from the normal standing position so the kitchen supplier, surveyor and installer are discussing the same hinge side, handle side and opening direction before measurements are released.
Record finished dimensions and everyday obstructions
Separate structural dimensions from the surfaces that will exist when the kitchen is complete. Record finished floor to worktop, worktop to opening, front edge to glass, and worktop to the tap’s highest point. Add the sill projection, splashback thickness and the locations of the bowl, drainer, tap controls, soap dispenser and filtered-water tap. These figures do not establish a universal window size; they test one proposed unit against one room. Label every measurement clearly so a nominal cabinet depth or unfinished reveal is not mistaken for the dimension that determines the real operating reach.
Include objects that rarely appear on an elevation: a drying rack, washing-up bowl, utensil pot, plant or bottle of washing-up liquid. A handle may technically clear the tap yet remain awkward behind items that naturally occupy the rear worktop. With an offset sink, a symmetrical sash layout can put the useful control in the wrong place. Ask for the exact handle and hinge positions rather than relying on a generic product drawing. Keep the annotated plan with the kitchen specification and identify which dimensions are fixed, which remain adjustable and who is responsible for checking them after the final tap and worktop have been selected.
Choose inward opening only with protected internal space
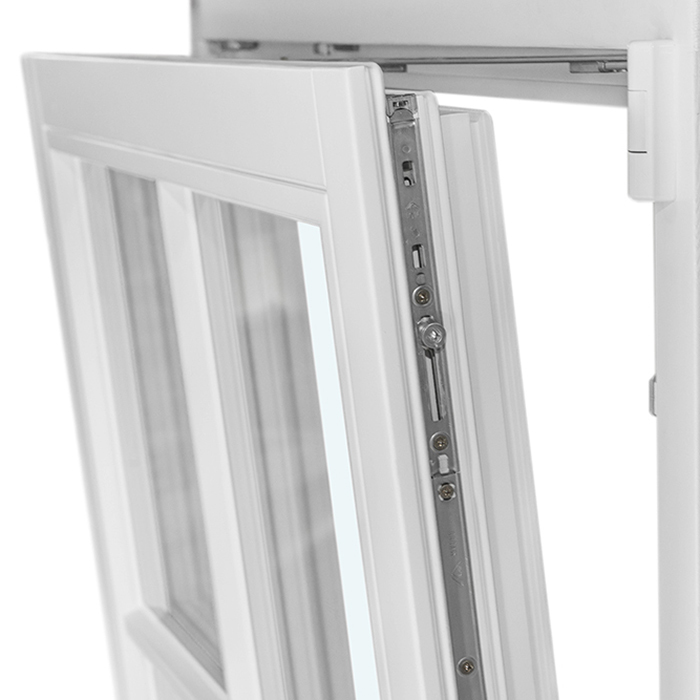
An inward-opening sash can bring its outer glass into the room for cleaning, which may be useful where exterior access is difficult. The compromise is its internal swing. A single-sash inward-opening window needs an unobstructed route over the basin, tap, sill and anything stored behind the sink. Test the complete leaf rather than checking only the bottom corner against the tap. Opening may require moving a drying rack or clearing the sill; decide whether that would be an occasional inconvenience or an irritating part of every use. The closing action must also remain comfortable when the worktop is damp or occupied.
Look above and beside the obvious tap conflict. The upper sash edge could meet a pendant light, open shelf or wall-cupboard door, while a projecting window board can reduce the usable rotation zone. Handle placement matters in both directions: a control that is reachable for opening must still permit a natural pull when the sash is being closed. If the sink is wide, consider whether a smaller opening section would be easier than one broad leaf. Ask the supplier to show the exact movement of the proposed configuration and test it against the finished kitchen drawing rather than assuming all inward-opening windows behave alike.
Check outward opening on both sides of the wall
Outward-opening windows keep the moving leaf away from the tap and worktop, making them worth considering above a deep sink or routinely busy counter. The clearance question moves outside rather than disappearing. Plot the sash in relation to paths, patios, planting, rainwater goods and any exterior shading arrangement. Indoor reach still matters because the handle remains beyond the sink. Do not choose outward opening merely because the kitchen elevation looks uncluttered; confirm that the exterior movement and the method for cleaning the outer pane are workable for the actual storey and surroundings.
An outward-opening top-hung window moves differently from a side-hung leaf and may avoid a lateral sweep across the exterior. Its suitability depends on the precise handle position, opening geometry and space above and beyond the frame. Ask how the selected size is operated and closed, rather than drawing conclusions from a small sample window. Plan outer-glass cleaning before ordering, especially above ground-floor level. It should use suitable access from a stable position or an appropriate professional method, not depend on leaning across the sink and through the opening. Exterior access must be treated as part of the specification, not postponed until the first clean.
Use handing to bring the control closer
Side-hung windows are often selected for appearance, but handing is a practical decision above a sink. Put the operating control where it can be reached without stretching around the tap or across an occupied drainer. A single-sash outward-opening side-hung window provides one leaf and one primary operating point, which may suit a narrow opening. For a wide opening, however, the far parts of one leaf can become difficult to manage or clean. Draw the hinge and handle on both the plan and elevation; the words left and right can otherwise be interpreted from different viewing positions.
A divided opening can provide smaller independently operated leaves, but a central meeting point may align badly with the mixer tap. Decide which sash would be used for everyday ventilation and make that control the easiest to reach. Check the second handle too, because occasional use and cleaning still require access. Outside, each leaf needs a clear path and should not create an unnoticed obstruction beside a route or seating area. The correct handing is the arrangement that works from the normal standing position and suits the exterior setting, not necessarily the one that creates the most visually symmetrical kitchen elevation.
Test a pivot window through its complete rotation
A pivot window introduces a rotating movement rather than a simple hinge arc. Depending on the selected design, part of the sash may move towards the room even when the window opens predominantly outwards. Above a sink, that can improve access to parts of the glass, but it can also conflict with a tall tap, deep sill or crowded rear worktop. A single-sash outward-opening vertical pivot window should therefore be assessed using its actual rotation zone and handle position. Ask for the operating sequence and the sash positions used for ventilation and cleaning; a front elevation alone cannot show those consequences.
Cleaning convenience is useful only if the kitchen can accommodate the required position. Consider whether the tap, soap pump and sill items can be cleared easily, where drips from the rotated glass will fall, and whether the cleaner has space to work while remaining on the floor. Do not assume a larger pivot arrangement operates like a smaller display unit. Compare exact information for the proposed configuration and size. If its movement remains difficult to demonstrate against the kitchen layout, a simpler opening style with a clearly understood reach and cleaning route may be the more dependable choice for a heavily used sink area.
Separate the view from the ventilation requirement
The window may be expected to provide daylight, a garden view and background ventilation, although those aims need not be delivered by one large opening sash. Where suitable ventilation is provided elsewhere in the kitchen, a fixed window can remove handle-reach and sash-clearance conflicts above the sink while preserving an uninterrupted glazed area. It does not provide direct ventilation at that position, and its outer face still requires a practical cleaning route. Judge that access honestly; calling a fixed unit simple does not make an inaccessible pane easy to maintain.
If ventilation is wanted at the sink, decide how much of the opening genuinely needs to move. A smaller operable portion placed to one side may be easier to reach than a large central sash. The choice affects the view, frame divisions, cleaning edges and control locations, so compare complete elevations rather than glass area alone. Also consider how ventilation will be used during cooking and washing-up: an opening that requires the tap area to be cleared first may rarely be used. The best arrangement assigns each part of the window a clear job instead of expecting the broadest possible sash to satisfy every aim.
Coordinate the tap, sill and glazing arrangement
Measure the tap as a moving fitting, not a static height. A swivel spout can enter the sash route, a pull-out hose may stand upright in use, and a lever can project further when turned. Ask the kitchen supplier for the complete movement envelope and include space for the hand operating both tap and window. A deep sill offers display space but pushes the glass and handle farther away. A flush or reduced projection can improve reach, although it changes the available ledge. The splashback’s finished thickness also matters, so the tap, sill and window cannot sensibly be specified in isolation.
A divided design can keep fixed glass immediately above the tap while placing an opening section closer to one side. A Kombi combination window is an alternative to discuss where separate fixed and operable areas may resolve competing needs. Confirm which portion opens, where its hardware sits and how every pane is cleaned. Do not let a permanently crowded sill become part of the operating method. If plants or containers must be removed whenever ventilation is wanted, the layout has shifted the problem rather than solved it. During a refurbishment, moving the tap or changing sash handing may be less disruptive than altering the whole structural opening.
Plan cleaning pane by pane
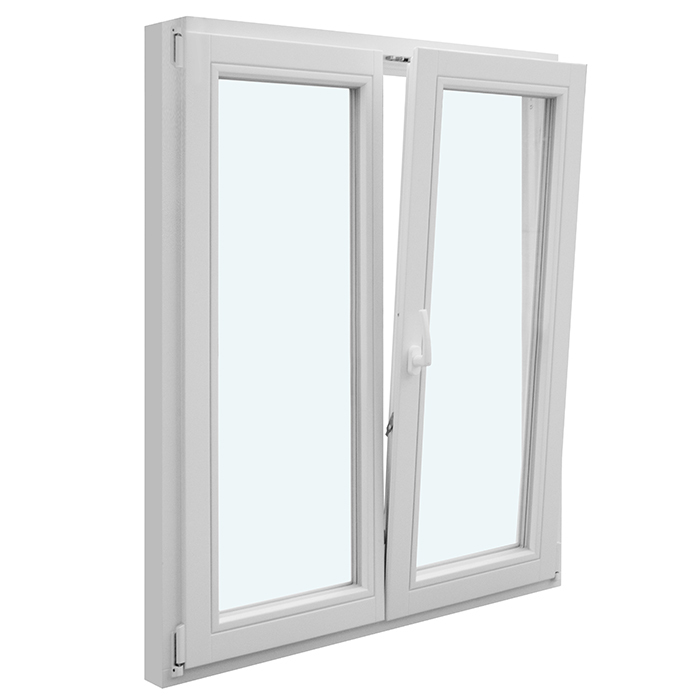
Write down how each glass face, frame edge and lower corner will be reached. Inside, check whether the tap prevents a cloth or squeegee reaching the bottom of the pane. Outside, establish whether cleaning is possible from ground level, from an accessible exterior area or through the intended sash position. A two-sash outward-opening side-hung window may divide a broad opening into smaller leaves, but both outer faces still need an appropriate route. Blinds and decorative bars can add edges and handling steps, while a large uninterrupted pane can make distant corners harder to reach.
Rehearse the cleaning sequence: clear the necessary part of the worktop, protect the surface, position the sash, clean accessible faces and return it safely to normal use. If the method depends on removing fittings, standing on the worktop or leaning through the opening, choose another method or reconsider the configuration. Ask the supplier which surfaces are accessible in each operating position and whether any part of the normal cleaning procedure differs from what the mock-up suggests. Select the arrangement around a routine the household will realistically follow, not around the unusually clear counter and easy access available immediately after installation.
Convert the survey into an order check
Give the supplier a dimensioned plan and elevation showing the finished worktop, bowl, tap, sill and adjacent cabinets. State the opening direction, hinge side, number of sashes and intended handle positions. Ask for confirmation of the operating movement and any configuration details affecting access or cleaning. The installer should receive the same information, particularly where the new frame meets an existing reveal or the worktop is fitted later. A shared written drawing is more reliable than assuming the kitchen designer, surveyor and installer have each allowed for work specified by another trade.
Check the order confirmation against that drawing, not against the product title alone. Confirm dimensions, handing, glazing layout, hardware position, finish and opening configuration before release. Bloomcabin’s stated delivery period is 4–6 weeks subject to order confirmation, so coordinate removal, fitting, worktop templating and plumbing around the confirmed programme rather than an estimate. Bloomcabin windows and doors have a 5-year warranty; retain the order and installation records with the kitchen documents. If the tap, worktop or sink changes after survey, pause and repeat the reach, clearance and cleaning checks before the window proceeds.
Frequently asked questions
Should a kitchen sink window open inwards or outwards?
Neither direction is universally better. Inward opening may make the outer pane more accessible, but its leaf needs protected space above the tap and sink. Outward opening keeps the worktop clearer but needs an exterior clearance and cleaning assessment. Test the exact sash movement and handle location against finished dimensions.
Can a tall mixer tap sit in front of an opening window?
Only if its complete movement is compatible with the selected sash. Measure the tap at its highest point and plot the swivel, lever and hose positions. Then allow room for the hand operating the window. A narrow gap that prevents contact may still be too restricted for comfortable everyday use.
Is fixed glazing sensible above a sink?
It can be, particularly where daylight and the view are priorities and suitable ventilation is provided elsewhere. Fixed glazing removes the opening arc and handle-reach problem, but it cannot ventilate at that position. The outside surface and internal corners must still have a realistic cleaning route.
Where should the window handle be positioned?
Position it according to the normal standing place, the worktop’s front edge and the space occupied by the tap. Do not judge reach from the centre of the wall opening. Obtain the handle location for the exact proposed sash, mark it at full size and let regular users test it.
What information should be ready for the window survey?
Provide confirmed dimensions for the worktop, sink, tap, splashback and sill, together with a plan and elevation. Show the usual standing position and objects likely to remain near the sink. State your preferred opening direction, but ask the surveyor and supplier to test it against clearance, access and cleaning.
Next step
A successful sink window remains convenient after the kitchen is fully equipped and in everyday use. Begin with the finished worktop, basin and tap, then test the repeated actions of reaching, unlocking, opening, closing and cleaning. Compare inward, outward, side-hung, pivoting, fixed and combination arrangements by their actual movements rather than appearance alone. A full-size mock-up and dimensioned drawing will expose conflicts early. Once the layout works, confirm the exact handing, hardware and glazing arrangement on the order and repeat the checks if any kitchen component changes.
