
Planning Evening Lighting Around an Outdoor Sauna
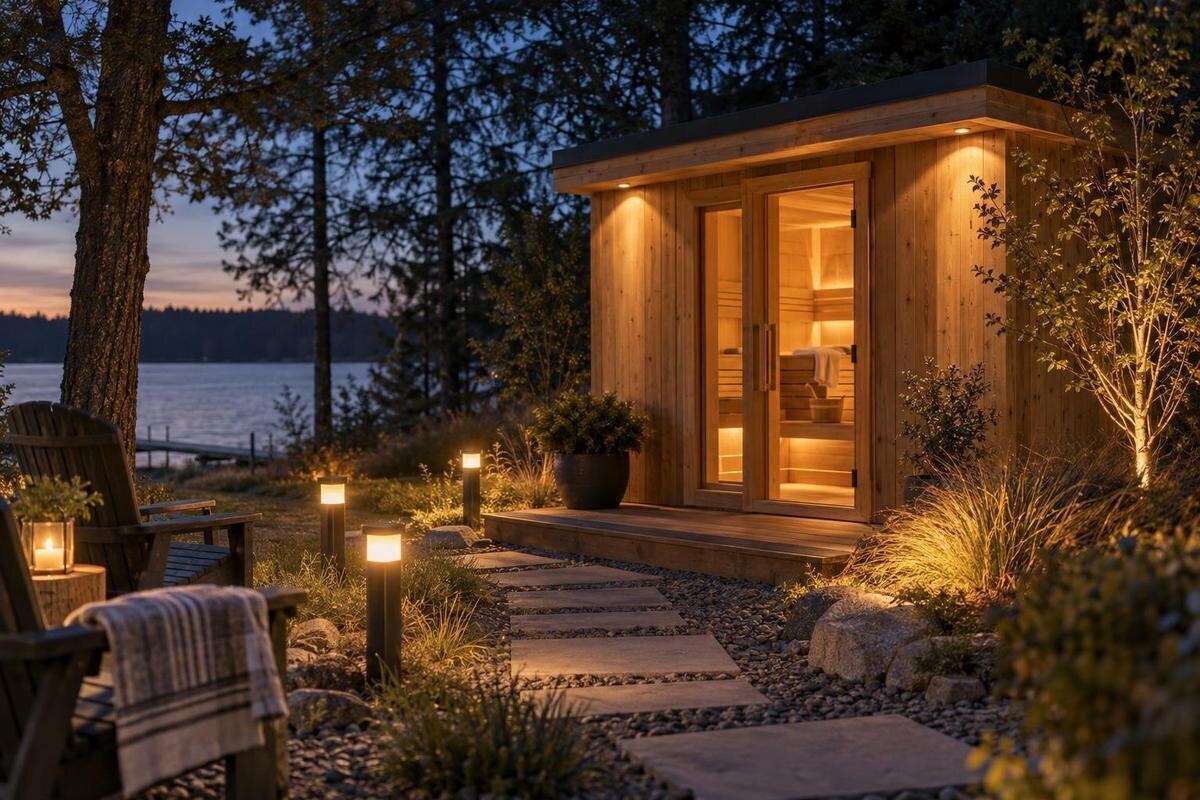
Outdoor sauna lighting
An evening sauna visit starts before the door opens. The route may include a turn across the garden, a change in level, a threshold and a place to sit afterwards; each point asks for a different kind of visibility. Planning them as one journey helps avoid bright patches beside dark gaps, glare at eye level and a rest area that is awkward to use. This guide focuses on exterior approach and relaxation-area lighting. It does not assume outdoor lighting is included with the sauna.
Before buying 1
Map the whole journey before placing lights
Walk the route you expect to use after dark, starting at the house or usual outdoor arrival point and ending at the sauna and rest area. Mark every turn, gate, level change, narrow stretch and threshold instead of drawing one line between two buildings. Include the return journey: the doorway and path must remain readable when you leave, not only when you arrive. Note where people are likely to pause to unlock the door, put something down, turn around or look for the seating. Those stopping points can need a different view of the ground from the one provided while walking, and can reveal where a light might shine into someone’s face.
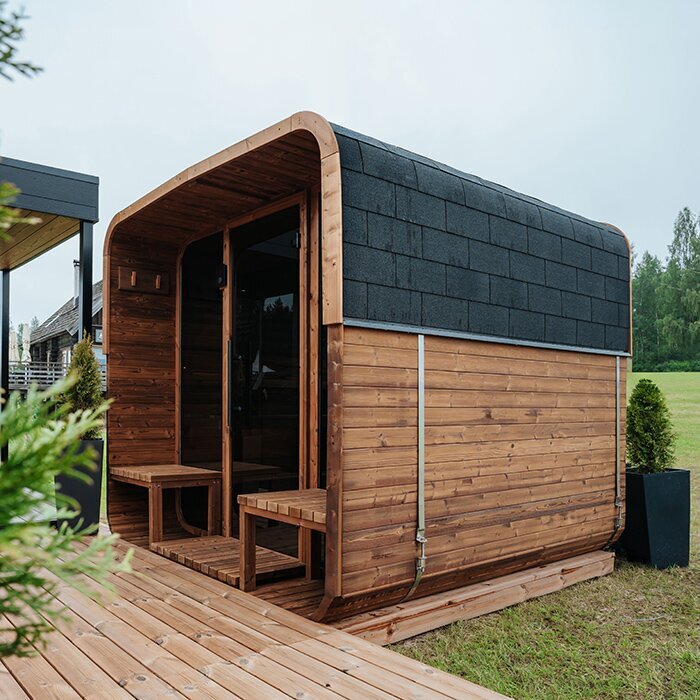
Add the proposed sauna position, entrance orientation, seating and existing lights to a simple site plan. Include paving edges, planting, fences, walls, windows and routes used by other people; these can interrupt a beam or cast shadows. Keep the plan tied to the exact model. The product information for Thermowood Barrel Sauna HCF-300 records 6.89 m², but an area figure is not a dimensioned layout and does not locate a doorway. Use the applicable manufacturer drawing and instructions to confirm the position, door swing and required clearances before setting light points.
Light the approach as a connected route
Along the approach, aim for a legible route rather than a brightly lit garden. A path can be read through modest, repeated cues on the surface or its edge; the important thing is that turns and changes in width do not disappear into unlit gaps. Avoid isolated pools so far apart that the next section of paving is hard to distinguish, or a harsh source that washes out nearby detail. The appropriate spacing and output depend on the fitting, mounting position, surface and surrounding light, so they should be set for the actual site rather than copied from a generic diagram. Include existing porch or garden lights in that assessment.
Look at the approach from both ends, including the view as you come out of the sauna. Light aimed towards the path should not shine directly into the eyes of someone walking towards it. Pale paving, dark gravel, a nearby wall and plants beside the route can change how the same fitting appears. When planning an approach to Thermowood Barrel Sauna LCF-300, mark where the path meets the entrance rather than aiming it towards the centre of the cabin. Check that the final stretch remains visible from both directions and that surrounding lights do not obscure the details you need to see.
Before buying 2
Make steps and changes in level easy to see
Steps, small changes in level, edging and transitions between paving and lawn deserve their own check. The aim is to make the change in surface easy to recognise before you reach it. Light that reveals the tread or edge from the direction of travel is more useful than a bright point that leaves a step face in shadow. Check the view from the approach and on the return; a fitting that looks clear from one direction may cast an awkward shadow from the other. Include landings and the last few metres to the door, where attention may shift from the path to the handle.
On a plan, mark the top and bottom of each step, any landing and the point where the sauna threshold meets the path. Have the installer assess the proposed lighting positions so the light does not create a misleading band of brightness or obscure an edge. If you are considering Sauna S-140, use its exact product drawing alongside the on-site levels to plan the entrance transition. Check the view from normal walking height in both directions, paying particular attention to the point where someone steps off the path or turns towards the door.
Low-glare lighting at the sauna entrance
At the entrance, people need to recognise the door, handle, threshold and immediate surface change without looking into a lamp. Place the exterior light to reveal those details from the approach and from the point where the door is operated. A source directly opposite the opening can silhouette a person or throw a shadow across the threshold, so consider the direction of travel and actual door swing, not just the view from the garden. The light should not obstruct normal opening or closing. Keep fixture placement and electrical work within the professional plan, especially where the door, wall and path meet.
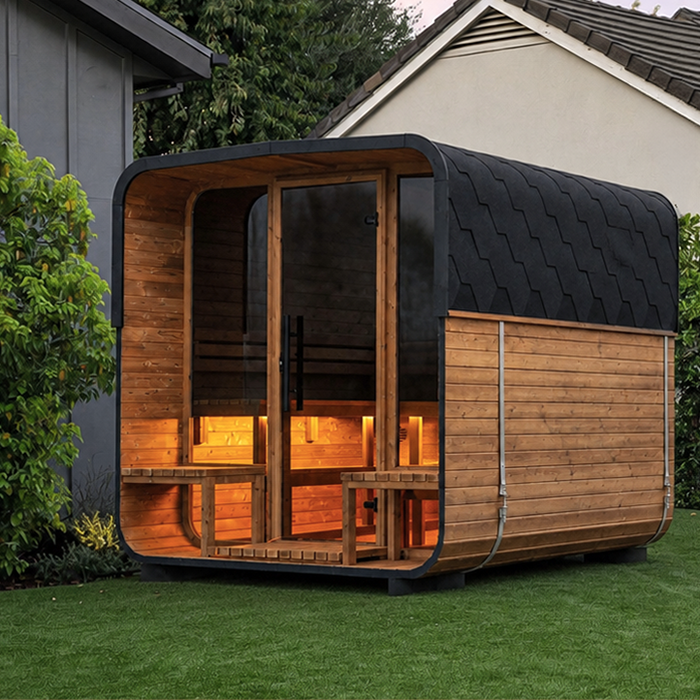
Treat the sauna interior as a separate lighting question. A fitting chosen for the path or doorway is not automatically suitable inside a heated cabin, and a sauna light does not automatically illuminate the outside entrance. Check the exact model’s instructions and what its configuration includes. For Sauna HC-150, confirm the relevant product details rather than assuming exterior entrance lighting is part of the sauna package. The outside light needs a separate specification for its position, exposure and viewing angle; do not use an indoor inclusion as a substitute without that check.
Before buying 3
Plan separate lighting for the outdoor resting area
The resting area needs enough light to find a seat, sit down, get up and return to the path, but it need not be lit like a work area. Separate gentle ambient light from any brighter task light used to find or put away belongings. Keep the walking connection visible even when the seating light is reduced or switched off. Decide whether seats face the sauna, garden or house, then check whether a lamp falls directly in a seated person’s line of sight or leaves their surroundings unevenly lit. Consider where someone will move between the chair and the route.
Mark the seating footprint and clear circulation space on the same plan as the sauna. The catalogue information for Thermowood Barrel Sauna HC-225 records 4.4 m²; plan the outdoor resting area separately rather than treating that figure as space available for furniture. Measure the actual site and place furniture before fixing light positions. Check the arrangement with someone seated, standing beside the chair and moving back towards the path, as each position changes the shadows. A separate control for this zone can keep the seating gently lit while the route remains clearly visible.
Check glare from the path, seat and house
Check glare from the positions where people will actually be: walking towards the sauna, standing at the door and sitting in the rest area. A fitting that seems unobtrusive when viewed from the house may sit directly in the eye line from a chair. Shielding, careful aiming or a diffused source can help, but the selected product and placement have to suit the site. Also look for reflections in glazing, if present, and on glossy surfaces or paving after rain; a reflected source can be as distracting as a bare lamp. Check the view from the normal approach, not only from one design viewpoint.
Mark sight lines from the house, nearby windows and the main path, then consider how planting, walls and the sauna itself interrupt them. This can help limit light spill into a neighbour’s window and avoid illuminating parts of the garden that do not need it. If Sauna N-210 is on your shortlist, use its manufacturer’s plan to place it on the site sketch and assess these views. Have the lighting professional review the proposed light sources at normal standing and seated eye level. Identify the particular window, chair or stretch of path affected so any adjustment addresses the actual view.
Before buying 4
Specify fittings for their actual outdoor exposure
Outdoor fittings must suit the conditions at their exact positions, not just carry an outdoor label. Tell the professional whether each light will face direct rain, wind-driven water, dust, full sun, irrigation spray or a sheltered wall. Ask them to check the manufacturer’s environmental rating and mounting instructions for each location; do not guess a rating from the fitting’s appearance. A light near the sauna also needs to be positioned in line with that sauna manufacturer’s instructions. Two points only a short distance apart can still have different exposure.
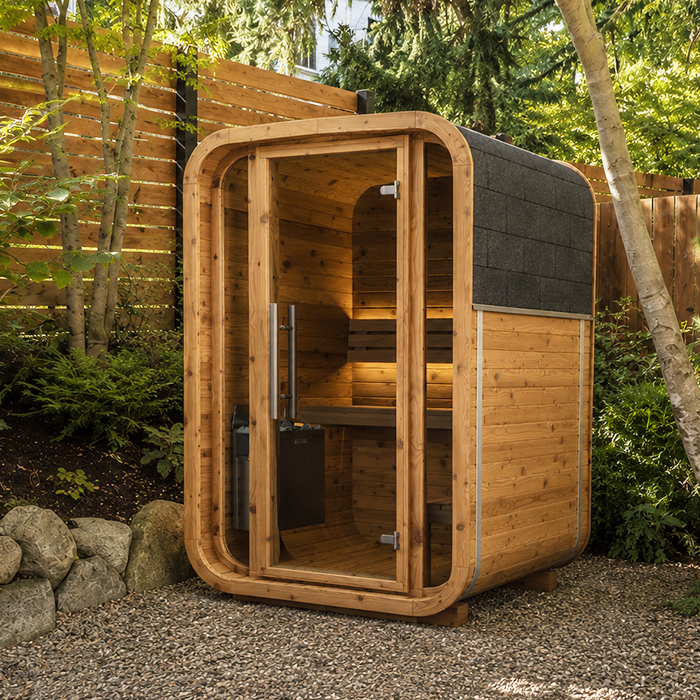
Put the fittings, drivers or controls, finish, maintenance access and replacement needs on one schedule. Check separately what is included with the sauna and what must be supplied as part of the garden lighting. A product link identifies a model, not a promise of extras: check the current inclusions and instructions for Thermowood Barrel Sauna N-250 (5.27 m²) before ordering related equipment. Keep any indoor sauna lighting distinct from the outside path, door and seating fittings, and confirm that every outdoor item is specified for its own location.
Keep the lighting controls simple and coordinated
Think through the controls as part of the route. It is useful to be able to illuminate the approach and any steps before setting off, while keeping the rest-area light on or off independently. If all outdoor points are controlled together, a bright seating light may be left on just to keep the path visible, or the path may go dark when the relaxation light is switched off. Decide which zones should operate together, and discuss dimming, timers or sensors only where the selected equipment and site make them suitable. The control arrangement should be understandable to guests as well as regular users.
The controls should be easy to understand at the point of use, and the plan should work for the walk home as well as arrival. Ask the installer to consider what happens if a sensor does not detect someone who is seated, or if a timer ends while the area is still in use; a manual way to restore needed light may be important. If you are considering Sauna LC-260, distinguish its own controls from those proposed for the outdoor lighting. Make the intended operation clear: which control brings on the return route, where it is reached and whether the seating light can remain off.
Before buying 5
Give the electrician one coordinated lighting plan
Give the electrician or lighting professional a single plan showing the route, steps, entrance, rest area, existing lights, surfaces, sauna position and sight lines. Include which zones should be independently controlled and what tasks need light, rather than asking for more brightness in general. Provide the exact model’s current manufacturer instructions and drawings, along with the specifications of any fittings already selected. The professional can then specify light distribution, positions, controls and installation for the actual site without relying on generic spacing advice. Flag exposure differences between the approach, a covered doorway and open seating.
Ask for the sauna and garden-lighting inclusions to be itemised separately. Confirm whether any listed light is inside the cabin, outside it or part of a separate purchase, and which controls serve each one; a product category name alone does not establish that. The final schedule should identify each fitting by its verified outdoor suitability and intended zone, and note any product information that still needs confirmation. This prevents a lighting plan from depending on an accessory that was never included or on a control that does not operate the outside route. Keep the plan and product instructions together for installation and future changes.
Test the lighting after dark and review it over time
Review the installation after dark, when the light can be judged in the conditions it is meant for. Walk from the house, approach the entrance from both directions, pause at the door, then sit and stand in the rest area. Test the normal combinations of switches and controls, including the route light with the seating light off. Look for a dark gap, a shadow hiding a step, a visible lamp in the seated eye line or a door area that still needs a phone torch. Record exact positions and views rather than describing the scheme only as too bright or too dim.
Have a qualified professional adjust fittings or controls if the walkthrough reveals a problem; do not alter wiring or mounting yourself. Recheck after plants grow, furniture moves or the outdoor surfaces change, and follow manufacturers’ instructions for cleaning and care. Light can also look different on a wet evening, so note whether reflections obscure paving or direct a bright source towards a window. The useful result is a route that remains easy to read and a sitting area that can be lit without flooding the whole garden.
Frequently asked questions
How many lights do I need along an outdoor sauna path?
There is no reliable fixed count: route length, bends, existing light, surface and changes in level all matter, as do the selected fittings and their positions. Mark where the route becomes hard to read, then have the scheme specified for the actual site. More fittings are not automatically better if their beams overlap or shine into people’s eyes.
Should the path and rest area have separate switches?
Separate controls are useful when the approach, entrance and seating serve different tasks. Keep the approach and any level changes lit when the rest-area light is off or dimmed. The right grouping depends on the layout and equipment, so agree how arrival and departure should work with the electrician before choosing switches, sensors or timers.
Can the sauna’s own light illuminate the entrance?
Only if the supplier’s current inclusions and instructions confirm that it is intended to do so. An interior sauna light, if included, does not automatically illuminate the outdoor path, threshold or seating area. Treat these as separate zones and have each fitting specified for its actual environment. A product title alone does not confirm which extras are supplied.
How can I reduce glare from a garden light?
Check the light from the path, doorway and seated position, not only from the house. Keep the source out of direct eye lines where possible, and look for reflections in any glazing and on paving, especially after rain. A shielded or carefully aimed fitting may help, but the electrician should select a suitable product and position for the site.
Are solar lights suitable for the approach?
Possibly, but suitability depends on the exact product and the conditions at its intended location. Check the manufacturer’s information for outdoor use, light output, charging conditions, operating time, controls and maintenance rather than assuming these from a product image. Test whether the light remains useful when you need it; if not, discuss another option with a professional.
A useful evening lighting plan makes the route legible, identifies the entrance and lets the resting area be lit without flooding the garden. Begin with the actual site and exact sauna position, separate exterior lighting from any cabin fittings, and have the equipment and installation specified professionally. Then walk the route after dark from the viewpoints that matter. The aim is not maximum brightness, but clear transitions, controlled glare and light available where it is needed.
