
Planning a Garden Sauna with an Optional Shower and Rest Area
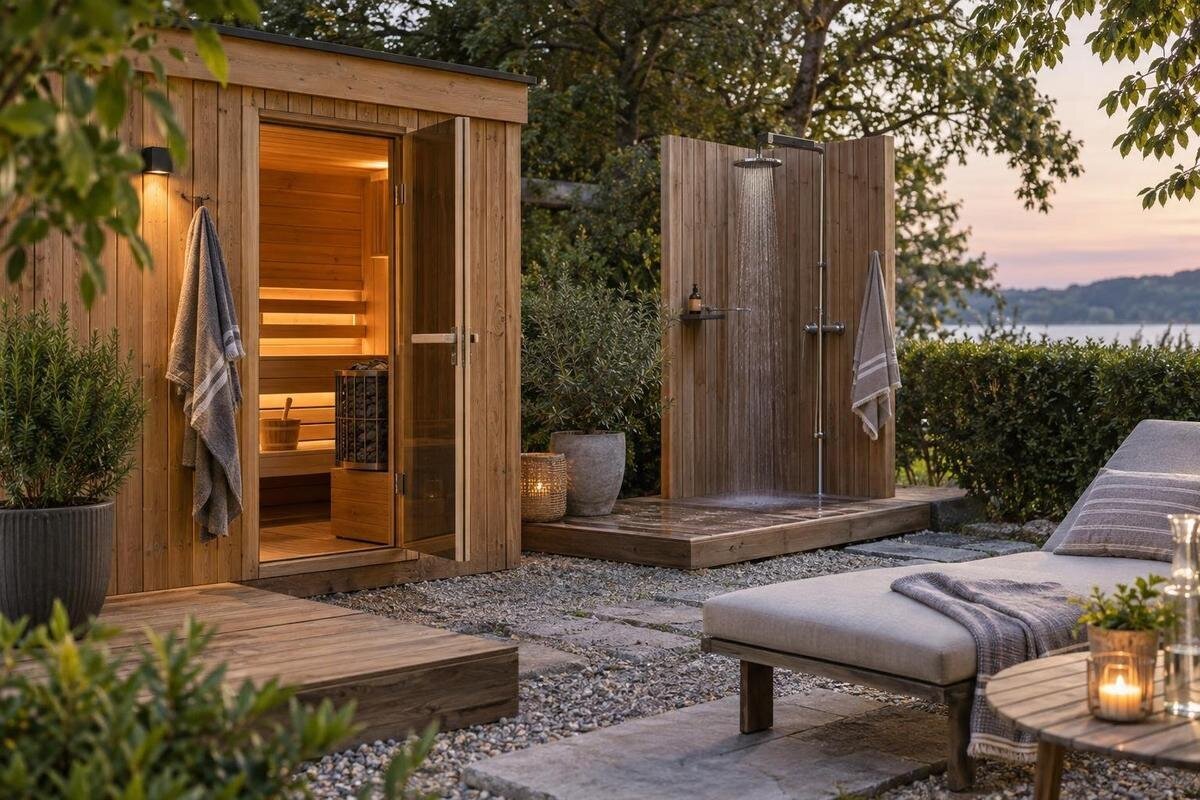
Garden sauna planning
A garden sauna area works best as a deliberately arranged part of the property, not as a cabin dropped at the end of a path. You may want a direct route to an optional shower, a place to sit and take a break, room to change, and a discreet way back to the house. Those needs affect where the sauna faces, how people move around it and where water can go. Plan the whole sequence before choosing paving, screens or furniture. Treat the sauna, shower, services and rest-area items as separate specifications: a product listing identifies a sauna model, but it does not establish what site preparation, plumbing, furnishings or other extras are included.
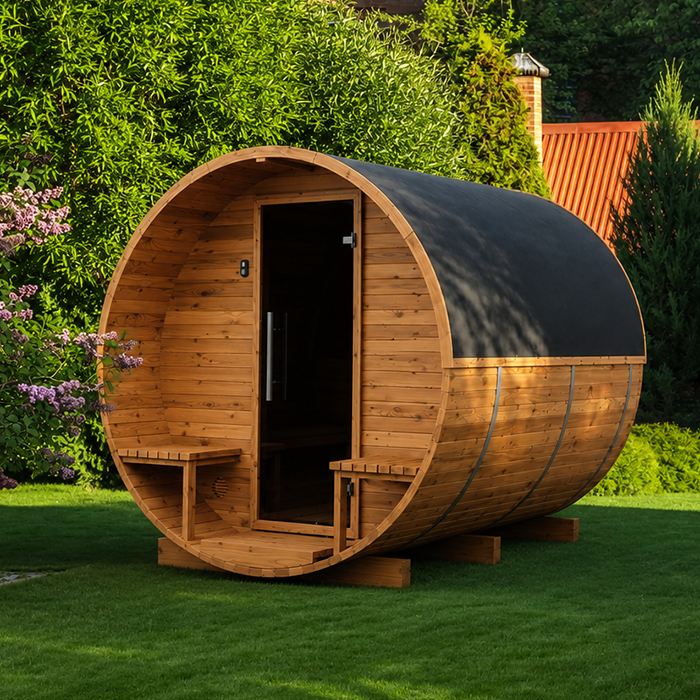
Draw the complete route first
Begin with how people will move through the space, not with the cabin outline alone. Mark the route from the house or garden entrance to the sauna, then the possible shower, changing and resting areas. Decide whether users should be able to go directly to a seat, where they will leave shoes, robes or towels, and where a companion can wait without blocking the route. If the shower is optional, draw the layout both with and without it. This shows whether the rest area has enough space of its own and whether people using the shower would have to walk through the dry seating area.
Measure the usable area, boundaries, existing paths, doors, trees, taps, drains and other fixed obstacles. Put them on a scaled plan before sketching alternatives; a rough drawing can hide awkward turns or an entrance facing a fence. Use the selected sauna’s current manufacturer drawing for its footprint, entry position and specified clearances, rather than estimating from a photograph. The Sauna N-250 listing is one model to assess against that measured site. Confirm the exact local configuration and availability before treating any listing as a final selection, and retain room around the marked footprint for the separate route and outdoor features.
Choose the order of the sauna, shower and seating
Choose a sequence that matches how you expect to use the area. A direct sauna-to-shower route may suit someone who wants to rinse before sitting; another person may prefer to reach a seat without passing the shower. There is no required order, but the route should be easy to follow and should not make one person wait in a doorway while another crosses with wet feet or a towel. Include a place to change or set down belongings if needed, and decide how the route returns to the house. A clear sequence can make the garden area feel more usable than adding separate features without considering how they connect.
A straight arrangement can make the route easy to understand, while an L-shaped plan may put the rest area around a corner or create separation from the shower. Neither is automatically better: a bend can improve privacy but create a pinch point, while a direct line may leave seating more exposed. Draw the actual doors, screens and furniture in both options, then trace each route. For the LC-260 model, use current manufacturer information to compare the entrance position with your preferred arrangement. Keep the path continuous in either version, with room to pass without crossing through the shower area.
Allow for the sauna entrance and circulation
The sauna entrance needs a clear approach of its own, separate from the general path around the garden. Allow for the door to open as the manufacturer specifies, for someone to pause while entering or leaving, and for another person to wait without standing in the shower’s splash area. Show where each person would stand rather than allowing only for the door’s movement. Avoid placing a bench, towel stand or screen where it narrows the approach. The threshold and any change in level also affect how easily people can move from the path into the cabin.
Mark the door movement and walking lines at full scale with removable markers or string before placing paving or furniture. Walk the proposed route carrying a towel, and check that it still works when the shower is occupied and someone is using the rest area. If any regular user needs a wider or step-free route, include that need at the outset and ask an appropriately qualified access or building professional about suitable dimensions and transitions. For Sauna HCF-300, use the model’s confirmed drawing and instructions to plot the entrance approach; a photograph does not show the clearance your particular site requires.
Plan the shower as a separate wet area
Treat the shower as a separate wet zone, whether you choose an open rinse point or a more screened enclosure. Place it close enough to the sauna for the route to make sense, but consider where spray and wet footwear will reach. A shower sharing the narrowest part of the path can interrupt access to both areas; one facing the seating may make that space feel exposed. Consider privacy from the house and garden as well as wind and sun. Show the shower footprint, controls and any screen on the plan so you can check that the route remains clear. Do not assume that shower fittings or a shower area come with the sauna.
Water supply, drainage, hot-water arrangements if wanted, waterproofing and surface finishes need their own specification. Ask a qualified plumber to assess how the proposed point can be supplied and where its water will go; do not rely on a convenient-looking drain or send water across a walking path. A sauna listing such as the Sauna LCF-300 product page is not, by itself, a specification for a shower installation. Check the actual inclusions and plan plumbing and site work separately. Keep controls and serviceable parts accessible, and agree on the shower’s final position before paving or screening fixes the layout.
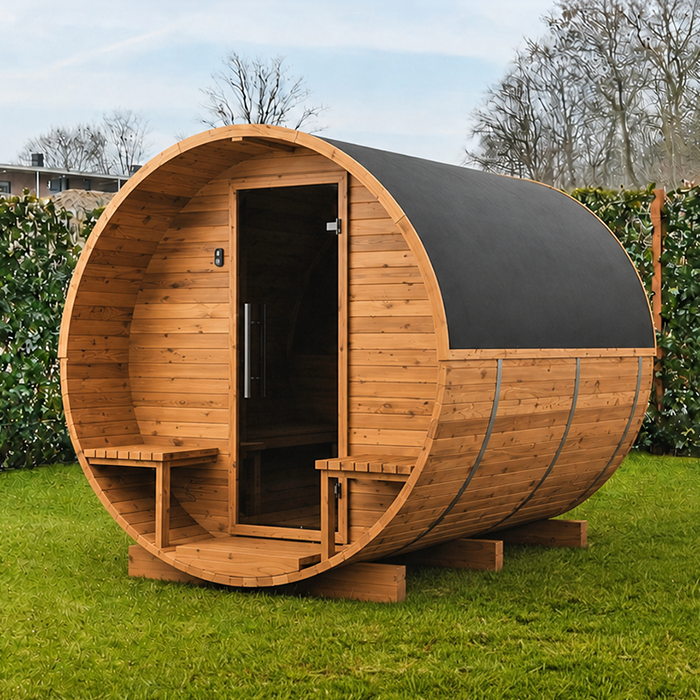
Separate wet routes from dry seating
Plan where people will walk with wet feet and where belongings need to stay dry. Splashes and drips can reach beyond the shower bay, particularly where the route turns or narrows. Choose walking surfaces for the intended outdoor and wet use, with help from a suitable supplier or contractor, and have drainage planned so water does not collect where people stand or walk. The aim is a clear transition into the seating area, not a claim that any particular paving material is automatically safe. Keep cushions, folded towels and other items that should stay dry away from the likely splash path.
Make room for the pause between showering and sitting: somewhere to hang or set down a towel, change if needed, and move without blocking another person. A screen can offer separation, but it should not force wet users to cross in front of seated guests or make cleaning access difficult. Position storage and loose furniture outside the sauna’s specified clearances and keep them from narrowing the route. If you are considering the Sauna S-140, plot its confirmed footprint alongside the separate drying and seating areas. Check that a towel stand can be reached from the shower without dripping over dry belongings.
Choose a comfortable position for the rest area
Place seating where it feels like a worthwhile stop, rather than wherever the final gap happens to be. Observe the garden at the times you expect to use it: direct sun, shade, wind and views can affect the comfort and privacy of an outdoor rest area. Keep seating clear of shower spray and avoid a route that cuts between every seat and the sauna entrance. If shade or a wind screen is part of the design, specify it as a separate garden element and check that it does not interfere with access or the sauna’s manufacturer-stated clearances. Do not assume a sauna listing includes adjacent shelter or furniture.
Size the seating arrangement around the number of people likely to use it at once, but allow room to stand, turn and pass rather than counting only the furniture footprint. Decide whether the area is for a short pause, conversation or a quieter spot apart from the house; that affects its relationship to the route and other garden activity. If the HC-150 sauna is on your shortlist, use its confirmed dimensions to work out how much space remains for seating. Draw the furniture in its intended position, including the space needed to get up without stepping into the main route.
Check sightlines before adding screens
Privacy needs differ between the shower, cabin entrance and rest area, so assess each from the position where people will actually be standing or sitting. Note views from the house, neighbouring windows and regularly used parts of the garden, then decide which views you want to keep. A screen, fence or planting can address a particular sightline, but may also shade the seating or make a route feel enclosed. Check the view from more than one position rather than enclosing the whole sauna area by default. Screening and planting are landscape choices, separate from the sauna’s construction.
Show any proposed screen on the same drawing as the door, shower controls, path and service access. Leave a clear approach, and do not put a planting bed or panel where it hides a step, blocks maintenance access or narrows the route. If you are considering the HC-225 model, confirm its entrance position and exterior layout before deciding where screens should stand. A small change in orientation may resolve an awkward sightline without enclosing the rest area. Compare that option with the space available for walking and sitting, so that improving privacy in one zone does not make another difficult to use.
Coordinate services and maintenance access
Keep building, plumbing and electrical decisions coordinated but separately specified. The sauna’s heater and electrical supply have model-specific requirements, so have a qualified electrician work from current manufacturer information; this guide is not an installation plan. A plumber should independently specify the shower supply and drainage. Their proposed routes may affect where you can put paving, screens or seating, so agree on them before those elements are fixed. Do not make a water plan on the assumption that a sauna has a shower connection, or that an electrical supply is part of the product.
Plan access for inspection, cleaning and future repairs while the garden is still on paper. A bench or screen may look unobtrusive but become an obstacle if it covers a service point or leaves no room to work. Ask the sauna supplier which clearances and access points must remain, and show the electrician, plumber and builder the same layout. If you select the Sauna N-210, record its confirmed configuration and technical requirements on that shared plan. Identify which fittings or garden elements might obstruct access, and keep responsibility for the sauna installation and separate site services clear.
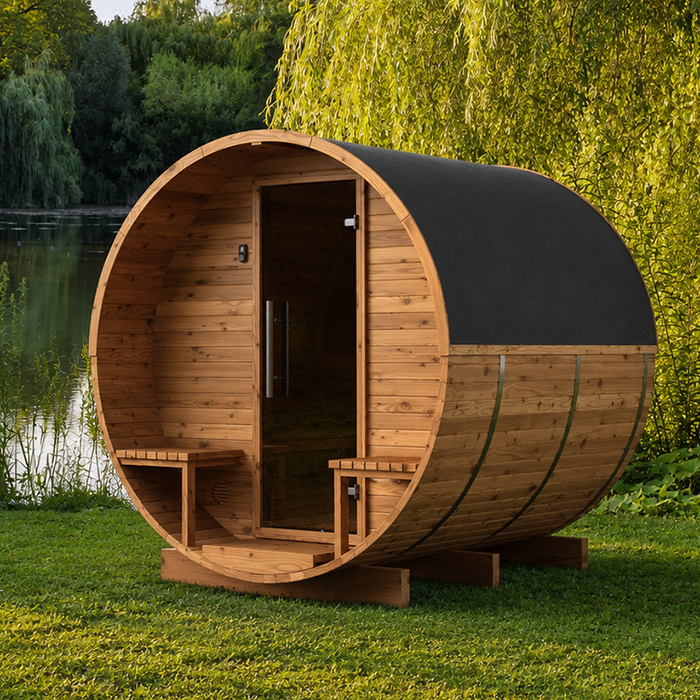
Include ground conditions and delivery access
Ground preparation belongs in the layout because the cabin, route and wet area all depend on how the site is prepared. Do not assume one generic base suits every sauna or garden. Use the selected manufacturer’s instructions and ask an appropriately qualified builder or other relevant professional to assess the intended position, existing ground and any work needed. Resolve the shower’s drainage and the path’s levels as part of the site design, not after the cabin and paving are in place. Avoid directing water across the main walking route or towards a low point where it could collect. Where levels change, have the transition and drainage considered together.
Plan how the sauna and separate components will reach their positions. Gates, narrow side passages, steps, branches and established garden features can affect delivery or assembly; check the route with the supplier and builder before finalising a secluded location. Mark existing utilities and obtain professional advice before excavation or service work. A neat layout is not useful if its access is impractical or its maintenance route disappears behind planting. Keep room in the drawing for the actual installation and future upkeep, and confirm who is responsible for any path, base, drainage or landscaping work.
Test the complete layout before work begins
Before buying materials, make a scaled final plan and test the human route with temporary markers. Show the sauna footprint and door movement, optional shower, wet and dry surfaces, seat, towel storage, screens, drainage route and paths to and from the house. Walk through it with the people who will use it, including anyone who needs extra room or a simpler route. Check the view from the shower and seat, and whether people can pass without crossing the entrance or knocking into furniture. Adjust the drawing first, where moving an item is easier than moving installed paving.
Use a short written schedule to keep separate decisions from blending together: the chosen sauna and its manufacturer information; the shower and plumbing; heater supply and electrical work; base and construction; and furniture, screens, paving and planting. Confirm current local availability, exact configuration and written inclusions for the sauna. Ask the relevant qualified professionals to resolve dimensions, drainage, electrical work and construction details for this site. If the shower remains optional, preserve the intended route, but do not count on adding it later without checking the space and services with the professionals involved.
Frequently asked questions
Does a garden sauna usually include an outdoor shower?
Do not assume that it does. Treat the shower, water supply, drainage, screens, seating and path work as separate items until you have checked the written inclusions for the exact sauna configuration. A model name alone does not describe a complete garden installation.
How much space should I leave between the sauna, shower and seating?
There is no single gap that suits every site. Start with the selected sauna’s current manufacturer drawing and specified clearances, then allow for the door, a clear walking route, the shower footprint, furniture and maintenance access. Have relevant professionals review site-specific dimensions.
Where should an outdoor shower go?
Place it where the route from the sauna makes sense, while keeping spray and wet-foot traffic away from seating and dry belongings. Consider privacy and access to the water controls as well. Ask a qualified plumber to assess supply, drainage and the proposed position before fixing paving or screens.
Can I add the shower or rest area later?
It may be possible, but a later addition can be difficult if the route, space or services were not considered at the outset. Discuss the intended shower position, water and drainage with a plumber, and keep a practical area for seating and access in the plan. Confirm any proposed future work with the relevant professionals.
What should I show on a garden sauna layout?
Include the sauna’s confirmed footprint and entrance, specified clearances, routes, optional shower, seating, screens, towel storage and service access. Also show existing paths and obstacles, and identify where water and other services need professional assessment. This makes it easier to spot conflicts before work begins.
A well-planned garden sauna area gives each activity enough room without making the route unnecessarily complicated. The optional shower should connect conveniently to the sauna while keeping spray and wet feet away from dry seating and belongings. The rest area should offer a comfortable place to pause without blocking the entrance or maintenance access. Drawing these elements together—and testing the layout both with and without the shower—helps you create a coherent garden space, whether you install everything at once or keep some elements for later.
