
Glass or Timber Sauna Front: Privacy and Appearance
SAUNA FRONT GUIDE
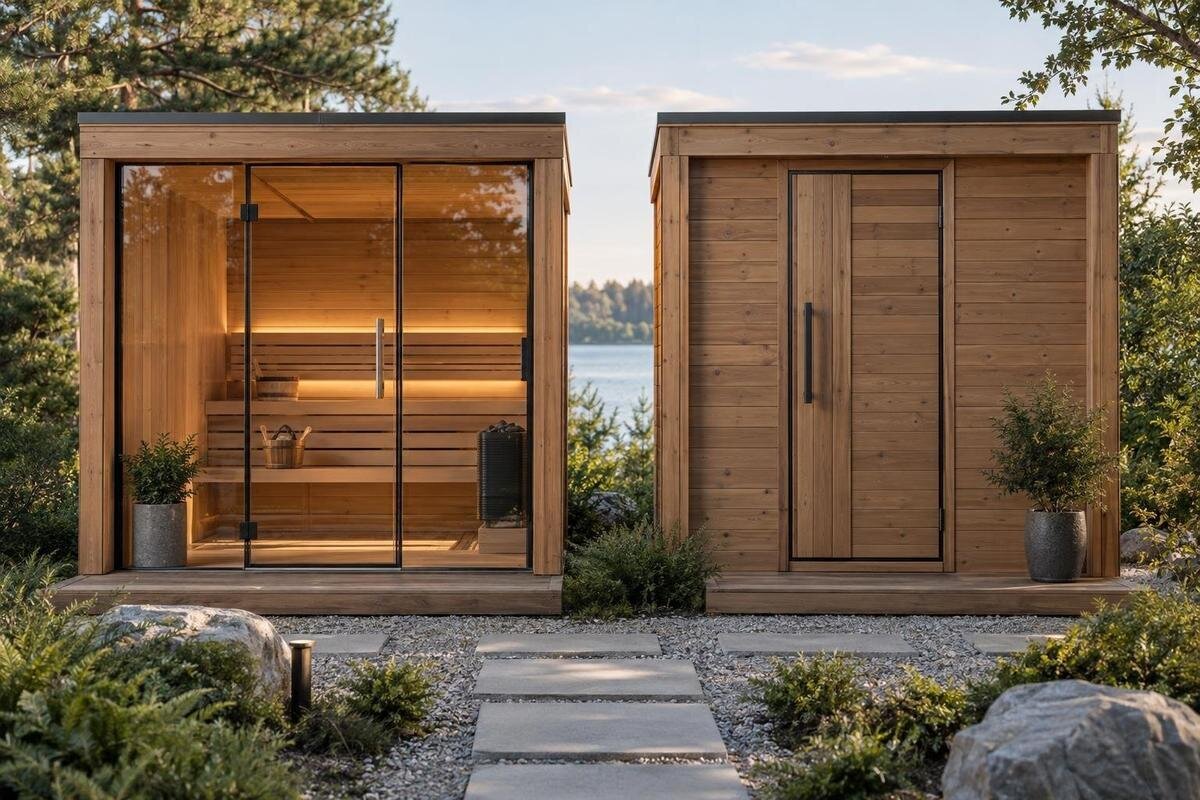
A sauna’s front affects two views at once: what someone inside can see and what a person outside can see inside the cabin. Glass can create a lighter, more open appearance, while a mostly timber front can feel more enclosed, but neither label tells you exactly what is included. Compare the placement of every pane with the site’s sight lines, the daylight you want and the exterior character you prefer. The decisive question is how the actual front looks from the sauna and from the places around it.
Before choosing 1
What counts as a glass or timber sauna front?
People use “glass front” to describe several arrangements: a broadly glazed elevation, a timber-framed face with large panes, or simply a sauna door with glass. “Timber front” can describe a mostly solid face that still has a glazed door or small window. These choices create very different views. Before comparing appearance, identify which parts of the elevation are transparent, which are opaque, and how much glazing sits at eye level. Ask whether a description refers to the complete front, just the door or an optional arrangement. A sauna built chiefly in timber can still have a front dominated by glass, so the cabin’s main material is a separate question. This keeps the comparison focused on the visible front rather than a broad product label.
Product names and category labels do not settle those details. The catalogue entry for Sauna LC-260 identifies a Thermowood Barrel Sauna and lists 5.12 m²; neither fact establishes its front configuration. Use the listing to identify a candidate, then compare the exact offer with the applicable manufacturer’s drawing, manual or written inclusion list. Look for the door, fixed panes, opaque sections and optional arrangements. If the offer uses an option code, have it matched to the drawing. This gives you a defined configuration to compare rather than a broad material label.
Check sight lines from both sides
Privacy is determined by lines of sight, not by a material name alone. Consider the route a visitor takes towards the sauna, the patio or seating area, nearby windows and places where people regularly pass. From inside, look out from both the seated position and the standing position near the door; from outside, check the approach and the main areas around it. A front that feels private while seated may reveal more when someone stands or opens the door. Nearby house windows can also create a view that is missed from patio level. This assessment is about the sauna’s front and its immediate sight lines, not designing a separate garden screen or reshaping the wider landscape.
Mark those viewpoints on a front elevation or simple site sketch. For a candidate such as the Sauna HCF-300 model, use the drawing of the configuration you would receive, not a generic sauna image. Check whether a clear pane faces the approach, a neighbouring window or a frequently used outdoor area. Include upper-floor windows, balconies and raised decks; a check from patio level alone may miss them. Repeat the assessment in daylight and after dark, because interior lighting can make a transparent front more noticeable outside. A daytime photograph cannot show how exposed evening use might feel.
Before choosing 2
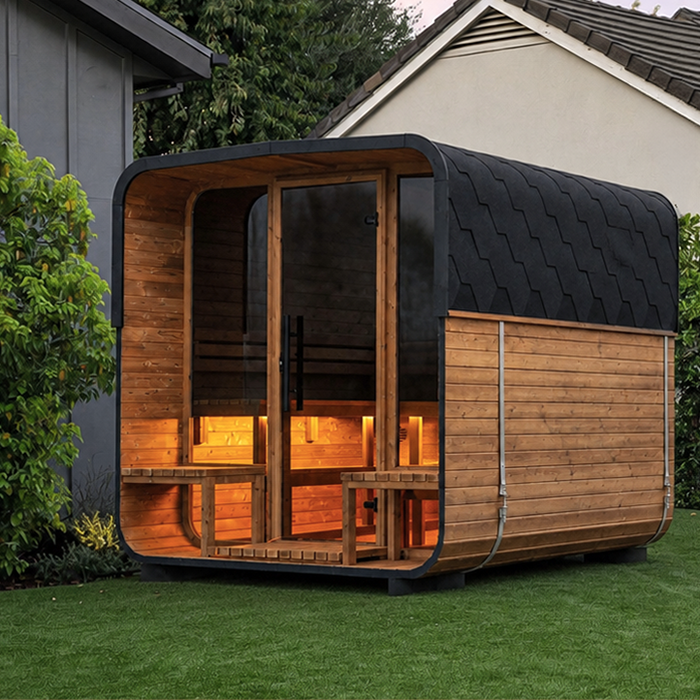
Glass fronts and visual privacy
Clear glazing creates a visual connection in both directions; treat it as see-through rather than one-way privacy glass unless an exact specification says otherwise. Reflections can change what appears visible in a photograph or from one angle, but they do not guarantee that a person outside cannot see in. Visibility can also shift with relative light levels: an illuminated interior may stand out after sunset, while bright daytime reflections can make a pane look less transparent from a particular viewpoint. Check the front at the times the sauna is likely to be used and from each accessible outside angle. For a privacy decision, verify any claimed tint, pattern or reflective treatment against the specification for the exact glass. A label such as privacy glass needs an identifiable product description, not just a visual impression.
If the Sauna LCF-300 listing is on your shortlist, ask the supplier to identify the glazing in the offered front. Do not infer glass type from an image’s colour, reflections or exposure; photography can make ordinary glazing appear darker or more opaque. For any privacy glass option, establish what the term means and whether it is included. A physical sample, where available, or the same glass viewed under comparable lighting is more informative than the word “private”. Check whether fixed panels beside the door use the same glass, as they also affect visibility.
Privacy with a mostly timber front
A mostly timber elevation limits a direct view through its solid sections and gives the front a visually closed character. That does not automatically make the complete face opaque: a glazed door, window, transom or side panel can still create a sight line. Check each opening instead of assuming that timber means no view from outside. Consider the position as well as the total area; a small pane can sit directly across from a seat or approach, while another opening may face a less sensitive view. The plan and door position matter as much as the surface material. If the door is routinely left open during entry, consider that temporary view as well as the closed position. For privacy, describe every glazed opening before you judge the front as timber.
For the Sauna S-140 model, establish whether the offered version has a predominantly timber front, glass in the door or another combination. That distinction affects both privacy and the visual weight of the elevation. If you prefer less exposure, assess the glazed areas from the main outside viewpoints. If you want an outward view, check that the opening is visible from the seat. Some users value a solid visual boundary even with a small glazed section; others find that the same pane changes the feeling of enclosure. The choice depends on the users and surrounding spaces.
Before choosing 3
Daylight and outlook through the front
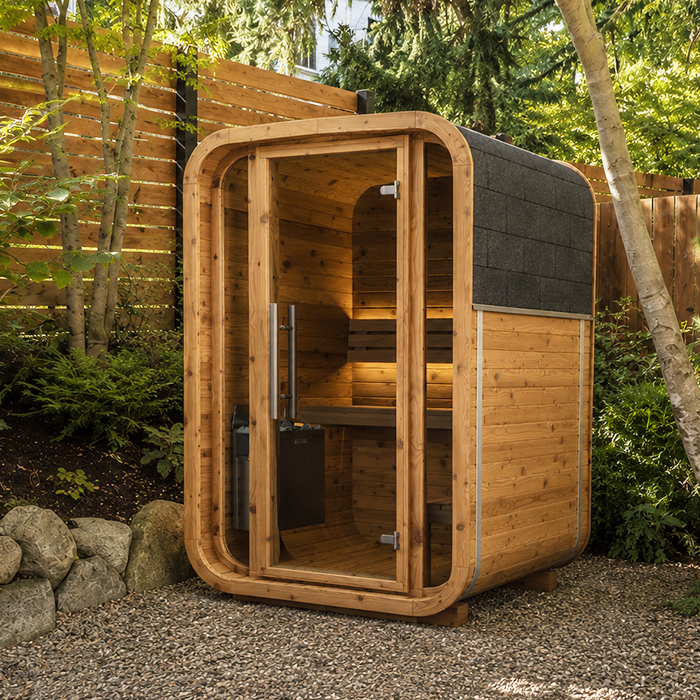
Glazing can bring daylight and an outward view through the front, while opaque timber blocks the direct view through that part of the elevation. The result depends on more than the glass-versus-timber label: the size and position of the glazing, the direction the sauna faces, shade from nearby structures and the light outside all matter. A glazed front does not promise a bright interior or direct sun, and a timber front does not establish how much light enters through other openings. Light may be diffuse rather than a direct beam, so inspect the actual panel and surroundings instead of equating glass with sunshine. Avoid assuming either material will make the cabin warmer or cooler by a fixed amount; that requires verified construction details and site conditions.
Decide whether the view is worth the reduced visual privacy during normal use. Some people want to see the garden or sky from the bench; others prefer less exposure to passing visitors. When comparing the Sauna HC-150 option, locate the clear area in relation to the seating on the drawing for the offered configuration. Consider the site at your usual time of use: a wall, roof overhang, neighbouring structure or seasonal shade can change the daylight. Separate the appeal of a bright product photograph from the outlook the proposed installation would actually provide.
How the front changes the sauna’s appearance
From outside, the front is often the most immediately recognisable part of a sauna, so its material changes the cabin’s character. A broad glazed face can look more open and contemporary, and it can make the interior visible as part of the overall view. A timber-led face presents a more continuous surface and can sit comfortably beside a timber exterior. These are visual preferences, not measures of quality. Consider the cabin beside the house, paving or deck as seen from the usual approach, and judge the actual finish and glass proportions. A large glass area may dominate a compact elevation; a small pane can have a different visual balance even when both are described as glass fronts. The view from house windows may matter as much as the view from the patio.
View the front straight on, on approach and from the patio or house. A face that seems understated in a catalogue image may look prominent when the interior is visible, while timber grain and finish can look different as the light changes. For Sauna HC-225, confirm which finish and front layout correspond to the offer. Compare specified colours and finishes rather than imagining a generic timber tone. If a sample or equivalent installation is available, view it in daylight and under the lighting you expect to use. A cropped photograph cannot show the full setting.
Before choosing 4
Mixed glass-and-timber arrangements
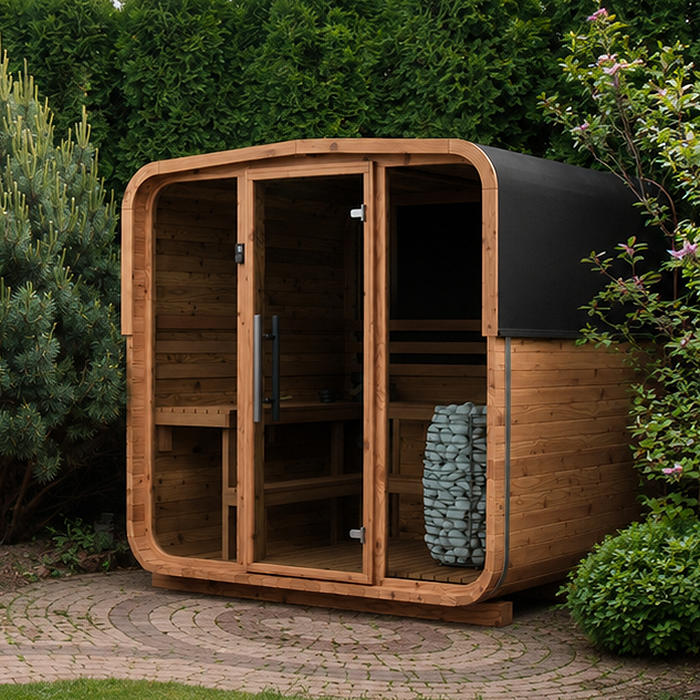
Glass and timber need not be an all-or-nothing choice. A front can combine timber framing with a glazed door, side panels or a larger glazed section, where those arrangements are offered. Compare the proportions and placement, because a label can conceal important differences. A narrow glazed section and a nearly full-height pane are not equal for outlook, privacy or visual impact. The height of a pane relative to seated and standing eye level can determine whether it frames a view or lines up with a path or window. A mixed front may balance a desire for visible timber with a desire for daylight, but it does not automatically solve privacy: check every transparent section from the same outside viewpoints.
For a candidate such as Sauna N-210, confirm which arrangement is included and which, if any, is optional; the model name alone does not establish that a mixed front is available. Compare front and inside views side by side, marking solid and transparent sections. Consider whether a sight line connects the bench with a neighbouring window, whether someone at the entrance can see inside, and whether the proportions suit the setting. This turns “some glass” into a concrete comparison of pane placement, exposure and appearance, rather than treating every mixed arrangement as the same compromise.
Cleaning and appearance in regular use
Appearance is affected by day-to-day marks as well as material choice. Glass can show fingerprints, smears or water marks, especially where people touch the door; on a bright day, marks may be more visible when light catches the surface. A timber face shows grain and finish rather than reflections, and its look depends on the treatment and care instructions for the actual product. These are practical differences in what you notice, not a claim that one material always needs more work or lasts longer. If a spotless transparent face would bother you, account for that when choosing the proportion of glass. If you value a natural timber appearance, check the finish in person if possible. View the glazing from an angle as well as straight on, since reflections can reveal marks differently.
Ask for the manufacturer’s care guidance for the exact glass and timber surfaces, including recommended cleaning products and any restrictions. Do not assume a household cleaner, abrasive cloth or treatment is suitable because the material looks familiar. Consider access for routine cleaning, particularly where a large pane extends beyond the area around the door handle. Ask how those surfaces are intended to be reached and maintained. This helps you judge whether the appearance you prefer fits the care you are willing to give it. Keep that judgement separate from durability claims, which need product-specific evidence.
Before choosing 5
What to confirm in drawings and product images
Ask for a front elevation that labels the door, fixed glazing and timber panels, plus an inside-facing view that shows their relationship to the seating. A simple plan helps you understand which way the door faces, while an exterior view helps assess the overall look; neither replaces the other. Check that each image is for the selected model and configuration, not a similar size or a different option. If a drawing uses a legend or labels, ask for clarification rather than guessing what an unmarked panel represents. If no drawing is available, ask the supplier to describe the front in writing and clarify what is included. The aim is to compare the same level of detail for every option, so one attractive photograph does not outweigh a more informative but less polished drawing.
When the Sauna N-250 product page is on your shortlist, compare its promotional images with the written configuration and current drawing for the offered front. Ask the supplier to identify glazing that is not obvious in the photographs and resolve any mismatch in the door or fixed panes. If possible, view an equivalent front from inside and outside at realistic angles. Record glass area, opaque sections, viewing position and finish in your comparison notes. Where samples are unavailable, written clarification still gives you a firmer basis for choosing than an unlabelled image.
Which front fits your privacy and appearance priorities?
Settle your priorities in order. If privacy from nearby users matters most, favour an elevation with fewer direct sight lines and verify every glazed opening; do not rely on tint or reflections without a specification. If an open view and visible daylight matter more, decide how much exposure you accept and check whether the proposed glass faces the places people use. If exterior character matters most, compare the full front against the building and surrounding finishes, not just its material label. A mixed layout can be a middle ground where it is offered, but it still needs a sight-line check. If users disagree, discuss whether each person values seeing out more than avoiding views in, at the times the sauna is used. There is no universally superior front: the right balance depends on the site, routine and preferences.
Bring the comparison back to the people who will use the sauna. A view one person enjoys may make another feel exposed, so discuss both seated privacy and visibility during entry. Use the same outside viewpoints for every candidate rather than letting different photographic angles influence the choice. Once the exact configurations are clear, weigh the benefits that matter most to your household: an outward view, fewer direct sight lines, a particular timber finish or a preferred balance of solid and glazed areas. Those priorities are more useful than choosing by the label alone.
Frequently asked questions
Does a glass sauna front provide privacy?
Clear glazing should be treated as see-through from both sides, not as one-way privacy glass. Reflections and visibility change with viewing angle and relative light; interior lighting can make the sauna more noticeable after dark. Confirm the exact glass specification and check the front from the likely outside viewpoints before relying on a privacy claim.
Is a timber sauna front always opaque?
No. A timber-led elevation can still include a glazed door, side panels or a window. Check the drawing and written description for the exact configuration; the word timber alone does not tell you how much of the front is transparent.
Will a glass front make the sauna brighter?
It can bring daylight through that elevation, but the result depends on the amount and position of glazing, the direction the sauna faces, shade and other openings. A product photograph cannot guarantee the light at your site.
Can a timber front still offer an outward view?
Yes, where the chosen design has glass in the door or a separate pane. Availability depends on the model and configuration. Check the pane’s position against the seating and outside sight lines rather than assuming every model offers the same layout.
What should I ask for before choosing a front?
Ask for a current front elevation for the quoted configuration and an inside view showing the glazing in relation to the seats. Confirm which sections are glass, what glass is specified and what is included. If possible, compare a sample or equivalent front in the light where the sauna will be used.
Clear glass offers an open sight line, along with visibility into the cabin; solid timber sections give a more enclosed face, though a timber-led layout can still include glazing. The useful comparison is the full front in the place where it will be used: what occupants see from the seats, what others can see from outside, and how the elevation looks in the wider setting. Once those views and the exact configuration are clear, the choice is a personal balance of privacy, daylight and appearance.
