
Wall-Mounted or Floor-Standing Sauna Heaters: Layout Choices
SAUNA LAYOUT GUIDE
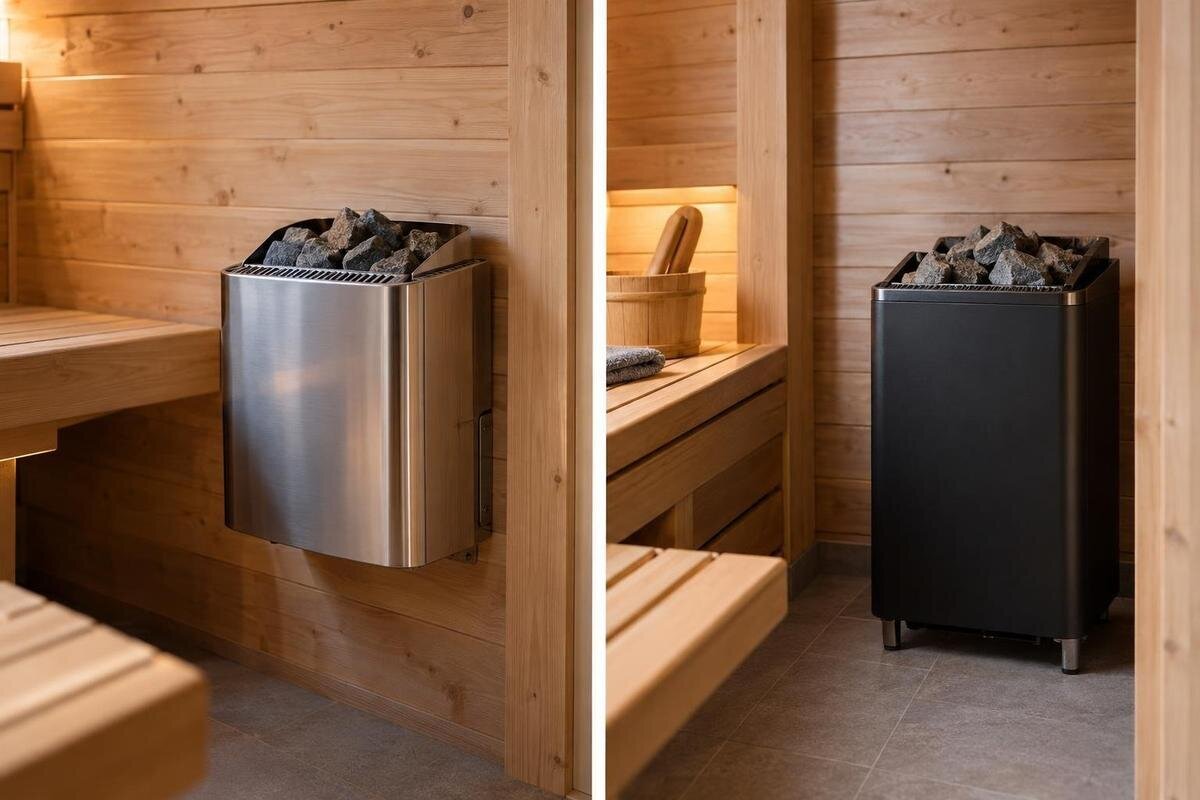
Choosing between a wall-mounted and a floor-standing sauna heater is a layout decision, but it is not just a question of clearing a patch of floor. Each format has a complete installation envelope: the unit itself, the clearances specified for that model, and the space needed for benches, movement and access. Compare that envelope with the sauna’s dimensioned plan and the heater’s instructions. A cabin’s stated area or a product photograph cannot establish the required support, usable space or compatibility.
What the mounting format changes
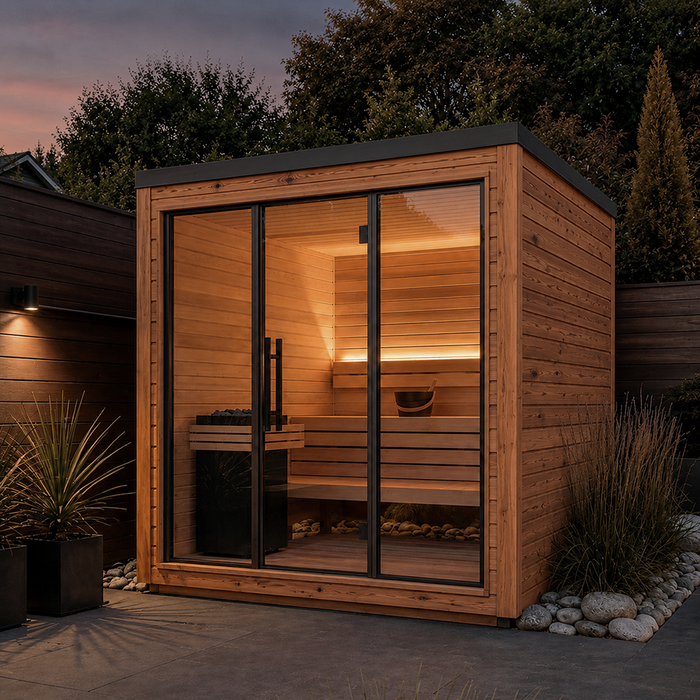
Wall-mounted and floor-standing describe a heater’s intended support and position, not a performance ranking. A wall-mounted model is designed to attach at a specified point on an approved support; a floor-standing model is designed for a designated floor position and any base or support arrangement specified by its maker. The manual sets the permitted mounting method and location. Do not assume the formats are interchangeable because one unit appears small enough to sit on a floor or hang from a wall. Choose an exact heater model, then plan around its documented configuration. The mounting label alone says nothing about heat output, stone quantity, control options or what is included with a sauna package.
On a first sketch, distinguish the heater body’s dimensions from the clearances required around it, then identify the space available for benches and movement. A clear patch of floor is not necessarily usable: floor beneath a wall-mounted heater may still lie within a required clearance zone, while a floor-standing unit’s body is not its full planning envelope. The Thermowood Barrel Sauna S-140 listing states 1.93 m². Treat this as the listed area for that cabin model, not a measure of floor left after installing a heater, available wall length or permission to use a particular heater. A dimensioned plan is needed to see those relationships; record internal dimensions rather than estimating from a photograph.
Heater dimensions and required clearances
The heater’s planning envelope is not simply its width and depth. Use the installation drawing for the exact model to identify the distances the manufacturer specifies from walls, ceiling, benches, floor and other surfaces. The required space may differ from one side to another, so a single radius or generic margin can be misleading. If the instructions allow a particular guard or shield, apply only the distances shown for that exact arrangement. Do not borrow values from another heater in the range or scale them from an image. When a diagram is unclear, ask the manufacturer or supplier to identify the correct model-specific dimensions before the room is built.
On a scaled plan, draw the heater body first, then mark the clearance boundaries on the sides identified in the manual. Add a guard or other part only when the proposed configuration includes it and the instructions show how it affects the plan. The Thermowood Barrel Sauna HC-150 listing gives an area of 2.97 m², but that number does not reveal the heater’s clearance distances or how much bench space remains. Ask for dimensioned cabin and heater drawings; overall area and a product photograph cannot substitute for them. Keep the drawings together so you are comparing the intended heater with the actual cabin, rather than two generic examples.
Fit the heater and benches on one plan
Test bench placement against the full clearance plan, not just whether the heater body fits beside a seat. Mark the usable seating surface, access to each bench, any step or ladder, and the heater zone on the same drawing. A bench edge, backrest or route to a seat may enter space that the manual reserves, even if the fittings do not touch the heater. Do not count a required gap as seating area. The aim is to see where people can sit and move while the heater remains in its specified position, rather than resolving the diagram only after the benches are fixed. If there is more than one bench arrangement, test each against the same heater position.
Cabin area alone cannot tell you the number or arrangement of benches a heater layout can support. The product listing for Thermowood Barrel Sauna HC-225 states 4.4 m²; treat that as an area reference, not evidence of a particular bench plan or a clear route past a chosen heater. Put the door position, bench outlines and heater envelope onto one drawing, then compare complete layouts. Include access to the benches rather than treating every uncovered patch as a walkway. If a proposed bench only fits when a required clearance is reduced, reconsider the seating arrangement or choose another approved configuration.
Check the wall support for a wall-mounted heater
Before choosing a wall-mounted heater, confirm that the proposed wall can support it as specified. Sauna walls may include lining, insulation and framing, but the visible surface alone does not show whether the construction meets the heater’s mounting requirements. Check the heater manual for permitted wall construction, support requirements, fixing arrangement and location, then compare those with the cabin documentation. Do not assume a thin panel or a convenient fixing position is adequate, and do not improvise reinforcement or fastening. Support is a structural question: appearance and surface thickness do not settle it. If the construction is uncertain, have a qualified installer assess it before ordering or altering the cabin.
Wall area is also a finite part of the layout. A position can appear wide enough for the heater but overlap a bench, door route or another fitting shown on the cabin plan. The Thermowood Barrel Sauna N-210 listing gives an area of 4.43 m², but area says nothing about wall construction or approved attachment points. Check the dimensioned plan and compatibility information for the actual models. If the cabin is already assembled or wall details are concealed, do not infer what is behind the lining. Settle the support question before choosing wall mounting as a way to free floor space.
Allow floor space for a floor-standing heater
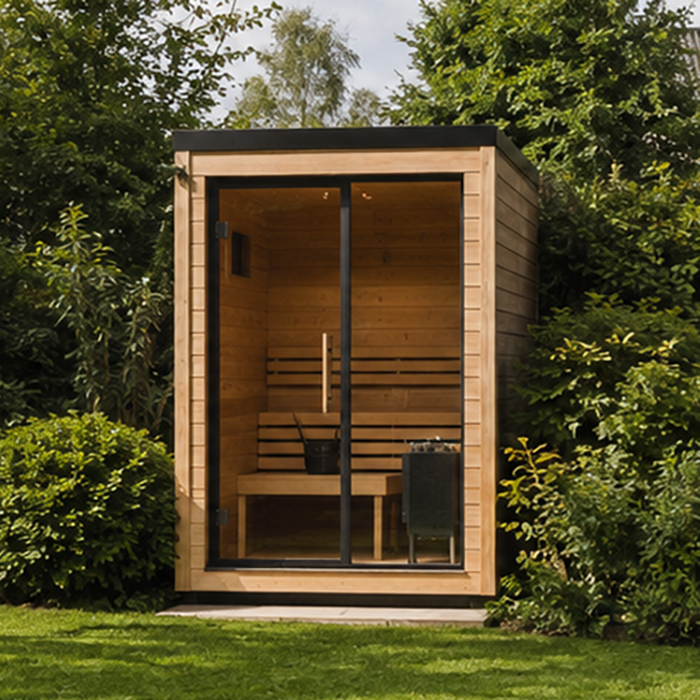
A floor-standing heater reserves more than the outline of its casing. Plan the support or base, all stated clearances and any protective arrangement shown in the manual; do not treat the space around the unit as spare walking or storage area. Check whether the manufacturer specifies floor protection or anchoring, and whether the intended floor construction is acceptable for that configuration. These are model-specific requirements, not assumptions to settle by choosing a convenient corner. If the floor build-up or support capacity is uncertain, ask a qualified professional to assess it rather than relying on the sauna’s overall area.
Compare the reserved zone with the route between the entrance and benches, any step, and the access the manufacturer calls for. The Thermowood Barrel Sauna LC-260 page states 5.12 m²; this describes the listed cabin area, not the floor construction, the space required for a heater base or the room left after a floor-standing unit is placed. A plan should show the actual cabin dimensions and the selected heater’s full envelope before you decide whether the floor position is practical. An apparently open patch is not enough if it overlaps a required clearance zone or a route you need to retain.
Use room dimensions, not area alone
Total area can conceal a difficult shape. Two rooms with the same square-metre figure can differ in wall lengths, proportions, corners and door position, changing where a wall-mounted heater can be supported or how a floor-standing unit fits beside a bench. Note any sloping or curved surface where an attachment point or clearance matters; a wall position is usable only if the cabin and heater instructions allow it. Record internal lengths and widths and mark doors, benches and fixed fittings, rather than judging by how much empty floor appears in a photograph. Where the room shape is irregular, show its actual outline on the plan.
The Thermowood Barrel Sauna N-250 listing states 5.27 m², but a single area figure does not show the proportions or every internal dimension needed to compare heater positions. Request the dimensioned drawing for the cabin and use it alongside the exact heater drawing; do not assume cabins with similar listed areas offer the same wall run or floor route. This comparison is useful before buying and again if bench positions change, because a small shift in a door, seat or heater can affect the usable plan without changing the headline area. If internal dimensions are not published, ask for them rather than deriving them from area.
Plan the entrance and service access
Plan from the entrance outward as well as from the heater inward. Draw the actual door-opening path if its leaf swings into the room, the space needed to enter and reach the benches, and any steps or fittings. The route should not depend on standing in a zone the heater instructions reserve; nor should a bench or stored item block access the maker specifies. Do not assume the doorway or heater location from a catalogue photograph. Use the layout for the exact cabin, since changing the entrance or seats can alter the route through a compact room.
Ask what inspection or service access the heater maker requires, and make sure it remains possible after benches, guards and other fittings are included. The Thermowood Barrel Sauna HCF-300 listing states 6.89 m²; a larger listed area does not by itself show the entrance path or the access needed for the chosen heater. Keep any zone identified in the manual distinct from circulation space and proposed storage. If access would depend on removing a fixed bench or moving heavy fittings, have the installer assess that arrangement before the layout is finalised.
Confirm the cabin and heater are compatible
Mounting style cannot be selected in isolation from the heater’s suitability for the cabin. Check the manufacturer’s documentation for the specific cabin and heater combination, including the room conditions, installation configuration and any relevant control or electrical requirements. The point is not to calculate or adapt those details from a general article, but to confirm that the model documents agree. Cabin volume, shape, construction and ventilation may matter to the choice, so do not rely on floor area alone. Have site-specific structural questions assessed by a qualified installer and electrical requirements confirmed by an appropriately qualified electrical professional.
The Thermowood Barrel Sauna LCF-300 listing states 6.89 m². That area figure does not establish which heater fits, whether a heater is included, or whether a wall- or floor-standing configuration is permitted. Check stated package contents separately and ask for confirmation where the heater and cabin documentation do not cover the combination. Make sure the exact heater model, controls and mounting arrangement you plan to use are the ones described in the documents; a specification for a different version is not enough.
Compare two complete layouts
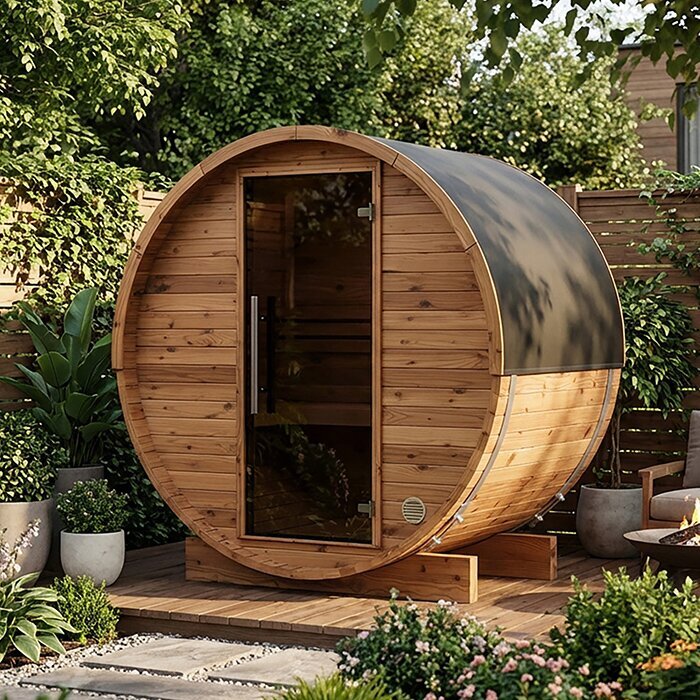
A useful comparison is two complete plans using the same cabin and bench arrangement. For a wall-mounted format, mark the attachment position, wall-side clearances, heater body and any floor space that still needs to be reserved below it. For a floor-standing format, mark the base or footprint, required clearances and route around it. Show the door, benches, steps and service access on both plans. Compare usable seating and movement only after the required zones are drawn; do not count space reserved by the heater instructions as available floor or bench space. Keeping the cabin and benches constant makes it easier to see what the mounting choice changes.
Separate requirements from preferences. Compatibility, manufacturer-stated clearances, approved support and electrical conditions are requirements to resolve; whether the heater occupies the wall or floor is a preference only after those are met. If both arrangements are suitable, compare which leaves the more practical route and seating plan in your room. If only one fits without reducing a required clearance or losing a suitable support surface, treat that as a design constraint rather than trying to force the other format. This avoids letting a small apparent space gain outweigh the complete installation picture.
Resolving missing dimensions and tight layouts
If a drawing does not answer a question, ask for the exact installation diagram and cabin plan for the model codes under consideration. Request clarification about which distances apply to the proposed wall, floor, bench and any guard, and what support arrangement the manufacturer requires. A general brochure, image or specification for a similar-looking model does not resolve a missing dimension. Keep the answer tied to the actual cabin and heater versions; package names alone may not identify options or changes that affect mounting. If documents appear to conflict, get clarification before choosing a position.
Do not resolve a tight fit by reducing a clearance, shifting the heater outside its specified mounting position or making an unapproved bracket or base. If the full envelope does not fit, revise the bench or cabin layout, or choose another heater configuration that the manufacturer approves for that sauna. Have a qualified installer assess site-specific structural questions and an appropriately qualified electrical professional assess electrical requirements before work proceeds. Make the layout decision while it can still inform the cabin plan, rather than waiting until a fixed arrangement leaves only an awkward position.
Frequently asked questions
Does wall mounting make the floor fully usable?
Not necessarily. The heater’s physical body may be off the floor, but the manufacturer’s clearance requirements can still reserve space below or around it. Check the exact installation drawing before counting that area as seating or circulation space.
Can I judge the fit from the sauna’s stated area?
Area alone does not show the room’s internal dimensions, available wall support, heater clearances or route to the benches. Use a dimensioned cabin plan and the drawing for the exact heater model to compare complete layouts.
Can a wall-mounted heater go on any sauna wall?
No. The heater instructions and cabin documentation need to support the proposed mounting position and wall construction. If the structure is unclear, ask a qualified installer to assess it rather than relying on the visible lining.
Are clearance distances interchangeable between heater models?
No. Use the requirements for the exact model and configuration. A similar-looking heater, a different version or a product photograph is not a reliable basis for transferring clearance measurements.
Can a floor-standing heater later be wall-mounted?
Treat the formats as different configurations unless the manufacturer explicitly approves an alternative mounting method for that model. Do not adapt the mounting yourself; confirm the arrangement with the manufacturer and a qualified installer.
Choose from complete, model-specific layouts rather than the heater body or mounting label alone. Wall mounting is a space advantage only if the support and clearances work; floor-standing is practical only if its full footprint, support and access fit the room. Once the manufacturer’s drawings establish compatibility, the plan can show which format makes better use of the available wall and floor space.
