
Sauna Bench Heights and Levels: What to Compare
Sauna buying guide
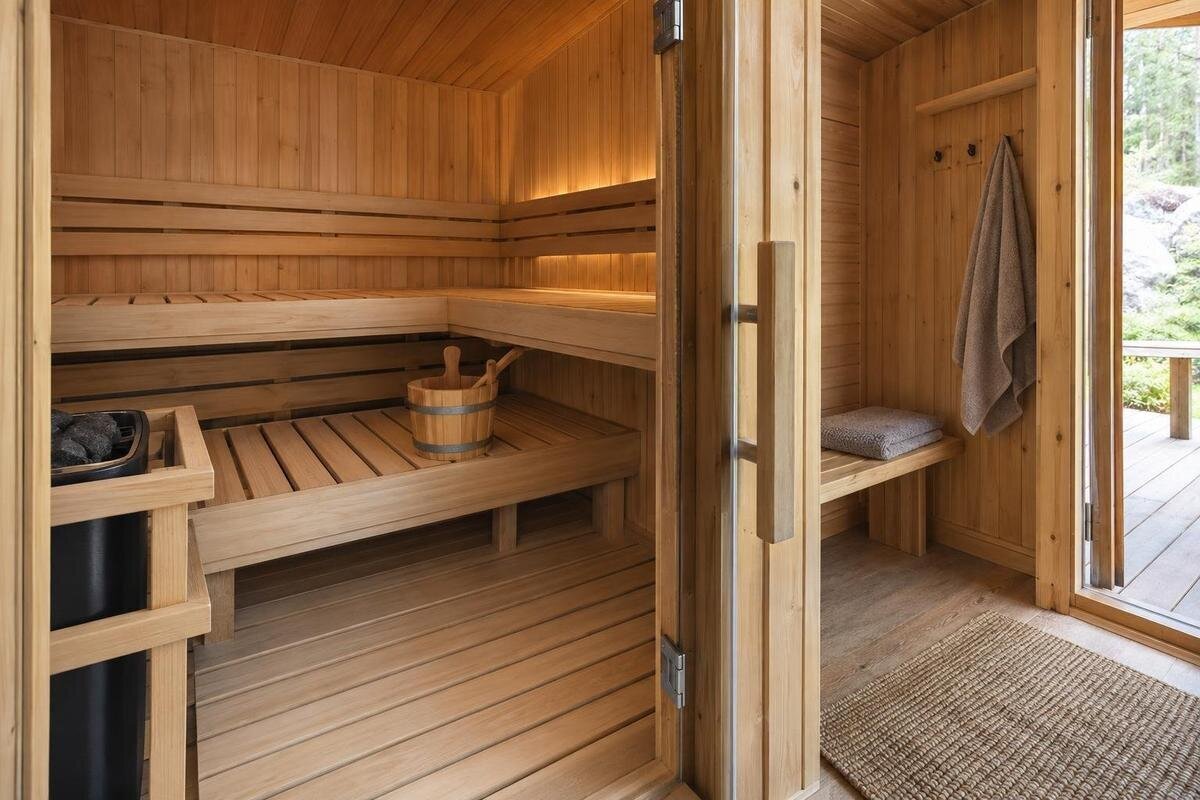
Bench height affects where a person sits within the cabin, how they move between levels and whether several people can share the space without awkward shuffling. A photograph or headline seat count cannot answer those questions. Compare the actual bench surfaces, their vertical spacing and the route shown in the drawing for the exact model. The aim is not to find one universally correct height, but to understand what each position offers and whether the arrangement suits your routine.
01
Why bench height changes the sitting experience
Bench level sets the relationship between the sitter, the floor and the ceiling. It affects foot placement, how easily someone can sit down and stand up, and how much space remains above the head. Heat may also feel different at different elevations; the actual pattern depends on the cabin and selected heater. A higher tier should not be assumed to deliver a particular temperature or guaranteed comfort. When reviewing a drawing, consider the position of the whole seated body, not just the top of the bench: the head and feet are both part of the occupied space. Similar-looking benches can offer different experiences if their height, depth or position differs.
Think about who will use the sauna and what a normal visit involves: one person sitting quietly, several people sharing a conversation, or users who prefer different seat positions. A layout with alternatives can offer choice, but only if each surface is usable and reachable in the intended way. Note whether people need to turn, step or shift past another sitter to change levels. If users differ in height or preferred posture, consider which positions each person is likely to choose. Write down these everyday needs before comparing drawings; they make the arrangement more meaningful than a headline capacity.
Read bench heights from an elevation or section
Plan views show where benches sit across the floor; they rarely explain vertical relationships on their own. Look for a side elevation or section that identifies the finished floor, top of each bench, any intermediate step and the ceiling above the seats. Compare floor-to-seat height with the vertical gap between levels and the headroom above the upper surface. If a ceiling or wall curves, read the section where a person would sit rather than relying on one overall cabin height. Check that dimensions have clear reference points, use consistent units and refer to the internal space you will actually occupy.
Ask whether a measurement is an internal finished dimension or an outside or structural dimension, and whether a stated seat height ends at the top surface. An unlabelled platform or unclear endpoint is not enough to judge the arrangement. Keep the Sauna HCF-300 product listing as the exact model reference when requesting a current dimensioned drawing; the product name alone does not confirm a bench height or configuration. Compare that drawing with the manual for the selected sauna rather than borrowing a dimension from another model or a generic online diagram. If a drawing shows only an overall height, ask for the missing seat-level measurements.
02
Single-level and tiered benches offer different choices
A single-level bench concentrates seating at one elevation. That can make the arrangement easy to read and leave fewer transitions to manage, but it gives users less choice of height. A tiered layout offers more than one elevation and can suit a group whose members have different preferences; it also adds a transition between levels and uses vertical space. Neither description tells you how many people can sit comfortably. Bench length, usable depth, ends, corners and the heater’s position all affect which surfaces are genuinely available. The comparison is about documented usable positions, not whether one option has more lines in a drawing.
Check what the drawing calls each surface. A lower level may be intended as a seat, a step or both, and a narrow ledge should not be counted as a full sitting place simply because it appears beside a higher bench. If your shortlist includes the Sauna LCF-300 product page, distinguish the intended seats from the steps in its matching drawing. Compare how the available seating is divided between levels: a layout with several upper seats and one lower seat offers a different choice from an arrangement with seating spread evenly across both levels. Ask the supplier to clarify any unlabelled surface before including it in your comparison.
Judge the seating plan by how people will share it
An overhead plan helps you see whether people sit along one wall, face one another or occupy a corner, but the shape alone does not prove that every place is comfortable. Check the clear length of each bench, where it ends, and whether a corner can be used without forcing a sitter against a wall or into another person’s space. Think about how people face, talk and leave the seat. A longer bench does not automatically mean an extra usable place if part of it is blocked or too close to another feature. Check the drawing’s dimensions rather than estimating from a thumbnail.
Assess everyday use by mapping intended sitting positions, not by dividing bench length by an assumed allowance. The maker’s drawing should identify usable surfaces and relevant clearances; where it does not, ask which parts are intended for seating. When considering the Sauna S-140 listing, compare its documented seating arrangement with the number of people who usually share your sauna. Consider where each person would sit and which way they would face. For a corner arrangement, look at both adjoining seats together rather than counting each bench independently. Avoid aiming for a theoretical maximum if it leaves no comfortable arrangement for ordinary use or gives everyone fewer choices about where to sit.
03
Seat depth and foot support affect posture
Height is only one dimension. Seat depth determines how much surface is available for a seated posture; the front edge, back edge and any backrest or adjacent wall shape how the position feels. Check whether the drawing shows depth to the finished edge and whether a lip, backrest or other detail reduces the flat area. A photograph can disguise this relationship because it is taken at an angle. Do not assume that benches at the same elevation will feel alike if one offers less usable depth. Keep clear depth separate from total bench depth where the drawing uses different reference points.
Separate the main sitting surface from any lower footrest, step or small landing. A drawing may depict all of them with a similar line weight, while the written specification may name only the bench. Ask which surfaces are intended for sitting and which are for movement; do not assign a purpose where the documents are silent. When comparing the Sauna HC-150 model page with other options, note the intended foot position for each seat as well as the seat depth. Read the lower surface and main seat together to understand the proposed posture. If a surface seems to serve two purposes, have that interpretation confirmed before counting it as another seat.
Keep the route between levels clear in the plan
Once inside, a user should be able to understand how the floor, lower level and intended seat connect. In the plan, trace the route from the entrance to each place to sit; in the elevation, see whether a raised surface interrupts that movement. Consider whether a person has to cross in front of another sitter, step over an occupied bench or move around a corner to reach a higher position. These are layout questions, not matters that can be settled by a product photograph or a stated number of places. For shared use, consider how someone can sit down or leave while others remain seated.
Where the lower bench appears to double as a step, confirm that the drawing and manufacturer’s instructions identify it that way; do not assume a seating surface is intended for every movement purpose. For the Sauna HC-225 product listing, review the corresponding layout with the lower seats occupied as well as empty. Think through whether someone reaching an upper seat would need another person to move their feet or stand up. Also consider the return route from the upper level while others remain seated. If you are considering a modification to improve this route, have it assessed by the manufacturer or a qualified professional before treating the revised layout as suitable.
04
Check bench positions against heater guidance
The heater’s location can affect which bench positions are practical, so review the interior plan and heater instructions together. Check the specified relationship between the heater and nearby seating or protective features, and whether any part of the bench lies in an area excluded by the selected heater’s manual. Those limits are manufacturer-specific; a dimension from another heater or sauna is not a substitute. This is a layout check, not a way to choose heater capacity. Do not estimate a new arrangement from a photograph. Have the supplier or installer confirm the proposed combination against the documents for the actual sauna and heater.
Consider whether the drawings show the seated position, route to the bench and usable bench length in relation to the heater. A bench can appear generous in plan while the permitted layout leaves less room in practice. When reviewing the Sauna N-210 listing, compare the bench ends and the approach to each level with the heater position in the matching documents. Keep any area excluded by the heater guidance separate from the seating you count. Do not move the heater or benches to improve the arrangement unless the relevant manufacturers and installer approve the change. Resolve any conflict between the seating plan and heater guidance before relying on that layout.
Measure headroom at the sitting position
Overall cabin height is not the same as usable headroom above a bench. The amount above a seated person’s head depends on the seat elevation and ceiling profile at that exact point. In a curved or sloping interior, headroom can vary along a bench; a measurement at the centre may not describe a position nearer an edge. Ask for the vertical distance from each bench surface to the ceiling directly above the intended sitting area, or a section that makes the relationship clear. Avoid treating overall internal height as a substitute for this measurement.
Use the drawing to compare positions, not to declare one height universally comfortable. Different users sit at different heights and may prefer different levels; the cabin shape and heater arrangement matter too. In the drawings for the Sauna N-250 model page, identify the intended sitting position associated with each headroom measurement. If a vertical dimension is given at only one location, ask whether it applies along the full bench or just at that point. Keep the seat elevation and the ceiling measurement together in your notes. This allows you to compare the space above particular seats rather than treating every position within a cabin as equivalent.
05
Use product images as illustrations, not measurements
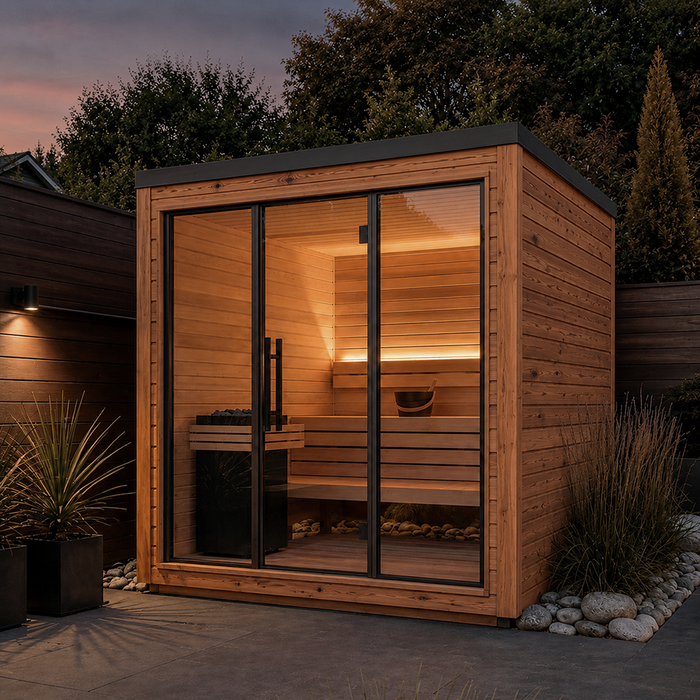
Product photographs can help you understand the general look of an interior, but perspective, cropping and styling can hide the exact height, depth and spacing of benches. A rendered or promotional image may not show every seat, a protective feature or the route between levels. Do not estimate dimensions from a person’s apparent size or compare one model’s photograph from one angle with another viewed differently. Treat images as visual references only; they are not a substitute for dimensioned drawings, the manual or written confirmation of the configuration being sold. The same caution applies to a catalogue sketch without measurements.
Match every document to the precise model code and any selected configuration. Ask for a plan and side section, a list of included bench surfaces and the current guidance that applies to that version. If the image, web listing and drawing disagree, do not choose the most favourable interpretation; ask which arrangement is supplied and have the answer recorded clearly. The Sauna LC-260 product listing can identify a model on your shortlist, but its name and image do not establish its seating layout. Check that the answer refers to the same model code you plan to order, not a nearby size or a showroom display.
Compare usable seats, not just the number of levels
Create a short comparison for each candidate using the same headings: number of intended seating levels, floor-to-seat height, clear seat depth and length, vertical gap between surfaces, headroom above each position and the route shown between them. Add a note on where each figure comes from, such as a dimensioned section or written answer tied to the exact model. If a measurement is absent, record it as unknown instead of estimating it from a photo or borrowing it from another sauna. Use the same reference points for each model so that differences are meaningful and an assumption is not mistaken for a supplied feature.
Then rank the features that matter to your household. One person may value an uncomplicated single level; another may want more than one elevation or a particular facing arrangement. Neither preference automatically makes one model better. Check that each intended sitting position has documented dimensions and that the circulation and heater guidance fit the proposed layout. A bench count or total floor area on its own cannot answer those questions. Choose the arrangement that matches regular use, with compromises visible before you buy; if a key dimension is missing, resolve that specific question rather than replacing it with a generic rule.
Frequently asked questions
Does a higher sauna bench always feel warmer?
No. Heat can feel different at different levels, but the actual experience depends on the cabin and the selected heater. Bench height alone does not specify a temperature or guarantee a particular level of comfort. Check the model drawing and heater guidance.
Which bench measurements should I compare?
Ask for floor-to-seat height, usable seat depth and length, the vertical gap between levels, and headroom above each intended sitting position. Also check how the drawing defines each measurement and whether it refers to the finished interior.
Is a two-level bench better than a single-level bench?
It depends on how you plan to use the sauna. Two levels offer different seating elevations, while one level has fewer transitions to consider. Neither option guarantees more comfortable or usable seating; compare the actual surfaces, movement route and headroom.
Can I judge bench heights from a product photograph?
A photograph can give you a general impression of the interior, but perspective and cropping make it unreliable for measuring height, depth or clearance. Use a dimensioned drawing and the documents for the exact model and configuration.
What should I do if the drawing leaves out a bench dimension?
Record the measurement as unknown and ask for a written answer tied to the exact model. Do not estimate it from an image or copy a figure from another sauna; those may show a different layout.
The most useful comparison is between documented sitting positions, headroom and movement routes for the exact models you are considering. Match those details to the way your household plans to use the cabin, and treat missing measurements as questions rather than invitations to guess. That makes it easier to judge the real trade-offs between a single level and a tiered layout before buying.
