
Planning a Sauna Next to a Swimming Pool
SAUNA AND POOL PLANNING
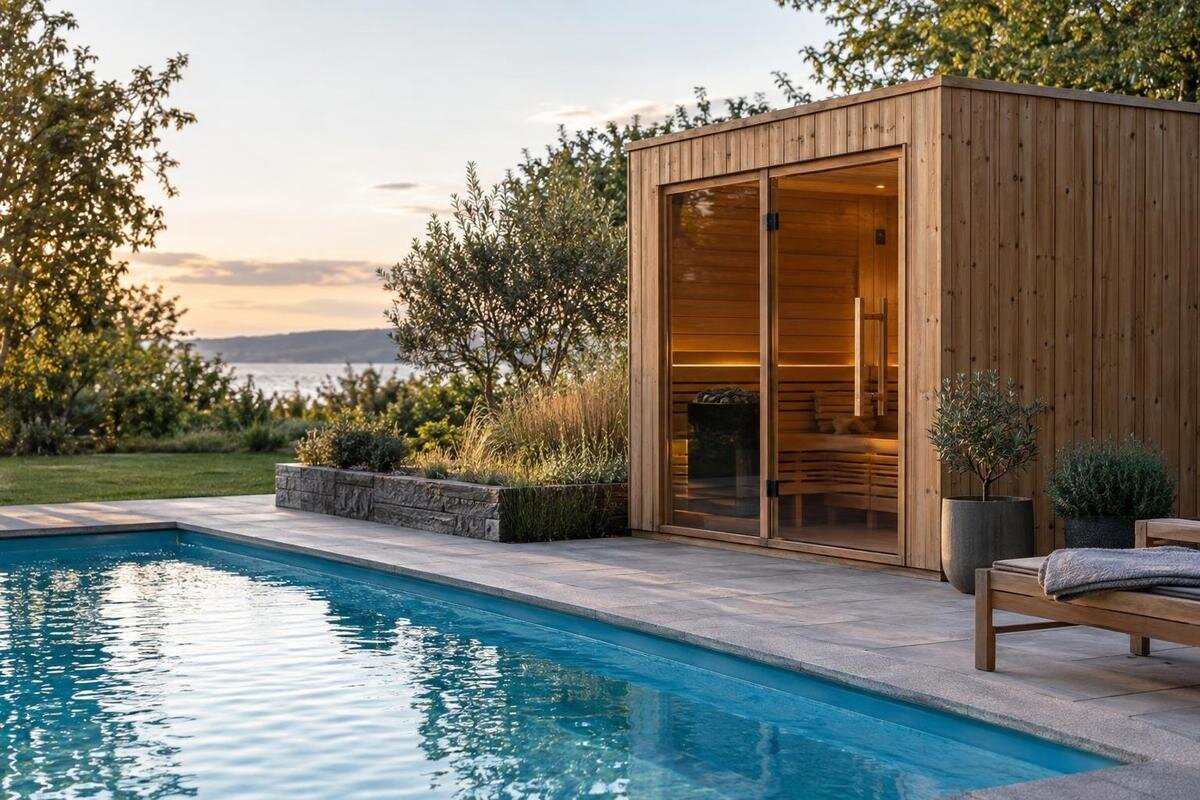
Placing a sauna beside a swimming pool is a site-planning decision, not simply a question of fitting it into the nearest open space. People will move between the house, pool, shower and sauna with wet feet; water will reach nearby surfaces; and pool and sauna equipment still need to be used and serviced. Map those everyday routes first, then consider paving, runoff, utilities and the pool-safety arrangements already on the property. Before groundworks or ordering, have the proposed position reviewed against the sauna manufacturer’s current documents and the requirements that apply to your property in South Africa.
Map the routes around the pool
Walk the whole pool area at its busiest time, not only when it is empty. Mark the house door, pool gate, steps, shower, changing area, seating, storage and equipment that needs regular access. Then sketch the routes people actually take: from the house to the pool, from the pool to the sauna, from the sauna to the changing area, and from the pool area to the garden or gate. Note where routes cross, narrow or end at a door. A patch that looks unused in a photograph may be where people need to turn, wait or carry towels. Include the path to a shower or outdoor tap as well; these routes may share a narrow passage.
Consider people walking barefoot or with wet feet, children, older visitors and anyone who needs extra room to move; do not assume everyone moves at the same pace or wears footwear. Separate the through-route from the place where users stop to open the sauna, dry off or change, so anyone waiting can stand clear of the pool edge and gate path. Keep the gate, steps, shower and any pool safety equipment reachable. Sketch both ordinary use and a busy family or guest gathering, when towels and furniture may obstruct routes. Note which paths need to stay open when furniture is moved for cleaning or storage. This movement plan is more useful than a single measurement from the pool edge.
Measure the sauna and the space around its entrance
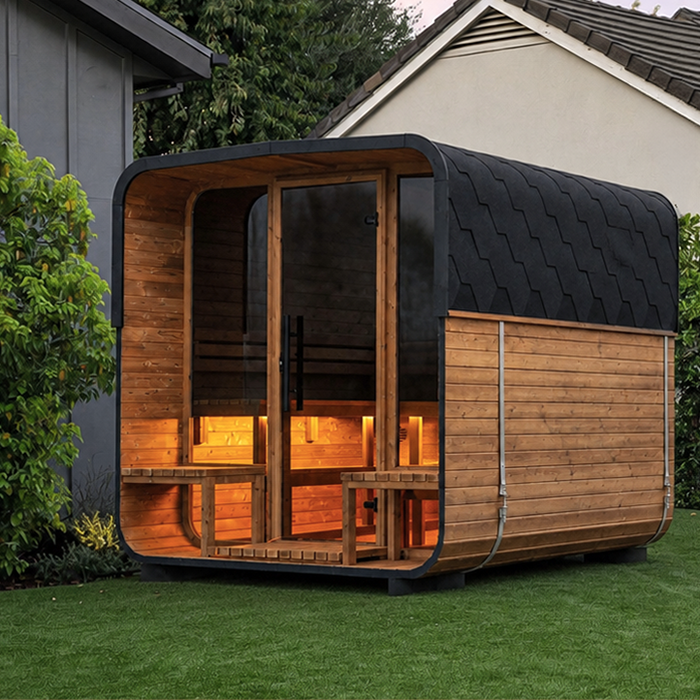
Use the current manufacturer drawing for the chosen model to establish its external footprint, entrance orientation, door movement, base requirements and any stated service or ventilation clearances. Allow for the space people need to open the entrance and move in or out, not just the building outline. Record measurements from finished paving level, including any threshold or raised base, and note the reference points used in the drawing. A catalogue area figure does not show exact outside dimensions, installation clearances or room for delivery; do not design from that figure alone. Ask the installer how a stated clearance is measured if the drawing is unclear, and whether it applies to particular sides of the unit.
For a candidate such as the Sauna S-140, obtain its dimensioned installation drawing and mark the unit, approach space and delivery route on the same site plan. Measure the clear width remaining with gates, doors and equipment in normal use, and allow room to turn or pause without narrowing the walkway. Check the route from the property entrance or delivery point for turns, steps and surface changes: a unit that fits its final position may still be difficult to bring in. Include movable furniture and towel storage in the layout, as these also take up space around the entrance.
Keep pool access and safety arrangements clear
Treat the pool enclosure and its usual access as fixed constraints. A sauna, step, bench, storage box or raised base can alter how someone approaches a boundary, while its door or a nearby gate may occupy the same space. Keep gates and latches unobstructed and leave the route to the pool usable; do not make a narrow gap beside a barrier the only way to reach the sauna. Include bins, hoses and seasonal furniture normally left nearby, since they change the usable width. Check sightlines too: a new structure should not hide a part of the pool that household members rely on being able to see.
Do not apply a distance copied from a different pool or sauna. The site, equipment and applicable local requirements have to be assessed together; no generic figure settles every barrier or electrical question. Before disturbing the ground, show the proposed position relative to the water, gates, boundary, steps and other access features to the relevant local authority and a qualified pool-safety professional. If considering the Sauna HC-150, mark its proposed position and entrance on that review drawing. Include the usual position of pool covers and safety equipment, rather than showing only the empty site. If gates or barriers are changing too, have the complete arrangement reviewed together.
Choose a surface that suits wet, bare feet
A poolside route is often used with damp feet and sometimes barefoot, so assess the finished surface for slip resistance when wet, stability and an even transition from the surrounding paving. Ask a supplier for a material intended for exterior poolside use and information about its performance when wet; compare samples for grip and barefoot comfort rather than choosing by colour alone. A dry showroom sample cannot answer every question about wet use, so rely on product information and installer advice. Check joints, edges and level changes that could catch a toe or make a narrow route awkward. If the route gets full sun, consider underfoot comfort too. A rougher finish is not automatically the best choice; balance grip, cleaning and barefoot use with supplier guidance.
Plan surfacing, furniture and cleaning as one arrangement. Loose mats can shift or hold water and should not be treated as a substitute for a suitable permanent walking surface. Ask how the finish is maintained, whether it tolerates regular splash and the cleaning products used in that pool area, and how dirt or growth is managed. Include the walk to the sauna in the same paving decision as its entrance. Specify who will finish and maintain the transitions, drainage grates and edges; a lip or poorly placed drain can create a trip point. If Sauna HC-225 is shortlisted, show where its entrance meets the approach surface on the plan.
Plan drainage before preparing the base
Water reaches a poolside site from more than the pool: consider splashes, rain, runoff from nearby buildings, shower use, irrigation and wash-down. Mark existing drains, low points and the direction water flows after rain or cleaning. Observe the area in wet conditions where practical; note puddles near walls, paths or the proposed base and where that water currently goes. The plan should avoid persistent puddles on the route and prevent runoff being directed towards the sauna base or adjoining property. Do not assume a small change in paving level will solve it; the discharge point matters too. Include water from cleaning the sauna area as well as normal pool use and rain.
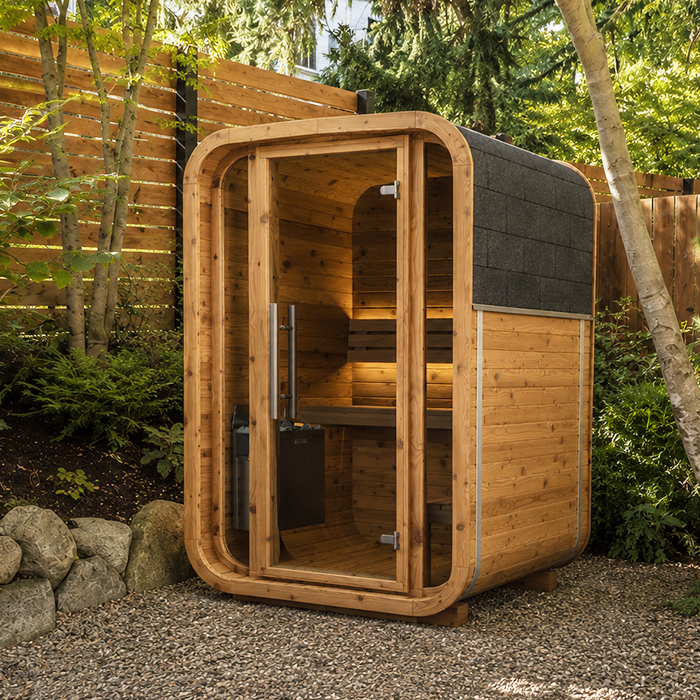
For a candidate such as Sauna N-210, ask the supplier or installer for the applicable base preparation requirements, including any requirements for the supporting ground. Have site levels and drainage reviewed by a competent local professional. Keep drains, pipes and cables accessible where future maintenance may be needed; do not cover or redirect them as a shortcut. Include existing pool drainage in the review, so the work does not obstruct an inspection point or change a drainage route without considering its destination. Mark the access needed for drain clearing, so a grate is not placed beneath a fixed base or equipment.
Have utilities and the heater reviewed professionally
Confirm the exact sauna and heater configuration before deciding where services will run. If the selected unit uses an electric heater, a qualified local electrician should assess the supply and the whole pool-and-sauna arrangement; do not assume an existing pool feed, outlet or proposed cable route is suitable. If the configuration uses a different type of heater, ask the appropriate specialist to review its installation, ventilation and fire requirements. List services already present near the proposed site, but verify their positions and routes before ground is disturbed. This assessment should happen before the final location and construction work are fixed.
Electrical requirements near a swimming pool are not a matter for guesswork. Ask the electrician to confirm permitted locations and protection for supply routes, controls and any isolation equipment under the requirements that apply to the site. Share the pool plan, nearby equipment and the sauna’s current manufacturer documents, not only a sketch of the cabin. When discussing a candidate from the Sauna N-250 product page, confirm the exact heater configuration so the electrician can assess its supply requirements. If the electrician identifies a conflict, resolve it through professional design rather than improvising a separation or protection measure. Do not let a convenient existing socket determine the location before this review.
Leave room for pool and sauna maintenance
Pool equipment often needs clear access for ordinary operation and occasional maintenance. Mark the pump and filter area, valves, control points, pool-cleaner connections, shower controls and storage used for pool care; include a cover or cleaning equipment if it needs room to be removed and handled. Check each access door or panel in its fully open position, and allow room to lay tools or remove components without using the wet walkway. A sauna should not force a service person to squeeze past furniture or take up paving to reach routine pool equipment. Confirm whether pool services need to remain accessible while the pool is in use, and keep that access clear in the everyday layout.
Allow for the sauna to be delivered, inspected and maintained too. The necessary working space depends on the exact product and heater configuration, so use the manufacturer’s manual rather than assuming a narrow gap is enough. Keep ventilation openings and service panels clear wherever the manual requires it, and make sure a technician can reach them without stepping across the pool edge or blocking a gate. Ask what access is needed for inspection and replacement as well as routine cleaning, then mark it as a no-storage area. Consider how replacement components would reach the unit. If considering Sauna LC-260, ask for any service-access drawing or written clearance requirements and show the route from the property entrance.
Assess exposure, privacy and visibility
Conditions can vary across one property. Note direct sun and shade through the day, prevailing wind, rain exposure, irrigation spray and where people routinely splash water. Wind-driven rain or repeated irrigation can also affect how wet the approach stays. Use manufacturer guidance for the selected model’s outdoor exposure and installation; do not infer weather performance from a material name or photograph. If considering a roof or existing cover, confirm compatibility for that exact configuration with the manufacturer and relevant professionals before treating it as shelter. Mark planting and irrigation heads that could change over time, and ask what exposure information applies to the chosen configuration.
Privacy and visibility need to be considered together. Position the entrance to give users reasonable privacy while preserving useful sightlines across the pool from the places where people normally supervise it. If one viewing point matters for supervision, sketch that sightline before fixing the position. Consider lighting for the route after dark, but have fittings and their locations assessed for this pool setting by a qualified electrician. Keep lighting and controls clear of the main walking route. When comparing a candidate such as the Sauna HCF-300, consider its entrance position alongside privacy and sightlines, and request its outdoor-use documentation to assess the proposed exposure.
Check local requirements with the right people
Ask early whether the proposed structure and associated work trigger local approvals or other site requirements; do not assume a sauna is exempt because it is small or that a neighbour’s installation establishes what is allowed on your property. A relevant local authority or building professional can advise on the proposal as drawn. Have the pool access arrangement reviewed, and ask a qualified electrician to assess the electrical plan if the sauna uses electrical equipment. Drainage and base preparation may call for another competent trade. Keep questions in writing where several professionals are involved, and ask who coordinates the work if pool and sauna trades need to share the site. This helps avoid conflicting assumptions about service routes.
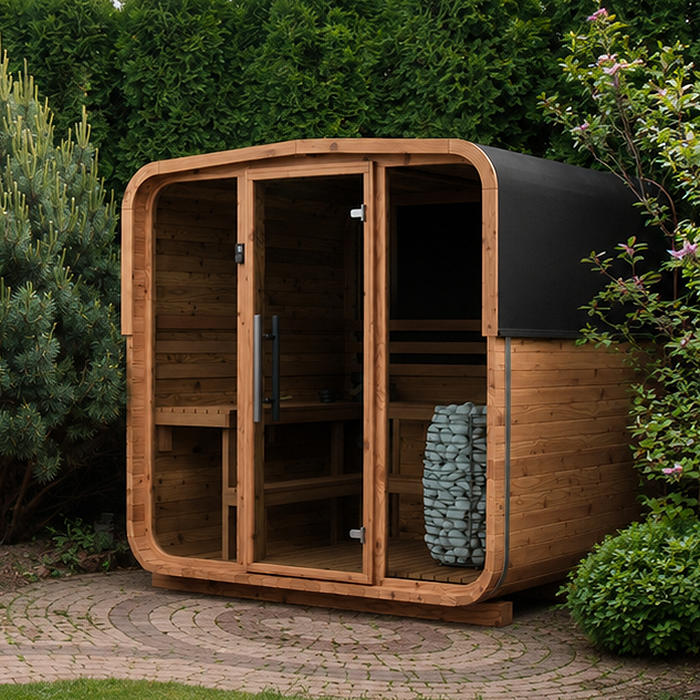
Make the review concrete: send one plan showing the pool, boundaries, gates, sauna outline, entrance, approach surface, drains, known service routes and maintenance access. Include site photographs and the current installation manual or drawing for the exact configuration. If Sauna LCF-300 is among the candidates, identify it clearly so reviewers know which model the drawings relate to. Ask each reviewer to identify assumptions that still need confirmation and who will resolve them. Keep answers in one file, mark anything provisional and record which drawing shows the agreed position. This gives the different trades a shared reference when their work overlaps.
Put the plan in writing before work begins
Bring the agreed decisions together in a dimensioned site plan before ordering or arranging ground preparation. Show the sauna’s confirmed outside dimensions, manufacturer-stated clearances, doors and gates in their open positions, and the ordinary walking route. Include a place to pause without blocking pool access, the surface material, site levels, drainage points and access to both pool and sauna equipment. Mark uncertain items, such as a buried service route or unclear discharge point, as unresolved rather than drawing them as facts. Add photographs with orientation notes and distinguish measurements taken on site from those supplied by the manufacturer. Use a consistent scale so the available space is not overstated.
Confirm the position with the installer once the reviews are complete and outstanding requirements have been resolved. Revisit the plan if the model, heater or entrance orientation changes, because that can alter the space or service access required. Check the selected configuration and local availability with the seller before purchase rather than assuming a listing represents an identical, ready-to-install package. Keep review notes and the final drawing available to whoever sets out the work, and make sure superseded versions are clearly marked. If work is delayed, reconfirm the model and installation documents before setting out the base.
Frequently asked questions
How much space should there be between a sauna and a swimming pool?
There is no single distance that can be applied to every pool and sauna. Spacing depends on the exact sauna and heater configuration, the manufacturer’s instructions, pool access, the site and applicable local requirements. Use current installation documents and ask qualified local professionals to assess the proposed layout; do not borrow a measurement from another property.
Can a sauna go inside a pool enclosure?
That cannot be decided from a site sketch alone. The location needs to be reviewed in relation to the pool’s gates, barriers, access routes, applicable local requirements and the sauna manufacturer’s instructions. Ask the relevant local authority and a pool-safety professional before placing it inside or next to an enclosure; do not assume the existing arrangement can stay unchanged.
What surface is suitable for a poolside sauna route?
Choose a stable exterior surface intended for wet, barefoot poolside use, with suitable slip resistance and transitions that do not create trip points. Ask the surface supplier how it performs when wet and how it should be maintained. Plan drainage as well as the finish; a loose mat is not a substitute for a suitable permanent route.
Does a sauna beside a pool need a separate electrical supply?
That depends on the selected sauna and heater, the existing installation and the requirements for the property. A qualified local electrician must assess the supply and the position of electrical equipment in relation to the pool. Do not assume an existing pool circuit is suitable or rely on an online distance for another installation.
Who should review the proposed location?
Ask the sauna supplier or installer for the current manual and base requirements, and involve a qualified electrician if the sauna uses electrical equipment. A pool-safety professional or relevant local authority can review pool access, while a competent drainage or building professional can assess the ground and runoff. Give each reviewer the same dimensioned site plan.
Choose the position by how the entire pool area will work: people need a clear route, the finished surface and runoff need careful planning, pool and sauna equipment need access, and the pool-safety arrangement must remain workable. Use the exact model’s current documents, then have local professionals assess the drawn layout before ground is prepared. A sauna that fits on the plan but blocks a route or service point is not a workable poolside location.
