
Planning a Sauna for a Wet or Humid Garden
Outdoor sauna planning
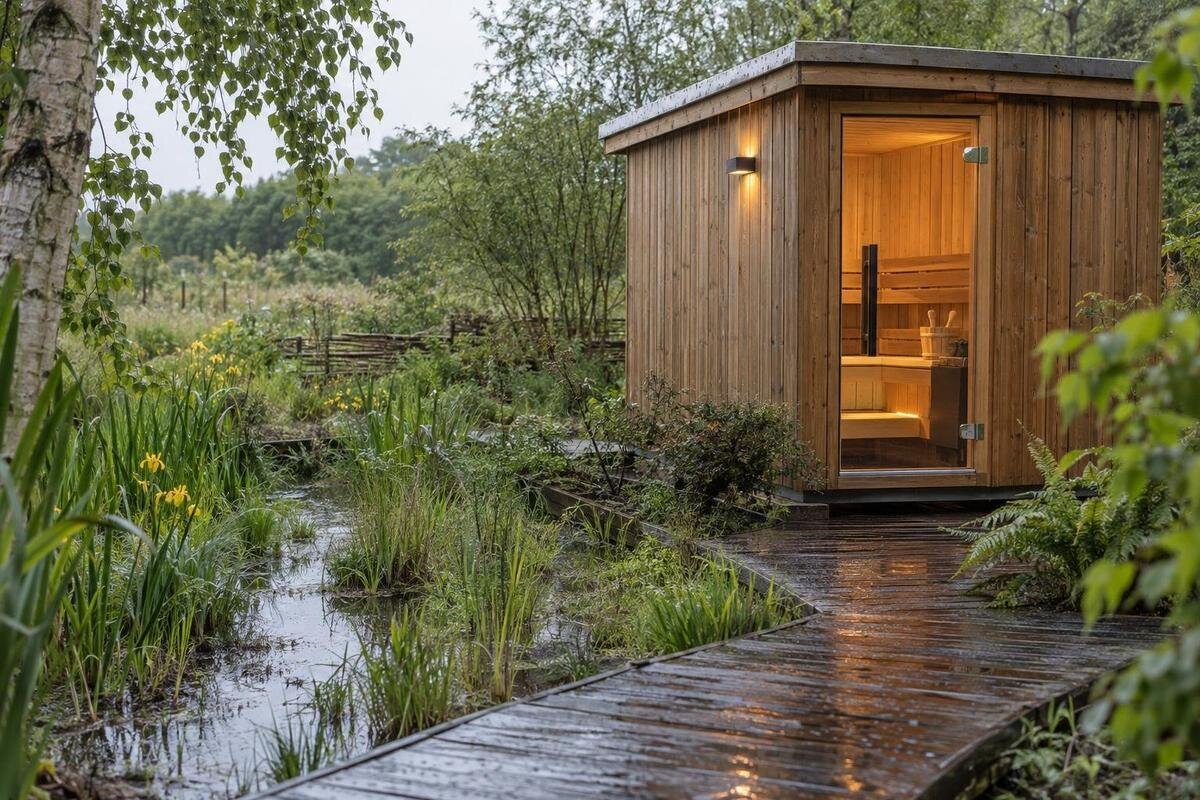
Planning an outdoor sauna in a garden that stays wet or humid begins with the site, not the cabin. Water that pools beneath or beside a structure can complicate groundworks and leave access unpleasant. Before comparing models, watch the plot after rain, identify where runoff enters and leaves, and assess whether the proposed area can dry. The plan should account for ground stability, rain splash, airflow around the exterior and a usable route in wet weather. Use the chosen model’s installation information for its exact base and clearances, and seek local professional advice where drainage or ground conditions are uncertain.
Trace runoff before choosing a position
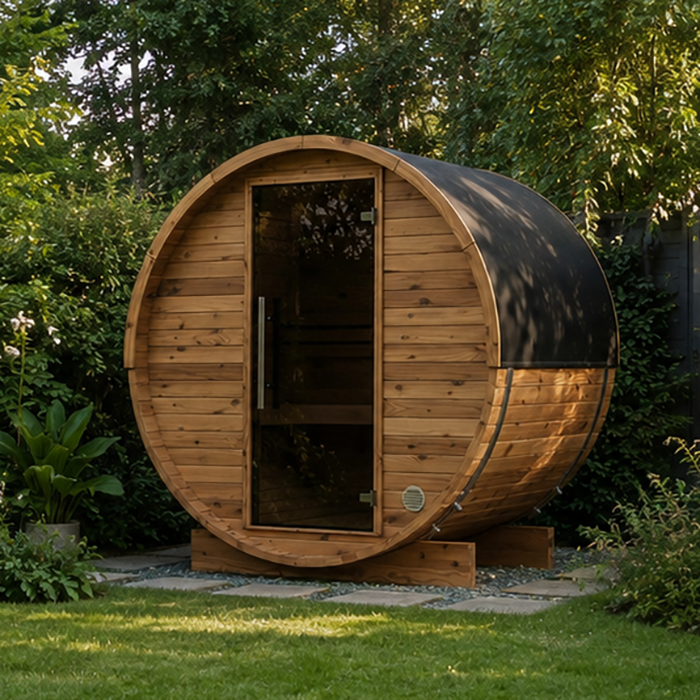
Walk the proposed area during a spell of rain, then return after it eases. Note shallow pools, silt lines, damp patches that last, and water coming off roofs, paving or higher parts of the plot. A corner can look dry between showers while still receiving runoff from a much larger area. Observe the ground above the proposed position as well as the position itself; a path, bank or retaining feature may direct water towards it. Repeat the check after irrigation or several wet days, since one quick look after a light shower may not show where water collects or how slowly the soil dries.
Map where the water comes from and where it goes, rather than treating a puddle as an isolated problem. A proposed sauna site should not become the low point that receives water from a roof, path or slope, and moving water away from it should not create a new wet area elsewhere. If runoff crosses from higher ground, causes erosion or collects repeatedly, ask a competent local drainage or groundworks professional to assess the site before construction. A few observations and photographs taken during different conditions can help explain the pattern. They are not a drainage design, but they give a professional clearer information than a description of the garden as simply damp.
Check the ground beneath the full site
A firm-looking surface does not tell you everything about the ground below it. Look for soft patches, persistent footprints, erosion, movement in existing paving or signs that recently filled ground has settled. These clues do not establish the cause or show whether a base is suitable; they indicate where more assessment may be needed. Pay attention to the whole proposed position, not just the point where the entrance will be. If the site is sloped, near a retaining feature, or has a history of pooling or movement, ask a suitable local professional to assess the ground before choosing a base. Avoid relying on an improvised layer of soil to make an uncertain position appear level.
Set out the complete space needed for the sauna, its entrance, access for inspection and any clearances stated in its instructions. Catalogue area figures are useful for comparing listings, but they are not a substitute for an outline drawing or a site assessment. The entry for N-210 Thermowood Barrel Sauna displays 4.43 m²; that figure alone does not establish the exact base dimensions or the surrounding space required. Ask for the current model drawing and use it when marking the proposed position. Check that the marked area also leaves room to manage runoff and reach the site for installation and future maintenance.
Keep rain splash and roof runoff away
Rain can reach a proposed sauna position from more than directly overhead. Roof edges and downpipes, walls, sloping paving and raised garden beds can all affect where water lands or flows. Hard surfaces may also send splash towards nearby structures. Watch the position during rain and look for water dropping from an edge, running along a wall or bouncing off paving. Avoid placing the sauna where these patterns repeatedly wet its base or restrict access. There is no universal distance that suits every roof, site and model, so use the actual layout and the manufacturer’s instructions instead of estimating from a product photograph.
Include roof drainage and nearby paving in the site plan, not just the sauna outline. If you are considering the Thermowood Barrel Sauna N-250, mark its position in relation to nearby roof edges, downpipes and paved areas. Compare those features with the places where you observed dripping, splash or surface flow. This makes it easier to identify whether the proposed position needs to change before the layout is fixed. Do not assume that a drain or channel will solve the problem without checking where it leads and whether it can be maintained. If an existing downpipe or surface flow crosses the proposed site, resolve that layout with appropriate local advice before groundworks begin.
Allow the exterior to dry between wet spells
A garden can remain humid even when no obvious puddle forms. Dense planting, close walls and sheltered corners may limit air movement, while shade can mean that wet surfaces take longer to dry. Look at the air space around the proposed position as well as the ground beneath it. Avoid planning to squeeze the sauna between a boundary and thick shrubs or to fill the surrounding space with storage. Leave the external clearances specified for the model and enough room to inspect the area. This is about the conditions around the structure; it does not replace the separate instructions for ventilation within the sauna.
Use model-specific documentation rather than borrowing clearances from another product. If Sauna LC-260 is on your shortlist, ask for its current installation drawing and instructions, then mark the required external spacing on your garden plan. Consider that space alongside the existing walls, fences and planting, rather than looking only at whether the sauna itself fits. Keep any access needed for inspection clear after the garden is finished, not just during installation. Before finalising the paving or boundaries, check that you will still be able to reach the sides and rear without moving stored items or working through dense shrubs.
Match the base to the ground and drainage
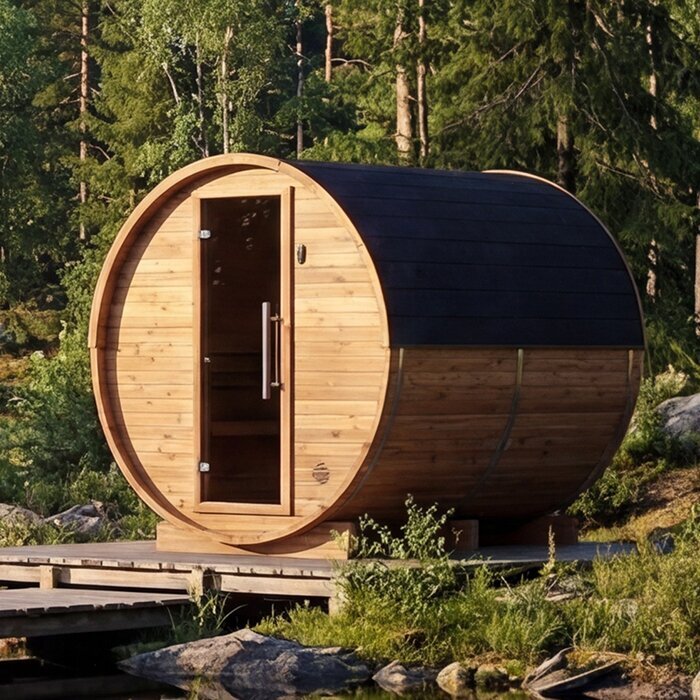
A suitable base needs to support the sauna in line with its instructions and suit the ground at the chosen position. A level surface is only one part of the plan: water should not be allowed to collect around the base or remain trapped against the surrounding ground. Whether a slab, paving or another support is appropriate depends on the product and site conditions; none should be assumed suitable for every damp garden. Check how surface water will move around the base before work begins. If the ground is soft, uneven, sloped or prone to pooling, seek advice from a suitably qualified local professional rather than attempting to solve it with an unverified foundation detail.
Ask the installer or relevant professional to consider the support and drainage as one layout. A base that obstructs an existing water path can leave the area wetter, while a change in ground level can send water towards a nearby path or structure. The listing for HCF-300 Thermowood Barrel Sauna displays 6.89 m²; that catalogue figure is not a base specification and cannot be used on its own to set out the support. Use a model-specific drawing for the outline, then have the ground and water routes assessed where needed. Keep any drainage features accessible for inspection and maintenance once the sauna is in place.
Include irrigation and other water sources
Rain is not the only water to account for on a damp plot. Mark garden taps, hose storage, automatic sprinklers, outdoor showers and nearby water features on the plan, even if they are not used every day. If irrigation is present, observe where the spray lands while it is operating; a system can wet the proposed position even when the garden otherwise looks dry. Check for leaking taps or hoses as well as deliberate watering. The goal is to understand regular exposure and avoid placing the sauna where routine watering repeatedly reaches the structure or base. Keep the source and any controls accessible, rather than hiding them behind planting or the sauna.
Treat the sauna outline and water sources as parts of one site layout. If Sauna LCF-300 is on your shortlist, use its current model drawing to mark its outline alongside sprinklers, taps and any nearby shower or water feature. This helps reveal where spray, hose use or maintenance access may overlap before paving or planting is fixed. Think about ordinary garden tasks too: watering beds, washing paving and storing a hose can all affect how water moves through the area. Do not add a drain or redirect a pipe without checking where the water will go and whether that approach suits the site. Ask for professional input if the route is unclear.
Account for shade, planting and leaf fall
Look at how trees, hedges, fences and nearby walls affect the proposed position throughout the day and after rain. A spot that receives sun for part of the day may still remain damp beneath overhanging branches or beside dense planting. Canopies can drip after rain, and leaves or other garden debris can collect around a base or block an existing drainage route. Established roots may also matter when planning groundworks, so do not assume a clear-looking surface is free of constraints below it. Consider how planting will grow, not only how it looks on the day of installation. If substantial pruning or ground disturbance is being considered, get suitable advice first.
Plan to keep the exterior visible and reachable for checks, and allow planting to be maintained without crowding the structure. When considering Sauna S-140, mark nearby hedges and overhanging branches alongside the space required by its installation instructions. Consider where fallen leaves will gather and whether nearby plants will obstruct an inspection or a water route as they grow. Include access for clearing garden debris, rather than leaving a narrow gap that is difficult to reach once the sauna is installed. If the position is already enclosed and slow to dry, compare another location before changing established planting.
Keep the route usable in wet weather
The approach to the sauna matters as much as the space immediately beneath it. A route that becomes muddy, slippery or crossed by runoff can be inconvenient to use and difficult to maintain. Walk it after rain and check for low spots, water flowing across the path, soft ground and areas where paving holds water. Choose a route and surface that remain practical in wet conditions, and consider whether the path can dry rather than staying shaded and damp. Keep the route separate from any planned drainage path where possible. If water crosses it repeatedly, understand the source before changing levels or adding a channel.
Plan for delivery and installation as well as everyday access and future checks. Gates, turns, narrow passages and overhead obstructions may affect how the sauna can reach its position. If you are considering Sauna HC-150, discuss the delivery route with the supplier and use the model’s drawing to plan the entrance and required access clearances. Measure the approach from the gate and mark obstacles before committing to groundworks; the space available at the final position is only part of the access plan. Leave enough room to inspect the base and surrounding drainage later, rather than creating a finished layout that blocks access.
Use the model’s own installation guidance
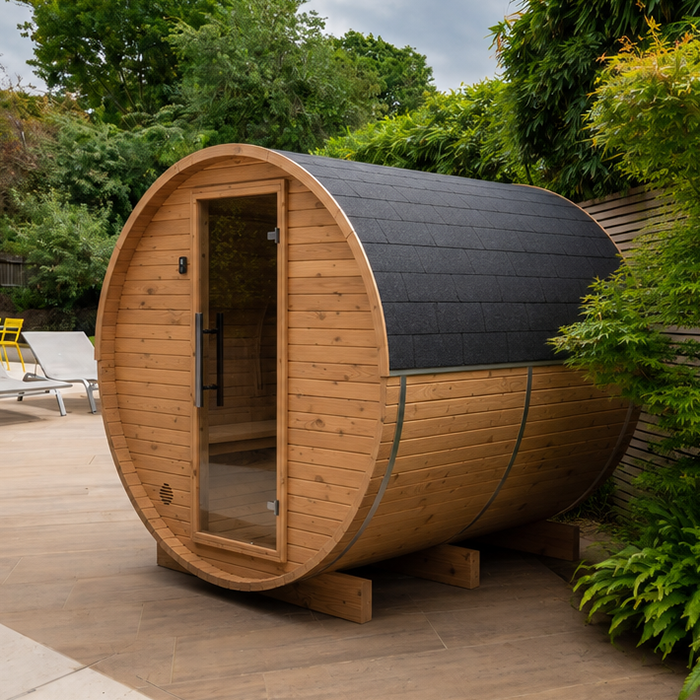
Before finalising a site, ask for the current dimensional drawing and installation instructions for the exact model under consideration. Check the outer outline, base preparation, external clearances, assembly requirements and any specified access for maintenance. Also establish what is included and what needs to be arranged separately, rather than relying on a catalogue image or a model name. If the sauna is being installed on a site with persistent dampness, describe the ground and water pattern to the supplier or installer. Their model-specific information can be considered alongside advice from a local professional who understands the actual plot.
Heater, electrical and internal ventilation requirements are separate from external drainage and must be addressed using the relevant product instructions and appropriate professional advice. Do not plan connections or clearances from an article about garden moisture. If you are comparing Sauna HC-225 with other models, keep each model’s documents together so that details from different configurations are not mixed. Check that the instructions match the exact version you are considering, and distinguish questions for the supplier or installer from those about the ground and drainage. Resolve both before work starts, rather than treating a general garden plan as a technical installation specification.
Plan to monitor the site after installation
Revisit the area after rain and irrigation once the sauna is installed. Look for new pooling beside the base, erosion, soft ground, water crossing the approach or places that remain wet for longer than the surrounding garden. The finished structure and any new paving can change how water moves, so compare what you see with the observations made before installation. Keep any designed drainage route accessible and maintain it as intended. If the area becomes persistently wet, identify the source rather than covering the symptoms with an unapproved coating or an improvised channel. Changes to the structure or its surroundings should follow the manufacturer’s advice.
Use the model’s own maintenance instructions for inspection frequency and any recommended treatment; do not assume that one product’s care advice applies to another. After a run of wet weather, check that planting, stored items or garden debris have not blocked access or changed a water route. If dampness continues at the base, or the ground begins to settle or erode, ask a suitable local professional to assess what has changed. Addressing the source early is generally more useful than repeatedly drying or cleaning the same area. Keep notes of recurring problems so that any follow-up advice is based on when and where the moisture appears.
Frequently asked questions
Should I place a sauna at the highest point in a damp garden?
Not automatically. The highest point may avoid pooling, but it still needs stable ground, suitable access and a safe route for runoff. Observe the site during wet weather, then confirm the position and base requirements against the chosen model’s instructions.
Will paving or a concrete base solve a drainage problem?
Not by itself. A base can provide support when it is suitable for the sauna and ground, but it does not necessarily stop water collecting around the edges or travelling beneath it. Plan the base and surrounding drainage together.
How much space should I leave around an outdoor sauna?
There is no single clearance that suits every model and site. Use the selected sauna’s installation drawing for its clearances, then allow for external airflow, inspection, maintenance and the way rain reaches the position.
Can garden sprinklers operate near the sauna?
They can be part of the garden plan, but check where their spray lands and whether overspray or leaks could keep the sauna or its base wet. Include irrigation controls and nearby taps on the site plan, and follow the manufacturer’s maintenance guidance.
What should I do if the proposed ground stays saturated?
Pause before ordering or starting groundworks. Ask a suitable local drainage or groundworks professional to assess the cause and possible options. If the site cannot be made stable and manageable, consider another position rather than relying on an unverified raised base or drainage fix.
The right position is not simply the driest-looking corner on a sunny day. It is a place with ground suitable for the chosen support, a manageable route for rainwater, room for the exterior to dry and access that remains practical in wet weather. Observe the site first, then compare models using their actual drawings and instructions. If water continues to collect or the ground is uncertain, resolve that question or consider another position before starting groundworks.
