
Can a Sauna Sit Under a Pergola or Garden Roof?
Outdoor sauna planning
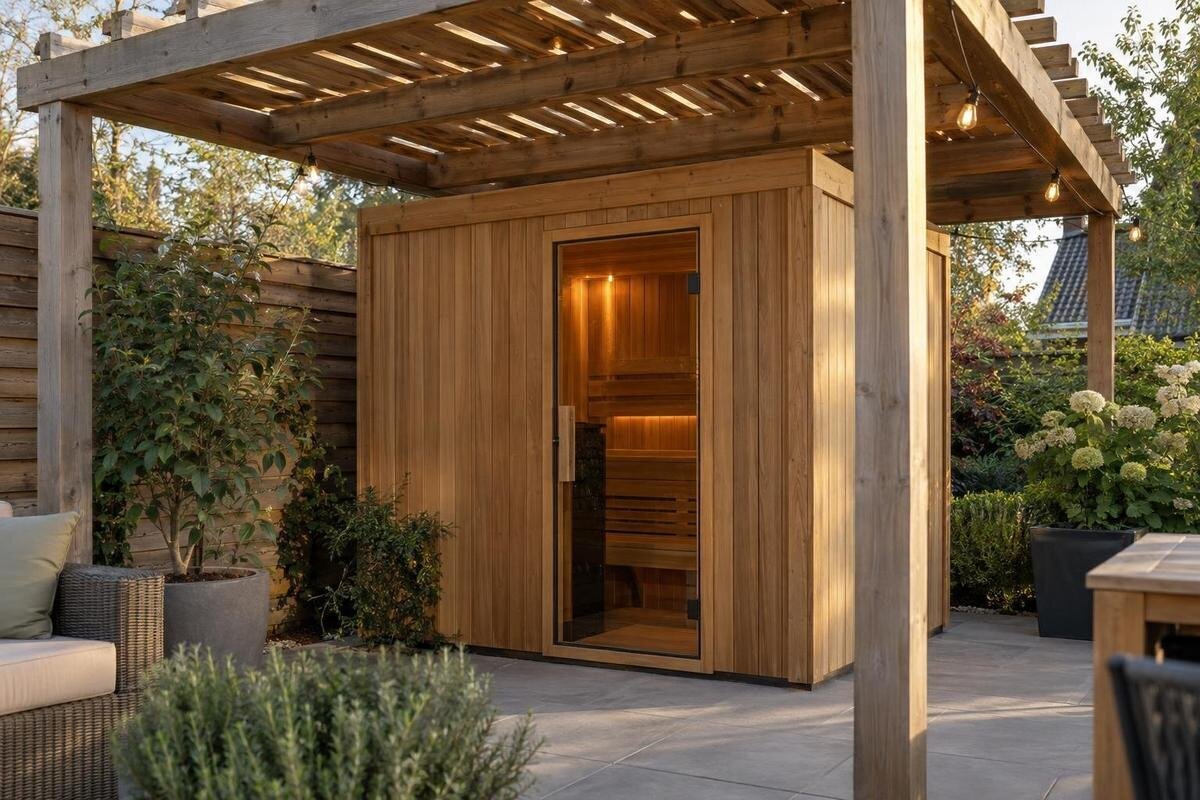
A pergola can seem like a convenient way to shade an outdoor sauna, while a garden roof may also shelter it from direct rain. Neither feature, by itself, makes a covered position safe or approved. The roof changes what sits above and beside the sauna, how air moves, where heat or flue exhaust travels, and which materials may be exposed. The answer depends on the exact sauna and heater, the roof construction, clearances, ventilation and any flue arrangement. Treat the cover as part of the installation to assess, not as a harmless accessory to add later.
Manufacturer approval for a covered site
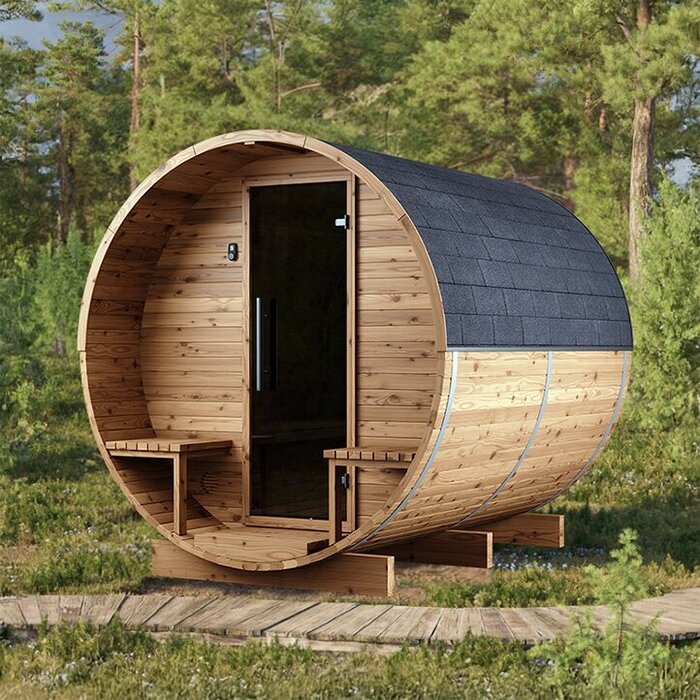
Start with the installation instructions for the exact sauna and heater, not with a general idea of what a pergola usually allows. A unit marketed for outdoor use is not automatically approved beneath every shelter. The manufacturer’s documents may deal separately with overhead clearance, nearby combustible materials, ventilation and a chimney or flue. Read the sauna instructions and any separate heater instructions together, and look for wording about covered, partly enclosed or roofed locations. If the manual expressly excludes a type of cover, that restriction cannot be set aside because the roof is open on two or more sides. Requirements can differ between models, so guidance for a similar-looking unit is not a substitute.
When asking for clarification, identify the exact model and configuration, for example Thermowood Barrel Sauna LCF-300, and describe the proposed cover. Say whether the roof is solid, slatted or louvred, where its lowest beams sit, and whether sides, blinds or other panels will be added. Ask whether the arrangement is permitted for that model and heater, then request the applicable clearances in writing. A similar-looking sauna in a garden photograph, or a general comment that outdoor saunas can be covered, does not settle your case. Keep the response with the site plan so the builder and installer work from the same approved version. If the manual is silent or the answer is vague, treat compatibility as unconfirmed rather than filling the gap with an assumed distance.
Measure clearances from the finished roof
The first useful measurement is not simply the distance from the sauna to the edge of the pergola. It is the clear space required around the cabin and heater, measured from the reference points given in the instructions. Documents may set separate clearances above the sauna, beside its walls, near the heater, or between a flue and combustible surfaces. Do not use the sauna’s floor footprint as the full installed envelope. Include rafters, crossbeams, fascia, roof sheets, support posts, lights, gutters and nearby walls or fences. An overhang or beam can extend farther into the space than the outer roof edge suggests.
Check that the required clearances remain available with all permanent parts in their final positions, not just on an early sketch. If your shortlist includes Sauna S-140, request the installation drawing and clearance guidance for that exact model and heater; a product image or floor-area figure cannot show the required gap above or around it. Follow the instructions for where and how to measure, and ask a qualified installer to confirm any point you cannot interpret. Do not try to gain space by adding a screen or heat barrier unless the manufacturer has approved that specific arrangement.
Check roof materials against fire clearances
Fire precautions depend on what is close to the sauna and heater, not just on how open the roof appears. Pergola posts and rafters may be timber; a garden cover may use plastic sheet, fabric, reed or another material. Different materials and finishes cannot be treated as equivalent, and a thin or slatted roof is not automatically acceptable. Consider fascia, decorative trim, wall cladding, curtains and items stored within the specified zone as well as the main roofing. Do not decide that a material is suitable because it looks substantial, has a particular colour or is sold for outdoor use. A surface does not need to touch the sauna to fall within a clearance requirement.
Use the sauna and heater instructions to identify required separation from combustible surfaces and any restrictions related to heat. Never assume that a homemade metal sheet, board or reflective layer allows a roof to be brought closer; the altered assembly may not be an approved protective arrangement. A catalogue title such as Thermowood Barrel Sauna HC-150 identifies a model but does not establish its fire clearances under your pergola. Ask the manufacturer or a qualified installer to confirm the actual roof material, frame, finishes and nearby surfaces against the written requirements. If the review leaves doubt, do not operate beneath the cover until the issue is resolved.
Keep the sauna’s ventilation paths clear
A sauna’s ventilation is part of its design; an open shelter does not replace the airflow arrangements described by the sauna or heater manufacturer. Follow the instructions for any air inlets, outlets and clear space around them. A roof edge, fascia, side screen, privacy panel, curtain or position close to a wall could affect a required opening or alter circulation around the unit. Open sides do not prove that air can move as intended, particularly if the pergola is later screened or fitted with blinds. Keep specified vents unobstructed, and do not cover them with stored items or assume that the pergola’s open area serves the same purpose.
Request ventilation guidance for the exact model and heater rather than copying the layout of a similar-looking cabin. When asking for documents for Sauna HC-225, describe the overhead structure and planned sides, and ask whether that arrangement is permitted and whether the stated openings need a clear route. If the roof only seems workable with extra vents, an open door or a fan, do not invent that remedy; obtain the manufacturer’s approval and a qualified installer’s assessment first. Recheck the plan if you later add windbreaks, walls or curtains, as those additions change the covered arrangement.
Check chimney and flue clearances for a wood-fired heater
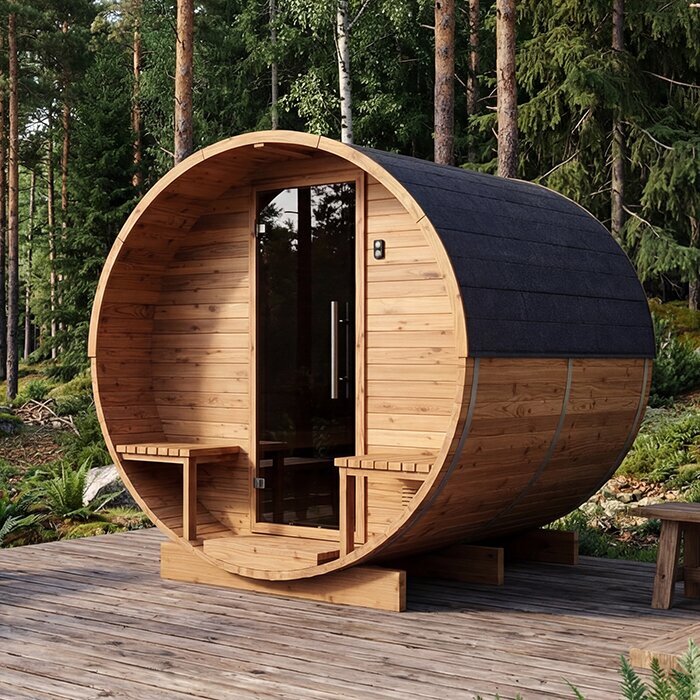
For a wood-fired heater, the chimney or flue adds a separate set of conditions above and around the sauna. The sauna and heater instructions should identify the approved flue system, permitted route and terminal arrangement, along with clearances from roof parts and combustible materials. A pergola does not remove those requirements: rafters, roofing, eaves and nearby buildings can all matter. Do not assume that an open roof makes a flue exit beneath it acceptable, or that extending, offsetting or redirecting a flue is a simple workaround. The arrangement needs approval for the particular heater and site.
First confirm which heater is intended; a sauna product title does not tell you whether a wood-fired unit or chimney is included. If Thermowood Barrel Sauna N-210 is on your shortlist, use its model name when asking about heater options and the matching instructions, without assuming a particular configuration. Ask the manufacturer and a qualified flue installer to review the roof penetration, weather protection, access for inspection and cleaning, and clearances as one system. Do not cut or alter the roof until the approved layout is clear. Check any relevant local requirements with the appropriate professional or authority; there is no universal flue distance to apply to every installation.
Fixed and movable parts of the cover
Pergola, gazebo and garden roof are broad descriptions, not installation categories. Describe the actual structure when assessing a covered position: exposed beams, louvres, solid roof sheets, shade fabric or a retractable canopy. Distinguish the fixed frame from the parts that open, retract or can be removed. Even without a continuous roof sheet, beams still occupy space above the sauna and must be included in the clearance check. This distinction matters when describing an adjustable cover: opening its louvres or retracting its fabric does not remove the posts and beams. The assessment needs to account for the structure that remains in place.
For a model such as Sauna N-250, show the manufacturer the cover in each position you intend to use, including any blinds or movable side panels. Ask whether permission to use the sauna depends on the position of those parts, and have that condition recorded with the layout. Do not describe only the most open arrangement if you also intend to use the sauna with the canopy extended or the louvres closed. Include planned screens in the same review rather than treating them as decoration. If you later change the cover or add panels, have the altered arrangement reviewed before use.
Consider wind and exhaust around the shelter
Wind and exhaust deserve a site-specific review, especially where a wood-fired heater is involved. Roof edges and nearby walls can change how air travels around a sheltered space, so exhaust may disperse differently from how it would in a fully open position. Do not assume a prevailing breeze will always carry smoke or warm air away, or that an open side prevents it reaching a door, window, ventilation opening or neighbouring property. Show nearby buildings and openings on the plan as well as the pergola. Avoid choosing a flue outlet by eye or from a single observation of the wind.
Separate the sauna’s required ventilation from any chimney discharge: they serve different purposes and must follow the relevant manufacturer’s instructions. When planning for Thermowood Barrel Sauna LC-260, mark roof edges, nearby openings and any proposed flue route on the layout you send for review; the product name alone says nothing about site airflow. Ask a qualified installer to assess the location and the manufacturer to confirm the permitted arrangement. If you later add side panels or close a louvre roof, reconsider the air paths before use. Do not rely on fans, an open door or an informal smoke test to make an unapproved layout acceptable.
Allow access for use and maintenance
Allow space for delivery, everyday access and maintenance as well as the required safety clearances. Check how the door opens, whether users can reach it without moving furniture, and whether the manufacturer requires access to a heater, controls, ventilation openings or service points. A chimney, if fitted, may need inspection and cleaning access as specified by its manufacturer. Pergola posts, stored cushions, garden tools or a narrow gate can obstruct those tasks even when nothing touches the sauna. Check the delivery route separately from the space needed around the installed unit, and keep access available for later maintenance.
Use the exact installation drawing rather than an advertised area to plan the full envelope. For Sauna HCF-300, request the model-specific footprint and any access or service clearances; do not assume the product page provides these details. Ask the installer to show where doors and service points sit relative to posts and roof edges. Follow the clearances the instructions specify, and make sure those zones remain usable after the pergola is furnished. If repairs or flue inspection would require dismantling a roof component, raise that before construction and confirm the arrangement with the manufacturer and installer.
Plan drainage, drying and electrical services
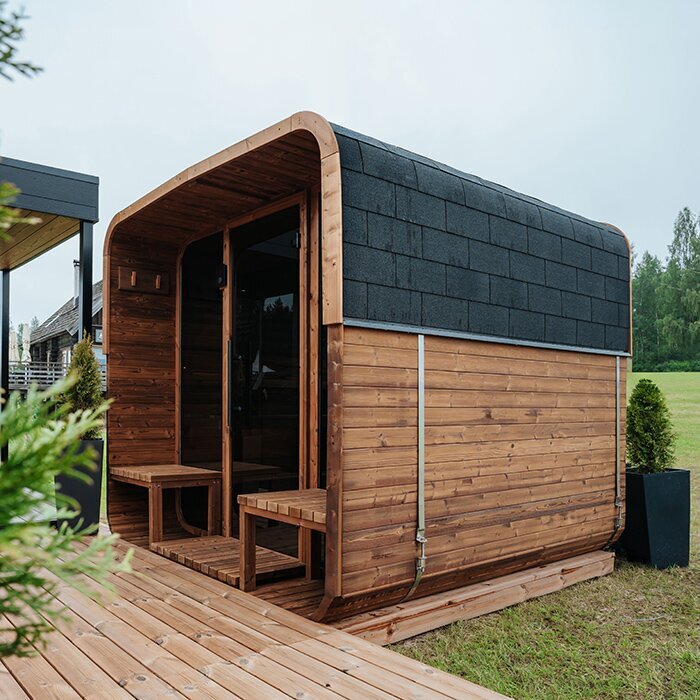
A roof changes water movement as well as shade. It may intercept rain while directing runoff to a concentrated drip edge, gutter or downpipe; wind-driven rain may still reach the sauna. Check where water falls, whether gutters can be maintained and whether the manufacturer’s care instructions require the unit to dry or leave particular sides open. Do not assume that an overhead cover makes the sauna weatherproof or preserves a warranty. Keep roof runoff from creating persistently wet areas around the unit, and avoid blocking a designed ventilation gap with a gutter, trim or other addition.
If an electric heater is to be installed, treat the supply and controls as a separate professional check. Ask a suitably qualified electrician to review the heater instructions, outdoor location, supply route and access for inspection or servicing, and to apply current local requirements. A pergola can change exposure to rain and access to cables or service points; an existing garden power point does not establish suitability. Do not improvise connections or conceal them behind new roof panels. Coordinate electrical work with the sauna placement so the final layout still meets the manufacturer’s clearance and airflow requirements.
Get a site-specific answer before committing
Before ordering or building the roof, assemble the exact sauna and heater model, current instructions, installation drawing and proposed roof plan. Describe the materials, and mark beams, posts, eaves, side panels, nearby windows and doors, any flue route, power and service access. Ask the manufacturer specific written questions: Is this covered arrangement permitted for this model and heater? From which surfaces are clearances measured? Do the roof material, ventilation and any flue route meet the instructions? Does approval change if the cover has retractable sections or later side screens? Send the proposed layout rather than relying on a verbal description.
Have an appropriately qualified installer compare the plan with the manufacturer’s requirements. Involve an electrician, flue specialist, fire-safety professional or structural professional where the design calls for one, and check current local requirements with the relevant authority or professional. If clearance, ventilation, fire or chimney conditions cannot be confirmed, do not fit the sauna beneath that roof. Choose a site or arrangement the manufacturer explicitly supports, and seek a fresh review if the structure changes after installation. A written answer tied to the model and roof is more useful than a general yes.
Frequently asked questions
Can any open-sided pergola work?
No. Open sides do not remove beams, posts or roof surfaces from the clearance check, and they do not confirm that ventilation or exhaust will work as intended. The manufacturer must permit the particular sauna and heater under the actual pergola arrangement.
Does a solid garden roof automatically rule out a sauna?
Not necessarily, but do not assume it is acceptable. The manufacturer’s instructions must allow that type of covered placement, and the roof must meet the specified clearance, fire, ventilation and, where relevant, flue requirements. Get confirmation for the exact model and layout.
Do electric saunas still need these checks?
Yes. An electric heater does not have a chimney, but the sauna still needs its specified clearances and ventilation. The roof and surrounding structure also need to be reviewed, and a suitably qualified electrician should assess the electrical installation for the site.
What if the manual does not mention a pergola?
Treat covered placement as unconfirmed, not as permission. Send the manufacturer a description and plan of the proposed roof, materials and heater configuration, and request written guidance for the exact model. Do not rely on an assumed clearance or a similar installation.
Can I add side panels after installing the sauna?
Do not assume that you can. Panels, blinds or curtains can change the arrangement around the sauna and affect airflow or clearances. Ask the manufacturer to review the changed layout before using the sauna with the additions in place.
A sauna can sit under a pergola or garden roof only when the manufacturer permits the exact sauna and heater arrangement and the finished site meets its requirements. The roof’s openness or ability to provide shade is not enough to establish that. Confirm clearances, materials, ventilation, heat and any flue route against the model-specific instructions, then have the proposed layout reviewed by the relevant qualified professionals. If any part of the arrangement remains uncertain, do not assume it is approved; use a site or configuration that can be confirmed.
