
Growing Mint in a Greenhouse
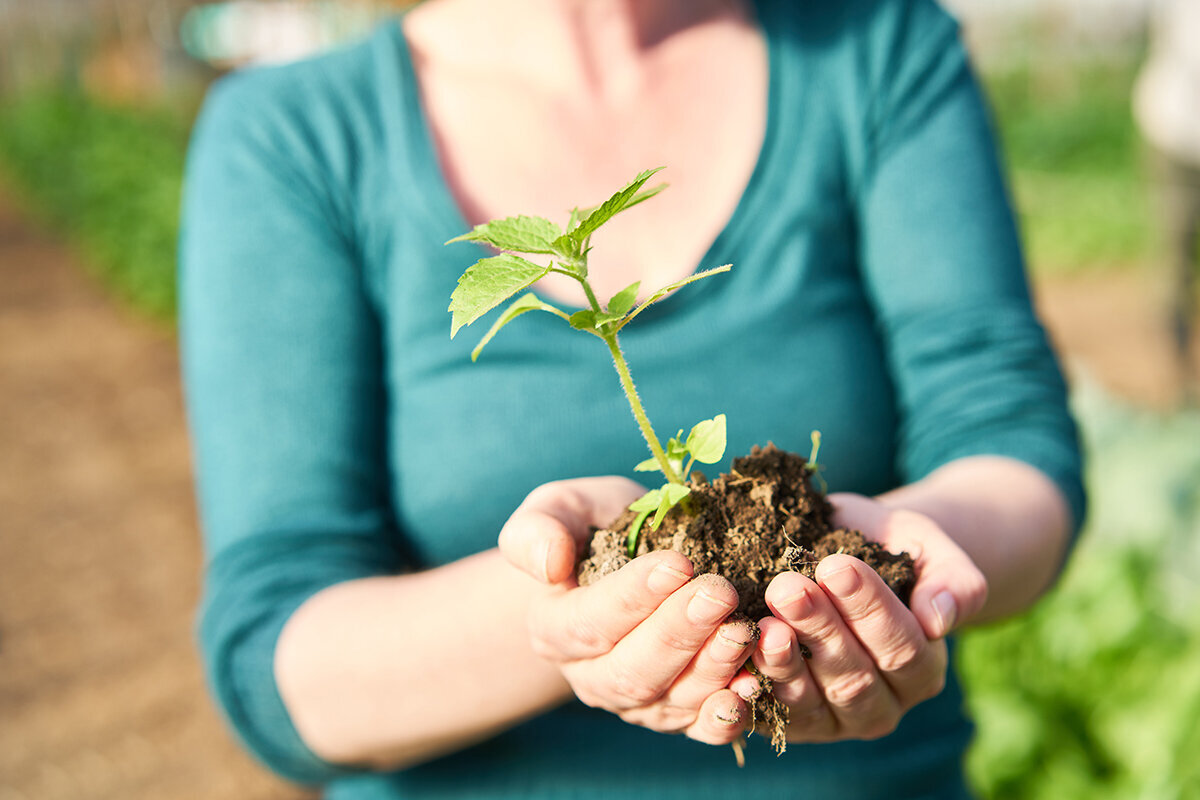
Protected herb culture · Australia
Hardy, fresh and highly productive, mint can deliver tender tips, abundant fragrance and an extended harvest when grown under protection. The feature that demands firm management, however, lies beneath the potting mix.
A fresh, cool growing zone
Raise mint successfully under glass
Supply bright conditions, steady root moisture and circulating air, then draw a firm boundary around the root system. This keeps potted mint aromatic, productive and manageable.
01Key planting rule: Harvest freely above the mix, but confine everything below it. Give every mint plant a dedicated pot with reliable drainage.
What mint gains from greenhouse shelter
Plenty of light for leaves, firm boundaries for roots
A greenhouse can place fresh mint within easy reach. Keep its pot beside the entrance or central path for regular picking and to avoid saturated garden soil during wet weather. Shelter benefits young plants during cold nights and downpours, and may extend harvesting in spring and autumn. Do not create tropical conditions, though. Mint still requires good light, regular ventilation, evenly moist potting mix and exposed pot rims that remain easy to inspect.
Flavour is only one consideration when choosing between familiar spearmint and peppermint; growth habit matters equally. Most members of the mint family travel vigorously through underground rhizomes and stems that trail onto nearby surfaces. Guidance from the Bavarian State Research Centre for Viticulture and Horticulture favours roomy containers for herbs that form runners, keeping each plant separate and easier to control. A pot approximately 25 to 35 cm across is a workable first home for one plant.
Grow mint as a contained pot crop or carefully managed edge planting, never loose in an open greenhouse bed. Preserve access for watering, keep every drain hole clear and leave space around neighbouring crops. For defined paths, controllable growing zones and an orderly herb area, consider the Classic aluminium greenhouse as a practical foundation.
Begin with healthy material
Three reliable ways to start mint
Mint propagates readily, but shelter should make establishment more controlled rather than careless. Select vigorous material whose identity is clear. Reject plants with pale spotting, webbing, orange pustules, sticky or distorted growing points, or roots that smell musty. A recently purchased plant is best observed briefly in a separate area before joining the main herb collection.
Prepare fresh, open-textured potting mix and sanitised secateurs. Dense garden soil performs poorly in containers and may carry preventable trouble into the greenhouse. Buying a young plant usually produces the earliest harvest. To preserve the exact fragrance of a valued specimen, begin instead with a cutting or rooted division.
Shoot-tip methodTake an 8 to 10 cm piece from a healthy shoot without flowers, cutting just beneath one of its leaf nodes.— Strip the lower foliage, then encourage roots in fresh water or loose propagation mix kept uniformly moist.— When several roots are visible, transfer the cutting to its own pot. Keep moisture steady at first, then adopt the usual watering pattern.—
Dividing a plantRemove a strong plant from its pot and separate rooted sections that each retain several fresh shoots.— Cleanly remove damaged roots and, if needed, gently reduce excessive foliage.— Set each piece into new mix, soak it thoroughly and provide protection from harsh midday heat while roots establish.—
Purchased young plantBefore placing it with other herbs, examine the growing points, leaf undersides, container rim and roots for signs of trouble.— Move it gently into its own container about 25 to 35 cm wide, never a mixed herb bowl.— Make a lasting record of the variety and planting date. Clear identification later assists with picking, dividing, repotting and seasonal renewal.—
Where the runners travel
Several routes can carry mint beyond its pot
The easiest route to recognise is a rhizome extending horizontally through the mix. Less obvious escapes occur when a hanging stem roots in an adjoining container, roots pass through drainage holes into a damp floor joint, a divided piece reaches the raised bed, or fresh stems take hold in compost. Containment is therefore a considered way to protect surrounding crops, not excessive caution.
Select a robust pot that drains freely, and leave its base and entire rim open to view. Do not give mint the same body of soil as thyme, rosemary, capsicum, seedlings or permanent crops. A tall planter is suitable only when individual varieties occupy separate inner containers and every edge remains accessible. Planting directly into the greenhouse bed offers the weakest control.
Best choice: individual container
Conditional choice: enclosed elevated planter
Poor choice: uncontained bed
Inspect the rim, drain holes, saucer, surface below the pot, nearby containers and every stem leaning outwards.
Managing moisture, light and airflow
Moisture belongs around the roots;
Moisture belongs around the roots;
air belongs around the leaves
Soak the complete root zone
In the morning, apply water gradually until the whole root ball is moistened, then allow the surplus to escape. Before repeating, feel the upper 2 to 3 cm of potting mix and compare the container’s weight. Mint struggles with extended dryness, but roots also suffer in mix that remains heavy and waterlogged.
- Water the mix, not the leaves.
- Use stable mix that retains moisture while reliably releasing excess water.
- Tip out water left in saucers or non-draining decorative cachepots.
- Let weather, available light, container material, root volume and plant size determine how often you irrigate.
Balancing greenhouse brightness and ventilation
Choose a bright position without trapping mint in a stagnant, overheated corner. On hot Australian summer days, temperatures beneath glazing may rise rapidly during the afternoon. Operate doors and roof vents before the greenhouse overheats, adding mild shade if leaf margins show stress or containers lose moisture unusually quickly. A low bench or path-edge position will often be gentler than the sunniest north-facing section.
- Leave enough room between pots to prevent their leaves forming a closed, humid screen.
- Start ventilation ahead of rising heat rather than waiting for visible wilting.
- During winter, relocate the container if its corner remains exceptionally cold and wet.
- Only investigate supplementary lighting when natural winter light is plainly inadequate for the growth you intend to maintain.
ApplyPour water onto the potting mix.AssessTouch the surface and lift the container.
ReleaseAllow every surplus drop to escape.AerateMaintain dry foliage and gentle air circulation.
Feeding
Feed for flavour, not bulk
The purpose of growing mint is aromatic foliage, not an impressive mass of weak, tender stems. Quality fresh herb or container mix normally supplies a new plant initially. Following several weeks of growth and repeated picking, a modest dose of organic liquid fertiliser applied according to its label—or a little mature compost—may help. If growth turns abnormally long, dark green and soft, first review light, temperature, crowding, irrigation and pruning. LWG guidance warns that overfed herbs can become excessively lush while losing aroma. Modest nutrition matched to genuine demand is preferable to frequent heavy feeding.
Renewal rhythm
Keep harvesting, pinching and renewing
Make each cut support the following flush
Pick tender stem tips, placing each cut slightly above a node or pair of leaves. Buds beneath that point then form lateral growth and help preserve a compact shape. Pulling scattered leaves from stem centres instead leaves bare, elongated sections. With perennial mint, retain some foliage at every harvest. Frequent modest picking during dry mornings generally produces a denser, longer-lived crop than occasional severe trimming undertaken only when the pot becomes unruly.
Frequent, modest tip picking
Take the soft upper growth for food and drinks. Each small harvest also acts as routine shaping.
Growth after pruning
Buds below a cut develop into lateral shoots. Rotate the container from time to time so all sides receive useful light rather than leaning towards one pane.
Scheduled rejuvenation
Once stems are bare, woody or densely interwoven, a stronger trim is appropriate. Clear away older growth, replace the upper layer of potting mix, or divide and repot congested roots. The result should be accessible, healthy young stems.
Flowering and leaf quality
Keep selected blooms, or prioritise leafy growth
Mint in flower is decorative and attracts visiting insects, especially when its container is outdoors or accessible beside widely opened greenhouse doors. Where leaves are the main crop, many gardeners remove emerging flower heads to encourage compact plants and vigorous lateral growth. Tradition favours gathering especially aromatic material before flowering becomes pronounced, but this need not become inflexible. One isolated plant may be allowed to bloom while regular trimming keeps the others youthful. Cutting flowered stems back to approximately 10 cm can encourage another flush suitable for kitchen use.
Deadheading cannot replace containment below the surface. Rhizomes and stems that touch potting mix remain the principal ways mint spreads. Finish every maintenance visit by examining the container edge, holes underneath, floor and surrounding pots.
Hygiene, pests, rust and powdery mildew
Turn close observation into an easy habit
Mint usually presents few difficulties in a greenhouse, although crowded conditions make prompt detection worthwhile. Aphids favour soft new growth, whereas spider mites often appear in hot, dry surroundings. Closely packed foliage, persistent leaf wetness and still air increase the likelihood of fungal trouble. Rust produces raised marks ranging from orange to rusty brown; powdery mildew resembles a light dusting of flour. Read each symptom as information about the plant’s wider environment, not simply as a reason to reach for an immediate treatment.
When trouble appears, move the container away from other plants if practical, discard visibly affected growth, and clean secateurs and work surfaces. Create more separation and improve circulation. For edible herbs, any agricultural chemical must have a current APVMA label or permit covering the relevant crop and intended use; also check destination state or territory rules governing use. Observe every label direction, withholding period and safety instruction.
01
Tender growing points
Check for aphids, twisted new leaves and sticky residue. A light jet of water may dislodge a small group. Continue inspecting over subsequent days rather than treating one rinse as a complete solution.
02
Under the leaves
Examine these surfaces for pale pinpricks, delicate webbing and minute mites in motion. Early action is easier than waiting until foliage develops a dusty or bronze appearance.
03
Across the leaf blade
Raised spots in orange-brown tones can indicate rust, while a light powdery film may indicate powdery mildew. Promptly clear diseased foliage, increase spacing and selectively thin dense stems.
04
Containers, roots and equipment
A sour or musty smell, wilting despite wet mix, and pots that stay unusually heavy all point towards stressed roots. Wash containers before using them again, and thoroughly clean or disinfect cutting equipment between plants that appear suspect.
Container care through winter and the spring reset
Slower growth calls for deliberate choices
Adapting to the cool season
Shorter days bring slower growth and reduced demand for water. Compared with summer, permit slightly more drying before irrigating again, but do not leave a small root mass completely dry for an extended period. Keep harvesting to a minimum when winter light is weak.
Useful light without forcing growth
Use the brightest suitable place available. Although many mints tolerate cold, a container exposes roots more than garden soil does. In districts with prolonged frost, stand the pot on insulating material and wrap it with horticultural fleece. Reduce irrigation and nutrition in line with the plant’s slower pace.
Resetting the plant in spring
As fresh growth gathers speed, renew tired mix where necessary and split any root ball that has become densely congested. Reintroduce light feeding and regular tip picking gradually. Spring is also suitable for renewing labels, reopening blocked drainage and tracing every route runners might use to escape.
For structured planning through a protected growing season, view the Classic aluminium greenhouse , whose practical interior and ventilation choices support controlled conditions across the year.
FAQ
Answers from the mint-growing bench
Will mint live all year in an unheated greenhouse?
Hardy mint may survive winter in an unheated structure, but do not expect uninterrupted harvesting throughout the year. Performance depends on daylight, local winter conditions and temperatures inside the greenhouse. During cold spells the plant may almost stop or die back above the mix before returning in spring. Where hard frost occurs, protect the container from freezing solid, prevent waterlogging and irrigate much less while the plant rests.
How large should a greenhouse mint pot be?
For one plant, begin with a container approximately 25 to 35 cm in diameter. Compared with a very small pot, it provides steadier moisture and greater rooting space while leaving runners under observation. Ensure that drain holes remain open and that the area beneath is visible. If roots fill the pot densely and shoot production declines, divide the clump or transfer it to a larger container.
Should different mint varieties occupy the same large pot?
They can, although the arrangement seldom works well in the long term. Vigorous varieties may suppress gentler ones, roots become interwoven and labels cease to be useful. Untangling the plants later takes considerable effort. Assigning a separate pot to each flavour family keeps the collection intelligible, while arranging those pots as a group still creates one deliberately styled mint display.
What causes weak, elongated greenhouse mint?
Insufficient useful light, excessive heat, congestion, heavy feeding or infrequent pruning can all produce soft, stretched stems. Increase light and ventilation, cut directly above suitable nodes and resist adding fertiliser automatically. If every stem pulls towards the same glazed wall, turn the pot regularly.
Does misting mint provide beneficial humidity?
Usually it does not. Mint responds better to moisture distributed evenly through its roots and to circulating air than to repeatedly damp foliage. Spraying leaves cannot rehydrate a dry centre within the pot, while extra surface moisture among crowded stems can encourage disease. Direct irrigation onto the mix and maintain regular greenhouse ventilation.
How do I keep runners out of neighbouring containers?
Arrange containers so no trailing stem can touch potting mix nearby. Examine rims and drain openings frequently, lifting each pot from time to time to expose its base. Trim roots emerging underneath, or divide and repot a congested plant. Keep rhizomes, divided pieces and fresh cut stems away from greenhouse beds and any compost heap where they could establish.
References and additional guidance
Technical reading for careful herb culture
These specialist references informed the sections on mint growth, containers, propagation, picking, sanitation and symptom recognition. Consult them for more detailed horticultural guidance.
More from Bloomcabin: Greenhouse planning: layout, crops and maintenance · water-wise greenhouse gardening · Overwintering potted plants in a Bloomcabin aluminium greenhouse
- LWG Bavaria – growing fresh culinary herbs at home
- LWG Bavaria – practical guide to organic gardening
- Berlin Plant Protection Office – maintaining healthy garden herbs
- University of Minnesota Extension – growing herbs in a home garden
- University of Minnesota Extension – recognising powdery mildew in gardens
- University of Minnesota Extension – sanitising garden containers and tools
- LWG Bavaria – containers and the habits of runner-forming herbs
- LWG Bavaria – organic methods, crop care and plant health
