
Window and Door Delivery: Checklist for Unloading, Inspection and Storage

Site organization
Delivery day does not determine whether a window or door is the right product, but it can determine whether it reaches installation complete, undamaged and when needed. Renovation sites often have scaffolding, finishing crews, flooring work, painters and installers sharing limited space. Leaving access, unloading space and responsibilities until the truck arrives creates avoidable problems. This checklist brings product planning and site coordination together: which units need careful handling, what should be checked at handover, and how should a delivery be stored before fitting? Decide in advance who receives the shipment, takes photographs and contacts the supplier or installation contractor. That gives everyone a clear record without unnecessarily holding up the project.
Plan delivery from the wider project schedule
Start well before delivery day with a unit schedule that brings together the order, site measurements and installation plan. Include the room or elevation, position number, unit type, opening direction, number of sashes, unusual shape and planned installation stage. An entrance door needs different planning from a small fixed window, while a wide lift-and-slide door needs a different carrying route from a single casement window. Compare the handing shown on the order with the drawings and actual site conditions. Outward-opening units require clear space outside, while stored materials or finishing work must not interfere with inward-opening units. Delivery is the final opportunity to confirm these details, not the first time to consider them.
Delivery for windows and doors takes 4–6 weeks, subject to order confirmation. Coordinate the delivery window with site progress and the installation crew instead of reserving only a date in the calendar. If the building envelope remains open, arrange secure interim storage before the shipment arrives. If installation is due to begin immediately, prepare openings, clear access routes and ensure the right contacts can be reached. Consider whether some positions should arrive later because interior finishing or floor construction still needs protection. A practical plan sets aside time for unloading, visible inspection and moving items into storage, and establishes what happens if a discrepancy is found. This avoids keeping the driver at an unresolved site or asking installers to begin with unchecked goods.
Check access and the unloading area realistically
Walk the route from the public approach to the storage area before delivery. Tight passages, low clearances, soft ground, steps, sharp turns, snowbanks, icy patches, parked site containers and newly completed landscaping can all change the handling plan. The question is not simply whether the vehicle can arrive, but whether each unit can then be moved onward without risky turning, lifting or set-down. Measure restrictive passages and stair landings when large units must enter the building. Confirm with the installation contractor what assistance or lifting equipment is intended for this shipment. Improvised routes across uneven or icy ground are not suitable for glazed units or vulnerable edges.
Choose an unloading area that is level, load-bearing, dry and close enough to the planned storage location. Leave enough open space so packages do not need to be stacked, shifted repeatedly or left in a passageway. Avoid roof-drain outlets, loose aggregate and areas where vehicles will later manoeuvre. In wet weather, a nearby protected spot is more useful than a distant area that merely appears clear. Mark the space, remove trip hazards and have keys or access codes ready. Where unloading takes place on private property, appoint someone to authorize access and the set-down area. If public space, a neighbour’s driveway or special local conditions are involved, have the relevant parties settle the arrangements in good time rather than making assumptions on delivery day.
Project overview
Prepare the receiving team and paperwork
Receiving a shipment should not be squeezed between other site tasks. Name a responsible receiver and a backup who have the order, order confirmation, delivery note, position schedule and a camera or phone ready. They do not need to assess every technical detail, but they should be able to compare products, quantities, packages and apparent concerns methodically. A simple table can record the position, expected configuration, delivered label, packaging condition, photograph and notes. Link photographs to the position immediately. A picture with no connection to a unit or delivery note is far less useful later than brief, precise documentation.
Discuss responsibilities among the owner, site manager, installation contractor and supplier beforehand. Who can note a reservation on the delivery paperwork? Who reports missing positions? Who decides whether a questionable item is protected in storage or placed separately? Without this clarity, teams can fall into an unhelpful choice between accepting everything unchecked and rejecting a full delivery over a minor unresolved issue. A documented process works better. Set an order for enquiries: use the agreed delivery contact first, then the site manager or installation lead where needed. Keep telephone numbers and order references available even if reception is poor or a device is unavailable. Record who needs a decision, by when, and who will update the site. Receiving concerns the visible handover; it does not replace professional assessment of the completed installation. Opening dimensions, connections, sealing and operation remain separate installation checks.
Match delivery documents to the order
First confirm completeness by position and package. Do position numbers, quantities and unit types match your records? For doors, check the intended opening direction; for windows, check the number of sashes and any distinctive shape. A Patio Life lift-and-slide door unit should be clearly distinguishable from smaller windows and accessories on the list so it is not placed in an unsuitable location. On projects with several elevations, room or grid references help. Do not only confirm that the count looks right; also consider whether each allocation makes sense. A round, triangular or especially tall package can often be matched to its position from its packaging.
Watch for components supplied separately. Accessories, covers, fixings and supplementary parts may arrive in their own packages and should not be treated as leftover materials. Record missing or unassigned units before packaging and labels disappear into the activity of the site. Do not open every protective package simply to see each detail at once, as this can reduce protection for later handling. If a label is unclear, photograph the label and the full package, then ask a focused question using the order documents. A thorough check also saves time during installation: the team can find the correct unit without sorting through similar packages to establish handing or position.
Inspect visible condition before signing
Examine each package from all accessible sides without moving it unsafely. Look for punctured wrapping, crushed corners, tears, moisture inside the packaging, bent protective strips, displaced restraints or visible glass damage. Photograph the complete labelled package first, then take close-up images of the concern. Describe only what can be seen, such as “packaging open at lower corner; edge beneath not visible,” rather than guessing at a cause or technical defect. This keeps the record useful if detailed assessment must wait for a response.
Delicate formats deserve an especially careful check. A fixed triangular or angled window has different edges and support points from a standard rectangular window, so inspect more than its front face. The same care applies to large glazed doors and narrow sidelights. Open or remove restraints only when this is compatible with the next planned move and the manufacturer’s instructions. Do not force sashes open at the storage area. Hardware and seals should not be put under strain while a unit remains secured for transport or is standing unevenly. Visible inspection is for recording apparent transport or packaging concerns promptly, not for carrying out installation in advance.
Record discrepancies clearly, without speculation
If you find a concern, write it legibly on the delivery note or in the agreed digital handover and take photographs. Add the position number, number of affected packages, time and a neutral description. Do not state a cause, responsibility or repair method unless it has been confirmed. What matters is that the condition at handover can be traced. Keep copies of the paperwork and image files with the order. A report to the appropriate contact should be brief, complete and prompt: identify the project and position, describe the visible concern, attach photographs and ask for the next step.
Keep a potentially affected unit clearly separate from unaffected goods, while continuing to protect it. Mark it with its position and a note so it is not installed accidentally or checked twice. Visible damage does not automatically mean all work on site must stop; equally, undamaged-looking packaging is not a substitute for checking function after installation. Obtain a clear response before removing protective film or making changes. If an installation contractor has been engaged, provide the documentation before the fitting date. The team can then plan sequence, access and materials around what is actually available rather than discovering an issue when packaging is opened.
Project overview
Protect the storage area from moisture, pressure and mix-ups
A storage space needs to offer more than a roof. It should be dry, clean, protected from direct weather and organized so packages do not need to be moved in a rush. Store units according to the manufacturer’s requirements and the instructions on packaging and accompanying documents. Common mistakes include placing goods on damp ground, leaning them against loose materials, covering them without airflow or loading other materials onto them. Use suitable supports and leave adequate distance from splash zones, sanding dust and active plastering. Protection does not mean sealing everything out of sight; it means avoiding conditions that may affect packaging, finishes or components.
Arrange storage by installation sequence and project stage. Heavy or large-format packages belong where smaller deliveries will not block them. An outward-opening folding-door unit should not be placed behind pallets or beside a narrow passage if it must be moved to its opening first. Keep walkways clear and labels visible. Use simple zones to separate units for different floors or elevations. This cuts down on rehandling, a common point for scratches, impact marks and switched positions. Recheck the storage area after heavy rain, snowmelt, moisture-producing work or any change in site logistics.
Allow for unit shape and operation when handling
Windows and doors cannot all be held, carried and set down in the same way. Large glazed areas, tall narrow frames, curves, unusual geometry and moving sashes require handling suited to the individual unit. A pivot roof window should not be treated like an ordinary façade window just because both are described as windows. Weight, dimensions, safe grip points, floor level, turns and the condition of the opening all matter on the route to installation. Agree the specific handling plan with the installation contractor and product documentation. Never pull, lift or brace a unit by its hardware, handles, glazing bars or unprotected edges.
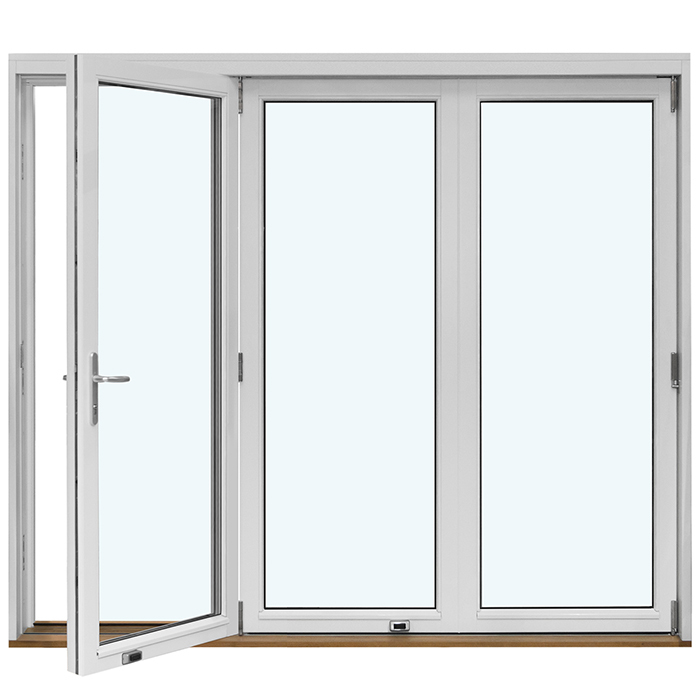
The intended operation also helps with correct allocation at delivery. For a single-sash inward-opening patio-door unit the handing should remain easy to read while in storage so the unit is ready for the correct opening. Outward-opening versions also require safe access to the exterior for installation. When clearing an area, check not only which position is next but also whether its protective packaging, label and any separate accessories are moving with it. This prevents a correctly placed unit from being separated from essential parts.
Keep delivery checks separate from installation handover
Before fitting begins, compare stored stock with the installation plan again. Each opening needs the correct position, a clear carrying route and enough space to prepare the unit safely. Check that openings correspond to the current drawings and that adjacent work will not obstruct installation. Ask the qualified installation contractor which substrates, connection details and protective measures are needed for your project. Delivery cannot establish whether a connection has been completed correctly. It does, however, ensure that the starting condition is documented and that the correct unit reaches the right opening without avoidable prior damage.
Installation involves a different assessment from the one at the truck. Fit in the building, ease of operation, even gaps, visible surfaces, seals and moving parts can only be properly assessed once the unit is installed. For an outward-opening entrance-door unit with a panel the process should also account for protection from later work and coordination with floor build-up, interior finishes and site access. Remove protective materials only when needed, not so early that plaster, paint or tools can damage surfaces. Keep outstanding items separate by delivery, installation and finishing work. This makes communication clearer: a missing package is different from an adjustment still required after fitting.
Finish with a brief site review
Spend 10 minutes on a final review after unloading, before everyone leaves. Have all packages been counted? Are the photographs and delivery note saved? Has every concern been assigned to a position? Are unclear or affected units marked and separated? Is the storage area closed, dry and clear of later site traffic? Note which positions will be installed first and whether access, equipment or decisions are still needed. Check whether empty transport racks, packaging or unassigned small parts block the planned route. Give every open item an owner and a next review date. A simple status list—“complete,” “under review” or “released for installation”—prevents a telephone update from being mistaken for a final decision. This step does not replace technical assessment, but it stops information being lost between the driver, receiver and installation team. It turns a complex shipment into a clearly recorded inventory with a defined next action.
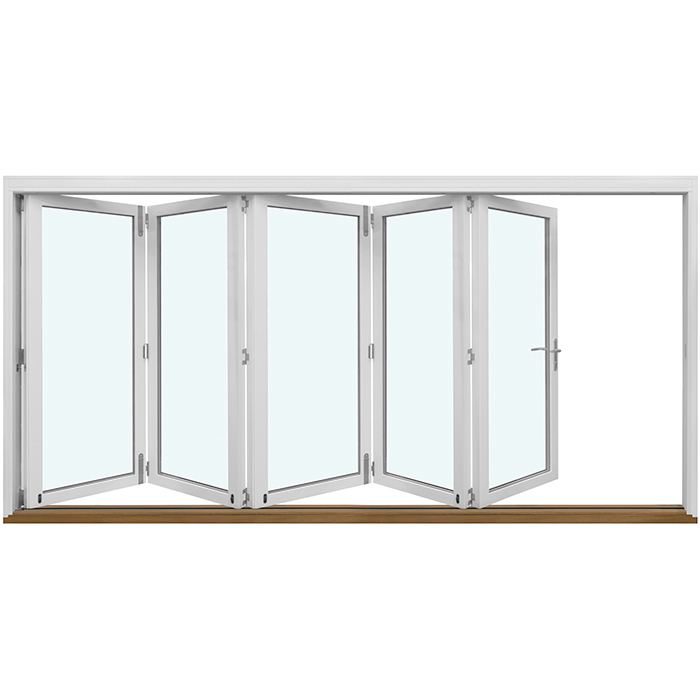
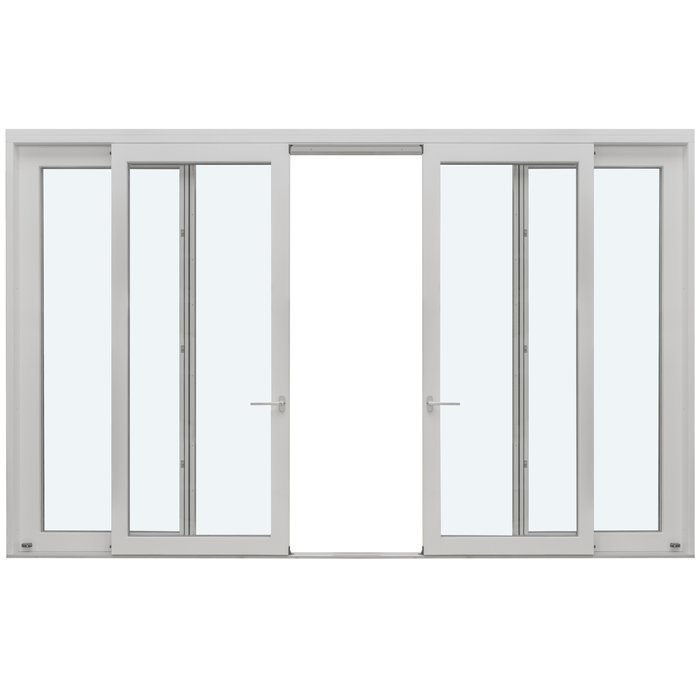
Keep the order, order confirmation, delivery note, photographs, correspondence and position schedule together for later questions. For sliding doors and other positions made up of several associated parts, the file should also show which labelled packages were handed over together for installation. Add installation records and care guidance after fitting where appropriate. Bloomcabin provides a 5-year warranty for windows and doors, so retain the related documents in an orderly file. That warranty is not a reason to delay reporting damage or uncertainty at delivery: early, factual documentation makes it much easier to identify what happened. Repeating this checklist for each partial shipment gives the project team a reliable overview, particularly when windows, doors and finishing work arrive in stages rather than on one day.
Frequently asked questions
Do I need to unpack every window at delivery?
No. First check the delivery note, labels and packaging from all accessible sides. Do not open packages at random if this would remove protection or transport restraints. Photograph and note visible concerns. For the next steps, follow the product documentation and advice from the responsible contact.
What should I write on the delivery note if packaging is damaged?
Record only what is visible: the affected position number, quantity, location of the concern and type of packaging damage. Add photographs and retain a copy. A note such as “wrapping torn at corner; component beneath not inspected” is clearer than assumptions about cause, extent or responsibility.
How long can windows and doors be stored before installation?
A general time period is less useful than proper storage conditions and the manufacturer’s instructions. A dry, protected location, suitable support, visible labels and minimal rehandling are what matter. Check the storage zone regularly, especially after wet work, weather events or changes to the site schedule.
Who should receive the delivery?
Ideally, appoint someone in advance who has the order, position schedule and authority to document concerns. They can coordinate receiving with the site manager or installation contractor. Availability, time for visible inspection and a clear reporting route are essential. Receiving goods does not replace inspection of the completed installation.
Can a unit with a visible concern remain on site?
That depends on the nature of the concern and the agreed response. Mark the unit and store it protected and apart from other items rather than installing it unchecked or altering it yourself. Document its condition fully and confirm the next step with the responsible contact using the position reference and photographs.
Next step
A well-managed window and door delivery is more than administration: it connects the order, site programme and installation. Prepare access, the unloading area, documents and responsibilities beforehand. Check quantities, labels and visible packaging condition calmly and methodically instead of making assumptions under time pressure. Store units according to the manufacturer’s instructions so they remain protected and reach the right opening without unnecessary movement. The key principle is simple: document what is visible, mark what is uncertain, and treat delivery, installation and subsequent finishing work as separate checks. This creates a dependable foundation for an orderly installation.
