
Buying a Greenhouse for Seed Starting: Benches, Light & Temperature Control
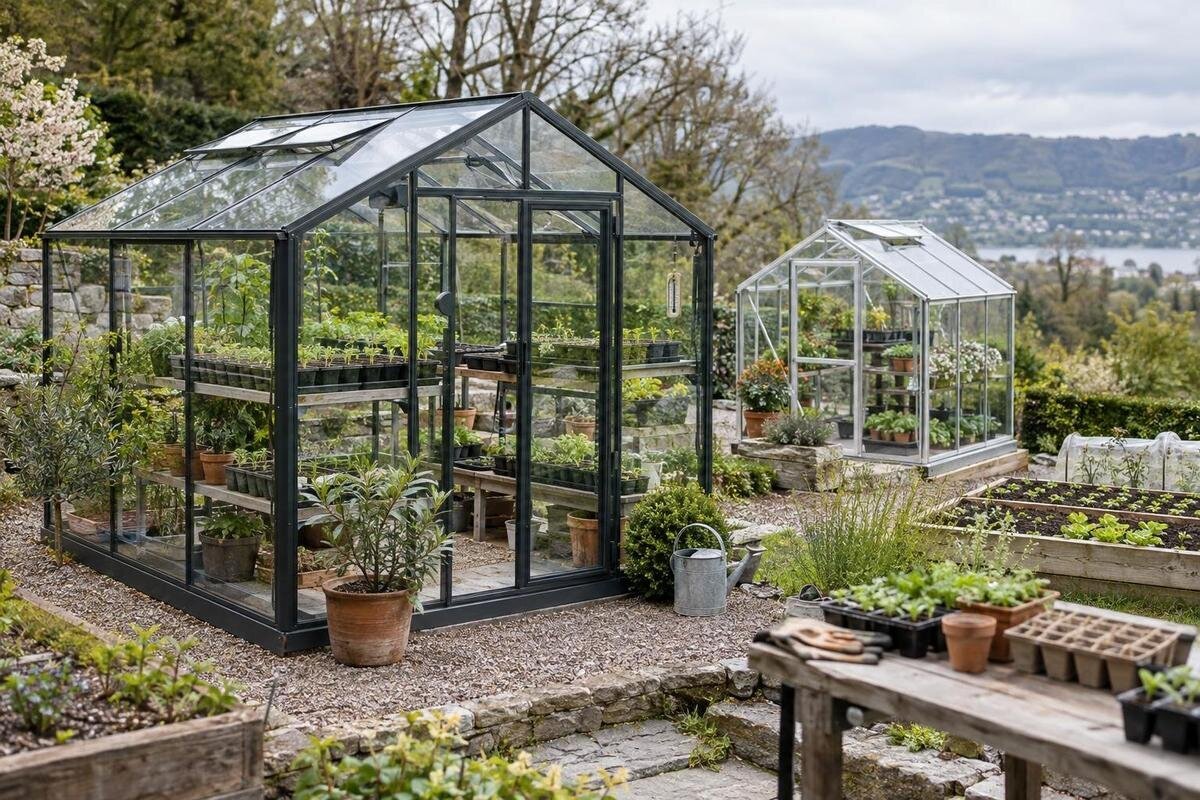
Seed-starting greenhouse guide
Buying a greenhouse for seed starting is less about finding the structure with the biggest footprint and more about creating a workable place for batches of trays. Bench area, access to daylight and the way temperature rises and falls all affect how useful the space will be during busy sowing periods. Your choice depends on what you sow, when batches overlap and how often you can open, shade and monitor the greenhouse. Plan around the peak number of trays and the actual site, then compare product details with that plan rather than judging by a model name or external size alone.

Plan around sowing dates and peak tray numbers
Build a sowing calendar before choosing a footprint. List each crop, how many trays or modules you expect to sow, and the dates for sowing, pricking out and moving plants on. The busiest point matters more than the first batch: new seeds may need space while earlier seedlings are still on the benches. Count the trays at that overlap, rather than adding together every batch you will sow across the year. Include room for a spare tray, labels and containers used during routine work. This gives you a realistic figure for the growing surface you need.
Separate germination from the time seedlings spend growing on. You may start some seeds in a propagator elsewhere and bring trays into the greenhouse later; other crops may occupy greenhouse benches from sowing. Follow the guidance for each crop rather than assuming every seed needs the same conditions. Decide which stages will take place inside, then estimate their tray footprints. If you use both module trays and open seed trays, record both formats because their shapes can affect the practical bench layout. For a named option such as Bloomcabin Prestige greenhouse with metal foundation, use any published dimensions or plan to assess its footprint. The name alone does not establish usable bench area or what comes with the greenhouse. Use the same peak tray count when comparing candidates.
Calculate usable bench space from your trays
External dimensions are not the same as usable bench space. The frame and any base can affect the available floor area, while benches take up space and still need a route for access. If a listing gives several measurements, note whether they refer to the outside, internal clear space or a base; do not compare two structures using different measurement types. Measure actual trays, including lips or handles, and draw their footprints on the proposed bench. Include enough clearance to lift and water each tray without moving its neighbours. Try this with module trays and wider containers used after pricking out. If only external dimensions are available, mark usable space as unknown instead of estimating it from a picture.
Count only shelves you can reach and use for the stages you have planned. A high shelf may be awkward to water, while a lower level can receive less light if another bench shades it; assess each position instead of multiplying one shelf’s area. When looking at Bloomcabin Orangerie, use any published dimensions or layout information to calculate usable space; the model name is not a substitute. Compare benching separately, too: confirm whether it is included, offered as an accessory or something you would source independently. Record the tray count each level can hold rather than relying on a visual impression, and check shelf height against the plants you expect to grow on.
Leave a clear route to every tray
Once you have estimated the bench surface, draw the route from the doorway to every tray. A layout that fits on paper may still be awkward if a bench blocks access to a back row or leaves no space to turn with a tray in hand. Account for the door’s opening clearance and any fixed items shown in the plan, then consider where you will stand while sowing, watering and lifting trays. Access from one side is not the same as access from both sides: a deep bench against a boundary can leave its far edge difficult to reach. If you regularly carry trays through the greenhouse, check that the doorway and aisle allow a practical route. Mark the aisle on the ground with tape to test the arrangement before ordering.
Choose bench depth and height around your reach and tray handling, not maximum surface alone. You should be able to lift a full tray without twisting around a post or brushing nearby seedlings. If you plan tiers, check that each has a clear access route and fits the light plan. For Classic Plus 385, consult the product information for stated layout, dimensions and any bench-related details rather than guessing from the model name. Check whether a bench is included or separately specified. If a load limit matters to your arrangement, confirm it with the manufacturer; do not infer capacity from appearance, particularly where trays will hold water.
Assess daylight at seedling level
Assess daylight where the leaves will sit, not just at the greenhouse doorway or above the roofline. Visit the proposed site at different times of day during the period you expect to raise seedlings. A wall, fence, tree or neighbouring structure can shade benches even when the surrounding garden seems bright. If the greenhouse is planned beside a building, assess the shade it casts instead of assuming the wall improves growing conditions. Seedlings need adequate light after germination, so a bright-looking location is only a first impression, not a guarantee. Note the light at bench height and in more than one part of the proposed footprint.
Look at how the planned benches and trays relate to the glazed sides and roof, and check any published information about panel type or light transmission. Do not assume a panel name or appearance tells you how much light will reach a tray. A wall-adjacent layout can also change which side receives light and when, so assess the actual direction of the site. If comparing the T-model greenhouse with orangery wall base, verify its listed arrangement and dimensions, then compare them with the proposed position. The product name alone cannot establish the light available there. Consider whether upper tiers will shade lower trays.

Account for seasonal changes in light
Light changes through the year as well as through the day. If your main sowing period is months away, an observation now may not represent the daylight available then; fixed obstructions and tree canopies still offer clues, but seasonal conditions differ. Note when shadows reach the proposed bench area and how long it stays bright, rather than recording one sunny moment. Repeat the observation at more than one time of day and, where practical, on another day. This helps distinguish a position that stays bright from one that gets only a short patch of direct sun. Keep the notes with your proposed layout.
Use that picture to decide where benches go and how many levels make sense. A tall shelf can shade plants below it, and crowded trays can make it harder for light to reach leaves across the bench. Plan for seedlings as they grow, not only for newly sown trays, and leave a way to move containers between brighter and more sheltered positions if your routine allows. Natural light may be inadequate for some sites or sowing periods, so identify that possibility before ordering. If your plan depends on supplementary grow lights, allow space for the equipment and check its suitability and safe installation with a qualified person; do not assume the greenhouse listing includes or supports it.
Plan for temperature monitoring at tray height
Do not equate a greenhouse with a controlled germination room. Sunlight can warm the enclosed air during the day, while conditions change after sunset or when outside weather shifts; a tray can also experience different conditions from a reading near the roof or a sunlit panel. Germination requirements depend on the crop, and preferred conditions may change once a seed has emerged. Read the sowing instructions for each variety and decide whether the greenhouse’s ambient conditions suit that stage. For seeds that need a warmer start, consider whether a separate propagator is part of your setup rather than expecting the whole greenhouse to provide steady warmth.
Make temperature monitoring part of the plan. A min/max thermometer or data logger placed near tray height can show the range seedlings experience; keep it out of direct sun and away from a vent or warm surface so it reflects the surrounding air more usefully. Record readings at different times over several representative days before relying on a routine. If benches occupy distinct areas, compare readings at more than one representative tray position. These notes can help you judge whether ventilation or shading changes are useful and when the greenhouse needs attention. When reviewing Aluminium Classic greenhouse, rely on its listing or the manufacturer for stated openings and optional equipment; do not assume a vent, heater or controller is supplied.
Check ventilation and shading arrangements
Ventilation is one part of temperature management, but it helps only if openings are accessible and you can use them when needed. Check which openings are specified, where they are placed, whether operation is manual or automatic, and whether controls remain reachable once benches and trays are in position. Do not judge ventilation from a photograph alone. Your daily routine matters: an arrangement that relies on someone opening a vent at a particular time is unsuitable if nobody can check the greenhouse as conditions change. Consider who will monitor it on workdays or when you are away.
Shade can moderate strong sun, but it reduces incoming light too, so it is a balance rather than a blanket solution. Decide whether removable shading or another approach fits the seedling stages you intend to raise, and confirm that any accessory is compatible with the chosen structure. For Aluminium lean-to greenhouse, check the product information for the specified opening arrangement and any compatible accessories. Do not infer vent locations or controls from the model name; compare documented details with your bench plan and how often you can attend. Think through what you would do on a warm day—open a vent, add shade or move trays—before relying on any one measure.
Include watering and potting workspace
Watering is easier when the bench layout leaves room to handle a watering can or hose without knocking trays, and when every side needing attention is reachable. Think about where water containers and frequently used supplies will stand, and whether they take away the aisle included in your plan. Spilled water and compost are normal parts of propagation, so consider how the floor will be used and kept clear; a bench placed too close to a working area can make routine tasks awkward. Even floor space that holds no plants has practical value if it is needed to handle trays or move around the work.
Decide whether sowing, labelling and pricking out will happen inside the greenhouse or elsewhere. If you need a small work surface inside, include it in the footprint instead of treating all unplanted floor area as spare space. Check whether benches, staging, shade or other pictured accessories are actually included or optional. For Aluminium Limited Edition greenhouse, verify the product description for the items supplied and any additional pieces you plan to use; photographs and the model name do not confirm the package contents. Keep stored trays and tools out of the main route and avoid blocking access to vents. A clear work area also makes it easier to sort and label batches as you go.
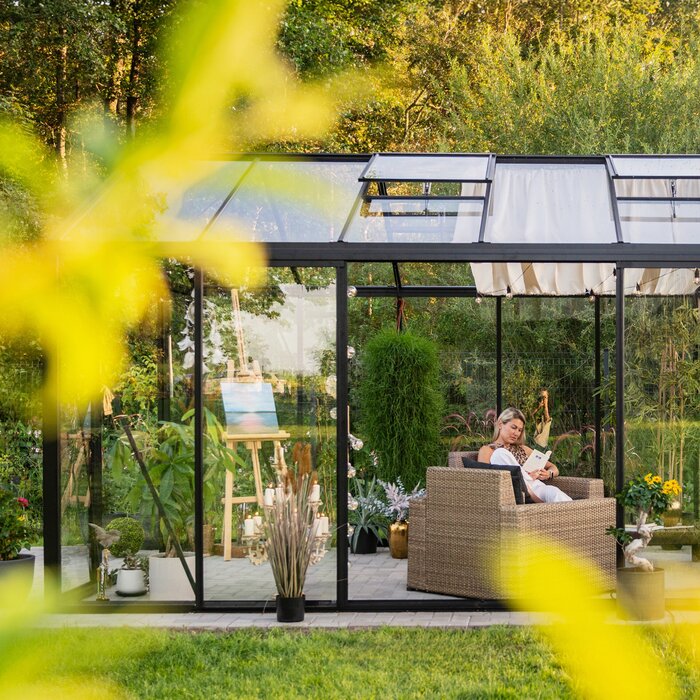
Verify base and listing details before ordering
Once the layout works on paper, check how the greenhouse is meant to meet its base and the surface at the intended site. A model name can identify an option but cannot replace installation information. For Pyramid greenhouse for a masonry base, compare the product listing’s stated base requirements with the surface you have planned; do not assume the name gives enough detail to prepare it. Confirm dimensions, door clearance and any site prerequisites from the manufacturer’s documents. If the base, anchoring or assembly requirements are unclear or beyond your experience, ask the supplier or a qualified installer before committing to the layout.
Compare candidate listings using the same record: external footprint, internal dimensions, door opening, panel information, ventilation details, base requirements, assembly information and whether benches or control accessories are included or optional. Mark unstated details as unknown rather than inferring them from a picture or model wording. If your decision depends on a particular opening, light-transmission figure, bench or accessory, confirm that specification before ordering. Also check how components are supplied and whether the route to the site and space for assembly are practical. This makes the comparison about your real seed-starting setup, not a visual impression.
Compare each option with your complete seed-starting plan
Rank your requirements before comparing final candidates. The essentials might be a stated footprint that fits, enough accessible bench surface for peak trays, a daylight position that works in your sowing period, and a realistic way to monitor and adjust temperature. Mark which features are non-negotiable and which are conveniences. Avoid choosing a larger or more elaborate structure simply because it appears to offer room you may not use; equally, do not reduce the planned space by leaving out the working aisle or later tray sizes. A clear brief makes trade-offs visible and prevents one attractive feature from outweighing a basic mismatch.
Test the complete setup before you order: draw the greenhouse footprint, bench outlines, aisle, door clearance and workspace, then place cut-outs representing the trays you expect at the busiest point. Add any control equipment or shading you have decided you need, but verify compatibility rather than assuming it. Recheck the plan against your actual sowing months and the time you can spend opening vents and checking readings. You will then be comparing how many trays fit, whether you can reach them, whether light reaches their position and how you will respond to temperature changes. Choose on those linked answers, not on a greenhouse name alone.
Frequently asked questions
How do I calculate the bench space I need for seed trays?
Count the trays likely to be in the greenhouse at the same time, including overlap between batches. Measure each tray and allow room to lift, water and label it. Count only bench levels you can reach and use, and keep the working aisle separate from the growing surface.
Will a greenhouse keep seeds warm enough to germinate?
Not necessarily. Temperatures can rise in sunshine and fall later, and requirements vary by crop and growing stage. Follow the sowing instructions, monitor conditions near tray height and decide whether some seeds need a separate propagator rather than expecting the whole greenhouse to provide steady warmth.
Is natural daylight enough for seedlings in a greenhouse?
It depends on the site, season, glazing and bench position. Observe light at tray level during the period you plan to sow, including shadows from nearby buildings and trees. If your plan depends on supplementary lighting, check the equipment and installation requirements separately; the greenhouse itself does not guarantee sufficient light.
Should I use shelves to increase seedling capacity?
Only if the extra levels remain reachable and receive useful light. Upper benches can shade lower trays, while narrow gaps may make watering and lifting awkward. Compare the number of trays each level can hold with the work involved instead of counting shelf area alone.
What should I verify before ordering a seed-starting greenhouse?
Check external and internal dimensions, door and aisle clearance, base and site requirements, panel and ventilation information, and which benches or accessories are included. Compare these details with your tray plan and intended sowing dates. Treat missing information as a question for the supplier, not as a feature implied by a product image.
An effective seed-starting greenhouse is one whose bench layout fits your busiest sowing period and lets you work without sacrificing light or access. Measure trays and routes, observe the proposed site at the times that matter, and plan for temperature monitoring and controls you can realistically use. Before ordering, compare the published dimensions, openings, base details and included accessories with that plan. This keeps the choice specific to your crops and routine, while setting clear expectations about what the greenhouse can do on its own.
