
Planning a Sauna Beside a Swimming Pool
Sauna site planning
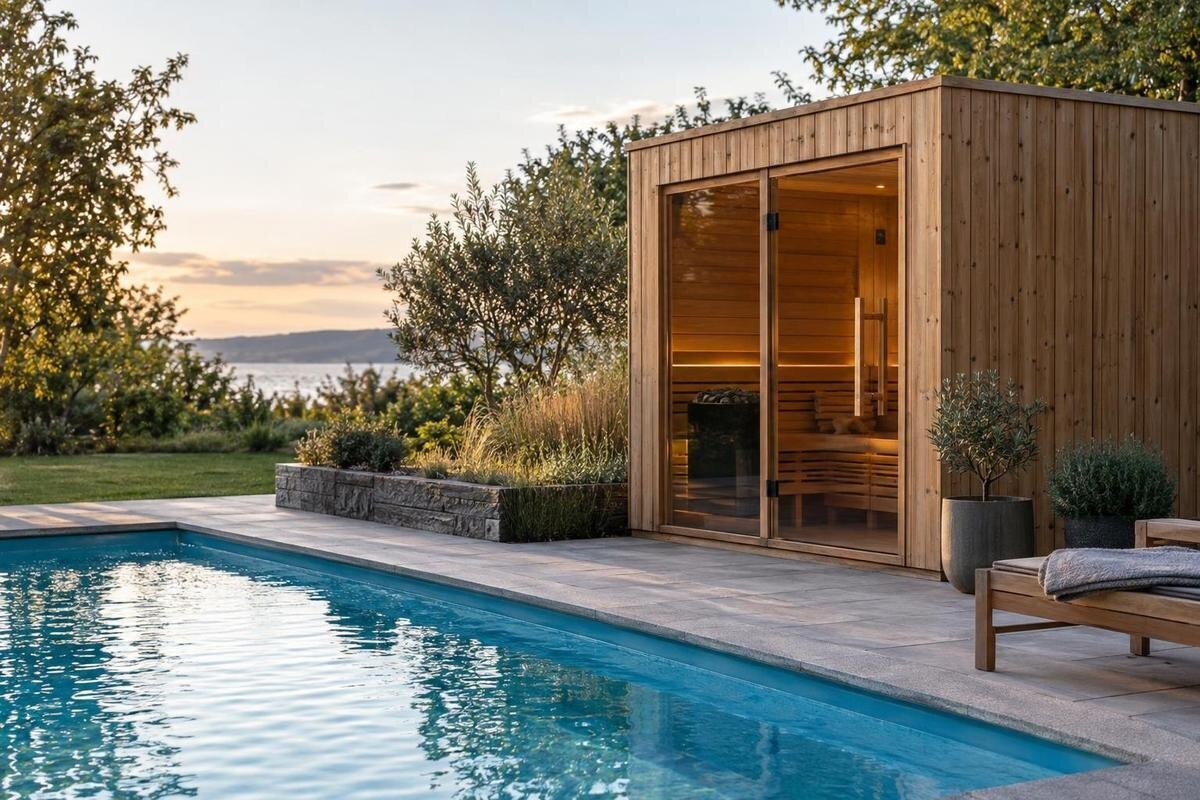
A sauna beside a swimming pool affects more than the view from the water. Its position changes how people move through a wet outdoor area, where runoff travels and how installers reach services and equipment. A useful plan brings the sauna, pool routes, surfaces, drainage and technical requirements together before the site is prepared. The right position depends on the exact model and local review, not on a universal distance from the pool.
Plan the pool and sauna as one outdoor space
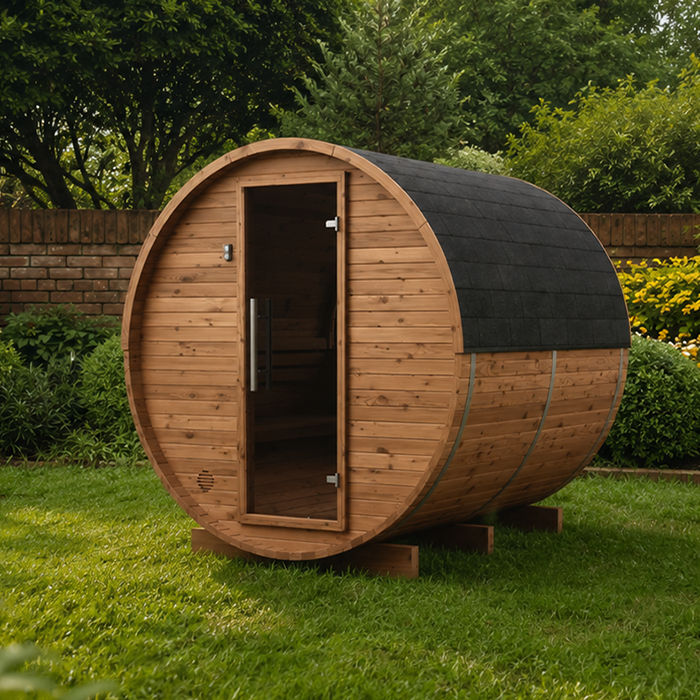
When a sauna shares a garden with a swimming pool, the shortest distance between the two is not automatically the best layout. Map the complete routine: leaving the water, walking to the sauna, entering and leaving it, then returning to the pool or reaching a place to dry and change. Include people sitting beside the pool, supervising swimmers, carrying towels and using any outdoor shower or storage. Think about busy periods as well as a quiet visit. The sauna should not turn the main circulation line into a bottleneck or make everyday pool access awkward.
On a measured plan, mark the pool edge, existing paths, doors, gates, seating, planting, drains and pool equipment before adding a sauna. Distinguish fixed features from furniture that can genuinely be relocated, and retain the spaces needed for everyday pool use. Show the sauna’s full outline and the space needed around it, rather than drawing only a small symbol for the unit. The catalogue entry for the Thermowood Barrel Sauna S-140 gives an area figure of 1.93 m²; that figure does not show the unit’s shape, orientation or the clear space needed beside it. Use a dimensioned drawing for the chosen configuration when testing possible positions. Keep alternative positions on separate copies of the same plan so that you can compare their effect on seating, access and the route to the house without losing track of the original arrangement.
Keep the pool-to-sauna route unobstructed
A route that works when everyone is dry may feel very different when people are moving with wet feet, towels or pool accessories. Look for a direct, clearly defined path that does not cross a crowded seating area or require people to squeeze between furniture and the pool edge. Avoid relying on loose mats or movable chairs to keep the route clear; they can shift or be moved. Consider the surface and the route’s width together, and have a local professional advise if the site has a narrow passage or level change.
Check the sauna entrance against the approach from both directions. If the door or its opening area would overlap a path, gate or seating space, revise the position using the manufacturer’s drawing. When considering the Thermowood Barrel Sauna HC-150, listed at 2.97 m², use its entrance details rather than the area figure to assess how people would approach and enter. Think about where someone would wait while another person comes out, and where towels could be kept without narrowing the route. Do not count the same patch of paving as both a waiting space and an unobstructed passage. Regular pool access and any required gate or barrier must remain easy to use. Ask a local professional to review the arrangement where pool safety rules may apply, particularly if moving the entrance would change how people pass through an existing gate.
Measure the sauna footprint and door area
Before setting out paving or choosing a final position, obtain a dimensioned plan for the exact sauna configuration. Check the overall external measurements, the entrance position, the door’s opening area and any installation or service clearances specified by the manufacturer. These are separate from the space people need to stand, turn or pass comfortably. Do not estimate clearances from a product photograph or from the area figure on a listing; neither shows how the proposed unit will fit against nearby walls, fences or paths.
Mark the planned outline at the actual site with a removable method, then measure the gaps to fixed obstacles. Record these gaps on the drawing rather than relying on an impression that the unit fits. Allow for any step, landing or threshold only as indicated by the selected model’s instructions and a competent installer’s advice. The Thermowood Barrel Sauna HC-225 has a listed area of 4.4 m², but that alone does not provide its plan shape or door clearance. For a tight site, ask the supplier or installer to confirm the relevant drawing and configuration before committing to the surrounding work. Keep the sauna outline, the door’s opening area and the surrounding access space separately labelled. This makes it easier to see whether a proposed adjustment changes only the unit’s position or also reduces the space available for entering and passing.
Choose finishes for wet, barefoot use
The surface between the pool and sauna is likely to be used by people who are barefoot and may be wet. Choose a finish intended for that outdoor setting, and ask what evidence supports its suitability for wet use. A broad label such as ‘non-slip’ is not enough to establish how a particular product performs in your conditions. Consider how the surface will be cleaned, whether its joints are comfortable underfoot and whether it can be maintained without creating a rough or uneven route.
Pool water treatment and cleaning products also belong in the specification discussion: ask the surface supplier or designer to confirm compatibility with the materials and products used at your pool. For the Thermowood Barrel Sauna N-210, the listed 4.43 m² should not be treated as the amount of paving needed at the entrance. Establish the surface boundary from the exact drawing and the planned approach. Pay particular attention to the join between existing paving and any new finish, including changes in level that could create a trip point. When comparing finishes, record their cleaning requirements alongside their wet-use suitability so that the choice reflects how the whole pool area will be maintained. If you intend to retain part of the existing surface, identify that boundary on the plan and ask the designer to assess the transition, rather than treating the new paving as an isolated patch.
Plan drainage around the sauna
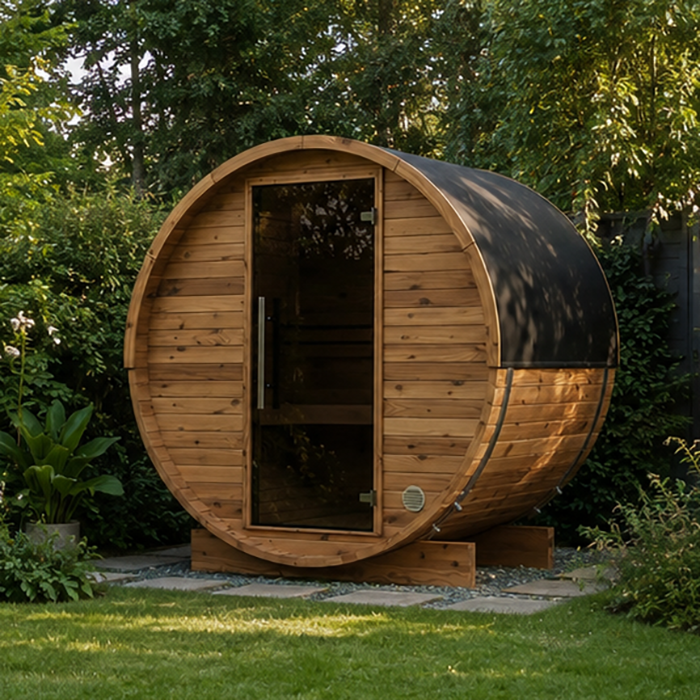
Consider where water will go in ordinary use, not only during a heavy shower. Pool splash, wet feet and routine cleaning can all leave water on the surrounding surface. Check whether runoff could collect beside the sauna entrance, remain against its base or cross a route that people use. The installer’s instructions should guide the relationship between the sauna and the ground or base; a drainage designer can advise how the surrounding surface should carry water away without directing it towards the house or another vulnerable area.
Do not assume that an existing pool drain, overflow or shower outlet can accept extra runoff. Have the drainage professional assess the site and the intended discharge route, including any local requirements. Mark existing drainage separately from proposed alterations, and identify which parts would remain accessible after the sauna is installed. When reviewing the Thermowood Barrel Sauna N-250, use its drawing to establish the outline; the catalogue area of 5.27 m² cannot determine where a drain should sit. Keep access to existing drains and pool services available for inspection and cleaning. If one proposed sauna position would obstruct that access, include the issue in the comparison with alternative positions. Agree the drainage arrangement before choosing the final paving layout, so that the entrance, surface transitions and drainage details are considered together rather than resolved independently.
Coordinate electrical and heater services
Decide which heater configuration is being considered before planning service routes. Do not assume every sauna uses the same services, or that an existing poolside supply is suitable. Have a qualified local electrician review the proposed location in relation to the pool environment, the equipment selected and the applicable requirements. The electrician should work from the manufacturer’s current instructions for the exact configuration; a general diagram or a clearance taken from another installation cannot confirm what applies at your site.
Show existing cables, lights, controls and pool equipment on the site plan, and discuss how the sauna’s services can be routed and accessed without creating an obstacle across a wet walking path. For the Thermowood Barrel Sauna LC-260, the listed area of 5.12 m² does not state the heater or service arrangement. Request the relevant technical information before finalising the position, and identify which configuration the electrician is being asked to assess. Discuss where controls would be reached during ordinary use and whether accessing them would interfere with the main pool route. Record any resulting layout changes on the shared plan rather than leaving them as separate verbal instructions. If a fuel-fired option is under consideration, have the appropriate qualified installer assess its specific requirements as well. These discussions should establish what the proposed layout needs to accommodate, not become a basis for improvising service routes or clearances.
Check ventilation, heat clearances and nearby equipment
A poolside location still has to meet the sauna manufacturer’s ventilation and clearance requirements. Check the instructions for the exact model and heater, and avoid placing the unit where a fence, screen, planting or furniture would block a specified opening or restrict access. The required clearances can vary by configuration, so do not apply a universal measurement. Ask the installer to assess the proposed position and any nearby structures or equipment against the manufacturer’s current instructions and the requirements that apply locally.
Include pool pumps, filters, control equipment and other fixed installations on the plan. Leave their service access available and avoid positioning the sauna so that routine maintenance becomes difficult. The Thermowood Barrel Sauna HCF-300 is listed at 6.89 m², but that figure does not establish ventilation needs, heat clearances or which sides need access. Confirm those details for the chosen configuration before deciding how close it can sit to a fence, screen or pool equipment. Treat a proposed privacy screen or planting arrangement as part of the layout being reviewed, rather than adding it after the position has been agreed. Show both the space occupied by nearby equipment and the space needed to reach it. Where the sauna and pool equipment have separate access requirements, check that meeting one does not block the other or depend on removing a permanent feature.
Preserve access for delivery and maintenance
A position may look suitable on a garden plan but prove difficult to reach during delivery or assembly. Measure the route from the property entrance to the proposed site, including gates, turns, steps and other fixed obstructions. Ask the supplier or installer for the dimensions and handling requirements relevant to the selected product and delivery method. Do not assume that a unit can be carried through a narrow opening simply because its catalogue area appears modest; access depends on the actual parts and assembly process.
Plan for the years after installation as well. Follow the manufacturer’s instructions on access for inspection and maintenance, and leave room to reach the parts that require attention without moving pool furniture or dismantling a screen. Although the Thermowood Barrel Sauna LCF-300 also has a listed area of 6.89 m², this does not establish package dimensions or service access requirements. Ask for the exact drawing and installation information, and distinguish the temporary delivery route from the access that must remain available afterwards. Check that the chosen spot leaves a workable route for cleaning the surrounding surfaces and maintaining nearby pool equipment. Consider where cleaning tools and other items are normally stored, too: the access space should not become their default storage area. Include these practical arrangements when deciding whether a position remains manageable once the pool area is furnished and in regular use.
Get pool and installation requirements reviewed locally
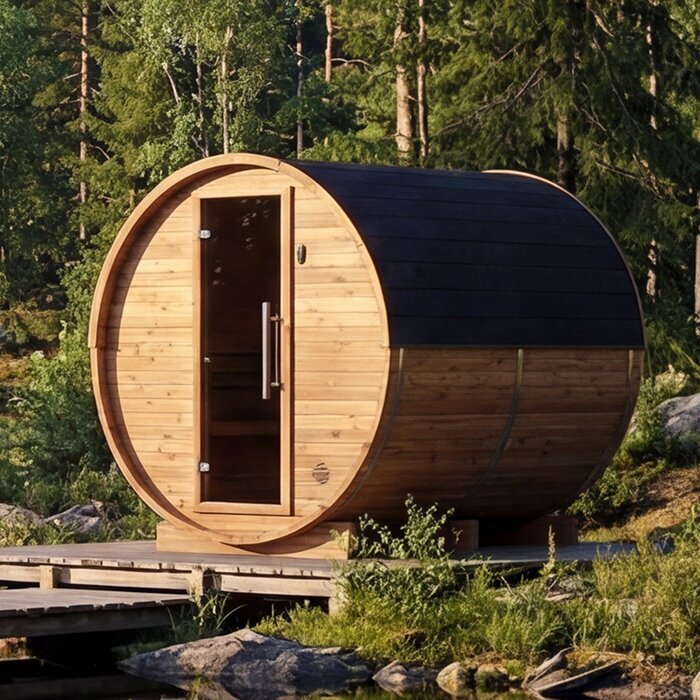
Requirements near a swimming pool can depend on the site, the sauna and heater configuration, and the rules that apply locally. Do not rely on a universal setback or electrical separation distance. Before fixing the layout, ask the relevant local authority or a qualified local professional whether planning, pool access or barrier requirements, electrical rules, drainage arrangements and any heater-related requirements affect the proposal. If the property is managed jointly or has an owners’ association, establish whether its approval is also needed.
Make the review practical by sharing one measured site plan, photographs of the proposed area, details of existing pool services and the manufacturer’s drawing and instructions for the exact sauna configuration. A planner or building professional, pool designer, drainage professional, electrician and sauna installer may each need to comment on different parts. Ask them to identify any conditions that change the position or surrounding work, and keep their advice together so that decisions about paving, drainage and services are based on the same layout.
Walk through the marked layout before ordering
Once the proposed footprint and clearances have been checked, mark them at full size on the ground if the surface allows. Walk the route as people would use it: from the pool to the entrance and back again, past the seating, gates and storage. Check whether a door opening, furniture or another person would interrupt movement. If several people use the pool together, ask them to try the route while the area is set up as it would be on a normal day. A plan can show dimensions, but this simple rehearsal can reveal awkward turns or conflicts.
Use the final review to compare the marked position with the selected model’s drawing, installation instructions, base requirements and service information. Confirm that drainage and maintenance access remain possible, and that the local professionals have assessed the parts relevant to their work. Verify the exact product configuration and availability with the store before making decisions based on a particular listing. If the site plan, manufacturer’s information and professional advice do not agree, resolve the difference before paving or preparing the base.
Frequently asked questions
How far should a sauna be from a swimming pool?
There is no distance that can be assumed safe or suitable for every pool and sauna. The required clearances depend on the chosen sauna and heater, the site and the rules that apply locally. Ask the sauna installer and a qualified local professional to review the manufacturer’s instructions and the pool layout before fixing a position.
Can I put a sauna on the existing pool paving?
Not without checking that the paving and its base meet the requirements for the specific sauna. Ask for the manufacturer’s base and support details, then have the existing surface assessed by a competent local professional. Pool paving may have been designed for a different purpose, so its appearance alone does not confirm suitability.
Does the sauna entrance need its own drain?
Not necessarily. The drainage plan should account for rain, pool splash and any water used for cleaning, as well as the sauna’s installation requirements. A local drainage professional can assess where runoff should go and whether an existing drain is suitable; do not assume a pool drain can take additional water.
What surface is suitable around a poolside sauna?
Choose a finish intended for wet outdoor use and regular barefoot traffic, and check its grip, cleaning requirements and compatibility with the pool’s water treatment and cleaning products. Ask the supplier or designer for documentation that applies to the exact surface and setting rather than relying only on a general ‘non-slip’ description.
When should an electrician review the sauna location?
In the early layout stage, before the position and service routes are fixed. A qualified local electrician can review the proposed sauna configuration, the pool environment, applicable electrical requirements and the manufacturer’s instructions. Do not rely on a generic separation distance or another installation as a substitute for that assessment.
A good poolside sauna layout makes the route from water to sauna easy to use without compromising access around the pool. It also gives wet-area surfaces and runoff a considered plan, leaves room for delivery and maintenance, and respects the requirements of the chosen sauna and heater. Base the decision on the exact manufacturer’s information and a measured site plan, then have qualified local professionals review the proposed position. That way, the sauna and pool can work as one outdoor space without relying on assumptions about clearances, drainage or services.
