
Planning a Sauna for a Wet or Humid Garden
Outdoor sauna site planning
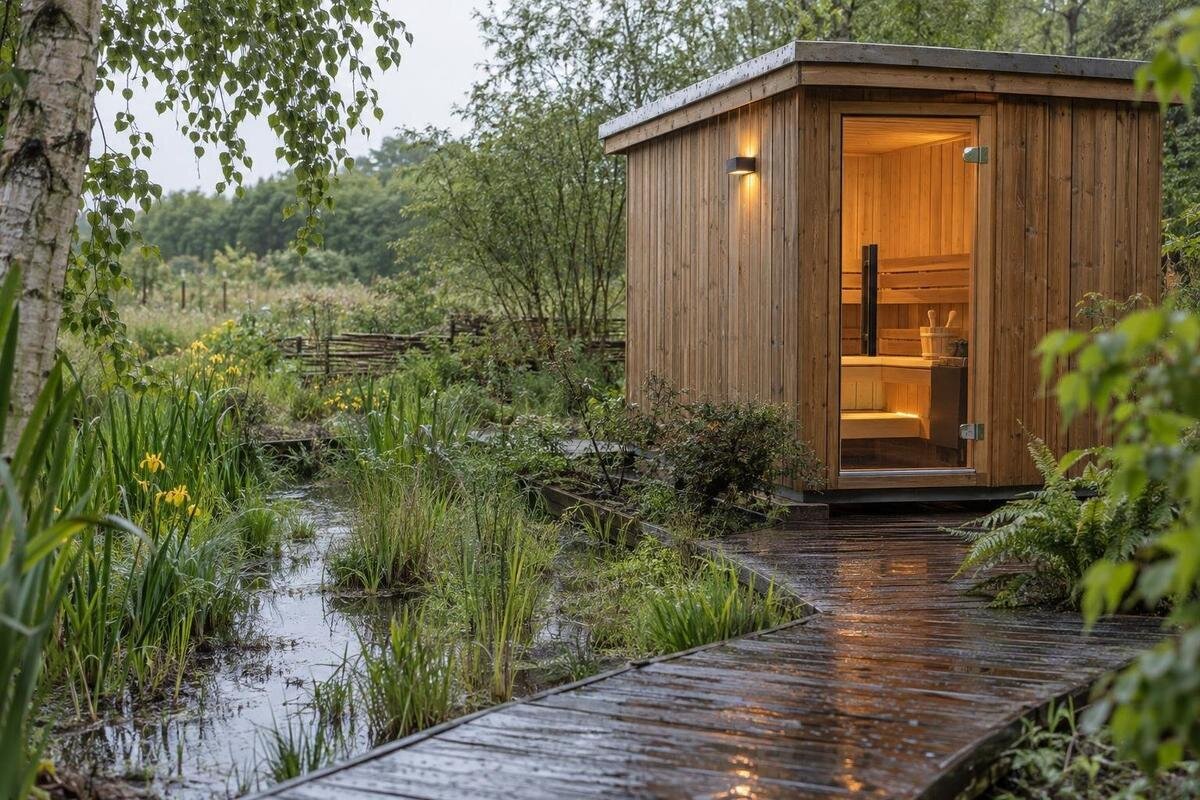
An outdoor sauna in a persistently damp garden needs a site plan that deals with water before the unit arrives. A patch that looks level in dry weather may collect runoff, soften after rain or stay shaded and slow to dry. The practical questions are where rainwater travels, whether the ground can support the chosen base, how splash reaches the exterior, and whether the finished space remains accessible. This guide focuses on moisture around the sauna, not on the cabin’s internal ventilation or heater installation; use the manufacturer’s current manual and qualified local professionals for those model- and site-specific details.
Observe the garden in wet weather
Separate humid air from wet ground. A humid day may slow the drying of outdoor surfaces, but it does not show where rain will collect or whether a proposed base is suitable. Look for recurring puddles, soft or muddy patches, washed soil and algae on paving. Note whether moisture appears after rain, irrigation, a leaking tap or water discharged from a downpipe. Shade can keep one corner damp after the rest of the garden has dried. These are observations, not a diagnosis of the soil: a garden can look firm at the surface while conditions below remain uncertain. Use the signs to identify where further assessment may be needed.
Visit the garden in more than one condition: during or soon after rain, once surface water has had time to move, and after regular irrigation if watering is used nearby. Note where water first appears, where it lingers, which paving edges stay wet and which corners are shaded. Photos taken from the same viewpoint help you compare visits; simple notes about rain, watering or a temporary blockage add useful context. If the site changes through the year, include a check during its wetter period rather than relying on a dry-weather inspection. Recurring pooling or soft ground calls for site-specific assessment; one sunny-day visit cannot show how the garden behaves after prolonged wet weather.
Map where rainwater travels
On a simple garden plan, mark high and low points, slopes, paved areas, roof edges, downpipes, drains and irrigation lines. Watch actual water flow during rain: paving that looks level can still send water towards a corner, and a slope can concentrate runoff. Include any water that enters from adjoining ground, as well as discharge from nearby buildings. Avoid siting the sauna where several flow paths meet, at the bottom of a dip or beneath an uncontrolled outlet. Moving a puddle a short distance may only create another wet spot; redirected water needs an appropriate route and outlet. If the flow is difficult to understand, ask a drainage professional to assess it before fixing the position.
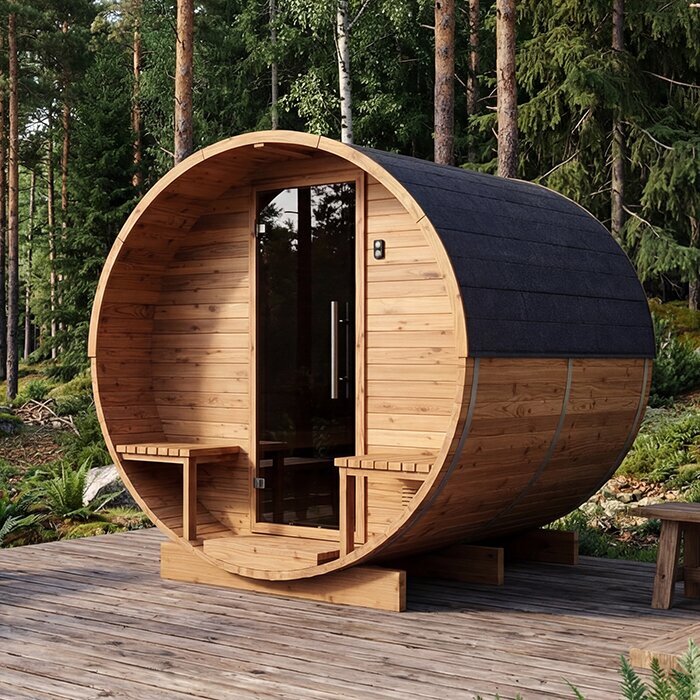
Once you have a likely position, add the confirmed outside footprint of the exact sauna to the plan. If the Thermowood Barrel Sauna N-210 is on your shortlist, use the manufacturer’s current installation drawing to mark the outline, entrance and stated clearances. Do not trace a shape from a photograph or treat a single area figure as a dimensioned site plan. Compare the marked footprint with the observed water paths, nearby drains and the route to the entrance. This helps reveal whether a downpipe empties beside the sauna or a wall directs rain into the proposed space. Confirm any uncertain outlet with a drainage professional before preparing the base.
Allow room for drying and inspection
Allow usable space around the sauna for inspection and maintenance. A nearby wall, fence, hedge, screen or stack of equipment can restrict air movement, conceal pooling and make it difficult to check the lower exterior or clear leaves from drainage routes. In a persistently damp corner, these obstructions can also slow the drying of exterior surfaces between wet periods. Follow the clearance and access requirements for the exact sauna in its installation documents; do not borrow a distance from another model or rely on a generic measurement. Include the entrance and any routine inspection space, and check that the required clearances will remain open after paving, planting and screening are in place.
When reviewing the Thermowood Barrel Sauna N-250, use the manufacturer’s drawing to map the outside dimensions, entrance and any stated clearances before finalising nearby features. Check the space against a hedge or shrub at its expected mature size, not just the young plant in place today. Leave room to clear leaves and reach the areas that need inspection, while keeping drainage routes accessible. A screen may provide privacy, but placing it too close can reduce air movement or restrict maintenance. If the garden is too tight to preserve the model’s requirements, adjust the layout rather than assuming that a narrower gap will be adequate.
Assess the ground before choosing a base
The base needs to suit both the sauna manufacturer’s specified support arrangement and the ground beneath it. Paving may look firm while hiding unevenness or poor drainage; recently filled soil and areas that remain saturated also need careful assessment. Do not treat a wet plot as a simple levelling job or choose a foundation type from a general garden rule. Ask the sauna installer or a suitable groundworks professional to inspect the proposed spot, consider how water behaves there and confirm the preparation required for the exact model. If the site changes noticeably between dry and wet periods, explain that before work begins so the assessment reflects more than its surface on a dry day.
Before specifying a base for the Thermowood Barrel Sauna LC-260, obtain the model’s installation drawing and have the installer confirm the required support positions, level and base dimensions. The product’s listed area, where shown, is not a foundation specification and cannot establish whether the ground will remain suitable in prolonged wet weather. Avoid improvised packing or a base that traps water underneath; any change to the support arrangement must be checked against the manufacturer’s instructions and the site assessment. If the proposed position is still soft or its ground conditions are unclear, resolve that question with a qualified professional before building the base.
Reduce splash and concentrated runoff
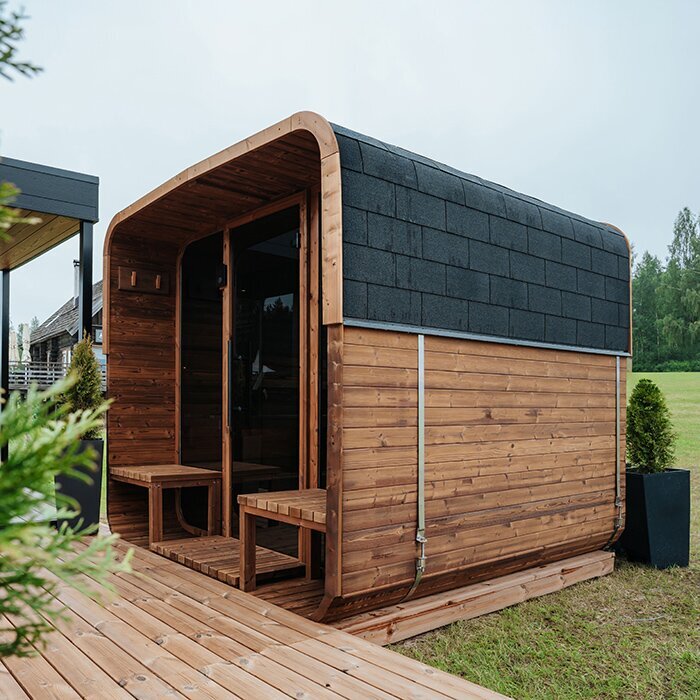
Rain reaches the sauna from more than directly overhead. Water can bounce from hard paving, loose gravel or bare soil onto lower exterior surfaces, while a roof edge or downpipe can concentrate flow in one spot. Keep soil and loose materials from being banked against the structure, and plan paving so it does not funnel water towards the base. Position sprinklers so they do not repeatedly wet the exterior or entrance. These are site-level considerations, not reasons to alter the sauna; follow the manufacturer’s instructions for any required separation from paving or ground. Check the position after rain to see whether splash or runoff is reaching areas that looked dry when you planned the layout.
Use the exact installation information for a candidate such as the Thermowood Barrel Sauna HCF-300 when checking nearby roof lines, fences and paving. A product photograph cannot establish a roof projection, drip path or lower-edge detail, so confirm relevant points from the manufacturer’s documentation rather than estimating from an image. Where an adjacent building or hard surface sheds water towards the proposed location, have a competent contractor plan a suitable route and outlet. Do not attach gutters, flashing, coatings or other alterations to the sauna unless the manufacturer confirms they are appropriate. Plan drainage around the product rather than making unconfirmed alterations to it.
Keep exterior airflow clear
Air movement outside the sauna is different from ventilation inside the hot room. This guide is not a substitute for the model’s ventilation instructions: do not move, cover or alter designated openings to deal with a damp garden. For the site, the question is whether the exterior can dry and whether inspection remains practical. Avoid enclosing the sauna tightly with dense planting or solid screens, particularly where the ground stays shaded or a fence already limits airflow. Account for the mature width of shrubs, the reach of climbing plants and leaves collecting in low spaces, rather than judging only by the clear space on installation day.
For the Thermowood Barrel Sauna LCF-300, check the model-specific external clearances before adding a privacy screen, canopy or planting bed. Keep those clearances unobstructed, and ask the installer how the finished layout will allow air movement and inspection around the structure. Do not assume that a narrow gap or a louvred panel meets the manufacturer’s requirements. If you plan to add an awning, shelter or landscaping feature, confirm that it will not direct rain back towards the sauna, keep a wet corner shaded or obstruct access to the exterior and drainage route.
Plan the route to the entrance
A garden route that works in dry weather may be slippery or muddy after rain. Carrying towels or changing footwear can also make a narrow, uneven approach less practical. Plan a stable, reasonably even path from the house or garden entrance, including any steps, turns and threshold area. The path should not funnel runoff towards the sauna or leave a low section where water regularly collects. Choose the surface and construction with advice suited to the actual site, and check the route in wet conditions. A well-drained standing area beside the entrance can be useful, but it should not form a barrier that holds water against the structure.
Use the official plan for the Thermowood Barrel Sauna S-140 or any other candidate to locate the entrance and understand the approach space; do not infer a door swing or step arrangement from a model name or image. Mark the delivery route as well as the route for regular use, since gates, plants and soft ground can make access awkward during installation. Include room to open the entrance, stand safely and reach the threshold for maintenance, following the manual’s requirements. If the path crosses an area that stays wet, resolve its surface and drainage separately with the contractor instead of letting water run underneath the sauna.
Coordinate drainage with services
Plan drainage, the base and any service routes together to avoid reopening finished work. Before digging or installing a channel, identify known buried pipes, cables, drains and irrigation lines; have a qualified person establish what is safe to disturb. Keep the water route accessible for inspection and confirm that the intended outlet is suitable for the site. Its design depends on the water being collected and the conditions around it, so do not solve an uncertain route by trial and error beside the base. If an electrical supply or heater is part of the installation, coordinate it with the relevant qualified installer and the exact sauna manual. A generic online layout is not a substitute for site-specific wiring or drainage instructions.
For the Thermowood Barrel Sauna HC-150, confirm the exact configuration and relevant product documents before agreeing where any services will run. A model name alone does not establish the heater, connections or accessories included, so keep those questions separate from the external drainage plan. Ask the sauna supplier or installer to identify any required service points, then have the qualified trade responsible for each service coordinate its route with the base and water management. Preserve access for inspection and repairs in the finished layout. A route buried beneath an area that is difficult to reach can make later maintenance more disruptive.
Inspect the site after installation
Moisture management continues once the sauna is in place. After substantial rain, look for water collecting beside or under the base, fresh erosion, washed-in soil, leaves covering a drain or splash marks near the lower exterior. Compare what you see with photographs from the site survey; a new puddle may show that paving or planting has changed the flow. Clear debris from site drainage points you are responsible for, and follow the manufacturer’s maintenance guidance for the sauna itself. If water repeatedly reaches the base or the ground changes, contact the installer or a drainage professional to identify the cause before altering the layout.
When planning the position of the Thermowood Barrel Sauna HC-225, allow practical access for inspection around the unit, including beside planting or a boundary, while respecting the required clearances. Confirm that the inspection space will still be usable in the finished garden, not merely visible on a drawing. Photograph the base, nearby drainage routes and paving once the work is complete, and note any persistent wet spots after rain. A simple record can help an installer assess a recurring issue and gives you a reference if paving, planting or water routes change later.
Confirm the layout before delivery
Bring the complete layout together in one plan: the exact outside dimensions, base arrangement, clearances, entrance, access route, water flow, drains, planting and any service routes. Check that the site work does not force a different position from the one confirmed for the chosen model. If the only available spot remains waterlogged, blocks required access or depends on an uncertain outlet, pause and ask a qualified professional about another solution. Do not set a sauna on an unassessed patch simply because a base has already been ordered. Resolving conflicts on paper is easier than adapting a confined, wet site after delivery.
Coordinate the timing with the people carrying out the groundworks and sauna installation. Complete and assess the drainage work and base before the sauna is placed, and protect the prepared area from construction runoff without blocking existing drains. Recheck the intended access after excavation or paving changes, and obtain confirmation before changing a support arrangement or modifying the sauna. If the ground has been altered or still behaves differently after rain, ask for a fresh assessment instead of relying on an earlier dry-weather view. The finished position should be manageable in wet conditions and remain accessible for routine inspection.
Frequently asked questions
Can I install a sauna in a garden that stays wet?
Possibly, but a base alone does not make a persistently wet position suitable. Have the ground and drainage assessed, then confirm the base requirements for the exact model. If water repeatedly pools or the ground softens, resolve the cause or choose a better position before installation.
Is raising the sauna above the ground enough?
There is no universal height or raised-base solution for every plot. The support arrangement must follow the sauna manufacturer’s instructions and suit the actual ground and water flow. Ask the installer or a qualified groundworks professional to assess the proposed base rather than improvising extra height.
How much space should I leave around the sauna?
Use the clearances and access requirements in the installation documents for the exact model; do not copy a measurement from another sauna. Allow for fences, planting and screens at their finished size, and retain practical access for inspection, cleaning and drainage maintenance.
Will the sauna’s internal ventilation prevent damp outside?
No. Ventilation inside the sauna and airflow around its exterior are separate matters. Follow the sauna manual for internal ventilation, and plan the garden layout so the outside is not tightly enclosed or blocked by planting, stored items or a screen.
Can gravel or a soakaway fix poor drainage?
Not automatically. The right approach depends on where water comes from, how the ground behaves and whether there is a suitable outlet. Have a drainage professional assess the site before adding a soakaway, channel or other feature, and make sure the work does not direct water towards the sauna.
In a persistently wet garden, the best position is not simply the flattest-looking or most convenient corner. Observe how water moves, assess the ground in wet conditions, and keep enough space for drainage, drying, access and inspection. Use the exact sauna drawings for its requirements and have site-specific work reviewed by qualified professionals. A layout that addresses the garden and the chosen model together is easier to maintain than one built around a dry-weather guess.
