
Wall-Mounted vs Floor-Standing Sauna Heaters: Space and Layout
Sauna heater layout
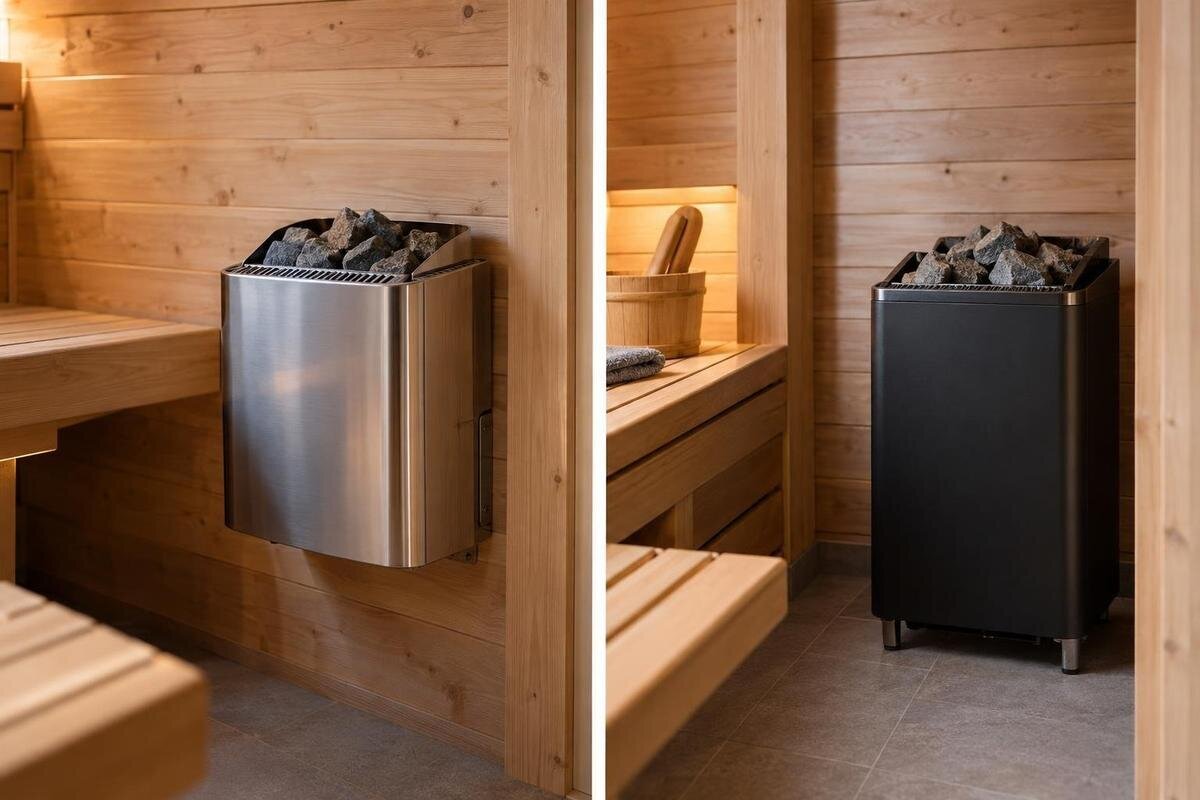
Choosing between a wall-mounted and a floor-standing sauna heater changes more than where the unit sits. The format affects how much uninterrupted floor remains, which wall or floor area must stay clear, and how benches, the entrance and service access fit together. Neither is automatically the space-saving choice: the exact heater dimensions, required clearances and cabin construction determine the workable layout.
Where each heater format uses space
Wall-mounted and floor-standing describe where the heater is supported, not a guaranteed heater size or a direct measure of how much room bathers gain. A wall-mounted unit can leave the patch of floor beneath its body open, but it still projects into the room and occupies the clear zone specified for that model. A floor-standing unit has a visible floor footprint, while its required clearances can extend beyond that outline. In either case, the layout must accommodate the heater, the area its manufacturer says must stay clear, and people moving past it. Treat the heater body and the full installation envelope as separate marks on the plan.
Compare what each format removes from usable space rather than relying on the mounting label alone. A wall-mounted model may preserve some continuous floor area but occupy a section of wall that could otherwise accommodate a bench or backrest. A floor-standing model uses floor area, but its permitted position may fit the cabin’s wall arrangement better. Neither format is automatically smaller, and an open patch beneath a heater is not necessarily usable space. Distinguish between floor that looks unobstructed on the drawing and space that remains available for movement or seating. The Thermowood Barrel Sauna LC-260 listing gives 5.12 m²; that listed cabin area does not show the free floor or heater clearance for any particular configuration.
Measure the usable cabin dimensions
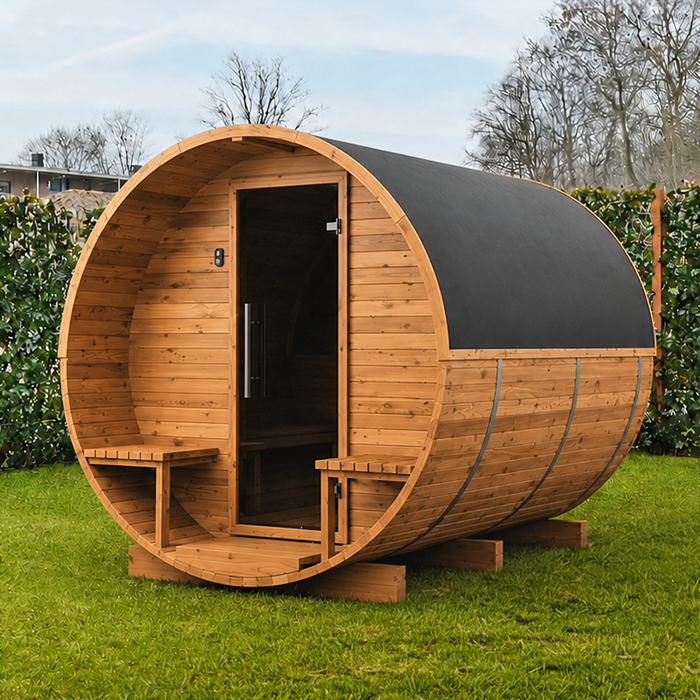
Measure the clear internal width and length between finished surfaces, and note the height wherever the chosen heater’s documentation makes it relevant. External dimensions and a single area figure are not a substitute for the room available once benches, backrests, the doorway, steps and fixed fittings are in place. An area value can help compare listings, but it does not show the shape of the clear floor or the exact position of those fittings. The Thermowood Barrel Sauna S-140 listing gives 1.93 m², for example; that figure alone cannot tell you where a heater can go or how wide the remaining route will be.
Draw the internal outline to scale before testing either format. Mark openings and fixed parts, then label the dimensions that matter to people using the room rather than assuming the whole outline is free. Include space to enter, turn and reach the intended seating; show the door in its actual opening direction. Where the internal shape varies, record the available width at the proposed heater position and along the route to the benches. A single overall width will not describe every part of that layout. Keep a separate layer for the heater and its required clearances, so an apparent gap is not counted both as walking space and appliance space. If the cabin information does not establish its internal dimensions, request a dimensioned drawing instead of scaling from a product photograph.
Manufacturer clearances belong in the plan
Use the drawing and manual for the exact heater and configuration before placing it. Record each clearance the manufacturer specifies around the body, using only the directions shown for that model, and check whether a guard or another required component changes the boundary. Do not borrow measurements from a similar-looking heater, a cabin photograph or a general diagram. Models with comparable outlines can have different requirements. Where a drawing identifies a reference surface or mounting point, use that reference in your plan instead of measuring from an assumed edge. If the instructions are unclear, have the manufacturer or a qualified installer clarify them.
Show the required clearances as a reserved zone, not as spare floor or wall space. Keep benches, backrests, steps and other items outside it unless the manufacturer’s instructions explicitly allow the proposed arrangement. The LCF-300 Thermowood Barrel Sauna listing gives 6.89 m², but that area figure does not specify a heater’s clearances. Also distinguish those clearances from practical access for inspection or service: a layout may preserve the stated distances yet leave too little room to reach the equipment when required.
Wall support and mounting position
A wall-mounted heater needs a wall that can support its mounting arrangement; the visible finish is not proof that the backing is suitable. A sauna wall may contain layers or framing that are not apparent from the finished surface, so do not assume a heater can be fixed at any height or anywhere along it. The heater documentation sets out its mounting requirements, while the cabin information may show how the wall is constructed. Have a qualified professional assess the actual wall, attachment method and support before using a proposed wall position as the basis for the layout. This is a structural compatibility question as well as a space-planning one.
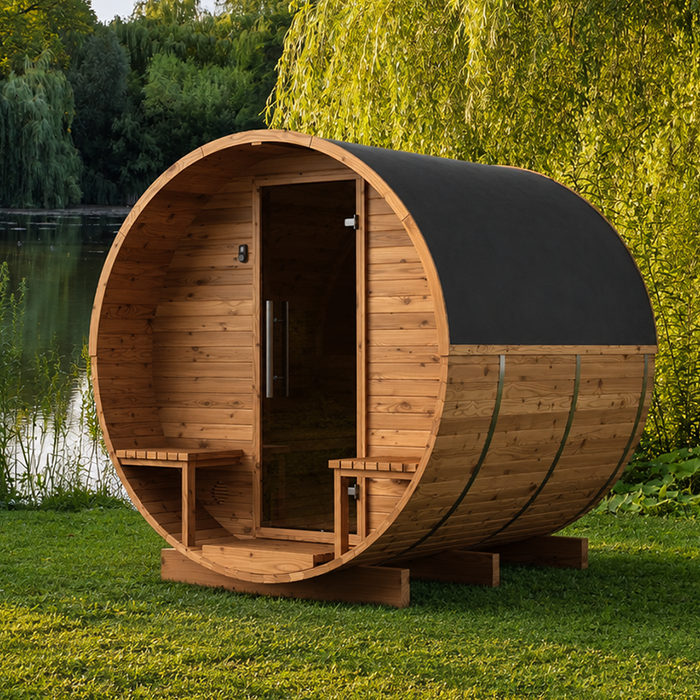
Check the proposed position against the bench, backrest, doorway, any guard and access to the heater. A wall location can compete with a long bench or another fitting, and moving the heater to a different wall may change the permitted arrangement. The HC-150 Thermowood Barrel Sauna listing gives 2.97 m², but a listed area cannot establish where a heater may be mounted or what support is behind a wall. Use the cabin’s construction information and the heater’s instructions together, then leave the support assessment to a suitable professional.
Floor footprint and access for a floor-standing heater
A floor-standing heater occupies a patch of floor, but its base outline is only the starting point. The space reserved in the plan must also reflect the clearances shown for the exact model and any protection or access the manufacturer specifies. Do not choose a convenient-looking corner until you have checked the permitted positions and how they relate to the cabin’s benches and other fixed features. A patch that appears empty may be part of the route from the entrance or the space needed to approach a seat. Do not assume the heater can simply be shifted later to resolve a clash.
Trace a route from the entrance to each intended bench, then check whether the heater or its reserved zone narrows that passage. Account for inspection and service access as well as daily movement; a permanent obstruction can make both awkward. The Thermowood Barrel Sauna N-210 is listed at 4.43 m², but that area figure does not map a heater footprint or the walking route around it. Compare the floor-standing option using the exact model dimensions and count as usable only the floor outside the areas that must remain clear.
Bench positions around the heater
Plan the heater and benches together, not as separate choices. The manufacturer’s instructions determine which positions and separations are permitted for the exact model; do not assume that a wall-mounted heater can sit beside any bench or that a floor-standing unit belongs in the centre of the room. Mark the seat edge, backrest, step and any guard on the same drawing as the heater envelope. Identify which parts of each bench remain available for sitting and how people will reach them. If a proposed heater position shortens a bench, show that change explicitly rather than leaving the original seating outline on the plan. This distinguishes a layout that preserves a useful length of seating from one that merely leaves an isolated seat beyond a restricted approach.
Think about the room from a seated and standing position as well as from above. A plan view can show a clear aisle while an elevated wall-mounted unit still overlaps a bench or backrest in the side view. The HC-225 Thermowood Barrel Sauna listing states 4.4 m²; that figure does not establish bench positions or a permitted heater-to-bench arrangement. Use the actual cabin plan and heater drawing to test both, and avoid treating the area beneath a wall-mounted unit as automatically available for a step, foot space or storage.
Doorway and walking route
Show the doorway, its opening direction and any step on the layout before settling on a heater position. The route from the entrance to the seating should remain clear of the heater body, its reserved zone and any guard. Consider where a person naturally turns after entering and whether the proposed position makes it awkward to reach the benches or controls. A heater that fits on paper can still make the entrance feel cramped if it intrudes into the first part of the walking route. Check the route in the finished internal dimensions, not against the cabin’s outside outline.
The N-250 Thermowood Barrel Sauna listing states 5.27 m², but that number alone does not show the doorway position or how much clear route remains after a heater is placed. Mark the door and bench positions from the cabin drawing, then test the wall-mounted and floor-standing layouts on the same plan. Include any fixed step or guard, and do not count a space as a passage if it falls inside a clearance zone. This simple comparison can reveal whether a format leaves a continuous route or merely shifts the obstruction from one part of the room to another.
Ventilation, controls and service access
Heater position must also suit the manufacturer’s instructions for the cabin’s ventilation and control arrangement. Check the documentation for the exact setup rather than assuming that a vent, sensor or control can be moved to make a preferred layout work. The position of controls and the planned route for any connections can affect which wall is practical, but electrical work should be assessed by a qualified professional. A neat floor plan is not enough if it conflicts with the equipment’s specified arrangement or prevents access to a component that needs inspection or service.
Confirm that the chosen heater and cabin configuration are compatible before treating either layout as final. The Thermowood Barrel Sauna HCF-300 listing gives 6.89 m²; that figure does not establish which heater is compatible, whether one is included or where controls and ventilation belong. Keep access needs separate from the heater’s stated clearances, and allow for them on the plan. If the cabin or heater documents do not show the relevant positions, ask for clarification rather than assuming that another model’s arrangement will apply.
Compare complete layouts side by side
Make two versions of the same scaled plan: one for the exact wall-mounted heater under consideration and one for the exact floor-standing alternative. Use the dimensions and permitted position from each manufacturer’s documentation, then draw the complete clearance zones, benches, door, step and fixed fittings. If a plan view does not show whether a wall unit overlaps the bench or another fitting, add a side view. Comparing like with like prevents a rough sketch of one option from being judged against a detailed drawing of the other.
Compare the floor that remains continuously available, the wall area that must be reserved, the route between entrance and seating, and the access needed around the equipment. Record the same details beside both drawings so the differences are easy to identify. For example, note whether an option retains the intended bench length or requires a different approach to a seat; do not reduce the comparison to a single free-floor-area total. Note any wall-support issue separately from the amount of floor occupied; one does not compensate for the other. If either layout conflicts with the manufacturer’s specified arrangement, remove it from consideration rather than trying to make the heater fit by moving a bench into a clearance zone. Where both options fit, weigh the remaining space against how you intend to use the cabin: preserving a longer bench and keeping a more open entrance are distinct layout priorities. The better option is the one that fits the exact cabin and leaves a workable route, not simply the one with the smaller-looking body.
Confirm the exact cabin and heater configuration
Before finalising the layout, match the exact cabin and heater model numbers and consult their drawings as a pair. Check the heater’s dimensions, specified clearances, permitted mounting arrangement and any room-suitability requirements that affect placement. Confirm how controls and ventilation relate to the chosen configuration. Also verify whether the heater is included or compatible with the cabin being considered; a sauna’s name or area figure does not establish either point. If the available information leaves an important dimension or arrangement unclear, seek clarification before fixing the plan around an assumption.
Have an experienced sauna installer assess the proposed layout and wall support, and ask a qualified electrician to review electrical compatibility and the planned connection. This is not a guide to installation; those checks help establish whether a visually tidy plan can work with the actual equipment and cabin. Give them the same drawing, with the cabin and heater model numbers clearly identified, and distinguish confirmed dimensions from any measurements still awaiting clarification. If the proposed equipment changes, update its outline and clearance zones rather than retaining the earlier layout by default. A final drawing based on the real internal dimensions, exact heater model and manufacturer clearances makes the trade-off easier to judge and avoids leaving each person to interpret a product photograph or a general description.
Frequently asked questions
Does a wall-mounted sauna heater always save space?
No. It can leave the floor directly beneath its body open, but the heater and its required clearances still use room, and the wall must be suitable for mounting. Compare the full permitted installation area with the floor space and wall space needed for a floor-standing option.
How much clearance should I allow around a sauna heater?
Use the clearances shown for the exact heater model and configuration in its manufacturer’s manual or drawing. Do not estimate from another model or from a general diagram. If the documents are unclear, ask the manufacturer or a qualified installer to confirm the dimensions.
Can a wall-mounted heater go on any sauna wall?
No. The wall and mounting arrangement must meet the heater manufacturer’s requirements. A finished surface alone does not confirm that the support behind it is suitable. Have a qualified professional assess the actual wall and proposed position before finalising the layout.
Can I place a floor-standing heater wherever there is space?
Only consider positions allowed by the exact heater instructions and cabin configuration. The visible floor patch is not the whole space requirement: clearances, bench positions, movement and access for service also affect whether a location works.
Which heater format is better for a small sauna?
Neither format is automatically better. A wall-mounted heater may preserve some floor area but needs suitable wall support and a clear wall zone. A floor-standing heater uses a floor footprint. Compare model-specific drawings with the cabin’s benches, entrance and walking route.
A wall-mounted heater can preserve some floor area but needs wall space and suitable support; a floor-standing heater occupies floor space and can affect the route through the cabin. The meaningful comparison is the usable space left after the exact heater’s clearances, bench positions and access needs are included. A drawing of the actual cabin and compatible heater makes that trade-off visible, so the choice rests on a workable layout rather than the mounting label alone.
