
Designing a Comfortable Route Between Your House and Sauna in Winter
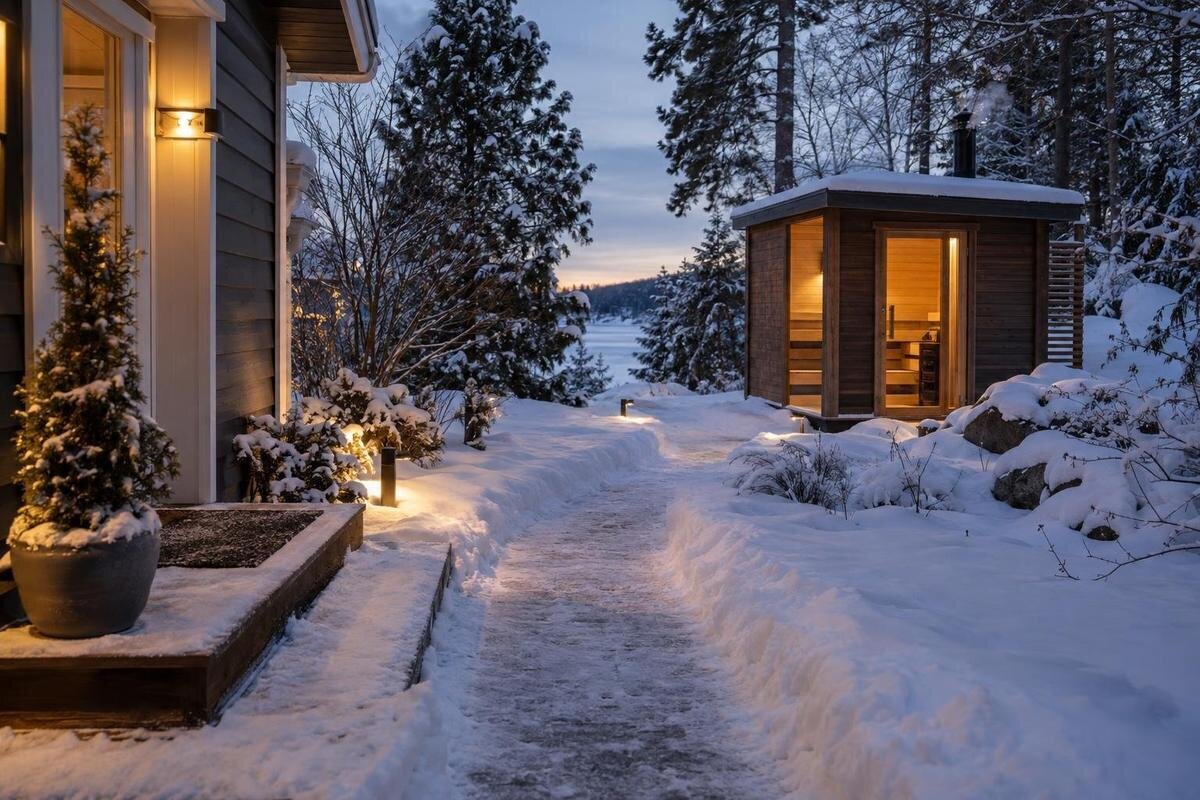
Winter sauna access
A comfortable winter visit starts before the sauna door opens: the walk from the house needs to work when paving is wet, daylight is fading and towels or footwear are in hand. In Malta’s wetter winter months, even a short garden crossing can be awkward if rainwater pools at a threshold or a covered section ends at a slick surface. A path that looks good on a dry afternoon is not enough. Plan the route as part of the outdoor layout: settle the approach, surface, drainage, shelter and lighting together, then allow for the cleaning each element will need.
01
Plan the walk in both directions
Draw the route from the house door you will actually use to the sauna entrance, then walk it in both directions. The outward trip may involve carrying towels, a robe and footwear; on the return, you may be carrying damp items or opening a door with one hand. A line that is short on a site plan can still feel awkward if it passes a gate, crosses uneven lawn, cuts behind outdoor furniture or forces you to turn at the threshold. Note every change of surface, step, drain cover, door swing and place where rainwater runs. This turns “near the house” into a route you can assess rather than a distance alone.
Try the proposed line at the time you are likely to use it, and look at the route after rain from a safe position. Consider the walk in everyday footwear and, if you expect to go barefoot, judge the final finish for that use rather than assuming a patio surface will suit it. Household members may have different needs: one person may prioritise a level, predictable path, while another may simply want the shortest walk. Leave room to open gates and doors without stepping aside onto wet ground. A route should remain clear when someone is carrying belongings, not just when the garden is empty and the light is good.
Set the sauna entrance before drawing the path
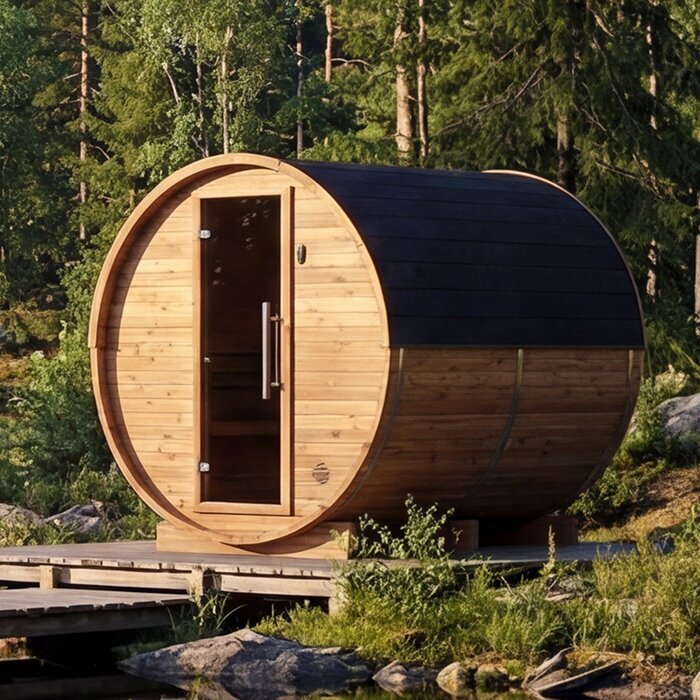
Decide where the sauna entrance will face before paving or laying a deck. The route should arrive without a last-minute turn around a planter, downpipe or piece of equipment. Set out the proposed footprint and entry line on the ground, then open the house door and any gate in turn. Account for required clearances, the space the sauna door needs and access for ordinary upkeep. The manufacturer’s current drawings and installation instructions, rather than a product photograph, should guide those details. If the Thermowood Barrel Sauna LCF-300 is under consideration, treat its model name as a starting point and confirm the exact configuration and siting requirements before fixing the entry line.
Mark the path edges temporarily with string, chalk or removable tape. This shows whether a direct line clashes with steps, utility covers, planting, a washing line or the swing of another door. A small change of direction may avoid a pinch point, but should not introduce a hidden step or awkward turn at the entrance. Keep inspection covers and drains accessible; do not pave over them simply to make the route look uninterrupted. Leave enough room for normal use and future cleaning around the sauna. Have foundations, service routes and any structural clearances reviewed by the appropriate installer before committing to permanent work.
02
Choose a surface that stays secure when wet
Rain, grit and dampness can change how an outdoor surface feels underfoot. Compare finishes intended for outdoor walking, and assess samples when wet in the light and footwear conditions you expect. A very smooth or polished finish may be uncomfortable when damp; loose gravel can shift underfoot, while grass can become muddy where people regularly cross it. Decking boards, textured paving and concrete all come in different finishes, with different cleaning and drainage considerations. Avoid choosing from a small dry sample or a photograph alone. Check that joints, edges and transitions will not catch a foot, and ask the supplier how the proposed finish is intended to perform in exposed, wet conditions.
A consistent surface can make the route easier to follow than a short sequence of paving, timber and loose stepping stones. If Sauna S-140 is on your shortlist, use the confirmed entry arrangement—not an assumption based on the model name—to decide where the walking surface ends and the threshold begins. Consider the area immediately outside the door as carefully as the main path. Avoid loose mats that can curl, shift or hold water. If a mat is useful for drying feet, give it a stable place outside the walking line. A sample laid temporarily on site can also reveal glare, texture and unevenness before you order the full area.
Plan where rainwater will go
Drainage affects comfort as much as the choice of paving. After a shower, note where water collects, where roof downpipes discharge and whether runoff crosses the route on its way elsewhere. A low spot by a doorway or a narrow stream across the path can leave a wet patch even if most of the surface drains well. Plan the sauna position, path and nearby roof drainage together, rather than adding a drain after the paving is complete. Keep drain covers accessible for clearing, and avoid finishes or stored items that hide where water is running. The aim is a walking line that does not become a channel or a collection point.
When planning the approach to Sauna HC-150, have the relationship between ground levels and drainage assessed for your property. Do not assume that permeable paving alone will solve standing water; performance depends on the complete build-up and the ground beneath it. Nor should runoff simply be redirected towards the house, the sauna base or another part of the property. If the solution involves regrading, a channel drain or work near a threshold or foundation, ask a competent local professional to assess it. After substantial rain, check whether water follows the intended route and whether debris is blocking an outlet.
03
Add shelter without creating new problems
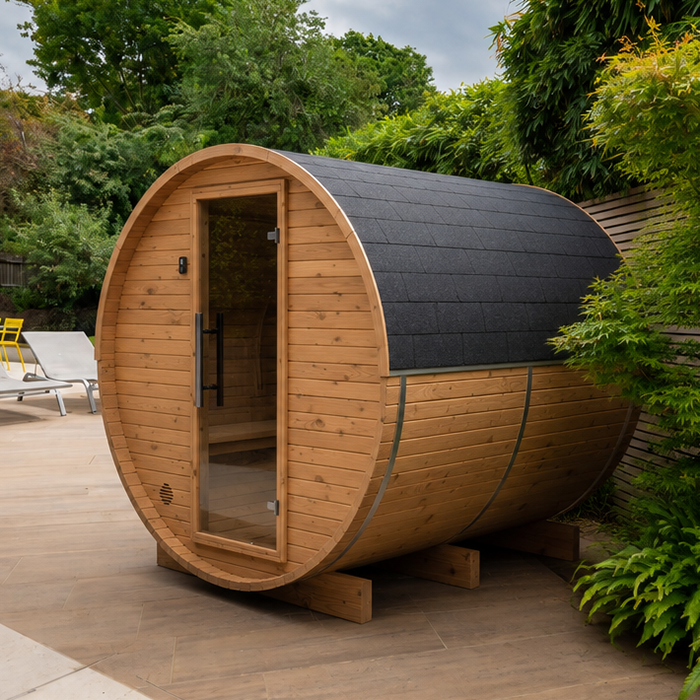
A roof over part of the walk can help when rain is wind-driven, but it does not have to cover every metre. Protecting a doorway, a short exposed stretch or the place where you pause to open a gate may be enough. Look at the proposed cover from the route itself. A canopy that directs drips onto the path, creates a dark corner or ends abruptly beside the entrance can solve one problem while creating another. Include gutters and runoff in the drainage plan, and check that the covered section does not narrow the route or obstruct a door. Consider how the transition from covered to open paving will feel underfoot.
Any cover near Sauna HC-225 must be planned against that sauna’s own installation requirements. Check the manufacturer’s documentation for clearances and ventilation before adding a canopy, screen or fixed structure; do not infer them from another model or a photograph. A freestanding garden shelter is not automatically suitable for every site or for attachment to another structure. Wind exposure, fixings and the load path need assessment by an appropriately qualified professional. A roof can also reduce natural light, so view the route at dusk and in grey weather. If a full cover is impractical, better drainage and a suitable surface along the exposed section may be the simpler option.
Make thresholds and level changes easy to cross
Small defects matter where the route changes level or material. Check the house doorstep, sauna threshold, deck edge, paving joints and drain grates as separate transitions. A continuous, level route is easier to follow where the site permits it. If a step cannot be avoided, make its location clear and avoid an uneven sequence or a loose board. Keep grates secure and positioned so that feet or narrow footwear do not catch. Where a handrail, ramp or other access feature is needed, have it designed for the actual site and intended users rather than improvising from a generic dimension. Leave enough room to approach and open each door without standing on a narrow edge.
Before finishing the deck or paving at Sauna N-210, confirm the entrance position from current product information and check the relevant installation instructions for threshold and clearance details. A product title alone does not tell you whether the approach will be flush, raised or reached from a particular side. Set out the door swing on the ground and make sure it will not collide with a gate or block the return route. Try the space while carrying a towel or opening the door with one hand. This quick mock-up can reveal a pinch point before the surrounding surface is fixed, when changes are easier to make.
04
Light the route so it is easy to read
Winter use may mean crossing the garden in low daylight or after dark, so plan illumination along the approach as well as at the destination. Check whether someone can see the surface, its edges, a step, a gate latch and the entrance without harsh glare or deep shadows. A light beside the sauna alone may leave the first part of the walk unclear. Look at how walls, trees and a shelter affect visibility, and consider whether light will spill into the house or a neighbour’s windows. Choose fittings intended for the actual outdoor setting, and have the electrical selection and installation reviewed by a qualified electrician.
Do not assume route lighting is included with a sauna. For Sauna N-250, confirm the current product inclusions, then plan the house-to-sauna path as a separate lighting task. Decide how the route will be lit before anyone steps outside: a conveniently placed switch, an appropriate sensor or another professionally specified control may suit the layout. Avoid putting controls where they can only be reached after crossing a dark section. Light should help reveal a change in level without making a wet surface dazzling. Keep fittings and maintenance access out of the walking line, and leave electrical work to a qualified professional.
Keep the route clear during everyday garden use
A route is convenient only if it stays clear after the garden is set up. Check that chairs, planters, washing lines, bins, hoses and seasonal decorations will not move into the walking corridor. Allow room to carry towels and reach the sauna door without twisting around stored items. If the approach passes through a gate, think about whether it can be used while carrying belongings, and make sure it will not swing into the path. A small place near the entrance for footwear or a basket may be useful, but keep it outside the clear walking line and away from runoff. A plan that works only when the patio is empty needs revisiting.
Include Sauna LC-260 in the garden layout with its confirmed entrance position clearly marked. Then review the route against the way the rest of the garden will be used. Keep the entrance area clear for opening the door and routine cleaning; do not turn the approach into overflow storage because it is near a boundary. If furniture needs to move before each visit, test the path with it in its usual position. A chair, planter or hose where it normally sits gives a more realistic picture of the available space than an empty patio. Access should not depend on rearranging the garden each time.
05
Choose materials with maintenance in mind
Winter upkeep starts with removing anything that makes the walking surface slippery or uneven. After rain, clear leaves, grit and mud; check joints, board edges and drain openings for movement or blockage. Shaded, damp corners may need more attention if algae or other growth appears, but the frequency depends on the site and the surface. Use the cleaning method and products recommended by the paving or decking supplier rather than assuming a strong cleaner is suitable. A surface that is easy to sweep may reduce routine effort, but textured finishes and joints still need inspection. Keep note of places that repeatedly hold water, as they may point to a drainage issue rather than a cleaning problem.
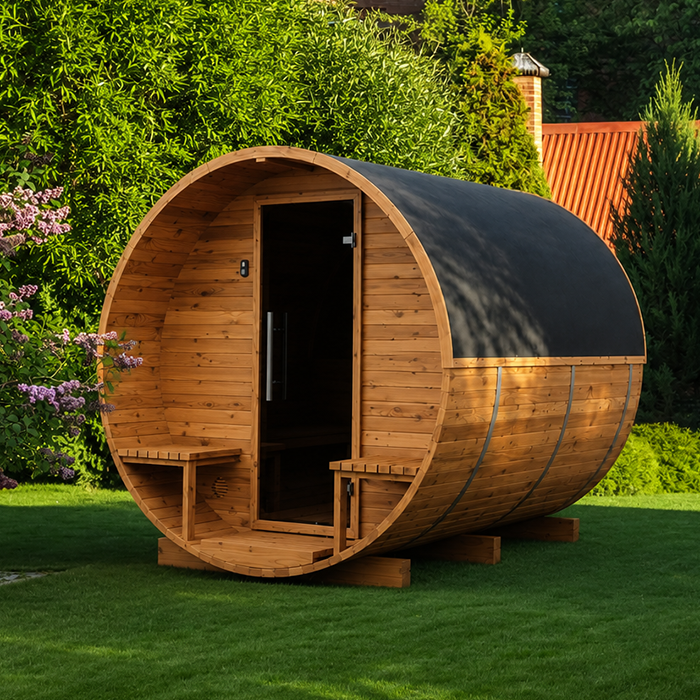
Treat the area immediately around Sauna HCF-300 as part of the same route, not as a separate patch that can be overlooked. Include the threshold, path edges and drainage points in your checks rather than concentrating only on the middle of the path. Follow the relevant supplier’s care guidance for each surface; cleaning advice for the sauna should not automatically be applied to the paving or decking. Note whether mats or planters repeatedly trap debris or obstruct cleaning. These observations help you identify recurring problems and establish a routine suited to the property, rather than relying on a fixed maintenance interval.
Test the route before completing the landscaping
Before permanent paving, mark the proposed line and walk it safely during normal use, with the house door and any gate open. Carry the items you expect to take, check the route at dusk and look at it again after rain from a safe position. Note where you would pause, where water crosses, whether each level change is visible and whether the return journey is equally straightforward. Ask another household member to try it, as different people often notice different pinch points. If anyone may walk barefoot, assess the surface and transitions with that in mind. Adjust the layout while it is still temporary rather than after the finished path has fixed the arrangement.
Set the work sequence so drainage, foundations, service routes and any professionally designed lighting or shelter are resolved before the final walking surface is laid. Keep inspection points accessible and allow for cleaning tools or storage without narrowing the route. These practical details are easy to lose once paving reaches a wall or fence. After installation, check the path in dry conditions, then reassess it after rain reveals how the surface and drains behave. If a section remains persistently slippery or flooded, have the cause reviewed rather than accepting it as an unavoidable winter nuisance. A route that works in ordinary conditions is more useful than one that only looks finished.
Frequently asked questions
How far should the sauna be from the house?
There is no single route length that suits every property. The layout needs to account for the chosen sauna’s siting requirements, entrance, drainage, available space and how people will use the path. Compare the walk you will actually make, not distance alone.
Does the whole path need to be covered?
Not necessarily. A cover over a doorway, gate or particularly exposed stretch may be useful. Plan it so it does not obstruct required clearances or ventilation, create a dark pinch point, or send runoff across the path.
What surface works best in wet weather?
There is no universal best surface. Choose one intended for outdoor walking and assess its finish when wet. Consider footwear, whether anyone may walk barefoot, the joints and edges, drainage, and the cleaning recommended by the supplier.
Should the path slope towards the sauna?
Do not assume a particular slope or direction will suit your site. Consider existing ground levels, thresholds, drains and nearby structures together. Avoid standing water on the route and have any regrading or drainage work assessed by a competent local professional.
How often should I clean the path?
Check it after wet or windy weather and clear leaves, grit or mud when they affect the walking surface or drains. The right routine depends on the material and the site, so follow the surface supplier’s care instructions.
The most comfortable route is not necessarily the shortest or fully covered. It is the one that connects the house door you use to the sauna entrance with predictable footing, manageable runoff, clear lighting and enough room to open doors. Check shelter and surface choices against the actual site and the sauna’s instructions, and include routine cleaning in the plan. With those details settled before the landscaping is finished, winter access can feel like a natural part of using the garden rather than an obstacle to work around.
