


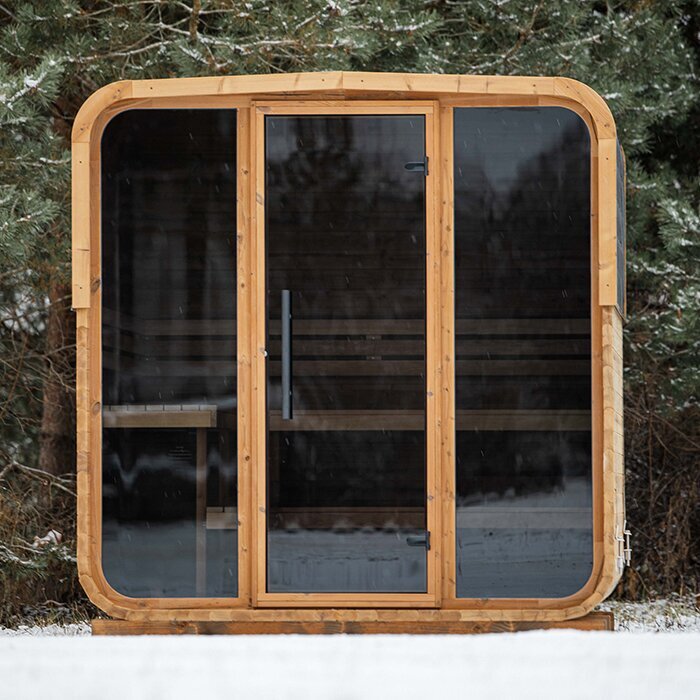

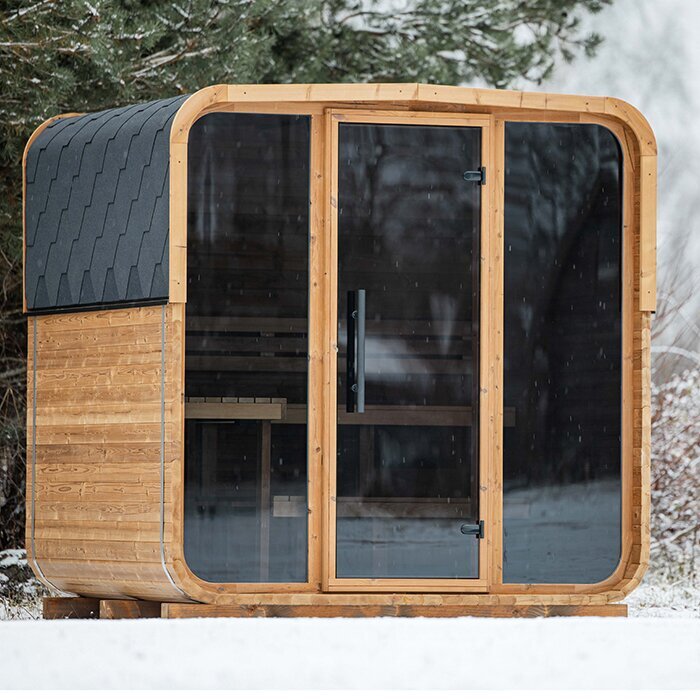

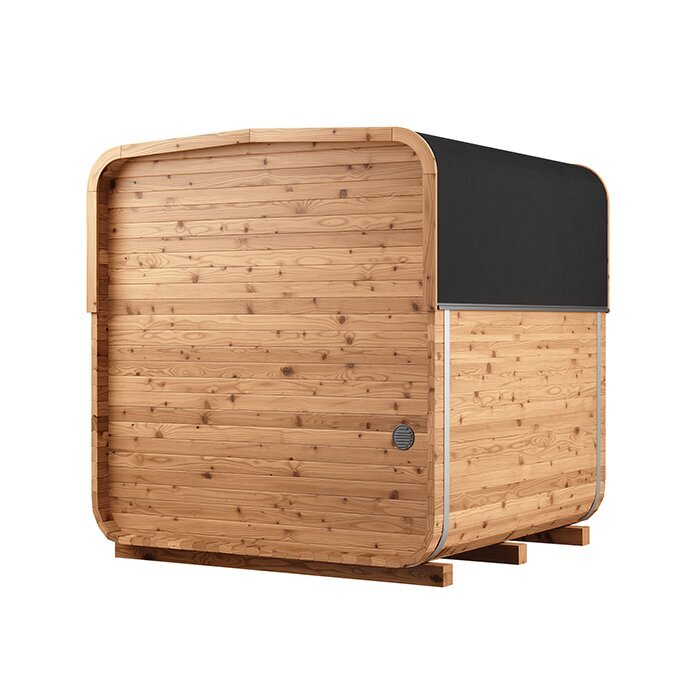

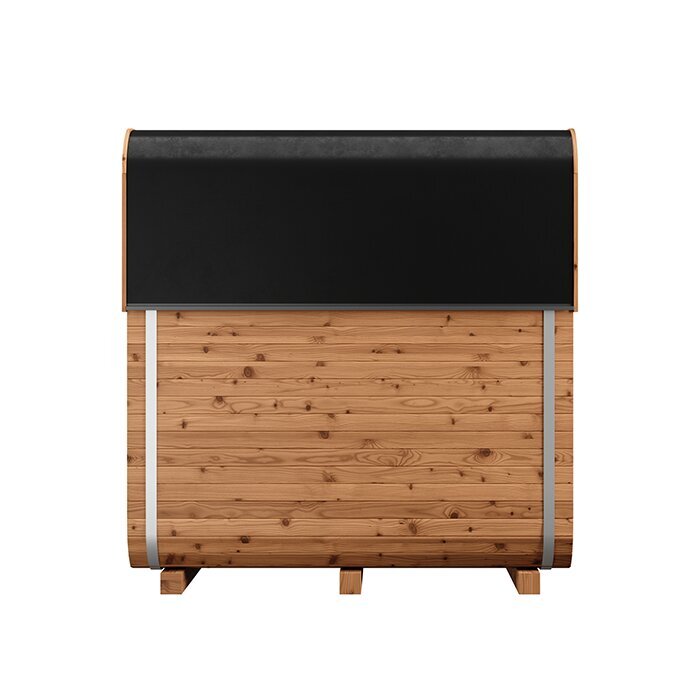
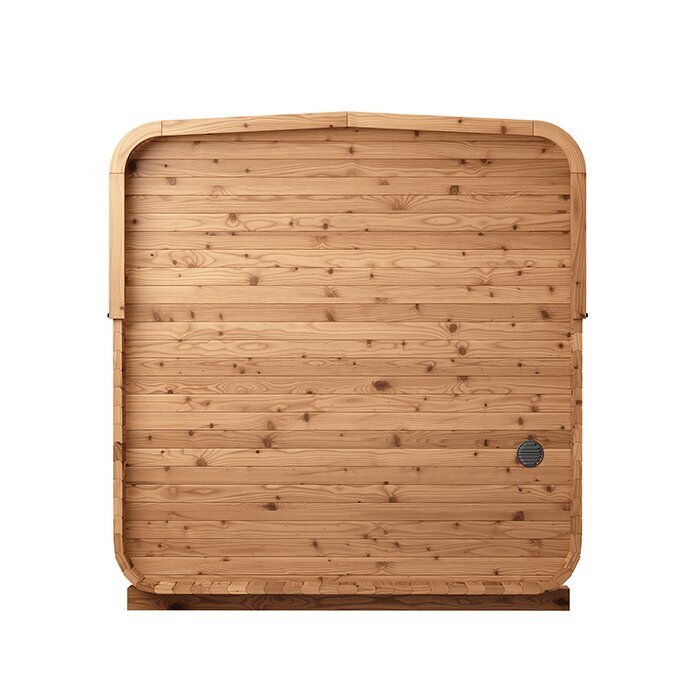




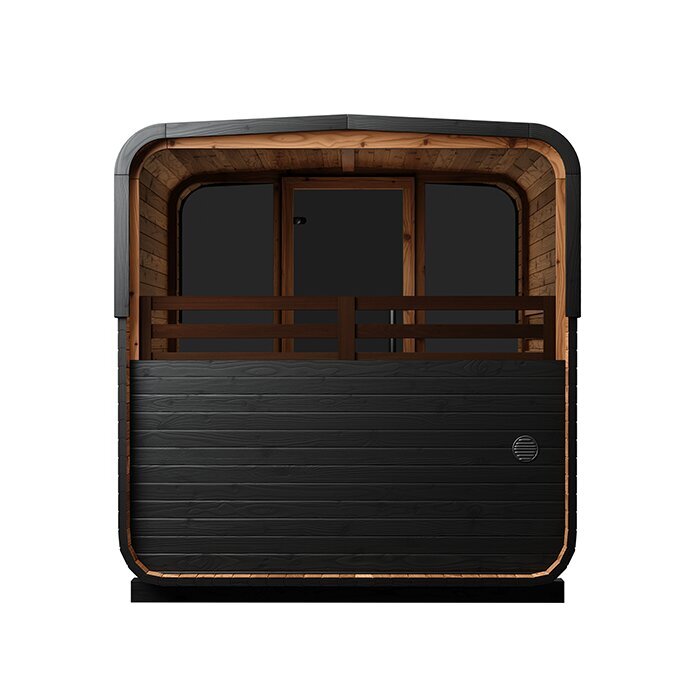

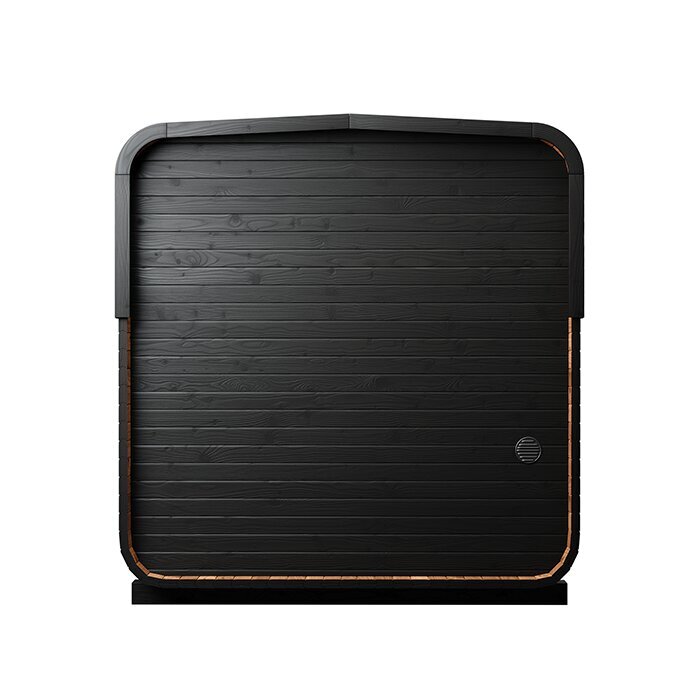
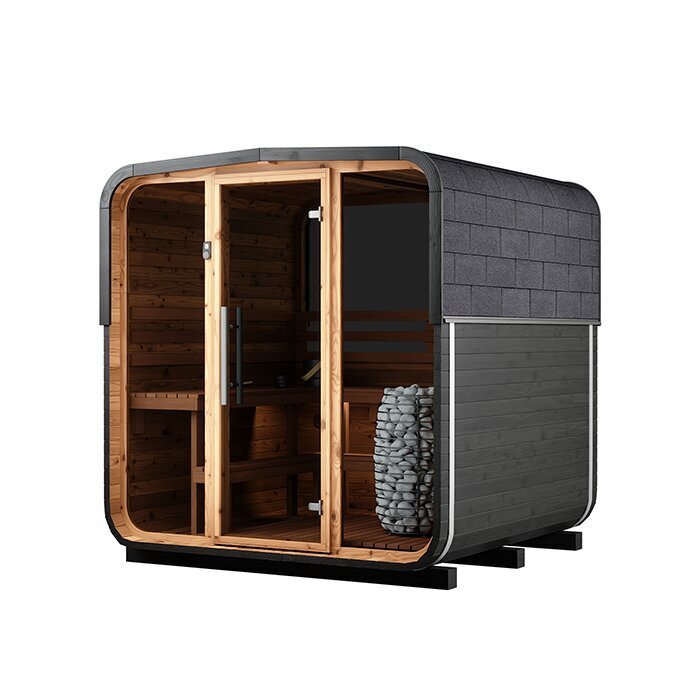







Barrel sauna without an anteroom and with generous bench space
S 210 barrel sauna: 12 m³ sauna room, long benches and electric or wood-fired heater
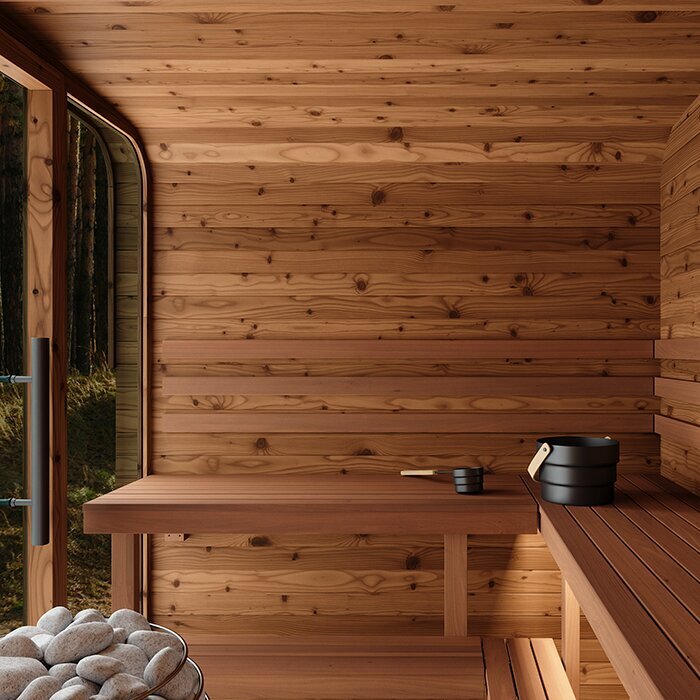
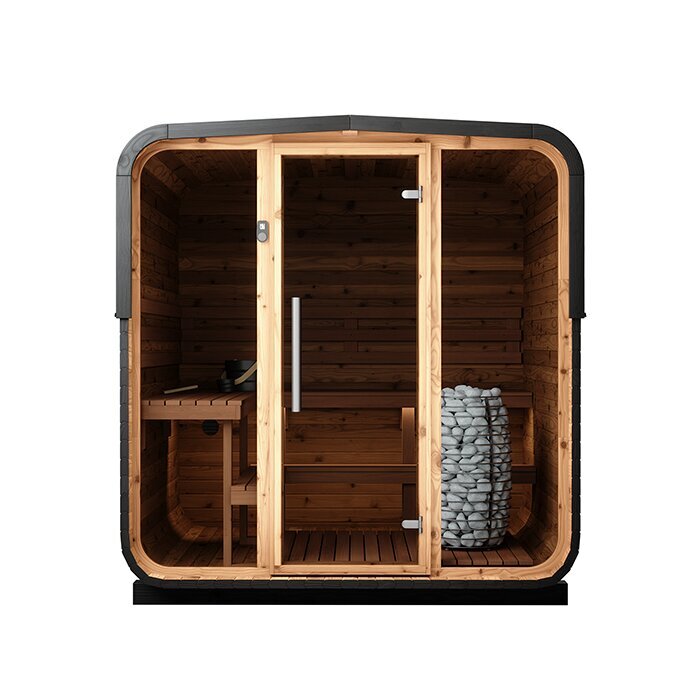
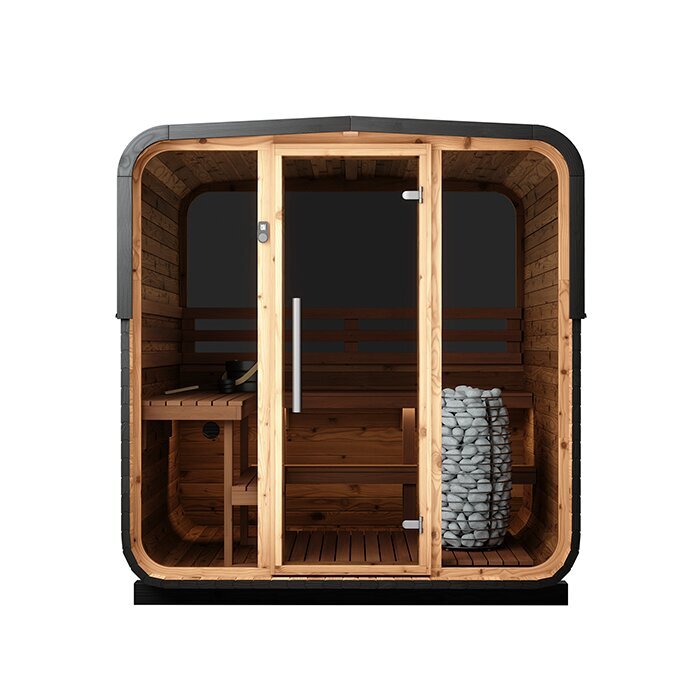
The Bloomcabin S 210 makes almost full use of its compact external dimensions of approx. 211 × 210 × 222 cm for the heated cabin. With an internal height of around 195 cm, a bench area of about 180 × 198 cm and an internal volume of roughly 12 m³, it offers ample room to sit and move. As there is no anteroom, it suits sites where the sauna room takes priority over an integrated dressing or storage area. Allow for a dry, easy-to-walk area directly outside the door as well as the footprint.
Discover further designs in the Bloomcabin sauna range.
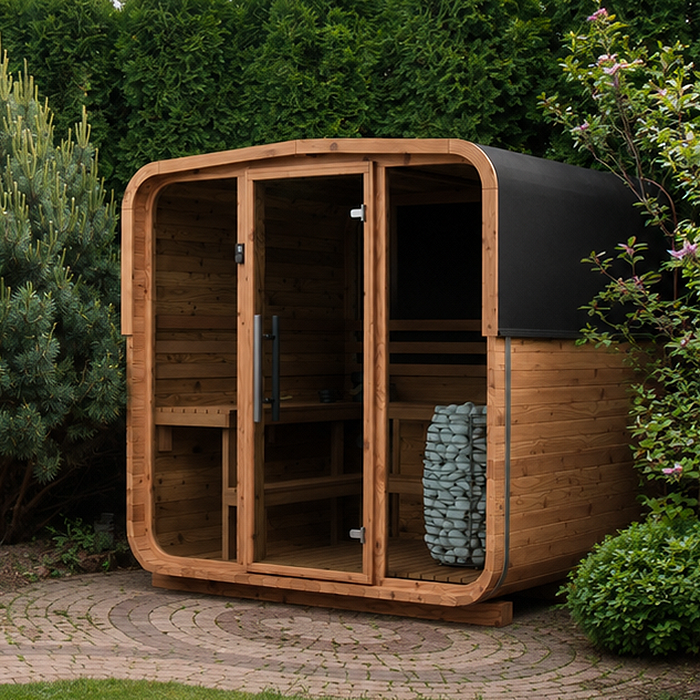
Model profile
Generous sauna room without a separate anteroom
The S 210 is made for anyone wishing to devote as much of the available external length as possible to sauna bathing. There is no separate changing space between the outer door and sauna room: opening the door leads directly into the heated cabin. This straightforward layout creates more room inside, but makes a well-organised area in front of the sauna even more important.
The bench area measures approximately 180 × 198 cm. Whether this gives enough room to lean back or stretch out depends on body size and preferred sitting position. Assess the model not only by the intended number of users, but also by whether you prefer to sit upright, put your legs up or sauna with more space between people.
Include the door side and access route in your site planning from the outset. Leave enough clear space in front of the entrance for the door to operate freely and for entering or leaving without shelves or furniture narrowing the way. Marking out the external outline on site helps you judge the relationship between the barrel sauna, access and an adjoining terrace realistically.
Technical highlights
Dimensions, layout and heating options for the S 210
When comparing models, consider external dimensions, usable bench area, internal height, anteroom and heater type together. The S 210 combines a compact barrel form with a sauna room that is not shortened by a secondary room. Measure more than the external outline at the intended site: allow for assembly, future maintenance, the door area and the requirements of the selected heater version.
Approx. 211 × 210 × 222 cm
Compact barrel form with a sauna room and no separate anteroom.
Approx. 180 × 198 cm bench area
Generous seating area for different sitting positions.
Approx. 195 cm internal height
Comfortable headroom inside.
Electric or wood-fired heater
Choose convenient electric heat or a traditional wood fire.
Everyday use
For regular sauna sessions in your own garden
For regular sauna sessions, plan the routines outside the cabin as carefully as the interior. A short, safe route from the house, a fixed place for dry textiles and easy-to-reach places to rest and cool down make transitions between sessions easier. Since there is no anteroom, these functions need to be arranged outside the S 210.
Comfort depends not only on bench space but also on clear movement space in the cabin. Regular users should be able to reach and leave their places without having to squeeze past one another. Check not only seating positions, but also the movements involved in standing up, pouring water on the stones and walking to the door.
If several guests will often sauna together, or a protected changing area is needed, compare other models. The key figure is not an occasional maximum occupancy but the number of people who should normally sauna together comfortably. Also consider rest breaks: more users require correspondingly more seating outside the S 210.
Thermowood
Natural barrel styling for a garden, terrace or holiday home
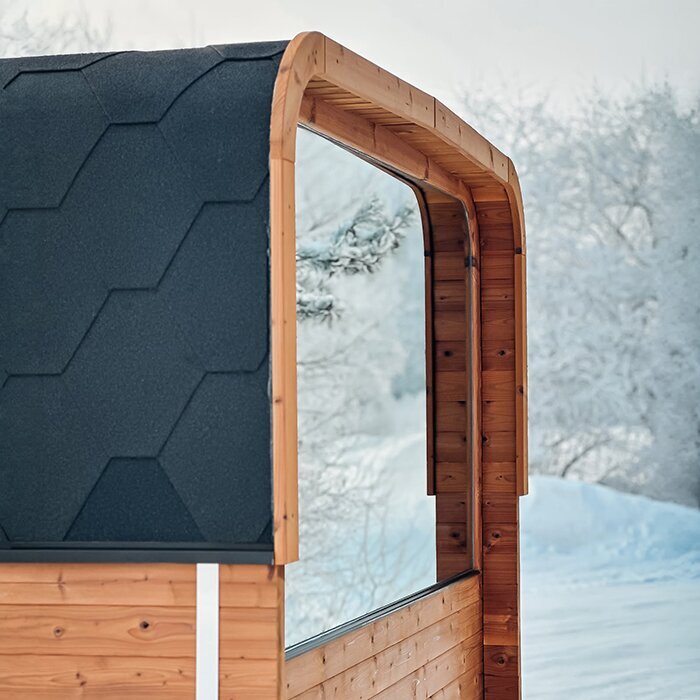
The S 210 is made from FSC®-certified thermowood. Heat treatment reduces moisture absorption and improves dimensional stability. It remains a natural material, however, and reacts to moisture, sunlight and temperature changes. Slight changes in colour and surface are part of its natural development. For cleaning and exterior care, use only products expressly suitable for the intended application and thermally treated wood.
The warm timber tone and rounded form work particularly well in planted gardens, beside timber terraces and at holiday homes. Appearance should not be the only factor when choosing a site. Splash water, dense growth, permanent shade and hard-to-reach rear surfaces make cleaning and inspection more difficult. Adequate clearance from plants and adjoining structures keeps timber surfaces, barrel bands and roof covering accessible.
Sunlight can alter the timber colour over time. A suitable exterior treatment may help retain the original tone for longer. Before the first treatment, decide whether to accept this natural colour change or preserve the initial timber shade. Follow the care product instructions and test it first in an inconspicuous area.
Heating
Electric or wood-fired heater: two different ways to sauna
An electric heater is easy to operate and particularly suited to spontaneous or frequent use. There is no firewood to prepare or store and no ash to remove. It requires a professionally completed connection suited to the chosen heater. Before ordering, ask a REWS-authorised electrical professional with the appropriate scope how the cable route, protection, controls and connection can be implemented at the intended site.
With a wood-fired heater, lighting the fire is part of the sauna experience. Fire, the scent of wood and adding logs create a classic atmosphere, but require more preparation and attention. Store firewood dry and safely, supervise the heater while in use and remove cooled ash properly. Include the flue route and access for later inspection in the site plan from the beginning.
For a wood-fired version, obtain project-specific professional advice on the flue, heat protection, clearances, combustion air, fire safety and planning requirements before installation. For either heating type, check before ordering which components belong to the selected configuration. Choose not only for atmosphere, but also for the building conditions and everyday effort. Follow the chosen heater documentation and arrange connections or the flue route professionally.
Base
A level, load-bearing base for the S 210
The sauna needs a level surface with lasting load-bearing capacity. The base must support the timber construction as well as the heater, sauna stones and users. Uneven settlement can affect the barrel form, door function and installed connections. Have the proposed installation assessed professionally if ground conditions, an existing foundation or a terrace capacity are not clearly known.
For an existing terrace, check the complete construction, especially if it is raised, older or timber-built. The visible boards alone are not decisive: consider the substructure, supports and load-bearing connections too. Before assembly, also establish how components can be transported to the intended position without damaging railings, roof overhangs or other parts of the building.
Rainwater or cleaning water must not collect permanently beneath the sauna. The site should drain water in a controlled way while allowing adequate airflow underneath. Avoid tightly fitting cladding, material piled against the base later on, or planting that holds moisture and blocks inspection of the substructure.
Comparison
S 210 or N 210: large sauna room or separate anteroom?
The N 210 has a separate anteroom within a similar basic form. This sheltered intermediate area makes the transition between outdoors and the heated cabin easier, but uses part of the available length. The comparison is therefore less about the outer shape than about which use should take priority within the relevant model size.
With the S 210, by contrast, almost the entire length is available for the sauna room and its large bench area. It is the more suitable layout when comfortable seating and generous freedom of movement in the cabin are the priority. The lack of an anteroom is a conscious choice: changing, storage and a weather-protected transition happen outside the barrel sauna.
The deciding factor is where the functions of an anteroom can be accommodated. Check on site whether there is a sheltered area outside the sauna for shoes, dry textiles and the transition to a resting place. If that routine works well, the S 210 gives more room to the actual cabin. If changing and storing items should take place within the sauna structure, the N 210 with its anteroom is the better option.
Wellness area
Plan the area in front of the sauna as part of the project
A small covered area provides protected space for shoes, towels and bathrobes. An existing terrace roof or pergola can be suitable. Keep the opening arc and walking area of the sauna door completely clear. In daily use, furniture, baskets and shoe storage work best to the side of the entrance.
An outdoor shower or plunge pool can complement cooling down, but is not necessary for using the S 210. More important is an easily accessible place to cool down outside the cabin. Where water installations are planned, include drainage, cleaning and management during cooler seasonal periods in the planning.
For use after dark and in winter, good lighting and reliably walkable paths matter. Steps and edges should be clearly visible without glare. Loose paving, smooth timber surfaces and poorly secured mats can become obstacles when wet. Check the route in darkness and damp weather as well.
Care
Clean, dry and inspect benches and thermowood correctly
After every sauna session, remove wet textiles and visible water from the cabin. Then open the door and intended ventilation paths so residual moisture can escape. Drying time depends on use and weather. Do not close the sauna after a fixed period; wait until benches, floor and difficult-to-see edge areas have dried sufficiently.
Clean bench surfaces regularly with material-compatible products. Sauna towels protect timber surfaces from direct contact with perspiration. Use only a little water and avoid aggressive household cleaners or abrasive tools unless they are expressly suitable. Remove all cleaning-product residues before heating the cabin again. Regular, gentle cleaning places less stress on the material than infrequent intensive deep cleans.
Also inspect barrel bands, connections and roof covering, particularly after severe weather. Look for loose parts, unusual gaps, damaged surfaces and areas of standing water. Early changes can be checked before moisture or movement affects further areas. Work on the heater, electrics or flue belongs with qualified professionals; follow the relevant manufacturer and operating instructions.
Who is it for?
For couples and small households wanting generous bench space
If one or two people usually sauna and a generous bench area matters, the S 210 is particularly suitable. It is aimed at users who prefer to devote available space to the sauna room itself rather than a preceding sitting area. In addition to user numbers, consider preferred sitting posture, desired spacing and whether rest breaks will take place entirely outside the sauna.
Small families can also use the cabin if they do not need a separate anteroom. Arrange seating so everyone can sit comfortably and leave the cabin in an orderly way. Children should use the sauna only under direct supervision and may experience heat differently from adults. Hot heater parts, sauna stones and pouring water onto the stones require a calm, controlled routine.
If you need more internal height or room for four or more people, consider a barrel sauna from the HCF range too. Compare models using the stated product data and your usual occupancy, not a rare exception. A larger structure needs more installation and movement space and may place different demands on access, the base and heating. The S 210 instead focuses on generous bench space within compact external dimensions.
Access and weather protection
Good accessibility makes use easier throughout the year
For year-round use, a dependable route between the house and sauna is particularly important. As the S 210 has no anteroom, leave the area immediately in front of the door free of obstacles. A firm surface, clearly visible edges and suitable lighting improve access. Leaves and moisture must not obstruct either the entrance or door movement.
If a shower, pool or water connection is to form part of the sauna area, direct water away from the foundation. Plan pipes and fittings so they remain accessible during seasonal breaks and can be maintained without dismantling parts of the sauna. This is especially important where the water installation may be exposed during cooler periods.
A canopy can make the entrance more weather-protected, but must not interfere with ventilation, roof drainage or access to external surfaces. Rainwater should not collect between the canopy and barrel. Privacy screens also need enough clearance for barrel bands, timber surfaces and roof connections to remain accessible for inspection and care.
Quick guide
Four questions for choosing your model
Do not assess the following points in isolation: your preferred posture determines bench space, the lack of an anteroom determines storage, and the chosen heater determines technical preparation. Only when access for assembly and care is secure can the site be assessed meaningfully.
How do you want to sit?
Compare the approx. 180 × 198 cm bench area with your preferred posture.
Where will you store textiles?
Shoes, towels and bathrobes need a dry place outside.
Which heating type suits the site?
Electric and wood-fired heaters have different planning and operating requirements.
Will the sauna remain accessible?
Assembly, cleaning and maintenance need clear routes around the barrel.
Before ordering
Clarify configuration, delivery route and local requirements before purchase
Check the scope of delivery for the selected configuration against the order documents. Whether the heater, controls, sauna stones, flue parts and protective components are included depends on the version. Compare order lines with assembly documents before preparatory work begins. This enables connections and any necessary protective components to be planned in good time.
Check vehicle access, unloading space and the entire transport route to the foundation. Consider low branches, roof overhangs, slopes and sensitive surfaces. At the unloading point, components must be placed in an orderly, protected way without unnecessarily blocking public or shared routes.
Depending on the site, Planning Authority controls may affect the structure and its relationship to boundaries; fixed outdoor wiring should be handled by a REWS-authorised professional with the appropriate scope, while a wood-fired heater needs project-specific fire and flue advice. Ask a perit early to classify the proposal, recording its footprint, height, enclosure, land designation, existing permit conditions and nearby buildings. Further planning guidance is available under planning and assembly guidance.
Planning and safety
Allow for safe operation and good maintenance access from the start
Before assembly, decide which way the entrance will face and how the sauna will be reached in darkness or poor weather. The location may offer privacy, but must remain easily accessible for regular use. Keep sufficient space around the structure for cleaning, inspections and possible repairs. This helps the S 210 fit into the garden without making future care difficult.
Before heating, keep the heater area free from combustible items. Use only controls intended for the selected equipment and follow the relevant operating instructions. With a wood-fired heater, obtain and follow project-specific professional advice on the flue, heat protection and safety clearances. If there is an unusual smell, visible damage or a fault, do not use the sauna again until it has been professionally inspected.
Prepare the sauna for longer breaks in use too. Clean and dry the cabin completely beforehand; textiles, loose objects and care products should not be left inside permanently. Keep ventilation paths clear. Before the next heating cycle, inspect the interior, door, heater area and accessible exterior parts for moisture, foreign objects or visible damage.
Frequently asked questions
FAQ about the Bloomcabin S 210
How can I check whether the bench area suits my usual sitting habits?
Compare the approximately 180 × 198 cm bench area with the positions in which you normally want to sauna. The important point is whether you intend to sit upright, place your legs on the bench or lean back. Before buying, you can mark out the area as a trial and recreate typical seating distances. This gives a better idea of usable space than intended user numbers alone.
What information does the electrical professional need for connection planning?
The professional needs documentation for the exact heater version selected and details of the intended installation site. This allows the cable route, protection, controls and connection to be planned. Discuss this before preparatory work so that the required cable route and connection point can be included in good time.
Where should firewood for a wood-fired heater be stored?
Keep firewood dry, safe and readily accessible outside the heater area. The storage place must not obstruct sauna access or any required safety clearances. Also plan a sensible route for adding logs and suitable handling of fully cooled ash. The selected heater instructions and the specific installation remain decisive.
How can I tell when the interior is dry enough?
Benches, floor and edge areas should be free of visible water and sufficiently dry before the door and ventilation paths are closed again. Remove wet textiles immediately after sauna use. There is no fixed drying time because use and weather affect moisture levels. Always check the actual condition of the cabin instead.
How can drainage at the intended site be assessed?
Water must not collect beneath the sauna after rain or cleaning. Check where water runs and whether adjoining structures could be affected. The underside of the barrel sauna must also remain ventilated and accessible for visual inspection. If the slope, ground build-up or drainage route is unclear, have the site professionally assessed before assembly.
Can interior and exterior surfaces be treated with the same care product?
Not automatically. Exterior surfaces are exposed to weather, whereas conditions inside the sauna are different. Use a product only where its instructions expressly confirm suitability. For interior surfaces in particular, check that the product is intended for that use, and test exterior treatment first in an inconspicuous area.
Which documents should be kept after assembly?
Keep the order summary, assembly documents and instructions for selected equipment for operation and maintenance. This preserves details of the heater, controls, flue parts and protective components for later reference. The documents are also useful when professionals carry out maintenance or need to identify a component in the specific configuration.
Bloomcabin S 210
Plan sauna, access and outdoor space together
A logical sequence makes implementation easier: first establish the footprint and door side, then check the base, heating type and connections, and finally plan access, storage and a resting area. Keep the routes needed for assembly, cleaning and inspection clear around the S 210. This allows cabin use and outdoor-space design to work together from the beginning.
Compare further outdoor saunas and barrel saunas from Bloomcabin.
Final checklist
✓ External outline and door area marked at the intended site
✓ Usual occupancy and preferred positions checked against bench dimensions
✓ Dry storage space beside the access route chosen
✓ Selected heater version checked against the ordered configuration
✓ Required connections and professional work agreed before assembly
✓ Foundation, drainage, transport route and maintenance access checked
View S 210