
12 Features of a High-Quality Aluminium Pergola
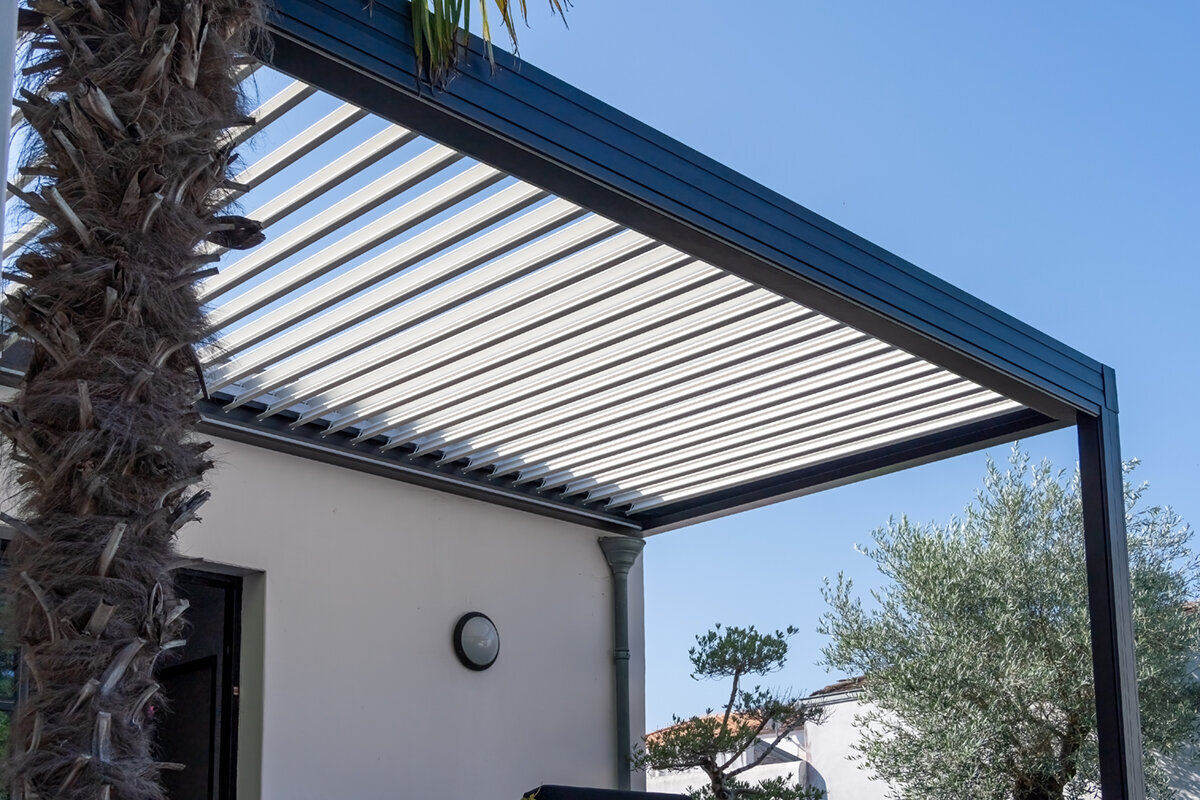
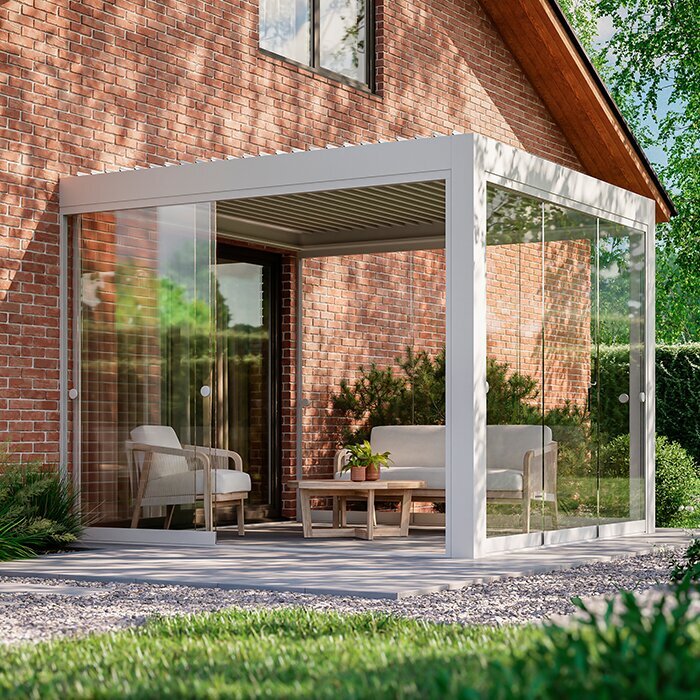
When comparing high quality aluminium pergola features, begin with the parts that are difficult to judge from a lifestyle photograph. Profile proportions, concealed water routes, roof movement and the way components meet at corners all influence how composed the structure looks and how practical it is to live with. A considered design should feel resolved from every usual viewing angle, not merely impressive from the front.
It also helps to separate material from execution. Aluminium is a strong starting point for an outdoor structure, but profile design, surface preparation, fixings and assembly standards determine whether the finished pergola feels solid and coherent. The useful questions are specific: where does rainwater go, what happens at the edges, and can individual parts be inspected or maintained without unnecessary disruption?
This guide follows the buyer journey from first visual assessment to final handover. It highlights twelve features worth discussing with a supplier or installer, without assuming that one layout suits every garden. Use it to compare like with like, then match the pergola’s roof type, footprint and detailing to your terrace, exposure, home and intended routine.
Stage one
1. Start with a composed frame
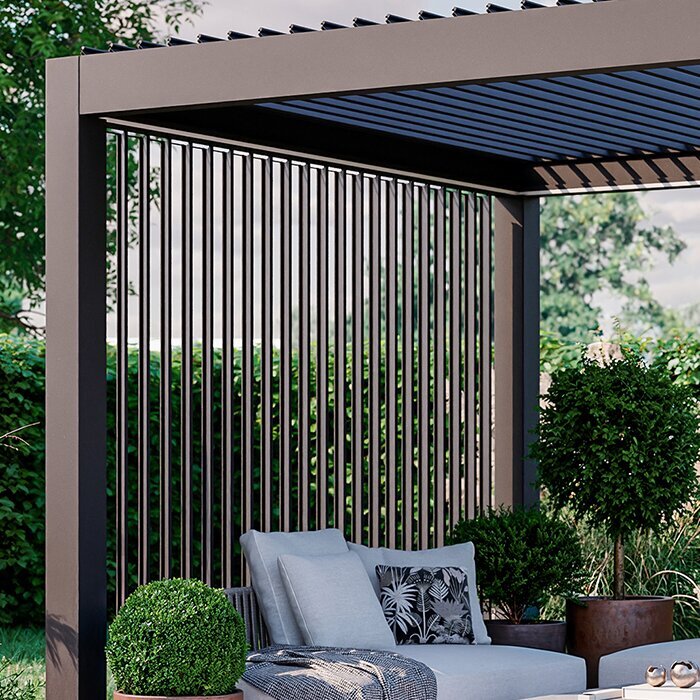
The frame is the visual and structural language of an aluminium pergola. Look for posts and perimeter beams that appear proportionate to the span and roof treatment, with consistent lines across the whole outline. Excessively fussy add-ons can distract from the structure, while a carefully integrated frame makes the pergola feel deliberate beside brickwork, render, paving or planting. Ask which profiles form the load-bearing system and which parts are purely finishing pieces.
Quality is often clearest where the frame changes direction. Corners should read as planned junctions rather than a collection of covers hiding awkward interfaces. View drawings or photographs that show the underside as well as the exterior, and ask how the structure is anchored. A suitable installation approach depends on the actual substrate, levels and surrounding conditions, so it should be considered for the individual site rather than assumed from a standard illustration.
Check that posts, beams and roof perimeter create a consistent visual rhythm from the garden and from inside the house.
Ask to see corner, post-base and beam connection details, including how visible trims are finished around each junction.
For adjustable overhead shade and airflow, explore bioclimatic aluminium pergola designs with the frame and roof considered as one system.
Stage one
2. Inspect joints, fixings and edges
Feature two is the quality of the connections. A pergola may have substantial-looking profiles, yet still feel less convincing if screws, brackets and transitions have been treated casually. Look for cleanly aligned components, purposeful cover details and edges that meet without conspicuous gaps. Concealed fixings can create a calmer appearance, but the important question is whether concealment is supported by sensible engineering rather than simply cosmetic masking.
Also consider the parts you will notice at eye level every day: post caps, beam ends, gutter lines and the interface around any screens or lighting. Neat finishing is not only aesthetic; it suggests that tolerances and assembly have been thought through. Ask which elements remain accessible if adjustment or replacement is needed. A straightforward explanation is preferable to vague reassurance when comparing apparently similar designs.
Look along beams and gutters for straight lines, consistent reveals and trims that appear integral rather than improvised.
Clarify which fixings are visible after installation and whether service access has been allowed for important connections.
If a simpler canopy is closer to your brief, compare regular aluminium pergola formats for their frame, roof-edge and fixing treatment.
Stage two
3. Judge the louvred roof mechanism
A louvred roof is feature three, and it deserves close attention because it is both a moving element and a defining part of the pergola. Ask how the louvres sit when open and closed, how evenly they align, and how their ends are supported. The roof should look orderly across its full width, not only in a tightly cropped product image. Its operation should be explained in relation to the proposed orientation, surrounding trees and everyday use of the space.
Feature four is the control and actuation arrangement. Buyers should understand how the roof is operated, what routine guidance applies and what happens during changing weather. Do not rely on assumptions about automation or use in all conditions; request the relevant product information for the configuration under consideration. A quality conversation covers operating limits and care as readily as it covers the appealing movement of the louvres.
Ask for a demonstration or clear explanation of louvre alignment, end support and the route water takes when the roof is closed.
Discuss roof operation in relation to your routine, exposure and the manufacturer’s operating guidance for the selected configuration.
See roof-led outdoor living possibilities in bioclimatic pergola collections when adjustable louvres are central to your decision.
Stage two
4. Trace drainage from roof to ground
Feature five is drainage design. Rain should have a defined journey from the roof surface, through the pergola’s channels and towards an appropriate discharge point. Ask the supplier to describe that route plainly, including what is visible at each stage. Integrated drainage can preserve a clean outline, but it still needs careful consideration alongside terrace falls, existing drains and the building. Water management is a design issue, not a detail to leave until after the frame arrives.
Feature six is the roof perimeter and its weather-facing edges. Examine how channels, seals and adjoining profiles meet, particularly at corners and around roof transitions. These components cannot promise perfect conditions in every scenario, but their design says much about the system’s level of thought. On a site visit, discuss splashback, nearby thresholds and whether the chosen location allows water to be managed sensibly without compromising the terrace layout.
Request a simple explanation of the complete drainage route, from the roof surface to the proposed outlet near ground level.
Review roof edges and corners closely, especially where existing paving, doors, walls or drainage channels influence the design.
For a fixed-roof alternative, consider regular pergola roof designs and ask the same detailed questions about rainwater management.
Stage three
5. Look beyond the headline colour
Feature seven is the surface finish. A refined colour can unify a pergola with window frames, garden furniture or a contemporary extension, but appearance should be assessed beyond a small swatch. Look for an even finish across large profiles, corners and trims, with no obvious inconsistency between components. Discuss the proposed colour in daylight at home, where paving tones, planting and the house façade can shift how it reads throughout the day.
Feature eight is the treatment of cut ends, interfaces and frequently touched elements. These are areas where care during manufacture and installation becomes more apparent over time. Ask how the finish is protected while the pergola is handled and assembled, and what cleaning approach is recommended. Avoid assuming that any outdoor surface is entirely maintenance-free; a sensible care routine helps preserve the intended appearance.
Assess the proposed colour against your property outdoors, rather than deciding solely from a screen image or indoor sample.
Ask how trims, cut ends and contact points are finished, protected during fitting and included within routine care guidance.
Browse finish-led possibilities among bioclimatic aluminium pergola styles while keeping specification questions separate from colour preference.
Stage three
6. Match bases and site preparation carefully
Feature nine is the base connection. The most elegant overhead structure still depends on a suitable relationship with the ground beneath it. Existing patios vary greatly in build-up, condition and level, so ask how the proposed fixing method relates to your particular surface and supporting construction. Do not treat a photograph of a finished terrace as evidence that every patio is suitable. Early site assessment can expose access, drainage or level changes before they become design compromises.
Feature ten is the interface with the wider outdoor room. Consider clearance around doors, furniture, planting beds and circulation routes, as well as the position of posts. A pergola that fits on a plan may feel awkward if it pinches a path or blocks a valued garden view. If installation work affects walls, utilities or drainage, seek appropriately qualified advice. Planning and building considerations can depend on the site, so check with the relevant local authority where needed.
Confirm what is known about the patio construction, ground levels and access before treating any fixing approach as final.
Mark post positions on the terrace and walk around them, allowing for furniture, doors, routes and existing garden features.
For a clean, fixed-cover garden room, view regular aluminium pergola options with equal attention to footprint and base preparation.
Stage four
7. Test accessory integration and usability
Feature eleven is integration. Screens, lighting and other additions should appear designed into the pergola rather than attached as unrelated extras. Ask where cables, guides and brackets sit, whether additions affect roof operation, and how the whole arrangement looks when not in use. Good integration protects the calm geometry of the frame while making the space more useful. Start with your actual habits: reading, dining, entertaining or simply enjoying the terrace at different times of day.
Usability also means understanding the boundaries of the chosen configuration. A thoughtful supplier will help distinguish between an appealing render and the accessories that genuinely fit the selected dimensions and site. Consider sightlines from key rooms and how screens or lighting may change the atmosphere after dark. If electrical work is proposed, it should be planned and carried out by an appropriately qualified professional, with routes considered before final assembly.
Prioritise additions that support how you use the terrace, rather than selecting every available feature at the outset.
Ask where guides, brackets and electrical routes will sit so that accessories retain a composed, integrated appearance.
When adaptable shade is the priority, explore bioclimatic pergola roof options alongside compatible screen and lighting choices.
Stage five
8. Value documentation and aftercare
Feature twelve is the quality of information that accompanies the product. Before committing, ask for a clear specification covering dimensions, finish, roof type, included elements, exclusions and installation responsibilities. Written information gives you a dependable basis for comparing proposals and avoids judging quality solely by visual impressions. It should also set out appropriate operation, cleaning and care guidance for the configuration you are considering, rather than relying on broad assumptions about outdoor living products.
Finally, examine the handover process and aftercare route. Know who to contact with installation questions, what records you should retain and how to raise a concern if a component needs attention. If you are considering insurance implications, check directly with your insurer rather than assuming cover applies. A carefully documented project is easier to understand, maintain and discuss later, whether you are making small seasonal changes or reviewing the terrace as a whole.
Compare written specifications line by line, checking dimensions, finish, roof treatment, inclusions, exclusions and installation responsibilities.
Keep product documents, operating guidance and installer details together so future cleaning, servicing or queries begin with accurate information.
To compare a straightforward canopy specification, start with regular pergola configurations and request a written scope tailored to your space.
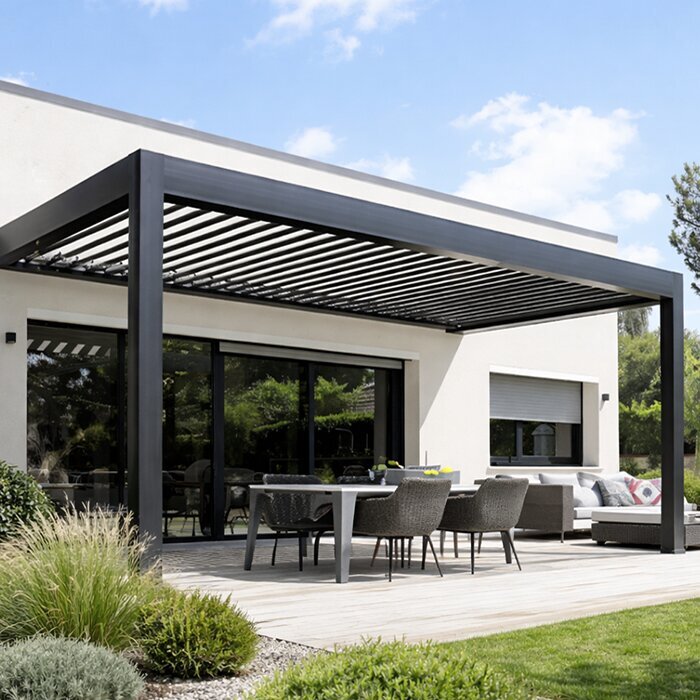
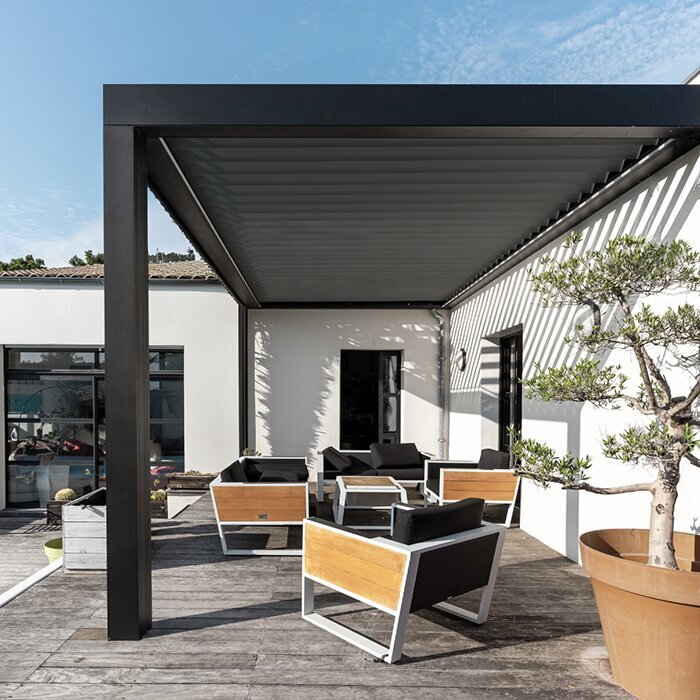
Comparison
A practical quality comparison matrix
Use this matrix to move beyond broad labels such as “premium”. It identifies the questions that reveal how well a proposed aluminium pergola has been developed for its intended use, site and long-term ownership.
| Area to compare | What to examine | Useful question to ask |
|---|---|---|
| Frame profiles | Proportions, straightness, post and beam relationships. | Which profiles carry the main loads? |
| Connections | Corners, visible fixings, covers and service access. | How are joints finished and accessed? |
| Roof system | Louvre alignment or fixed roof support details. | How does this roof operate or drain? |
| Drainage | Channels, outlets, terrace falls and discharge route. | Where does water leave the structure? |
| Surface finish | Consistency across profiles, trims and touchpoints. | What routine cleaning is recommended? |
A five-step inspection plan
Approach the decision in a logical order. This keeps the discussion focused on your terrace and intended use before colour, accessories and final styling take centre stage.
01
Define the outdoor routine
List when you use the terrace, who uses it and what should remain clear. This establishes the right roof approach and footprint.
02
Measure the setting
Record doors, paths, walls, levels, drains and nearby planting. Photographs from inside the house help identify important sightlines.
03
Compare the construction
Review profiles, joints, roof support and drainage explanations side by side. Ask for clarification where a proposal uses broad language.
04
Check the practical interfaces
Discuss the base, electrical needs, water route and installation access. Obtain appropriate site-specific advice for any uncertain conditions.
05
Confirm the written scope
Before ordering, check dimensions, finish, accessories, responsibilities and care information. Retain the final documents with your home records.
Your aluminium pergola quality checklist
Take this list to a showroom discussion, design appointment or site survey. It keeps attention on the details that are easiest to overlook when choosing an attractive overall style.
01. Frame proportions look consistent across posts, beams, corners and roof perimeter when viewed from more than one angle.
02. Connection details are explained clearly, including visible trims, fixings and access for future inspection where relevant.
03. The roof type suits your intended routine, and operation guidance is available for the proposed configuration.
04. Rainwater has a described route from roof surface through channels towards an appropriate site-specific discharge point.
05. Roof edges, corners and seals have been discussed in relation to thresholds, paving and surrounding building details.
06. The proposed colour and finish have been considered outdoors against the house, terrace materials and changing natural light.
07. Post locations preserve practical routes, furniture space, doors and the garden views that matter most to you.
08. A written specification confirms scope, care guidance, responsibilities and a clear contact route after installation.
Frequently asked questions
What makes an aluminium pergola feel high quality?
The impression comes from a complete system rather than one visible feature. Well-related frame profiles, tidy junctions, a considered roof, purposeful drainage and a consistent finish all matter. Quality is also reflected in clear documentation and an installation approach that responds to the specific terrace, ground conditions and intended use.
Are concealed fixings always a sign of better quality?
Not necessarily. Concealed fixings can create a cleaner visual result, but they should not be the only measure. Ask how the connection is engineered, whether it remains suitably accessible where needed, and how cover components meet surrounding profiles. A neat detail is most convincing when it is both purposeful and clearly explained.
Why should I ask about pergola drainage?
Drainage affects the experience of using the terrace and the way the structure sits beside the house. Understanding the water route helps you assess roof channels, outlets, paving falls and nearby thresholds together. The appropriate solution depends on the site, so discuss it early rather than treating it as a minor finishing decision.
How do I choose between a louvred and regular pergola?
Begin with how you want the overhead space to behave day to day. A louvred design introduces an adjustable roof element, while a regular pergola may offer a simpler fixed-cover approach. Compare the appearance, roof detailing, drainage arrangement, maintenance guidance and suitability for your particular terrace before deciding.
Do I need to check planning rules for a pergola?
Planning considerations can depend on factors such as the property, location, size, position and any local constraints. Do not assume that an example project determines your own position. Check the relevant local authority guidance and seek professional advice where your site or proposal raises uncertainty.
What should be included in a pergola quotation?
A useful quotation or specification should identify dimensions, roof type, frame finish, accessories, installation scope and any exclusions. It should also make responsibilities and site assumptions clear. If drainage, electrical work, groundwork or building interfaces are relevant, ask how each is addressed and who is responsible for it.
Explore pergola options
Choose the details that support everyday use
A high-quality aluminium pergola is recognised through disciplined detail: a composed frame, thoughtfully handled connections, a roof that suits its role, planned drainage and a finish that belongs with the home. Looking at these features together helps you move past surface-level comparisons and towards a specification that feels coherent in your own garden.
Take time to map the terrace, define how you want to use it and ask direct questions about the parts that will be hard to alter later. Bloomcabin can help you explore appropriate pergola styles, but the strongest choice starts with a clear brief, site-aware planning and written information you can review with confidence.
Use your checklist to begin a focused conversation about the frame, roof and finish that suit your outdoor space.
