
How to Plan a Pergola for a Small or Narrow Terrace
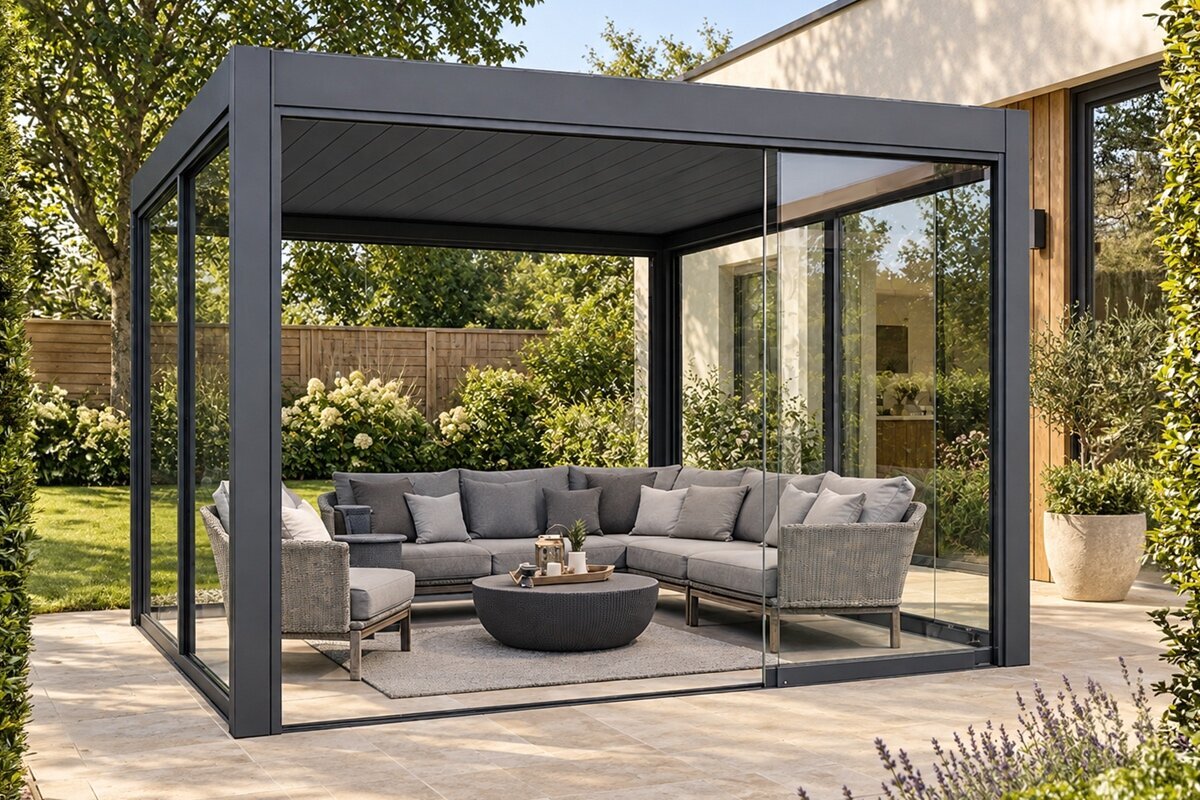
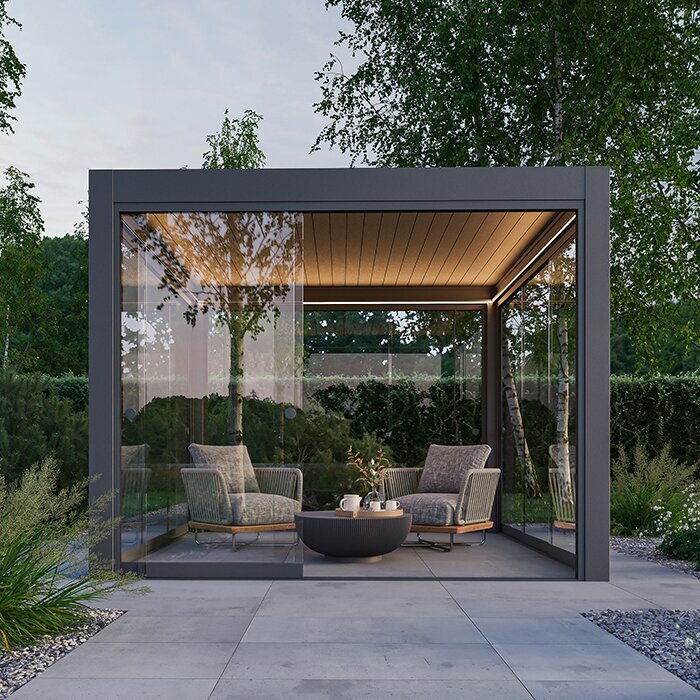
Small terraces often present a misleading challenge: there may be enough floor area on paper, yet the space feels too tight once chairs, planters and doors are involved. The answer is not automatically the smallest structure. It is a layout that protects the routes you use every day and gives the pergola a clear job, whether that is dining, relaxing or shading a doorway.
Begin by observing the terrace before choosing a style. Notice where the sun falls when you are most likely to sit outside, which door swings into the space, where bins or garden equipment travel, and whether a boundary wall makes one side feel enclosed. Those details reveal the usable zone far more accurately than an overall garden measurement alone.
An aluminium pergola can bring welcome definition to a compact patio, but its frame should support the garden’s proportions rather than dominate them. Treat it as part of a wider composition including the house, paving joints, borders and sightlines. With a disciplined plan, even a narrow terrace can feel purposeful, airy and inviting.
Stage one
Read the terrace before measuring
Stand at the main doorway and look outward, then repeat the exercise from the garden looking back to the house. A narrow terrace can feel generous when its longest view remains open, but cramped if a post or tall accessory cuts across that view. Mark thresholds, drain covers, steps, retaining edges and planting that needs access. These fixed elements form the real brief for your pergola layout.
Also consider the terrace as it is used across a normal week. One household may need space for a compact weekday coffee table, while another needs room for a family meal or a pram passing through. Avoid designing solely for an occasional gathering. A well-planned small pergola serves the routine first, with flexible seating or foldable pieces available when guests arrive.
Photograph the terrace from each doorway; images often reveal visual bottlenecks that are less obvious while standing outside.
Mark sunny, windy and overlooked patches at different times, so the covered zone supports the occasions you value most.
For terraces where adjustable shade is central to the brief, explore a compact bioclimatic pergola alongside your measured activity zone.
Stage two
Set a footprint with breathing room
Rather than filling every available paving slab, establish the smallest footprint that can hold the intended activity comfortably. For dining, account for chairs in use and a route around the setting; for lounging, include the angle of a reclined seat or footstool. Leave visual breathing room at one or more edges so the structure reads as a destination rather than a lid over the entire terrace.
The relationship between width and depth matters especially on a long, narrow patio. A broad roof spanning the full width may make the terrace feel enclosed, whereas a more considered proportion can preserve a side route or planting strip. Sketch several options on graph paper, then tape their outer corners on the paving. Walking the outline is an effective reality check.
Use masking tape or string to test the proposed corners before committing; include post positions, not only the roof outline.
Keep a deliberate margin beside at least one edge where possible, allowing the patio and adjacent planting to remain legible.
If a straightforward roofed frame suits the space better, compare a slim regular pergola with your taped-out terrace footprint.
Stage three
Place posts around real circulation
Posts are often the decisive detail in a tight layout. They need a sound, suitable base, yet their visible position should also make sense for people moving around the terrace. Avoid placing one at the outer corner of a dining chair, beside a frequently opened door or in the line between kitchen and garden. A few centimetres on a plan can make a large difference in daily use.
Think beyond human circulation too. Consider how cushions, a lawn mower, recycling boxes or a wheelbarrow reach the garden. Check access needed for cleaning windows, tending borders and maintaining fences. Where the pergola is near the house, take note of downpipes, vents and exterior lighting. Discussing those details early helps ensure the selected configuration and installation approach suit the site.
Trace the route taken with a tray, buggy or garden tools; this exposes pinch points ordinary walking may overlook.
Check door openings at their widest point and ensure nearby posts will not obstruct handles, steps or turning space.
Where post placement must work with a flexible outdoor room, consider a bioclimatic pergola with considered post positions as part of the overall site discussion.
Stage four
Choose furniture before finishing touches
Furniture dictates the lived-in size of a terrace more than most people expect. Start with the items that stay outside most often, then measure their operating space: chairs pulled back, bench access, side tables and the path to a seat. A built-in bench against a boundary can reduce visual clutter, while lightweight chairs may be easier to rearrange when the terrace needs to perform two roles.
On a narrow terrace, favour a calm hierarchy rather than many competing pieces. One properly sized table, a bench or a pair of lounge chairs can feel more generous than several small items scattered around. Plan storage for cushions and accessories so they do not gather underfoot. Consider colour and material in relation to the house, but let clearance and comfort remain the deciding factors.
Measure furniture at its widest usable setting, including chair movement, open drawers and extended footrests where relevant.
Choose pieces with clear roles; multifunctional seating is useful only when it does not complicate the everyday layout.
For a clean framework around a focused dining arrangement, see a regular pergola for compact patios that can complement restrained furniture choices.
Stage five
Use height and sightlines intelligently
A pergola’s visual weight is not created by floor area alone. Height, beam depth, colour and the view beneath the roof all affect how enclosed a compact terrace feels. From inside the house, look at the proposed structure through windows as well as from the patio. Preserving a clear glimpse of sky, planting or the garden beyond can make the outdoor room feel connected rather than boxed in.
Avoid treating every edge as an opportunity for an accessory. Screens, curtains, planters and lighting can all improve atmosphere, but layered without purpose they may reduce light and restrict airflow. Identify the one problem that needs solving first: low evening sun, overlooked seating or an exposed dining spot. Then add only the element that addresses it, leaving other sides visually lighter.
View the marked footprint from indoors, particularly from rooms used daily, to assess how the frame affects light and outlook.
Use planting to soften boundaries selectively, keeping the main entrance and garden view open rather than heavily framed.
For homeowners balancing shade and openness, a bioclimatic pergola for a narrow terrace can be explored with the terrace’s sightlines in mind.
Stage six
Coordinate the base, house and drainage
A compact terrace leaves little tolerance for awkward construction details. Establish what lies beneath the paving and whether the intended support locations can be prepared appropriately. Existing slabs, porcelain surfaces, decks and concrete bases all need individual assessment. Do not assume a visually level patio is automatically suitable. Share clear photographs and dimensions with an installer or supplier so the fixing and foundation requirements can be considered properly.
Water management deserves similar attention. Look for the direction of falls, gullies, thresholds and places where rain already collects. A pergola should be planned in relation to those existing conditions, not as an afterthought after paving has been finished. Where the structure sits close to the house, coordinate its position with window cleaning, drainage components and any external services that may require future access.
Record paving levels, drainage points and changes in surface material before finalising a design or arranging site preparation.
Ask how the chosen configuration interfaces with the proposed base, rather than adapting important structural details after delivery.
When the terrace calls for a simple, clear-lined structure, review a regular pergola suited to your base after confirming the foundation approach.
Stage seven
Plan for neighbours, boundaries and permissions
A small terrace is often close to neighbours, so consider the new structure from adjoining windows and gardens as well as your own chair. Its position, height, colour and any later accessories can alter views and the feeling of privacy. A friendly early conversation can be helpful where work is close to a shared boundary, although it does not replace checking formal requirements that may apply to your home.
Planning rules and restrictions can vary according to property type, location, conservation considerations and the proposal itself. Leasehold homes, managed developments and listed buildings may bring additional permissions or conditions. Before committing, check guidance with the relevant local authority and review your title, lease or development rules where applicable. If insurance is a concern, ask your insurer how a new garden structure may affect your policy.
Measure from boundaries and note neighbouring windows, access routes and shared features before deciding which side should remain more open.
Keep records of drawings, product information and approvals conversations, so the final installation reflects the agreed proposal.
If the brief includes privacy alongside adaptable cover, look at a bioclimatic pergola for close neighbours while keeping boundary considerations central.
Stage eight
Make a confident final choice
Before choosing, compare the shortlisted layouts against the same practical questions: does each preserve the main route, accommodate everyday furniture and leave access for maintenance? A slightly smaller or differently oriented pergola may offer a better result than the option with the largest roof. Revisit the terrace at the time you expect to use it most, because late-afternoon sun and evening privacy often influence the final decision.
A measured brief also makes conversations with Bloomcabin more productive. Bring terrace dimensions, photographs, notes on the surface, door positions and a simple furniture plan. Ask about the available configuration, installation requirements and care guidance for the model under consideration. Request a current quotation for the exact arrangement you are assessing, rather than relying on a broad budget assumption.
Compare alternatives using the same furniture layout, so one option is not made to look better through a less demanding sketch.
Save a final annotated plan showing posts, routes and doors; it gives everyone a shared reference before work begins.
To finish with an unfussy outdoor room, browse a regular pergola for smaller terraces that matches your final measured plan.
Comparison
Which layout approach suits a constrained terrace?
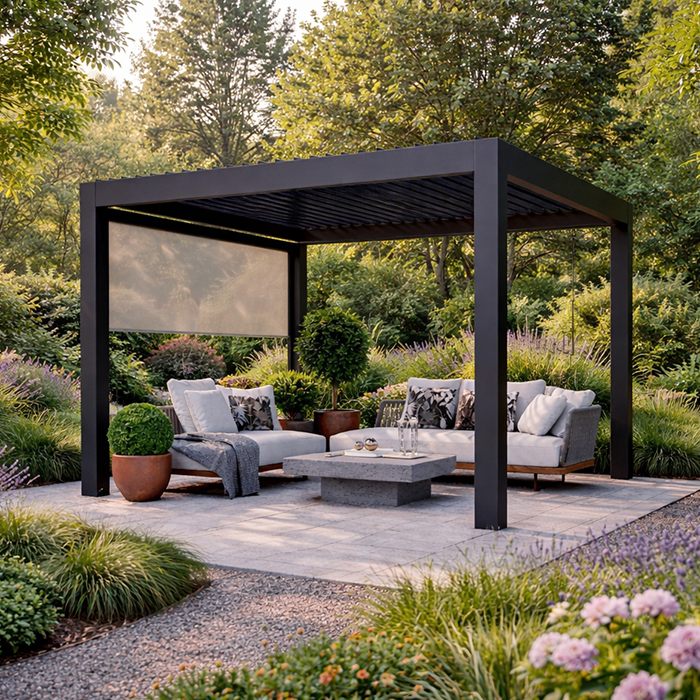
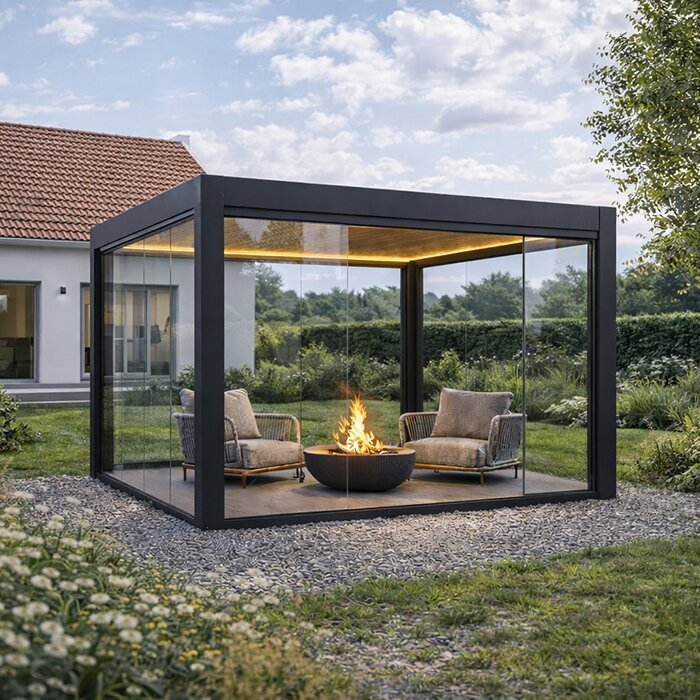
The best choice depends on how the terrace is used and where the pressure points sit. Use this matrix to compare planning approaches before narrowing down an aluminium pergola configuration. It is a decision aid, not a substitute for checking the specific product, base and installation requirements.
| Layout approach | Works well when | Watch carefully |
|---|---|---|
| Dining zone beside house | Meals are the main priority and doors open away from chairs. | Allow chair movement and preserve a garden route. |
| Lounge zone at garden end | You want a retreat without crowding the threshold. | Check access for maintenance, planting and garden equipment. |
| Long-side alignment | The terrace has length but limited width. | Keep posts out of the narrow passing line. |
| Partially open terrace | Daylight and a broad garden view matter most. | Avoid over-accessorising every exposed edge. |
| Boundary-led arrangement | A wall or fence offers a natural visual backdrop. | Consider neighbours, fence access and planting space. |
A five-step terrace planning sequence
Work from everyday use towards the final product choice. This order prevents attractive features from distracting from the basics of fit, access and a suitable supporting surface.
01
Measure fixed constraints
Record terrace width and depth, thresholds, steps, drains, downpipes, borders and boundary lines. Photograph the space from the house and garden before moving furniture.
02
Map the daily route
Draw the usual path from the house to the garden, storage and seating. Keep this route clear before allocating the remaining area to the pergola.
03
Set out furniture
Place furniture where it will actually be used, then include chairs pulled out and space to pass. Reduce the arrangement before reducing circulation.
04
Test the pergola outline
Mark roof corners and post locations on the patio with tape or string. Walk through door openings and carry an object along the proposed route.
05
Confirm the site details
Check base suitability, drainage, permissions considerations and neighbour impacts. Then request information and a current quotation for the configuration that fits the tested plan.
Small terrace pergola checklist
Use this checklist before placing an order or arranging installation discussions. It focuses on the details most likely to affect whether a narrow terrace remains easy to enjoy.
01. I have measured the usable patio area, not merely the overall garden dimensions.
02. I have marked every door swing, step, drain, downpipe and feature needing access.
03. I have allowed for chairs pulled out and people passing behind the main seating.
04. I have tested roof corners and post locations on the actual paving surface.
05. I have identified the terrace’s main route between the house and garden.
06. I have considered the view from inside and the amount of daylight I want preserved.
07. I have checked relevant local authority, leasehold or development requirements where necessary.
08. I have confirmed base, drainage and installation details for my shortlisted configuration.
Frequently asked questions
Can a pergola work on a very narrow terrace?
Yes, provided the layout gives priority to access and the activity you want to support. Start by preserving a clear route, then test the footprint with furniture in place. A narrow terrace often benefits from a focused arrangement rather than trying to fit dining, lounging, storage and planting into one covered area.
Should the pergola cover the whole patio?
Not necessarily. Covering the entire patio can make a compact space feel darker or more enclosed, especially near the house. A partial footprint may leave a useful open strip for movement, planting or a clearer view into the garden. Test several marked-out options before deciding which proportion feels most balanced.
How do I avoid posts getting in the way?
Map real movement rather than idealised movement. Include door swings, chair positions, routes to the garden and access for tools or bins. Mark proposed post locations at ground level and walk around them at different times of day. This simple test can reveal conflicts before a configuration is finalised.
What furniture is best under a small pergola?
Choose furniture around your main use and keep the number of pieces restrained. Measure chairs when occupied, not tucked under a table, and allow a practical route beside them. Built-in benches, stackable chairs or one well-proportioned table can help a compact terrace feel composed without making claims on every corner.
Do I need planning permission for a terrace pergola?
Requirements depend on the property, location, dimensions, proximity to boundaries and other factors. Some homes may also have leasehold, estate-management or conservation constraints. Check the relevant local authority’s current guidance and any property documents before proceeding. If you are uncertain, seek advice appropriate to your specific proposal.
What should I ask before requesting a quotation?
Provide accurate terrace dimensions, photographs, the intended furniture layout and notes on the surface, drainage and nearby doors. Ask which configuration suits the available base and what installation preparation is required. A current quotation should relate to the exact model and arrangement you are considering, including any selected options.
Plan your terrace pergola
Give a compact terrace a clear purpose
The strongest pergola plans do not begin with a product size. They begin with a realistic picture of how people enter, sit, move and maintain the terrace. By protecting circulation, placing posts carefully and choosing furniture early, a narrow patio can become a useful outdoor room without losing its sense of space.
Take measurements, make a simple taped outline and review the terrace from both indoors and out. When you are ready, use those notes to compare suitable configurations and discuss the practical details with Bloomcabin. A considered plan is the foundation for a terrace you will want to use often.
Explore configurations with your measurements, furniture layout and site notes to hand.
