


























Classic Accoya Fusion
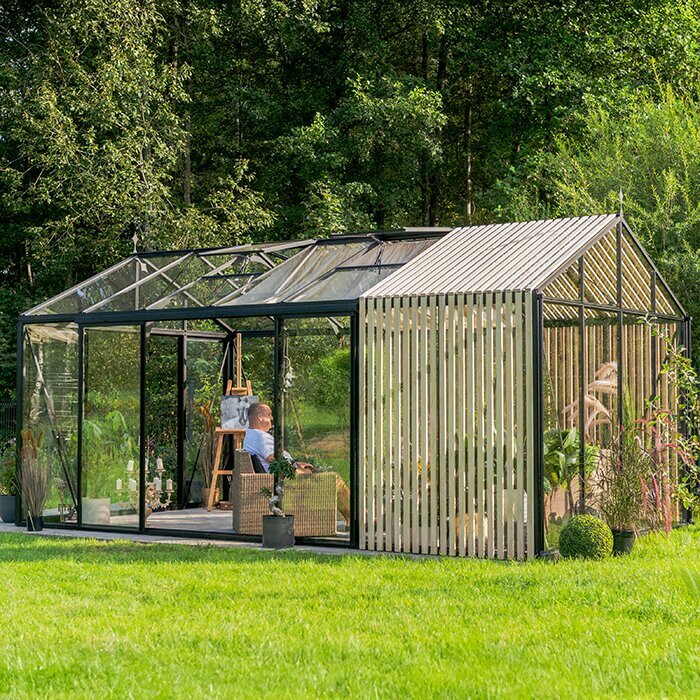
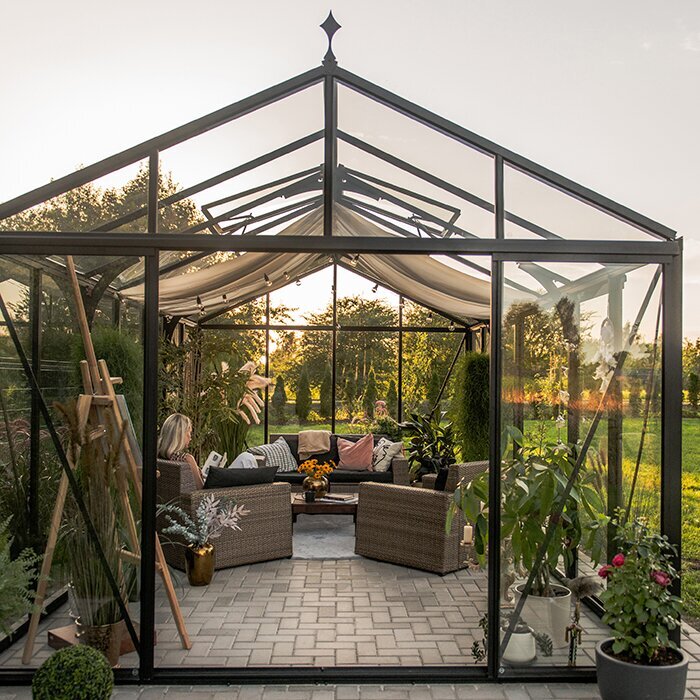
Classic Accoya Fusion – aluminium greenhouse with genuine Accoya wood details
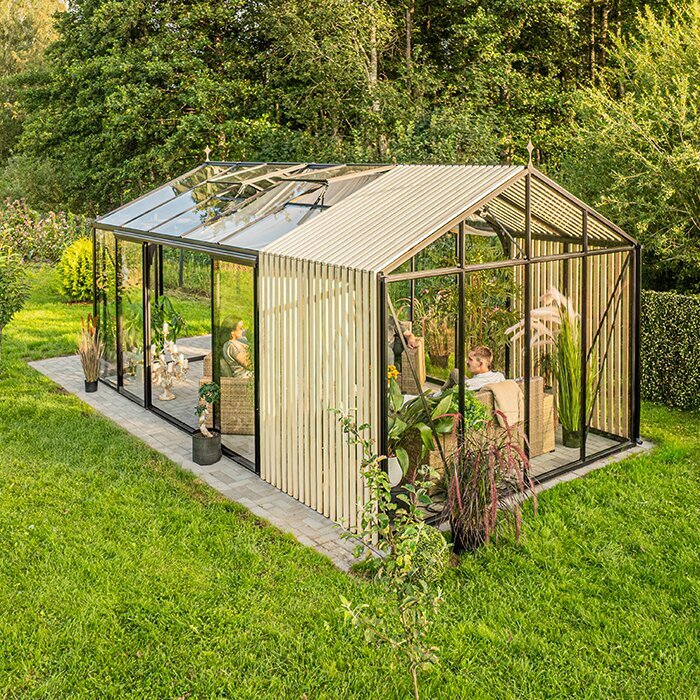
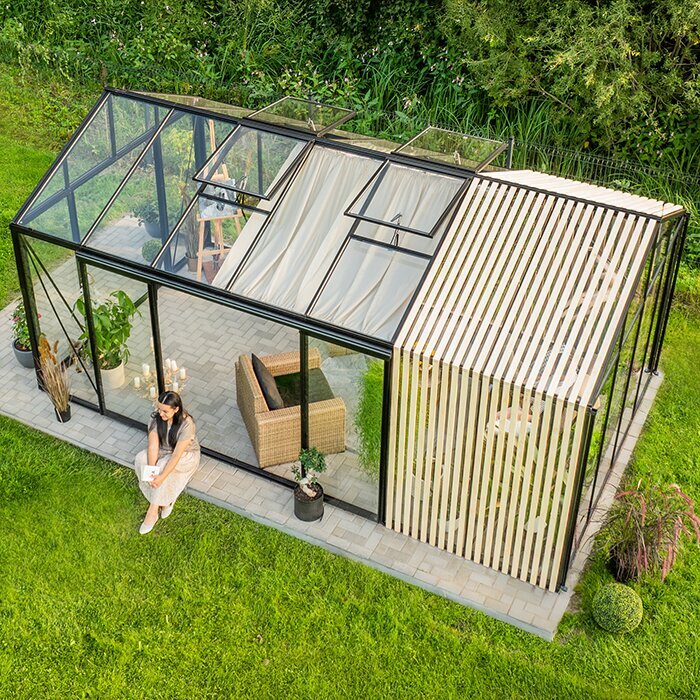
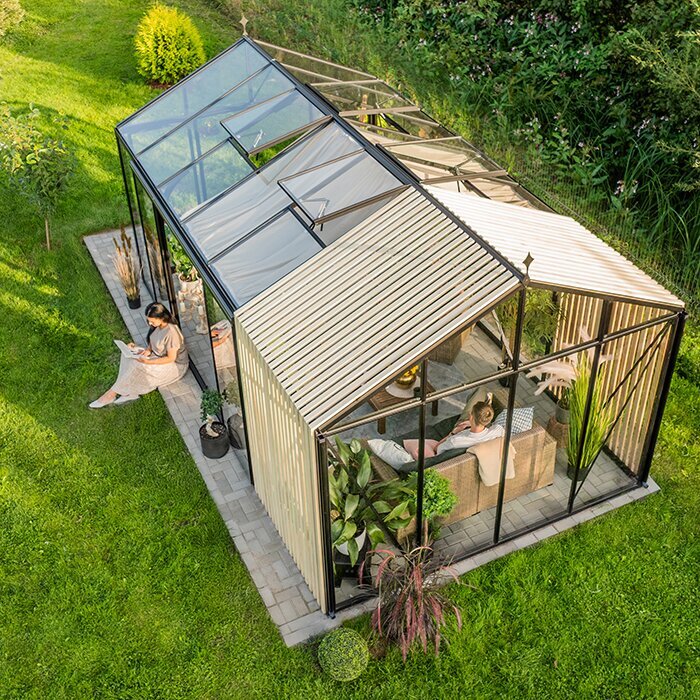
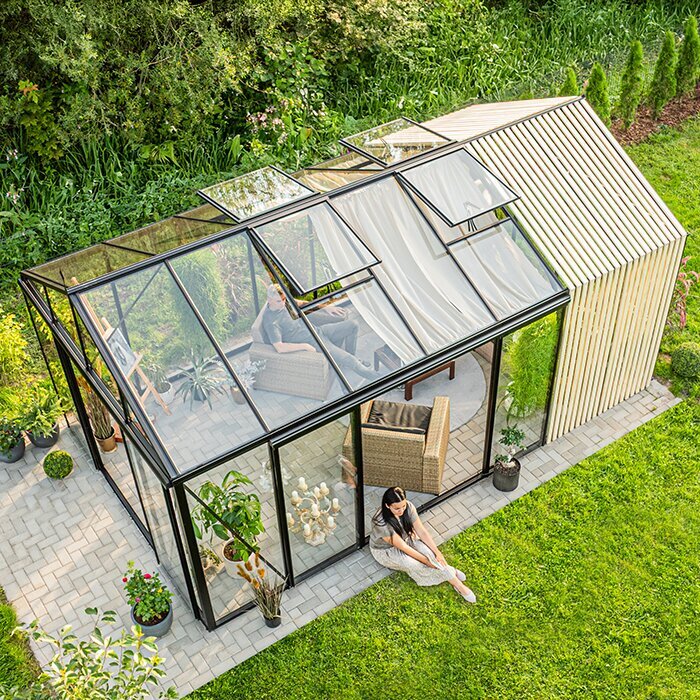
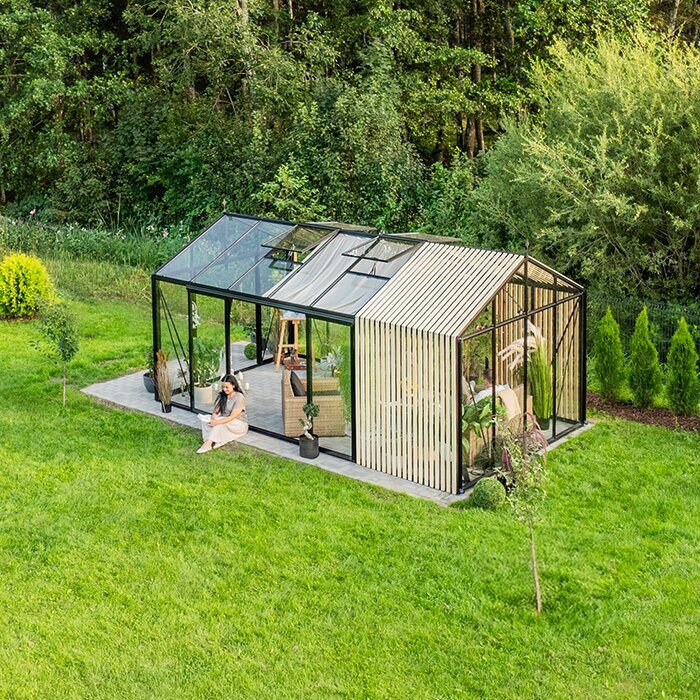
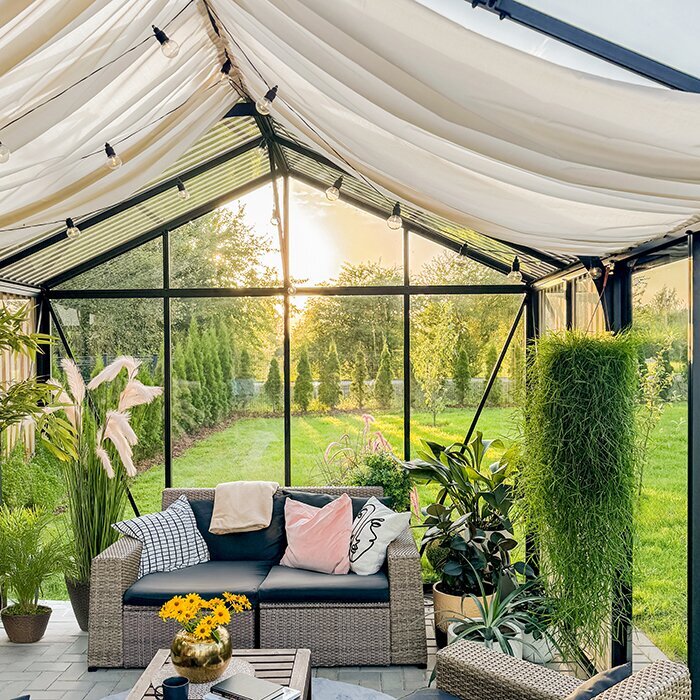
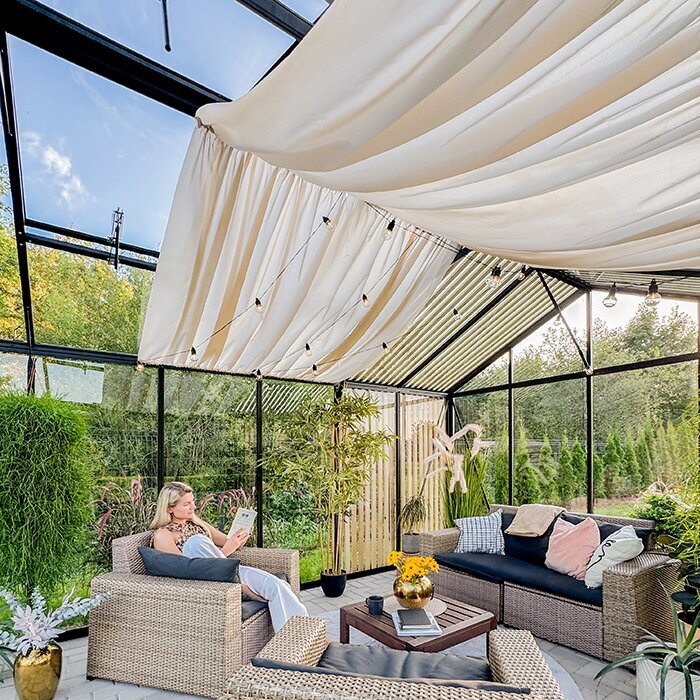
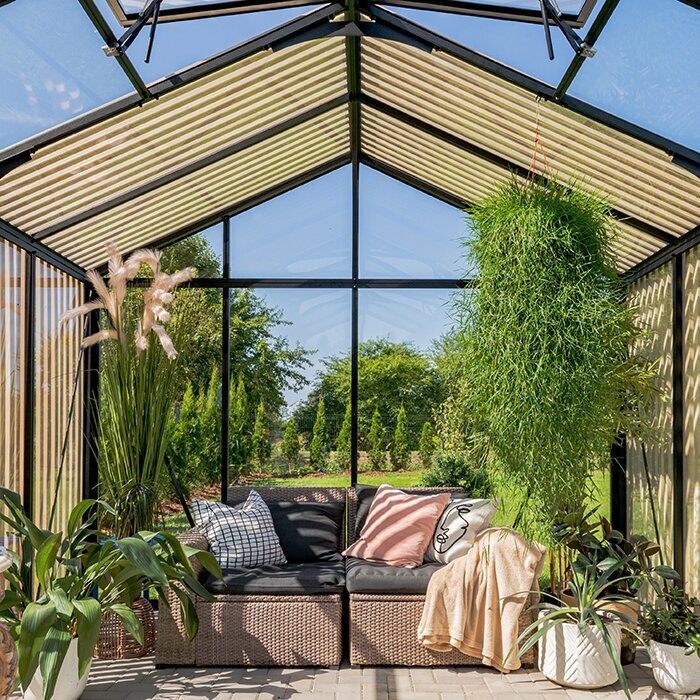
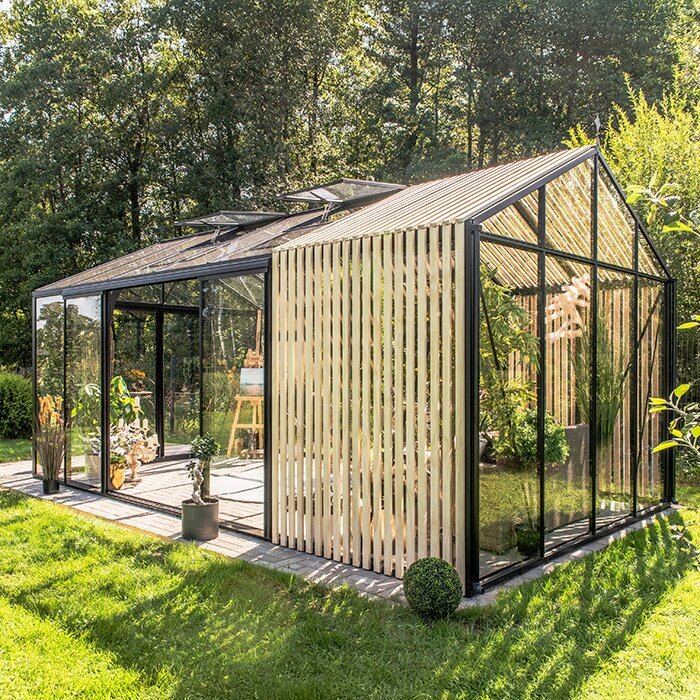
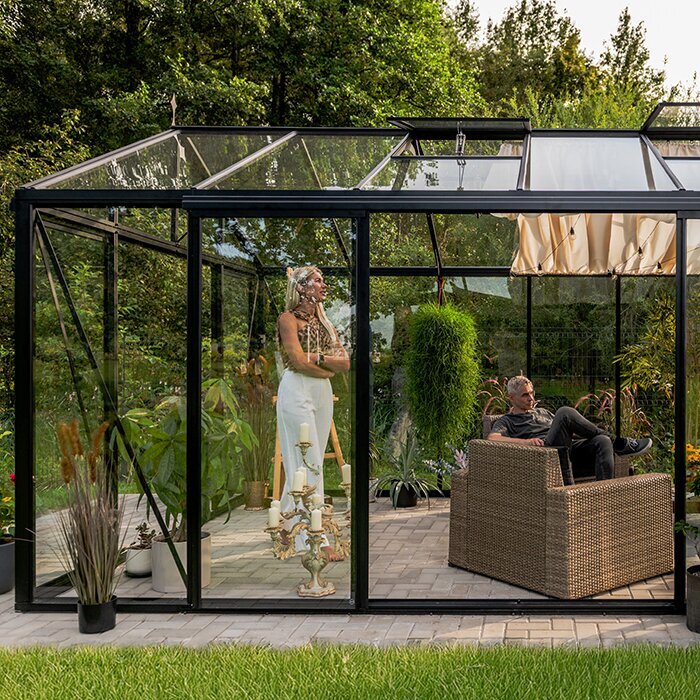
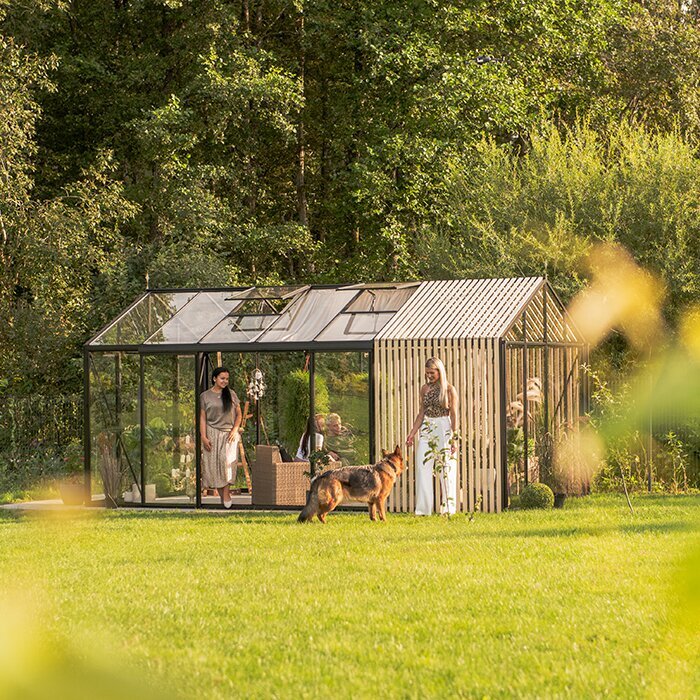
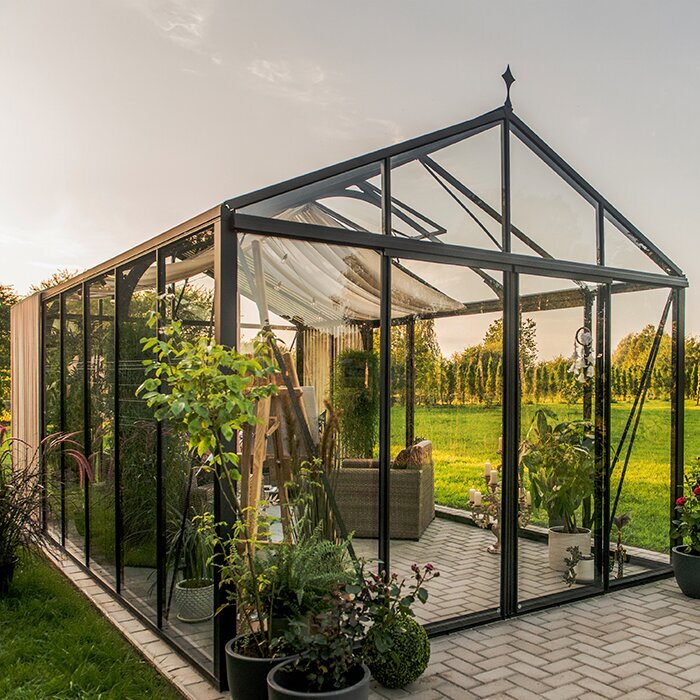
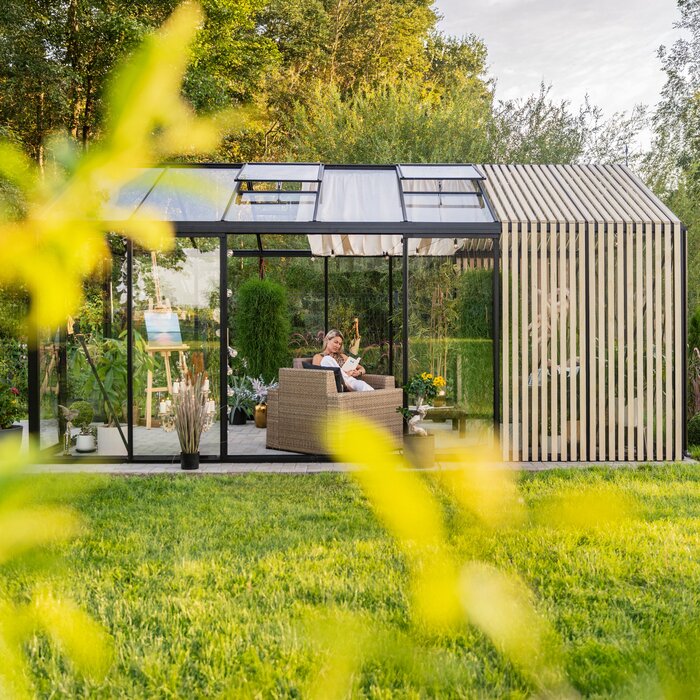
The Bloomcabin Classic Accoya Fusion greenhouse combines the proven Classic aluminium structure with clearly visible details in genuine Accoya wood. This gives its clean shape a natural material character that develops over time. It is designed for gardeners who want to grow plants reliably while coordinating the greenhouse with their home, patio and garden paths.
The model range covers approximately 3.8–18.9 m²and reaches a height of about 2.34 m. Features include various glazing options, sliding doors, up to 37 RAL colours, roof ventilation and integrated drainage.
Configuration is about more than size and colour. Consider the sun’s path, natural changes in the wood, access with plant containers, sliding-door position, drainage and the foundation early on. This helps place and use the greenhouse practically on your property. Find further models and planning advice from Bloomcabin.
Construction and materials
Classic design with genuine wood accents
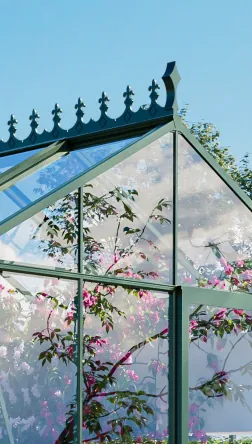
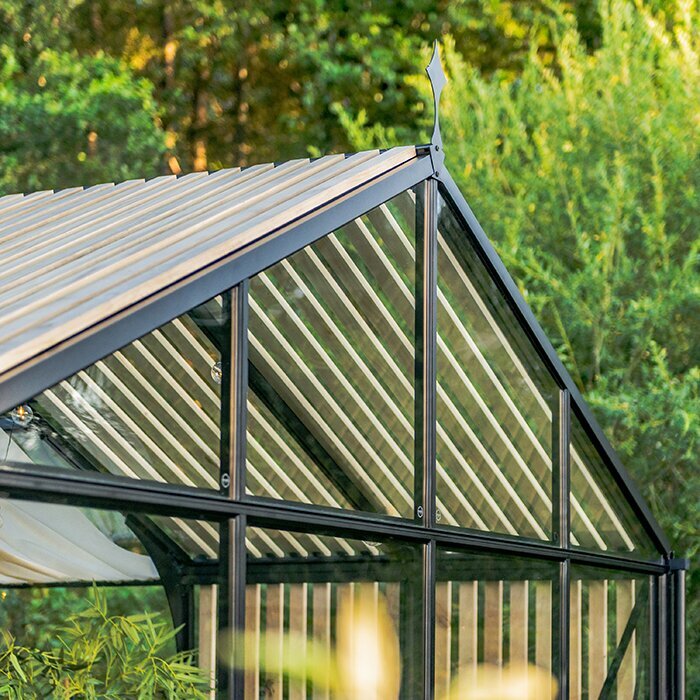
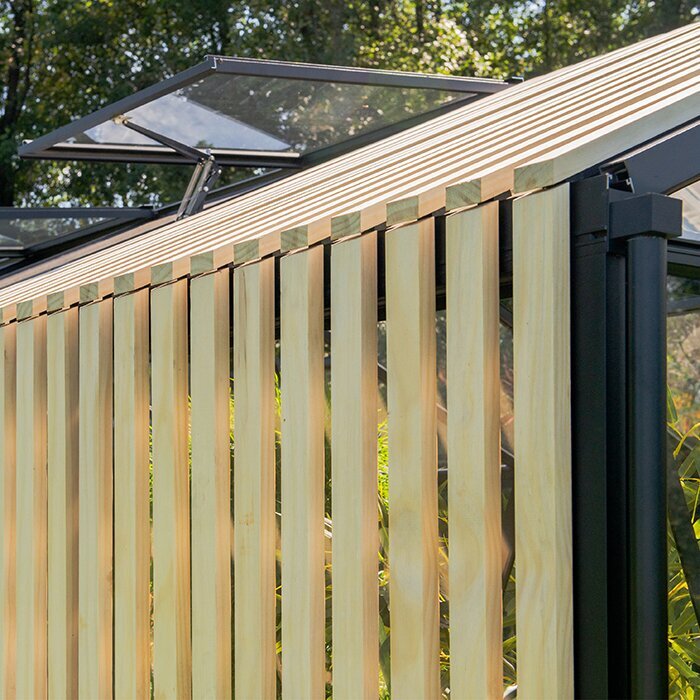
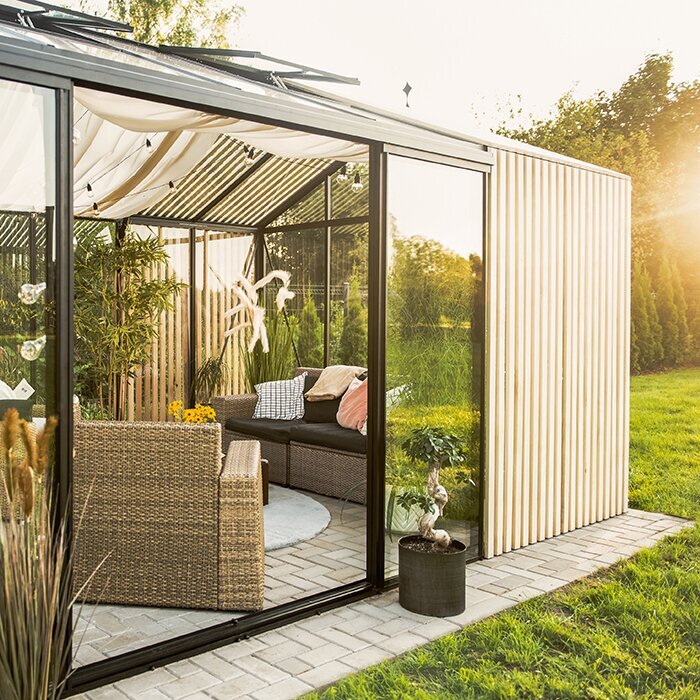
The powder-coated aluminium frame carries the structure, while genuine Accoya is used as a visible design detail. The precise shape of the Classic model remains, while gaining a warmer appearance. Up close, the contrast is especially clear: straight profiles, transparent glazing and the wood’s natural grain complement one another.
The Accoya elements do not replace load-bearing aluminium profiles. In construction, sense of space and operation, Classic Accoya Fusion remains an aluminium greenhouse; the wood provides carefully placed visual accents. Anyone seeking a fully timber construction therefore needs a different greenhouse concept.
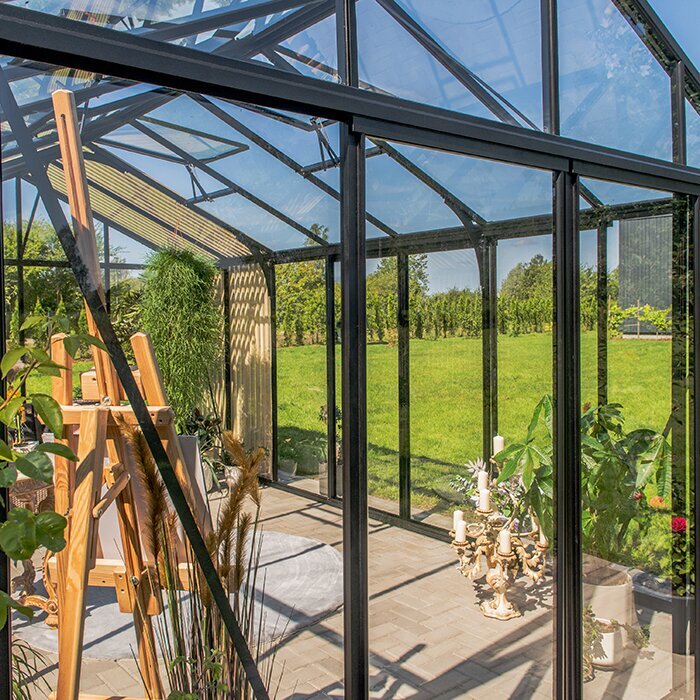
Unlike a model with an attached storage room, Classic Accoya Fusion has no integrated storage. Its whole floor area can therefore be used for beds, containers, propagation tables, working routes or a small seating area. Garden tools, growing media and plant-protection materials need separate dry storage. Allow for this when planning work routines and routes between house, shed and greenhouse.
Genuine Accoya details
Natural grain as a visible accent to the aluminium structure
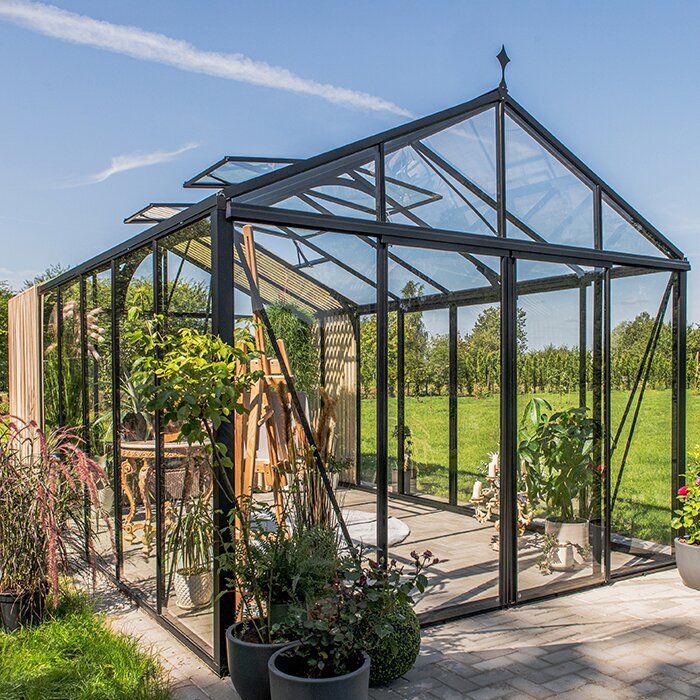
Classic geometry
Pitched roof and practical interior for different crops
Up to 37 RAL colours
Coordinate the frame with home, planting and wood tone
Limited series
For gardens where the greenhouse is intentionally used as a design feature
Accoya wood at a glance
Modified radiata pine for long-term outdoor use
Accoya is made from radiata pine and modified through acetylation. This helps the material absorb less moisture and remain more dimensionally stable. That is particularly beneficial for visible outdoor components: changing moisture has less effect on the wood, while its natural texture remains. As the surface is still real wood, it needs different cleaning and care from powder-coated aluminium.
Accoya is assigned durability class 1. This classification describes the wood’s resistance, but does not make a statement about colour tone or the visual uniformity of its surface.
Bloomcabin uses untreated Accoya wood. Its natural grain and original surface character therefore remain visible; a coloured surface treatment is not included.
Design in detail
Coordinate frame colour, glazing, wood and planting
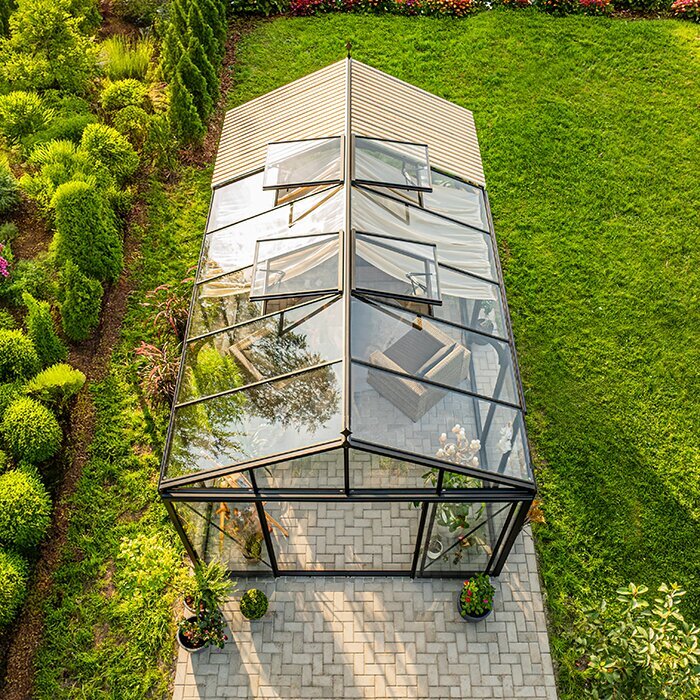
Frame colour, glazing, wood tone and planting together determine the overall impression. Reflections alter the appearance of the profiles, while untreated wood adds a warm counterpoint. Assess colour samples at the intended site and from the viewpoints that matter from the house, patio and garden paths.
Black + Accoya
Creates a clear contrast and emphasises the greenhouse’s clean form.
Muted RAL shades
Grey, sage-green and other restrained shades create a calm link between wood and planting.
Clear glazing
Creates a light, transparent effect and shows the wood details well.
Planting at the base
Grasses, herbs and plants with striking foliage highlight the natural material combination.
Dimensions and equipment
Aluminium frame, equipment and Accoya details at a glance
Current range
approx. 3.8–18.9 m²
Available floor areas within the current model range
Height
approx. 2.34 m
Approximate overall height of the current model
Glazing
Polycarbonate, toughened glass and selected specialist glazing
Available glazing combinations depend on the chosen configuration
Doors
Space-saving sliding doors
Position and additional doors vary by size
Accoya details
Untreated Accoya with pre-fitted, removable details
Durability class 1; the untreated surface may naturally weather to grey outdoors
Frame, equipment and warranty
Powder-coated aluminium, roof ventilation, integrated drainage, up to 37 RAL colours
12-year Bloomcabin warranty on the greenhouse structure
Light and greenhouse climate
Coordinate light, ventilation and plant layout
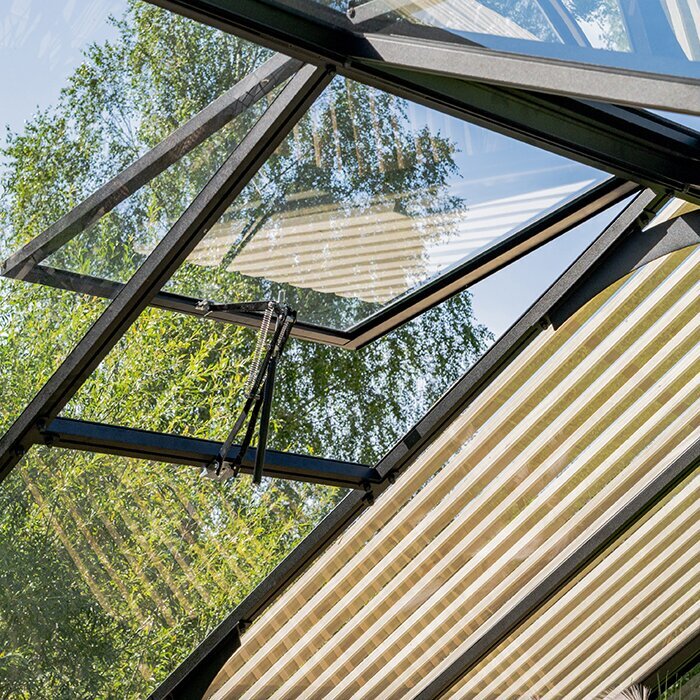
Glazing affects light distribution, visibility and heat gain. Rising heat and humid air can escape through roof ventilation, provided shelves and tall plants do not block air routes. Plan glazing, ventilation and the interior layout as one connected system.
Large glazed areas bring plenty of light inside; the Accoya elements provide only local accents. Still, consider the movement of shade when planning crops. Young plants may need a different position from tall fruiting crops. Shelves, supports and work surfaces generally shade the interior more than decorative timber elements.
Arrange the interior around the intended crops. Early-raised plants need a bright, easily reached place. Tall tomatoes or cucumbers should not permanently shade lower crops. Where roof and side areas use different glazing, assess how much light each zone actually needs.
Ways to use it
Four ideas for using the Classic Accoya Fusion greenhouse
01
Greenhouse in the kitchen garden
In a kitchen garden, the greenhouse offers sheltered space for tomatoes, cucumbers, herbs and early propagation. Short routes to outdoor beds, compost and water simplify everyday care. Put frequently harvested crops near the entrance, with climbing plants further back. This keeps the main path usable even with dense summer planting.
02
Cut flowers and ornamental plants
For cut flowers and ornamental plants, the transparent structure forms a visible backdrop. Different plant heights, seasonal planting and selected containers can complement the Accoya details without limiting practical use. Plan sufficiently wide working routes and keep roof vents accessible so care and cleaning remain straightforward throughout the season.
03
Propagation and potting area
Those mainly sowing, pricking out and potting on need robust work surfaces, room for growing-media containers and accessible shelves. Propagation trays should be easy to inspect and positioned so persistent moisture does not collect on adjacent components. Store resilient containers below the table; keep frequently used tools readily to hand outside the main route.
04
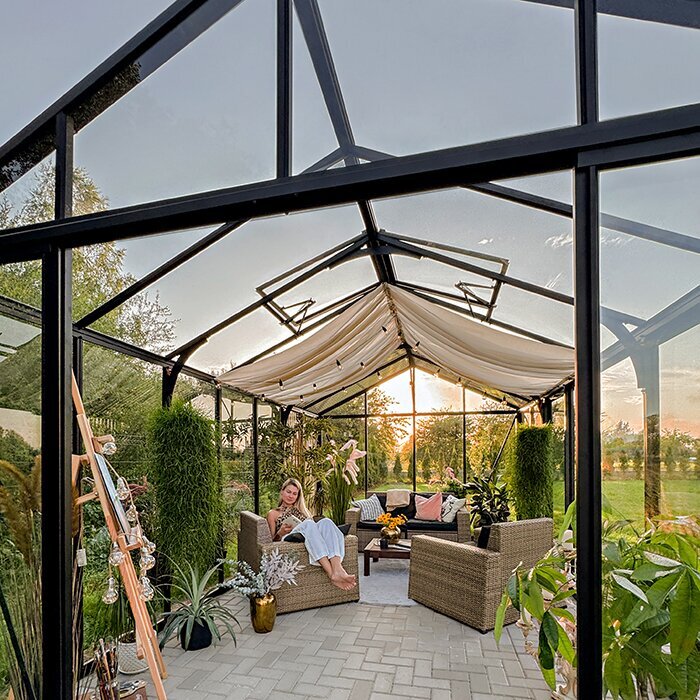
A seat among the plants
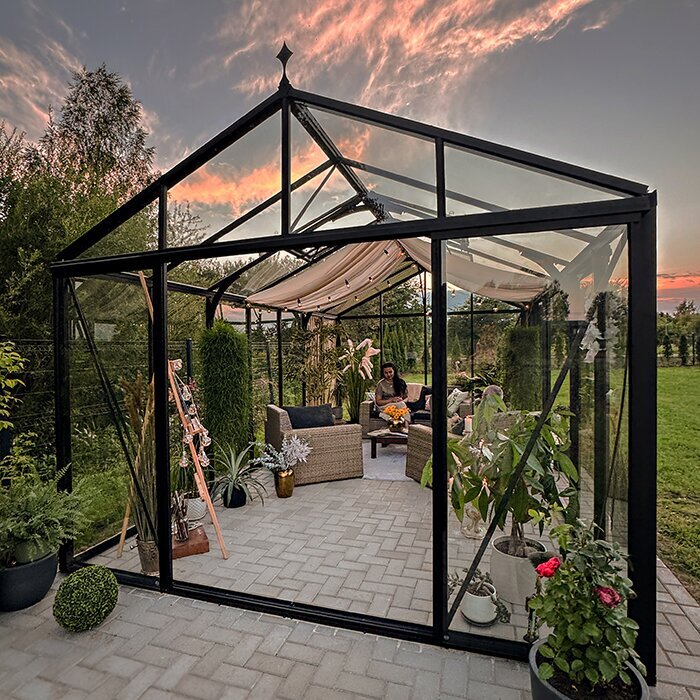
In a sufficiently large version, a chair or small table can be placed among the plants. The seating area must not obstruct the entrance or operation of the roof ventilation. Watering routes and access for care must also remain clear. Movable furniture is usually more practical than fixed fittings, as it can be repositioned during propagation or winter preparation.
Site, foundation and weather
A site involves more than daily light levels. Check routes from the house, moving large containers, access for installation and cleaning, and rainwater run-off. Trees, walls and neighbouring buildings can affect sunlight and airflow. Only then should door position, glazing, ventilation and the interior layout be finalised.
Integrating it into the garden
Accoya can be paired with natural stone, timber decking, rendered façades and neatly edged beds. Repeat existing materials selectively in paths or edging to create a considered visual link between greenhouse and garden. Review choices in natural daylight at the intended location whenever possible.
A scaled site plan reveals possible conflicts before the foundation and paths are installed. Mark the outer footprint, access, adjacent beds, water points and transport route from the property entrance. This shows whether enough room remains around the greenhouse for installation, care and cleaning, and whether a larger version can be used effectively at the site.
Include the sliding-door location in the orientation: it affects the symmetry of the view and also determines access. The visually preferred side should not create awkward routes. A good position combines an attractive view with short care routes and accessible outdoor areas.
Summer heat
In strong sun, greenhouse temperatures can rise quickly, especially when large plantings add humidity. Assess the site not only in spring, but also at the high summer sun angle. If you are seldom home during the day, match ventilation and plant choice to that routine. Sensitive crops should not stand directly in the most sun-exposed areas.
Match roof ventilation and any selected solar-control glazing to the most sun-exposed sides of the building. Not every surface needs the same solution. Trees can provide seasonal shade, but branches should neither extend over the roof nor hinder cleaning. Temporary internal shading must not restrict airflow or vent operation.
Check temperatures at different times of day initially. This quickly shows which areas heat up more and whether the planned ventilation routine is sufficient.
Foundation and frost
A stable, level base is essential so the aluminium frame, glazing and sliding doors can be aligned correctly. Alignment errors can carry through the entire structure during installation. Check levels, diagonals and connection points before work begins. The surrounding ground must also direct rainwater and surface water away from the greenhouse.
The foundation must suit the soil build-up, slope and local frost conditions so the frame remains plumb and aligned. Its design must also take account of the 30 m/s wind resistance and 210 kg/m² snow load applicable to Bloomcabin greenhouses. The foundation design should be professionally determined before installation.
The foundation, installation area and drainage route must be decided before delivery. Ensure a clear route from the unloading point to the building site, without tight turns, low branches or vulnerable garden areas. A clean temporary storage area for components is needed during installation. Plan water and electrical lines before excavation so they do not conflict with later fixing points.
Natural greying of Accoya wood
Depending on their position, timber parts receive different levels of rain and sun. Sheltered areas may therefore retain their original colour longer than exposed surfaces. Such intermediate stages are normal; do not try to even out colour differences through intensive cleaning.
Remove loose dirt gently and avoid water collecting at junctions. Cleaning and care products must not be used indiscriminately on wood, aluminium and glazing, as every surface has different requirements. Test a product first in an inconspicuous place. Do not use a pressure washer on wood details, seals or joints.
Anyone expecting a permanently uniform, fresh wood tone should note that untreated Accoya does not retain its original outdoor appearance unchanged. Natural ageing is part of this material choice. Assess the greenhouse not only by its initial wood tone, but also by its later silvery-grey effect.
Plants and interior
Plan the interior around the plants. For every crop, consider final height, space requirements, care access and harvest frequency. These determine work surfaces, open floor areas and walking routes. Doors, roof vents and glazing that requires cleaning must remain accessible. Clearly separated zones at different working heights help when young plants, tall fruiting crops and containers share the space.
Work tables
Side work tables use the greenhouse length while leaving a continuous central route. Choose their depth so rear pots remain reachable without leaning on glazing or the frame. Removable or mobile surfaces simplify seasonal changes between propagation and large container plants. Bases must not conceal cleaning, services or drainage areas.
A working height suited to your own stature makes sowing, pricking out and potting easier. It should not be chosen solely by a standard measurement. Heavy bags and large pots belong on low, sturdy surfaces. Frequently used small items can be stored in accessible containers away from permanently damp areas.
Roof vents must remain accessible for inspection, operation and cleaning, so tall shelving directly beneath them is impractical. Leave enough space in front of the inside glazing too. Do not attach climbing wires or plant supports to moving parts. Keeping these access areas clear from the start allows later maintenance and care without extensively moving mature plants.
Wood details in a planted interior
Do not use the Accoya elements as shelves, plant supports or fixing surfaces for subsequently installed accessories. Extra drilling and permanently touching damp materials may alter their surface and appearance. Instead, plan supports, hooks and shelves as independent elements suited to the structure. This keeps the layout flexible when crops change.
Arrange watering points and saucers so overflow does not remain on wood details or frame connections. Check densely planted areas after watering and remove escaped water promptly.
Leave enough space in front of Accoya elements for visual checks and cleaning. Pots, bags of growing medium and furniture should neither touch nor permanently cover the wood surfaces, allowing changes and dirt to be noticed early.
Choosing frame colour on site
Include permanent features when choosing colour: house façade, boundaries, roof covering and paved paths shape the setting in every season. Seasonal flower colours change too much to determine the frame colour by themselves.
A RAL colour appears differently according to light, distance and neighbouring surfaces. View a sample in shade and direct sun. Beside warm timber or behind glazing, the same shade can look different from a printed chart. This matters especially where existing windows, metal fences or other powder-coated components are to be matched.
Where the frame colour should complement existing windows, fences or other powder-coated components, compare samples directly. A RAL designation alone does not guarantee an identical impression, as age, gloss level and substrate affect existing surfaces. Harmonious coordination is usually more convincing than a merely nominal colour match.
Choosing suitable glazing
Clear glazing gives an unobstructed view of the plants and visually connects the greenhouse interior with its surroundings. Pots, work materials and irrigation lines also remain visible from outside. Near a patio or living area, separate enclosed storage is therefore useful. The priority is not decorative staging, but clear work organisation.
Specialist glazing can be useful where glare, strong sunlight or views need to be managed deliberately. Choose it according to orientation and use: what is comfortable at a work area may not suit the crop zone needing most light. Decide for each surface whether plant light, comfort or privacy takes priority.
When combining different glazing types, consider the exterior view as well. Visible transitions can usefully structure the clean form or appear unsettled. Inside, their position determines light and shade. A sketch showing compass directions, plant heights and views helps assign the individual panels purposefully.
Planning for changing uses
Separate fixed structural components from movable furnishings. Changing the foundation, door position, glazing or drainage later involves considerable effort. Tables, containers and shelves can instead adapt to new crops. A sensible configuration therefore settles the structural basics first while preserving interior space for later adjustments.
Ventilation
During strong growth phases, regularly check the opening paths of roof vents. Train or prune tall plants in good time so leaves neither block moving parts nor become damaged when they open. Trellises and shade cloths must also keep sufficient distance from vents.
When needed, open sliding doors support air exchange. Keep both the door area and the routes to it clear.
The ventilation routine must suit your daily schedule. Anyone leaving in the morning and returning only in the evening should account for this when choosing configuration and plants. After a longer absence, check vents, doors and plant condition. In autumn, overheating becomes less likely, but humidity can linger inside a greenhouse that remains closed for extended periods.
Interior floor and door threshold
Plan the finished interior floor together with the door threshold, work routes and intended table legs.
The floor must withstand gardening, moisture and regular cleaning. A level, slip-resistant surface makes moving pots and small trolleys easier. Joints and loose aggregates differ in drainage and cleaning. Whatever the construction, avoid hollows where watering water, soil or plant debris can collect permanently.
Set floor height and the door threshold before building fixed work surfaces. Later layers can alter the opening, obstruct doors or direct water unfavourably. The transition to outdoor paths should also be as level and durable as possible so containers and growing-medium bags can be moved without unnecessary obstacles.
Watering
A larger floor area usually means more plants and longer watering routes. Arrange the water point, hose and shut-off so every area remains accessible without blocking the main route. Watering cans need a fixed resting place. Water containers must neither create lasting moisture nor hinder cleaning and access to components.
Drip irrigation can supply individual planting zones precisely and reduce unnecessary water on paths, leaves and components. It does not replace checking the growing medium and drip points. Keep lines orderly, accessible and outside door tracks. They can then be checked, cleaned or removed at season’s end without rebuilding the whole layout.
Connections, valves and shut-offs must remain accessible even with mature plants. Do not place joints behind heavy tables or beneath permanently damp bags. Before frost-prone periods, determine how lines will be drained and sensitive components protected. A clear pipe layout also makes leaks easier to spot early.
Flexible furnishing
A greenhouse is often used differently over the years. Vegetable propagation may be followed by ornamental plants, overwintering containers or mixed crops. Plant height, light requirements and needed floor space then change. A clear central axis with versatile side zones eases these transitions. Fixed specialist solutions are worthwhile mainly when the intended use is long-term.
Mobile tables, freestanding shelving and plant containers can be rearranged seasonally. Still, pay attention to stability and suitable surfaces. Narrow, tall furniture can become unstable on damp floors or touch the glazing. Castors are useful only where floors and thresholds allow easy movement. Flexibility therefore requires robust, carefully chosen furnishing.
Set up the greenhouse gradually in the first season. Observe which areas receive morning and evening light, where heat gathers and which routes you actually use when watering and harvesting. Add further shelves, supports or growing areas only afterwards so operation, cleaning and air exchange are not unnecessarily restricted.
Record the configuration clearly
From plant list to the right order
First make a list of crops that will be in the greenhouse at the same time. Note not only plant numbers, but also final height, harvest time and necessary work area. This identifies permanently occupied zones and space that becomes free seasonally. The overview makes choosing a size easier without relying on the stated floor area alone.
Then record the chosen version by building side: door position, glazing panels, frame colour and visible Accoya details should be assigned in an unambiguous sketch. This is especially helpful where roof and sides use different glazing, or views from the house and patio are important to the selection.
Before placing the final order, compare the recorded version with site conditions again. Door side and transport route, foundation and drainage, plus glazing and intended use must work together. Also check that service routes and later furnishing leave all essential operation and care areas clear.
Further information
Help with greenhouse selection, ordering and warranty
Classic Accoya Fusion
Frequently asked questions about the Classic Accoya Fusion greenhouse
What is the role of the Accoya details?
They provide visible genuine-wood accents. The greenhouse’s load-bearing structure remains aluminium.
Does Classic Accoya Fusion have integrated storage?
No. The floor area is intended for plants, work zones and routes. The Accoya Storage Greenhouse is the suitable model variant for integrated storage.
How do I choose the right size?
Plan plants, work surfaces and walking routes first. Then choose a version where every area remains easy to reach and mature plants have enough space.
Where should the sliding door be positioned?
The door should connect to the main garden path and make transporting pots and growing media easier. The planned interior layout must also allow unobstructed access.
Can roof and sides use different glazing?
Different glazing types can be combined depending on configuration. Arrange panels according to sunlight, plant needs and desired privacy.
What should I consider with clear glazing?
Plants and work materials remain visible from outside. An orderly interior and separate storage for tools and growing media are therefore especially useful.
Can climbing supports be attached to Accoya details?
The timber elements should not be used as fixing surfaces. Plan supports, hooks and shelves as independent elements suited to the structure.
What details help with a product enquiry?
Useful details include installation site, planned use, preferred door side, glazing, frame colour, foundation and access to the building site.
Your enquiry to Bloomcabin
Coordinate use, access and material choice before ordering
For focused advice, provide clear details about the site, intended crops and preferred version.
Have these details ready
✓ Describe the installation site and property access
✓ State the intended use and key crops
✓ Specify the preferred door side
✓ Assign the desired glazing panels
✓ Choose frame colour in relation to house and garden
✓ Add details on foundation, drainage and service routes