
Buying a Greenhouse for Tomatoes: Height and Growing Space
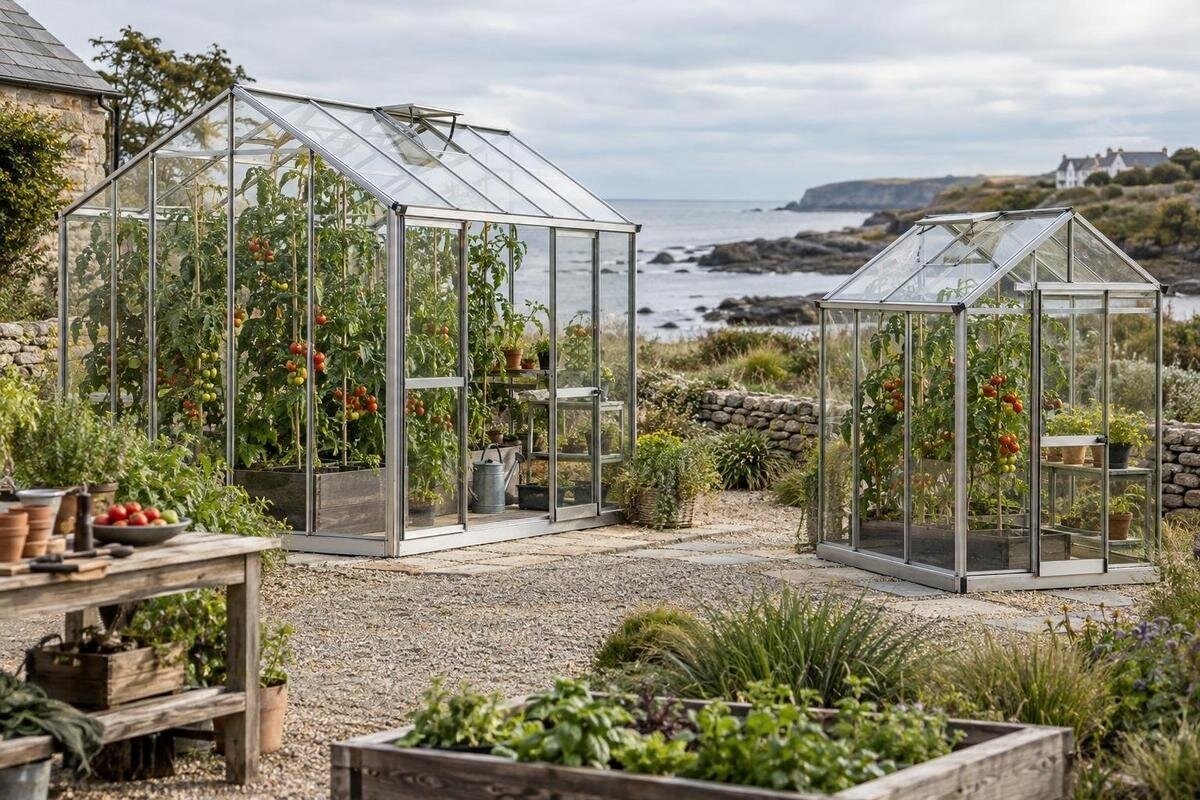
Tomato greenhouse buying guide
Tomato plants can be modest seedlings at first and a demanding, spreading crop later in the season. When you buy a greenhouse, the useful question is not only how much floor area it covers, but how much clear height and workable growing space remain after beds, pots, supports and a path are planned. Start with the varieties you expect to grow, then compare their mature growth habits with the greenhouse’s interior dimensions and layout. This approach helps you judge whether a listed size suits your planting plan without relying on product names or photographs.
Choose varieties and plant count before greenhouse size
Start with the varieties and plant count, not with the biggest number in a greenhouse title. Read the seed packet or plant tag for growth habit and mature-size guidance. Determinate tomatoes generally stop extending once they reach their characteristic size; indeterminate vines continue to grow taller through the season, subject to conditions. Individual varieties still differ. A compact plant and a vigorous vine should not be assigned the same vertical allowance by default. A label such as compact does not replace the variety’s own spacing and height guidance, especially if you are mixing types. Decide how many plants you expect to keep through the main growing period, and whether another crop or equipment will share the floor. Seedlings take little room, so a plan based on their first weeks can underestimate the space needed later.
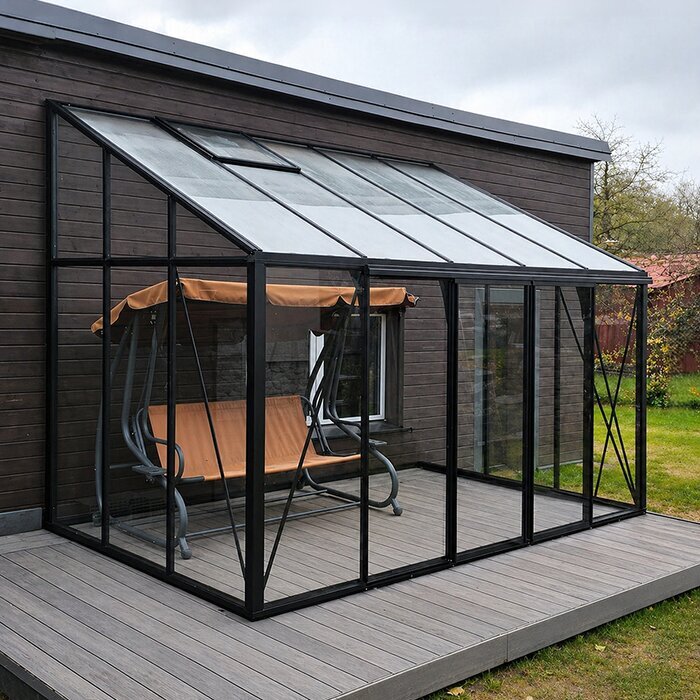
Turn that decision into a short crop list: variety, expected plant count, bed or container, and intended training method. Use spacing guidance for the chosen varieties from the seed supplier or a reliable local growing resource, then allow practical access between rows. Do not divide a greenhouse’s advertised footprint by the number of plants and assume the result is workable; doors, paths and support hardware also occupy space. If a lean-to arrangement is one option, compare your list with a dimensioned plan for the aluminum lean-to greenhouse, if one is provided. Its name identifies a style, not the interior dimensions or a suitable tomato capacity. If the plant count is flexible, sketch a second version with one fewer plant and compare how the route and access change.
Measure clear height at the tomato rows
Height on a product page can refer to the outside peak, the frame or the clear space inside, so identify what each figure measures. Tomatoes planted near sloping sides may have less vertical room than plants beneath the centre ridge. The eaves or sidewall height across the intended bed can matter as much as the tallest point. Also account for the finished growing surface: a raised bed or container stand raises the plants relative to the ground line, and a base may change the reference point used in a drawing. Note where the eaves begin if you have a cross-section, rather than comparing only the ridge. When considering the limited-edition aluminum greenhouse, look for explicit dimensions; its name alone is not a height specification.
Match the clearance to the mature-size information for your varieties and the way you plan to train them. Leave room above each plant for ties, clips or a support arrangement, and for the work of pruning and picking; the support itself can reduce clear height. Do not use the ridge figure as the sole test if a planting row sits under a lower roof section. If one variety grows taller than another, show where each will stand on a side-view sketch, including any overhead member that could get in the way. Where the product information gives only external height, ask for an interior section or the clear height at the relevant bed position before deciding.
Lay out beds, containers and access paths
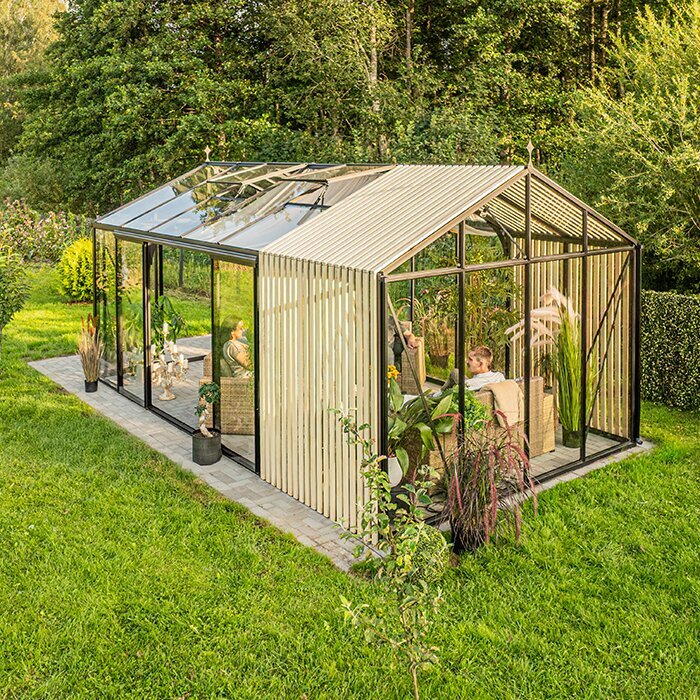
Calculate plantable space from the layout, not just the greenhouse’s outside width and length. Mark each bed or container run using spacing guidance for the chosen varieties, then draw a path that lets you reach the plants without stepping into the growing area. Include access from the ends where you need to prune, tie stems or pick fruit. Show the expected spread of mature plants, not just the centres of their pots, so two rows do not become a wall of foliage. This sketch can reveal rows that are too close or a strip of floor too narrow to maintain. For a T-shaped layout, examine each branch and junction: the T-model orangery greenhouse name does not tell you how much continuous bed length or clear floor area is available.
Set path width according to how you will work: consider who needs to pass, whether you carry a watering can or harvest container, and whether you tend each bed from one or both sides. No single aisle measurement suits every layout, but a route that is passable only while the plants are small will not serve all season. Keep doors and access points in the sketch; a pot or bed placed across a route can undermine an otherwise roomy plan. In a multi-row layout, test whether you can reach the middle row and turn at the end. Write down the path width you have allowed so different plans can be compared on the same basis.
Compare beds and containers against the floor plan
Beds and pots use floor space differently. A bed can provide a continuous planting area, but choose its width around how you can reach the plants from the available sides. A bed accessible from one side needs a different plan from one you can work around. Add the route beside the bed before estimating the plant count. For containers, map the outside footprint of each pot, not just its planted surface, and leave space to reach around foliage and handle watering. A grouping that fits on paper when empty may be awkward once plants spread. Decide early which method you expect to use so you compare greenhouse dimensions with the right layout.
The word pyramid in a name is not a usable-area measurement. When comparing a listing such as the Bloomcabin Oasis pyramid greenhouse, look for a plan or dimensions that show the floor shape and interior clearances; do not assume every part of a stated footprint can take a bed or pot. If you may switch between beds and containers later, keep some flexibility rather than filling every corner in the first sketch. Record where containers, spare supports or a harvest bucket will sit, and make sure their temporary parking place does not become the only route to a row. Consider whether pots might need to be moved during the season, and leave room to handle them.
Plan the support system as part of the space
Tomatoes need support as well as growing room, and the method changes the layout. A cage occupies a wider footprint than a single stake; a trellis or vertical tie can use overhead space and may narrow the route where it meets the plant. Add the support’s base, reach and access needs to the plan before choosing a greenhouse. Check the product information to see whether any support equipment is included; a listing or photograph alone does not establish that it comes with tomato cages, ties or a trellis. Leave room to install and adjust the support without pushing a pot into the aisle, and consider how you will reach it as the vine grows.
Do not assume a greenhouse frame or base is intended to carry mature plants or suspended supports. The name Bloomcabin Prestige greenhouse with metal base identifies a listing but does not confirm what may be attached to its structure. Check manufacturer instructions for approved attachment points and any stated limits, or ask the supplier or a qualified installer if the information is unclear. Freestanding supports may be another option, provided their placement suits the setup and does not obstruct access. Include the height of ties, clips and any crosspiece in your vertical-clearance estimate. What matters is the free space remaining after the plants and their support system are in place.
Keep room for routine work and harvesting
Work space matters once the plants are established. Leave a route to each row for tying stems, pruning, checking fruit and carrying a harvest container. If you can reach a bed from only one side, keep the far side within a manageable reach; if you can work from both sides, include a path on each edge. Avoid letting mature foliage close off a passage that looked generous at planting time. Show where you will stand to reach the plants, rather than counting only the area beneath them. The useful figure is the clear space around the crop, not the total floor area on its own.
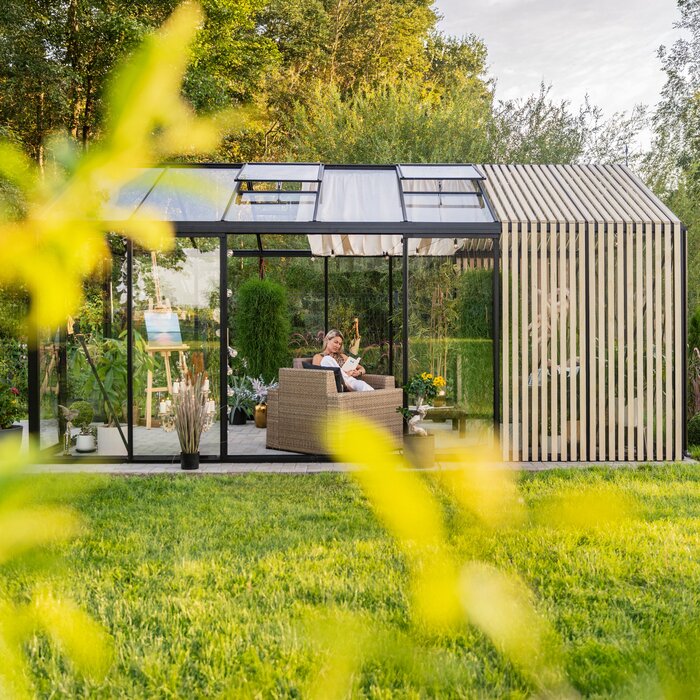
Decide whether you want a small work surface or a place for tools and picking containers inside. If so, draw that footprint rather than treating it as space you can borrow without consequence. The Bloomcabin Orangerie name does not indicate how much open floor will remain after beds, pots and paths are allocated; compare the stated dimensions with your complete plan if they are provided. Also show how the doorway opens and where you will stand when entering. A clear entrance makes routine work easier and prevents a pot or work surface from becoming an obstacle. If you do not plan to keep equipment inside, mark that too, so you do not count optional space as essential.
Read product dimensions consistently
Product dimensions need interpretation before they can be compared. Separate the external footprint from the interior floor dimensions, and distinguish peak height from sidewall or eaves height. Check whether the figures include a base or refer to the greenhouse frame alone; the reference point can affect both the available growing area and plant clearance. Read the units carefully and use the drawing or dimension table for the exact variant. For Classic Plus 385, treat the model name as an identifier: a number in a product name is not a measurement unless the specifications explicitly define it as one. If two listings use different measurement references, do not compare the figures as though they describe the same space.
Compare the same set of measurements for every candidate: outside length and width for site fit, usable interior dimensions for beds and paths, and clear height where each row will sit. A simple cross-section can show whether a tall plant would stand beneath the ridge or under a lower side. Product images help identify a design but are not to scale, so do not estimate room from how large a doorway or plant looks in a photo. Check that any measurements refer to the selected configuration, not just a general illustration. If a page does not show a measurement you need, ask for clarification instead of filling the gap with a guess.
Fit the greenhouse footprint to the site
Measure the site as well as the greenhouse. Mark the available length and width, nearby walls or fences, trees, paths and other fixed features; then compare them with the greenhouse’s external dimensions, not its interior planting area. Leave the access needed for the door and for assembly or maintenance described by the manufacturer. A wall-mounted format also makes the available wall and approach part of the layout, so confirm the product’s stated siting requirements rather than inferring them from a photograph. The T-model orangery greenhouse with wall base label alone cannot tell you whether its footprint suits your location. Include any existing beds or paths you intend to keep, rather than assuming they can be moved later.
Consider the route from the delivery point to the proposed site if components must pass through a gate or around buildings, and note where materials could be staged without blocking access. For a fixed structure beside a wall, uncertainty about the wall or site preparation is a reason to seek advice from the supplier or a qualified installer before ordering. Avoid treating a convenient spot as suitable just because the interior tomato plan fits: the installed footprint, door clearance and practical access all need to work together. This step is about matching the selected greenhouse to the garden, not enlarging plant capacity on paper. If the available site is irregular, compare the actual outline with the product’s stated measurements and any siting guidance.
Test each option against a scaled tomato plan
A scale sketch makes greenhouse options easier to compare. Draw the floor outline using the dimensions supplied for each model, then add bed or container footprints, paths, door openings and any work surface. If height is the constraint, add a side view with the growing surface, roof line, support arrangement and mature plant guidance. It need not be an engineering drawing; its purpose is to spot conflicts before purchase. Use the same crop list and spacing references for every greenhouse you consider, or one option may look more generous simply because its plan was drawn differently. Label the sketch with the variety names so the taller plants are easy to place.
Test the busiest points in the layout: the narrowest aisle, the space beneath a sloped roof, and the route to a plant at the back of a bed. If a plan works only when pots sit in the path, support hardware is ignored or plants are closer than the variety guidance recommends, revise the plant count or compare another size. Some uncommitted space can make the layout easier to adapt if a variety changes or a container needs to move. Check the plan again with mature foliage in mind, not just the arrangement on planting day. The aim is a tomato-growing area you can use throughout the season, not a full-looking floor plan.
Confirm the exact configuration before ordering
Before ordering, confirm the exact model and variant, the published internal and external dimensions, and what is included in the package. Check whether the stated footprint includes a base, whether openings and their positions match your intended rows, and whether accessories shown separately are part of the order. Read the assembly and siting information for any requirements that could change the space you need. If height or usable area is not stated clearly, get clarification in writing so your comparison rests on the same measurements rather than assumptions. Keep the relevant product details with your sketch, especially if you have compared more than one configuration.
Check that the final option still matches your site measurements and plant plan after any selected accessories are considered. Think through where tomatoes will stand, how you will reach and support them, and whether the route and working space remain open as they grow. If your layout depends on a wall, base or attachment point, confirm its suitability with the relevant manufacturer or a qualified professional. Also verify that the planned access route to the greenhouse remains clear for assembly and everyday use. A careful order review helps distinguish a greenhouse that merely fits the garden from one whose interior you can use as planned.
Frequently asked questions
How tall should a greenhouse be for tomatoes?
There is no single height that suits every tomato variety. Check the mature-size guidance for the varieties you plan to grow, then compare it with the clear interior height above the beds or containers. Allow for supports and the space needed to prune and pick, rather than relying on the greenhouse’s peak height alone.
How many tomato plants will fit in a greenhouse?
Base the number on the spacing guidance for your varieties and a floor plan that includes paths, supports and access to each row. The total floor area is not all plantable space. Sketch the layout with mature plants in mind, then reduce the count if you would need to block a route or crowd the rows.
Are the greenhouse’s outside dimensions the growing area?
No. Exterior measurements help you assess whether the greenhouse fits the site, but they do not show the clear interior space available for beds, pots and paths. Compare outside dimensions with the site plan, and use interior measurements or a dimensioned drawing to plan the tomato layout.
Can a greenhouse frame support tomato vines?
Do not assume that the frame or base is designed to carry mature plants or suspended supports. Check the manufacturer’s instructions for approved attachment points and any stated limits. If the information is unclear, ask the supplier or a qualified installer before planning to attach a support system.
Can I grow greenhouse tomatoes in containers?
Containers can be part of a tomato-growing plan, but include each pot’s full footprint and leave room to reach and water the plants. Compare that arrangement with the greenhouse’s usable interior dimensions, and remember to allow for paths, supports and mature foliage.
A useful tomato greenhouse plan has two parts: a side view for plant height and a floor plan for beds, pots, supports and access. Match both to the mature-size guidance for your varieties, then compare them with the greenhouse’s stated interior and exterior dimensions. When the layout still leaves room to tend and harvest mature plants, you have a more dependable basis for choosing a size.
