
Four-Person vs Six-Person Sauna: Compare Usable Seating Space
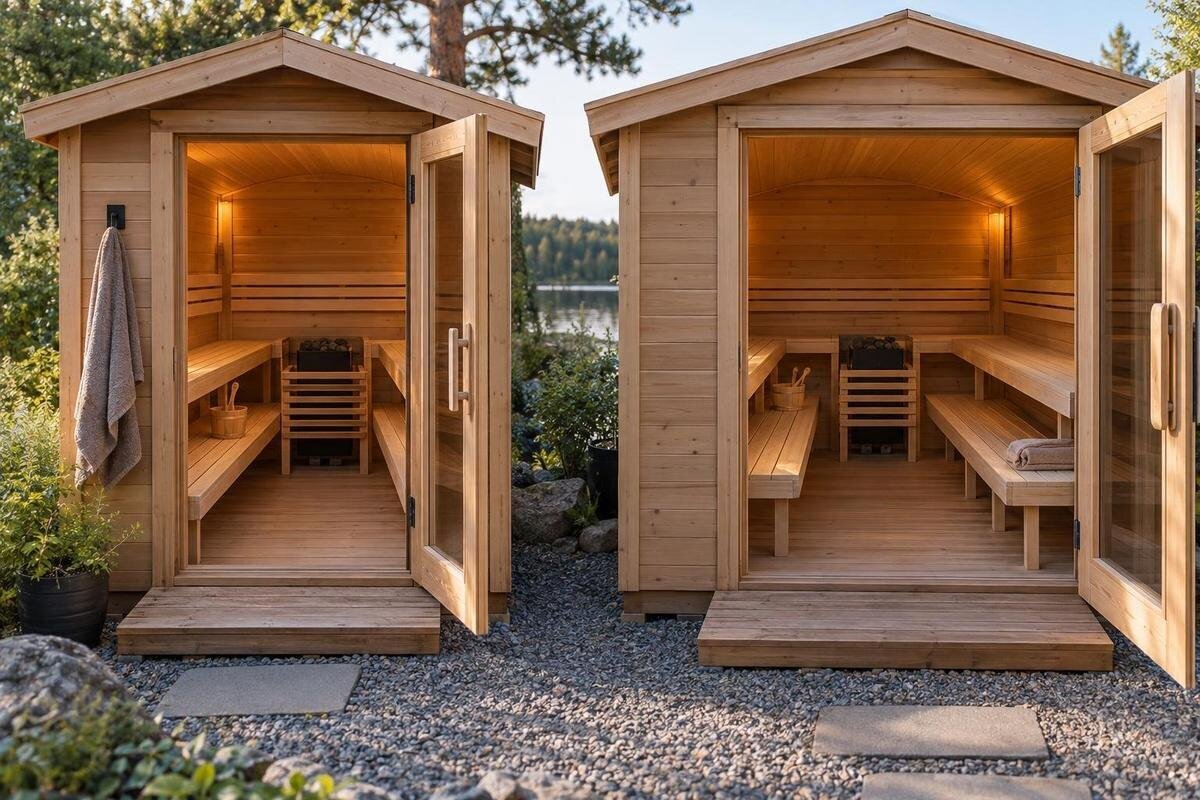
SAUNA SIZE & LAYOUT
Choosing between a four-person and six-person sauna is less about the number on a listing than about how many people can sit at once without blocking the doorway or squeezing into a corner. A capacity label does not show bench length, depth, interruptions or access. Compare the dimensioned seating plan for the exact configuration, then test it against your household’s usual group and the occasions when everyone wants to go in together. This guide separates actual bench space from listed area so you can tell whether extra capacity solves a regular need.
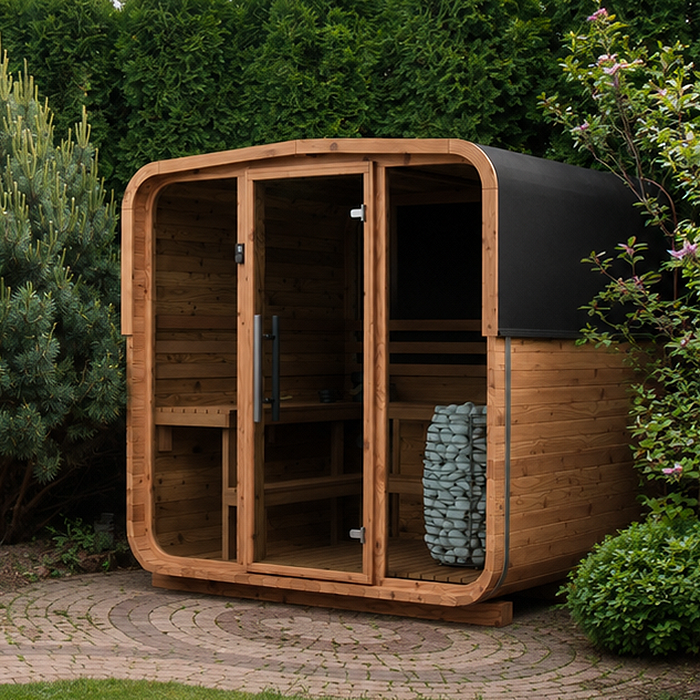
A capacity label is not a seating plan
Treat “four-person” and “six-person” as head-count labels, not measurements. The number alone does not tell you whether all occupants are expected to sit at once, which bench runs they use or how much room each position provides. Ask whether the stated capacity means simultaneous seated occupants and what arrangement the manufacturer has in mind. The label does not show elbow room, leg direction or the path between the door and the bench. A household’s size is not its usual session count: six people may use a sauna at different times, while a smaller household may regularly host guests. Count the people who actually go in together, not everyone who might use it over a week. Layouts with the same stated capacity can also arrange people differently.
Keep capacity, listed area and usable bench surface in separate notes. The listing for Sauna S-140 states 1.93 m², but that figure alone does not define the measured area or show how many distinct seated positions the interior provides. A number in square metres cannot be converted into four or six seats: bench shape, tiers and entry arrangement matter. Record whether the supplier explains the area and capacity definitions; write “not stated” rather than filling gaps with an assumption. If no capacity basis is given, compare only confirmed seating details and keep the head-count question open. Use the label to shortlist, not to make the final choice.
What to measure on the bench drawing
Request a dimensioned floor plan and a side or elevation view for the exact model and bench configuration. The top view lets you trace each bench run, corners, entry and interruptions; an elevation shows whether seating is on one or more levels and where the step sits. Read internal bench lengths and depths, not outside length and width or a product rendering. Check what the drawing identifies as a sitting surface and what it marks for access. Perspective hides scale, while an unscaled sketch can mislead. If the page shows only a silhouette or no measurements, ask the seller or manufacturer for a drawing before calculating a seat count. Keep the model identifier and units consistent across documents.
The catalogue identifies Sauna HC-150 and lists an area of 2.97 m². When requesting its seating drawing, use the model identifier rather than the area figure to specify which product you mean. Make sure the plan belongs to the same model, bench option and configuration you are considering. A drawing of a related version may have a different entrance or bench arrangement, so it may not answer your question. If a seller sends a plan without a model reference, ask them to confirm which exact product it describes and which benches are included. Keep that confirmation with the drawing so you can compare the configuration consistently.
Count usable positions, including corners and tiers
Count usable seating positions rather than adding every bench edge together. Start with each uninterrupted run and its clear sitting depth; picture the actual users side by side in their usual posture. The relevant frontage is where hips and shoulders can fit without forcing someone to turn sideways or overlap another person’s space. One family’s elbow spacing is not universal, so avoid using a fixed centimetres-per-person rule as the whole calculation. Where possible, use your group’s ordinary seated spacing as a reality check, and consider leg placement as well as the line of shoulders along a wall. A seat that looks long enough on paper may be less useful if everyone has to angle into the same space.
On an L-shaped bench, do not count the shared corner once for each adjoining run; map actual positions so no person is counted twice. A curved end, notch or narrow segment may reduce the continuous frontage, and the drawing may show that some surface is for access rather than sitting. The Sauna HC-225 listing states 4.4 m², but area alone cannot tell you whether a corner creates another usable position. Count a raised or lower bench only if it is a seating surface in the plan; do not count the step between levels as another place. Check how a person reaches each level without taking space from another seated user.
When a four-person layout suits regular use
A four-person layout can be enough when the busiest regular session is usually four people or fewer and the plan shows four actual places in an arrangement your group can use. Household size alone is not the count: family members may not enter together, while a couple may often invite two friends. Picture the same four people sitting at once, not a diagram with one person per abstract unit of bench. If users vary in body size or prefer to sit at an angle, check their positions rather than assuming four equal slots. The drawing should show where each place lies and where everyone’s legs go. Test the actual mix of people you expect, rather than imagining four identical occupants.
When a candidate such as Sauna N-210, listed at 4.43 m², is on your shortlist, mark four positions on its bench plan. Check for shoulder overlap, knees crossing or someone being assigned to a step, and make sure each place can be reached. For a household that normally uses a sauna in pairs or groups of three, also mark where those smaller groups would sit. This shows whether the four-place arrangement works for ordinary use as well as a full session. Try the positions in the order people would enter, since the last place may be harder to reach. If two occasional guests bring the group to six, decide whether taking turns would be acceptable rather than treating that rare gathering as the normal seating requirement.
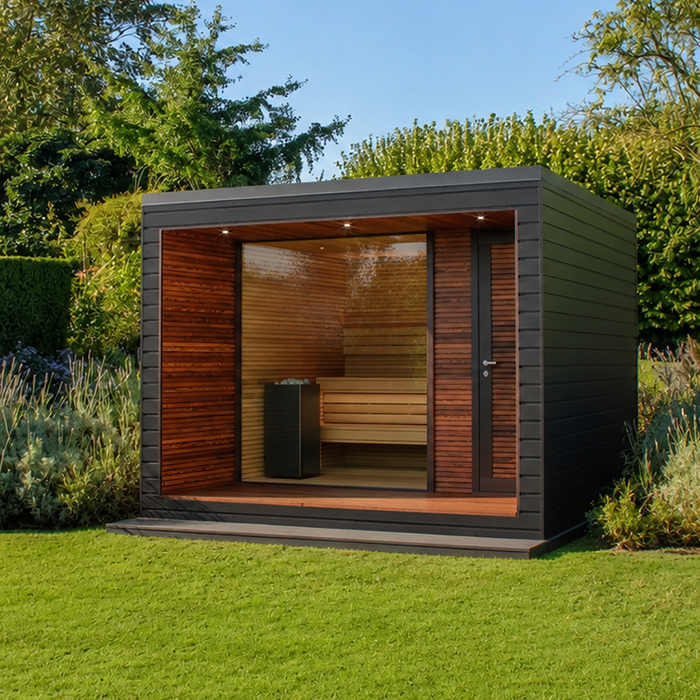
When six simultaneous places matter
Prioritize six when six people often want to sit at the same time, and verify six distinct positions on the exact drawing. Ask whether seats run along one bench or are divided between facing sides or levels; each arrangement changes how people sit together and reach their places. Check whether all six positions are reasonably usable or whether the last one is a tight corner. A capacity label should prompt the question, not settle it. If the drawing lists six but leaves bench dimensions unclear, ask which positions and configuration the manufacturer used to arrive at that count. Confirm whether all six are meant to be seated simultaneously and whether the layout suits the way your group prefers to gather.
For example, the Sauna LCF-300 listing states 6.89 m²; its seating plan is still needed to assess a six-person arrangement. Number the intended positions from one to six so the final two receive the same scrutiny as the first four. Check their bench depth, leg space and access rather than accepting them as spare places wherever space remains. Note whether the group would sit on one continuous bench, on facing benches or across different levels. Compare those arrangements with how your group expects to sit together. If a position depends on someone occupying the access route or sharing a cramped corner, the plan has not resolved your seating needs. The point of choosing six places is to accommodate the full group, not merely to record a higher count.
Include the entrance and access route
Bench frontage is only usable if people can reach it without turning another seat into a passage. Trace a person’s route from the entrance to each sitting place and back out, including the point where they need to pause, turn or use a step. Consider whether someone can leave without asking several others to shift and whether late arrivals can reach a remaining place. If the drawing identifies a door swing, step or access area, keep it visible; a bench count that depends on standing in that path is not usable seating. Include any movement area marked by the manufacturer instead of mentally filling every gap with another body.
For a candidate such as Sauna LC-260, listed at 5.12 m², trace the access route on the interior plan alongside the seating positions. Distinguish bench surface from circulation space and any manufacturer-specified clear zone; do not count the latter as a spare seat. If a fixture affects where people can sit, follow the manufacturer’s marked limits rather than assuming the surrounding area is available. Then review the route with every intended seat occupied. Check who would need to move when the person farthest from the entrance leaves, and whether an unoccupied place remains accessible to a late arrival. This tests access during use, rather than only when the room is empty.
Test the plan with your usual group
Use a full-scale outline to screen a plan before purchase. Copy the measured bench runs and doorway onto a clear floor with tape; set chairs along the marked seating edge and have the usual users sit in their ordinary order and posture. Check whether shoulders fit side by side, where knees and feet point, and whether anyone must cross another person’s legs to reach a place. A floor mock-up cannot reproduce bench height, support or the finished interior, so it is not proof of comfort. It can reveal an obviously crowded arrangement or an awkward route before you rely on a capacity label. Mark corners and bench depth as well as the long edge, and treat the exercise as a first check, not final approval.
Try the busiest normal group first, then repeat the exercise for a common smaller group. Record where each person sits in both arrangements rather than noting only that everyone fits. If Sauna N-250, listed at 5.27 m², is on your shortlist, use its exact bench drawing to mark the outline. Note whether anyone has to move before another person can sit or leave, and repeat the test if users differ in size or preferred posture. Compare your observations with the measured bench depth as well as its length, since tape on a floor shows only the horizontal outline. Take any unresolved questions back to the drawing: the exercise is useful for identifying awkward positions, but it cannot establish dimensions or features that the plan does not show.
Compare candidate models using the same evidence
Use one comparison sheet so one model is not judged by outside area and another by a bench drawing. Record the exact model and configuration, stated capacity and its definition, usable bench length and depth for each run, mapped positions, number of tiers, entry location and clear access route. Put the listing’s area in its own column and note what it measures if the page says. Mark missing items “unknown” rather than estimating from a photo. Keep manufacturer measurements separate from your own observations from a tape test. This makes the real difference visible: a candidate can have a larger listed area without published evidence that it provides more usable seats.
The Sauna HCF-300 listing also states 6.89 m², matching the listed area of the LCF-300. Put them on separate rows: the matching figure does not establish a shared bench configuration or seat count. Enter the seating measurements and included benches for each exact version independently. If plans use different units, convert them before comparing, while keeping the original measurements available for reference. Where a model lacks essential bench data, mark that item as unknown rather than giving it an estimated value. Compare confirmed differences first, then identify which missing details could change your choice. This prevents a complete drawing for one candidate from being treated as evidence for another.
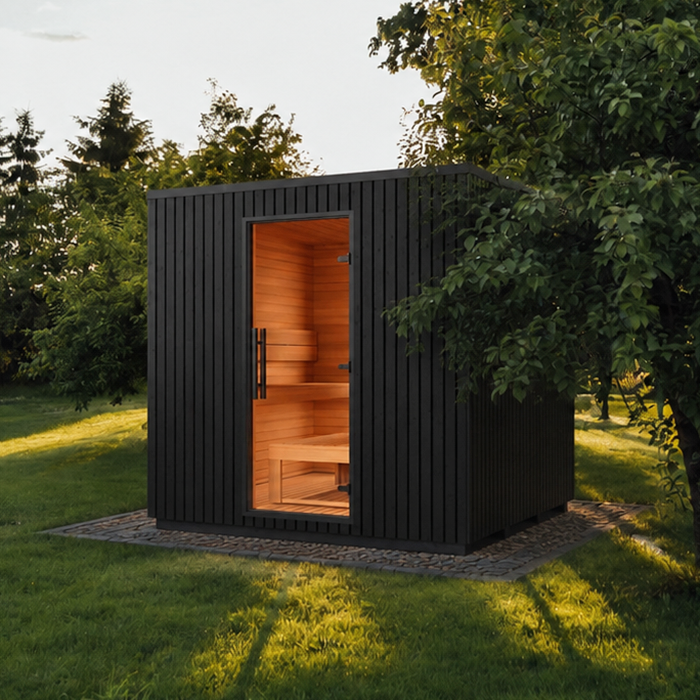
Separate outside dimensions from seating space
Keep three measurements distinct: outside dimensions for fitting a structure on the site, internal clear floor area and the actual bench surface. They answer different questions. A square-metre entry may not state which boundary was measured, so read its definition before treating it as usable room area. Even where outside footprints look alike, wall shape, entry placement and bench arrangement can alter where people sit. A product photograph and a headline area cannot supply those details. Do not use an external footprint as a shortcut for counting seats; it answers where the unit may fit, not how the interior is arranged.
Check the external dimensioned drawing against the intended location separately from the seating plan; fitting the site does not establish seating capacity. On a copy of the interior plan, distinguish bench surfaces, open floor and the route to the door. Count sitting positions on the benches rather than treating every part of the interior as potential seating. If an outside or inside measurement is missing, request it rather than estimating from a photo or guessing from the area total. For site placement, structural support or equipment questions, use the manufacturer’s current documents and a qualified professional. Keep the results of that assessment separate from your seating comparison so neither is mistaken for the other.
Decide between two suitable layouts
Once both shortlisted layouts meet your regular seating needs, compare the compromises each requires. A four-place arrangement may accommodate your usual group while requiring occasional guests to take turns. A six-place arrangement may allow those guests to join everyone at once, but you still need to judge how its benches suit smaller sessions. Decide how much that occasional simultaneous use matters to your household. Do not give every possible gathering the same weight as an ordinary session, or dismiss guest seating if it is genuinely important to you. Record which compromises you would accept and which would rule a layout out. This gives the capacity comparison a clear purpose beyond choosing the larger number.
Use the mapped positions and access checks to distinguish essential requirements from preferences. Your regular group needs usable seats and a clear route; sitting on one continuous bench rather than separate runs may be a preference. Compare sitting beside one another with facing across the room, and consider whether the group would be divided between levels. If both options meet the essentials, favour the arrangement that involves fewer compromises during ordinary sessions. If one depends on a measurement or seating position that remains unknown, leave that part of the decision open until it is clarified. Neither four nor six wins automatically: choose the layout that supports the way your household actually uses the sauna.
Frequently asked questions
Does a six-person label mean six adults will fit comfortably?
Not by itself. The label does not show bench length, depth, spacing or how the seats are arranged. Ask how the manufacturer defines capacity, then check for six distinct places on a dimensioned plan and compare them with the people who will use the sauna.
Is the listed area enough to compare two saunas?
No. A square-metre figure is not a seating plan, and it may not be clear which area it measures. Compare the internal bench runs, depth, tiers, corners and access for each exact configuration.
How should I count an L-shaped bench corner?
Count an actual sitting position once, not once for each adjoining bench. Check whether someone can sit there with usable leg space without overlapping a neighbour. Do not count a step or access route as a seat.
Should I choose a six-person sauna if six people live in my home?
Choose based on how many people usually sit together, not just the household roster. If six regularly use the sauna at once, look for six mapped positions. If most sessions are smaller and occasional guests can take turns, a verified four-place layout may suit your routine.
What should I request before comparing models?
Ask for a dimensioned plan and elevation for the exact model and bench configuration, including usable bench lengths and depths, the benches included, the capacity definition and the entry route. Check separately what the listed area measures; a photo cannot fill in missing seating details.
Once you know how many people usually sit together and can map each one to usable bench space, the four-versus-six choice is no longer a guess. Use the capacity label to shortlist, then let measured bench positions and a clear access route settle the comparison. If the exact seating plan is unavailable, treat the decision as incomplete until you can review it.
