
How to Plan a Garden Sauna, Shower and Relaxation Area
GARDEN SAUNA PLANNING
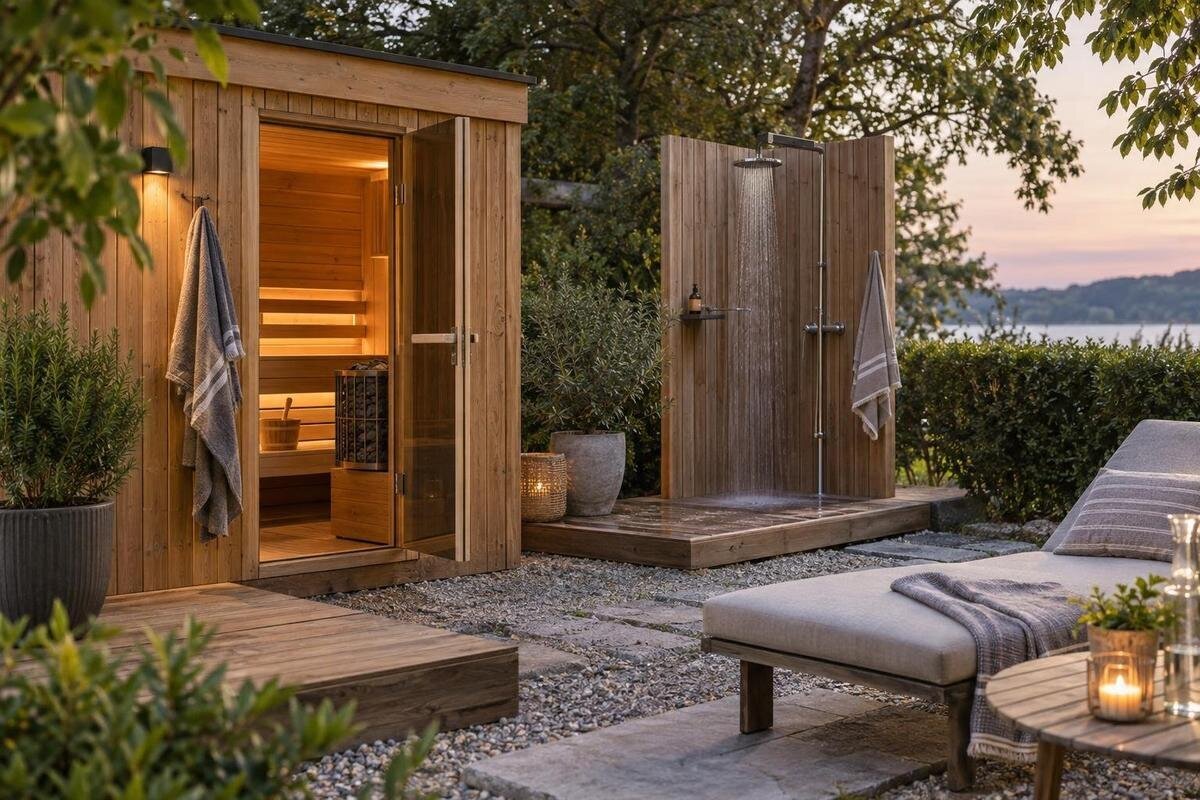
An outdoor sauna area works best when the sauna, optional shower and place to relax are planned together, rather than treated as one supplied package. The layout must account for the route from the house, transitions between wet and dry areas, privacy and the separate services each feature may need. Planning them together while specifying them individually helps keep shower splash away from the seating route, leaves room for doors to open and preserves space for relaxing without blocking access.
Map the complete route before placing features
Start with the people who will use the space and the order they expect to follow. Trace a visit from the usual arrival point: bring a robe and towel, change, enter the sauna, leave it, shower if wanted, sit, then return indoors. Your household may use a different sequence, so mark the routine you actually expect rather than copying a spa layout. On the sketch, show where someone may pause to remove footwear, put down belongings or wait for another person. Those small stops take space too. A useful route should be easy to follow without crossing a wet patch to reach a dry seat or passing through the seating area every time someone enters or leaves.
Measure the available yard and mark fixed features before placing anything: the house, paths, fences, trees, gates, known utilities and areas that must remain accessible. Note the usual trip to and from the spot, including the return indoors with a towel or robe. The Sauna N-250 listing gives a stated area of 5.27 m²; treat that as a catalogue figure, not as the complete space needed on site. Use the selected model’s documentation to check its exterior dimensions and entrance position, then add the approach and the other zones around it. This keeps a comparison figure from becoming a mistaken property measurement.
Measure the sauna and allow space around it
Keep three measurements distinct: the area stated in a product listing, the sauna’s exterior dimensions and the space needed around it. The first does not establish the other two. Use model-specific manufacturer drawings and instructions to find the outside measurements, entrance, door operation and any required clearance or access. Allow for assembly and ongoing access where the instructions call for it. A generic gap around the structure is not proof that a particular model fits. If a document is unclear, ask the supplier or installer which dimensions apply to the configuration you are considering.
The Sauna LC-260 entry states an area of 5.12 m². Use that number as the stated area when comparing catalogue entries; it does not tell you the exterior measurement, the space needed for the door to operate or the access the installation may require. Draw the sauna at its actual dimensions, then test the route to its entrance and the space needed to move past it. Keep this working space separate from the shower landing and any permanent bench so one feature does not quietly claim room needed by another.
Choose an order for the sauna, shower and seats
A straight arrangement can make the sequence easy to read, but it needs enough length. Placing the features closer together may shorten some walks while creating crossings between people using the sauna, shower and seats. Neither pattern is right for every yard. On a plan, try the sauna first with the shower beside it, then place the shower on the route between the sauna and seating. Compare where wet feet travel, whether a seated person blocks access and whether someone can reach the entrance without weaving through the relaxation area.
Think about more than one person using the space. Mark where someone might wait while another person showers, where a towel or robe can be set down and how someone leaving the sauna gets to a dry seat. If you are considering the Sauna HCF-300 listing, its stated area is 6.89 m²; use the model’s drawing to establish how its entrance would connect with the other features. Compare the linear and clustered arrangements with those connections marked. In each version, give someone waiting for the shower a place to stand without blocking the sauna door or requiring a seated person to move.
Treat the shower as a separate project element
Decide what you mean by a shower before reserving its space. A simple outdoor shower and an enclosed shower room have different needs for privacy, storage and protection from the weather. Consider whether you expect occasional seasonal use or regular use across more of the year, and whether people need room to change nearby. These choices affect the layout even before the exact fixture is selected. Put the shower’s likely position and surrounding use area on the plan, rather than adding a small symbol after the sauna has already taken the available space.
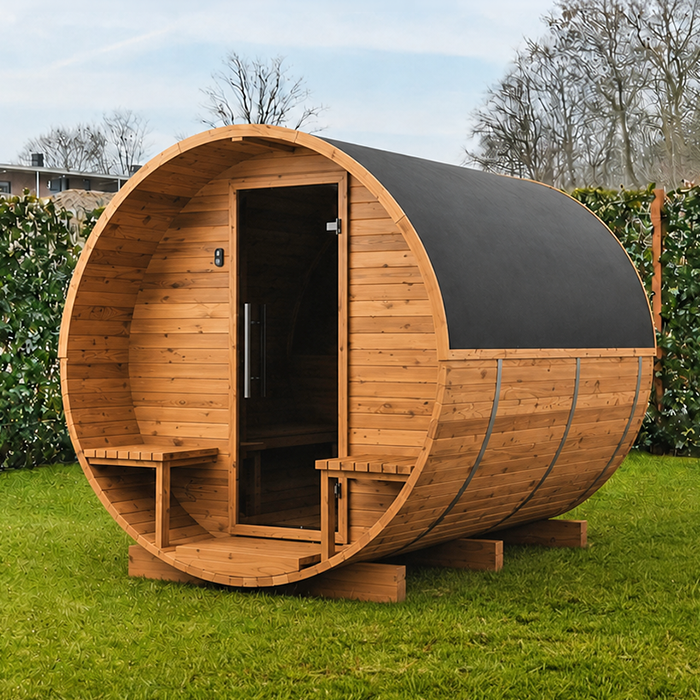
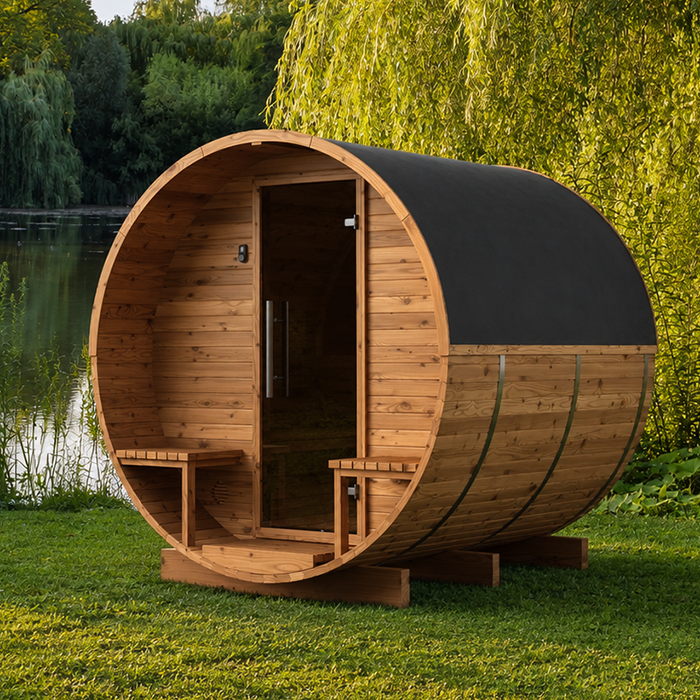
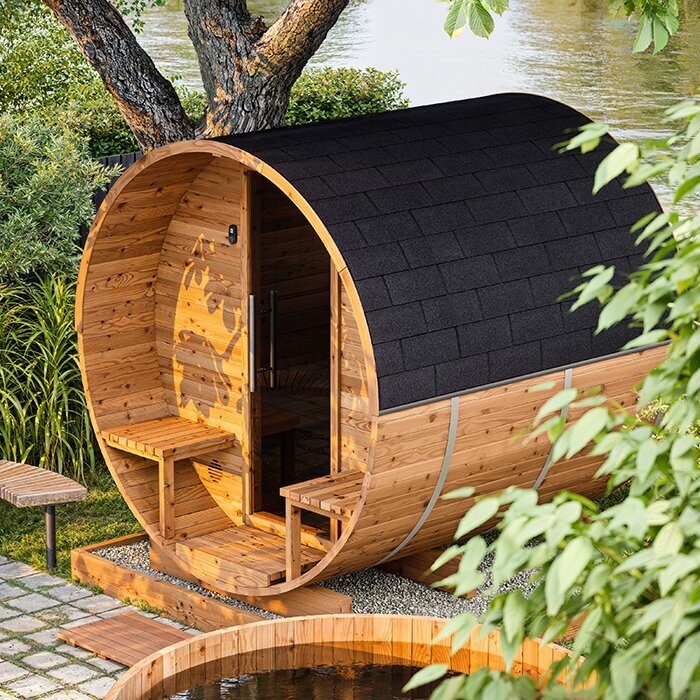
Water supply and wastewater handling need to be planned as part of the shower scope, not assumed to come with the sauna. A listing for the Sauna LCF-300 identifies a Thermowood Barrel Sauna; do not infer that a shower fixture, enclosure or plumbing is included. Confirm the actual inclusions for the chosen configuration, and ask a qualified plumbing professional to assess supply, drainage and any seasonal operating considerations. The route for services can also affect where the shower can sensibly sit, so discuss it before fixing the sauna and seating positions.
Separate wet areas from dry routes
Show the likely splash and drip area around the shower, then draw the path from there to the sauna, seating and house. This makes it easier to see where wet feet will travel and whether someone has to cross the damp zone to reach a dry place. Choose a surface only after checking with its supplier or a qualified designer that it is appropriate for wet, barefoot use and for the site. An outdoor appearance alone does not answer that question. Have a qualified site professional assess drainage and where water will go; do not choose a drain detail or slope from a simple sketch.
Include a dry landing where a person can put down a towel or robe without placing it in the main walking path. Give wet footwear, shower supplies and any storage basket defined places so they do not become obstacles between zones. When considering the Sauna S-140, which has a stated area of 1.93 m², mark this landing separately from the sauna outline. Check the landing with belongings in place, not just as an empty rectangle. Someone should be able to collect a towel after showering while another person reaches a dry seat or returns indoors without stepping through the shower area.
Give changing, towels and seating their own places
Plan a defined place to change or handle a robe, towel and clothing. It might be a simple dry zone rather than an enclosed room, but it still needs enough space to use without blocking the sauna entrance. If you want a bench, hooks or storage, mark them as separate furnishings and check what the selected sauna configuration actually includes. Consider privacy and exposure to the weather as well as convenience. A designated spot helps keep belongings out of the shower splash area and prevents changing from taking over the seat intended for relaxing.
Draw the seats where they can be reached without stepping through the shower area or standing in the way of someone leaving the sauna. Think about how many people are likely to sit at once, where they will put a towel and whether the route remains clear when someone is seated. If the Sauna HC-150 listing, with its stated area of 2.97 m², is on your shortlist, show changing, storage and outdoor seating as separate spaces alongside it. Check furnishings for their intended outdoor use and care requirements. Place storage where it can be reached from the changing spot without someone having to lean across an occupied seat.
Check privacy around both the shower and seating
Consider views into the area from places people actually use: nearby parts of the house, paths and neighbouring properties. Check the views from both standing and seated positions, and pay particular attention to the shower and changing zone. A screen placed for the shower may also enclose the seats or obscure a view from the house, so assess each zone on its own. If it is difficult to picture the sightlines, mark proposed seat and shower positions outdoors and look back from the relevant viewpoints before choosing a screening approach.
Screens, fencing and planting can all shape privacy, but they occupy space and need to work with access to the sauna and shower. Leave room to reach and maintain the areas behind them, and consider whether planting changes its coverage through the year. If you are considering the Sauna HC-225, its stated area is 4.4 m²; confirm the entrance orientation separately in the selected configuration’s documentation. Use that orientation to check what is visible when someone enters or leaves. Position screens around the shower and changing zone without unintentionally blocking the route from the sauna to the seats.
Make the relaxation area comfortable to use outdoors
Decide what the seating is for. A place for one person to sit briefly while drying off differs from a shared spot for conversation, and the number and position of seats should reflect how the household expects to use it. Look at the area at different times of day: sun, shade and wind may change how a seat feels. Consider whether people want to face the garden, talk to one another or keep the seat close to the route indoors. These are layout choices; settling them before selecting furnishings makes it easier to preserve a clear path.
On the plan, show the space taken up by people using the seats, not just the outline of the furniture. Include a side table or a place for belongings only if it fits without narrowing the route or obstructing access to another feature. If you are comparing the Sauna N-210 listing, with its stated area of 4.43 m², draw the outdoor seating zone separately beside the sauna’s actual outline. Try the seats facing the garden and then facing one another. Check both arrangements with someone seated and someone else passing with a towel or robe, so the chosen view does not come at the expense of usable space.
Test the layout at full size
A paper plan can hide awkward turns and pinch points. Mark the proposed boundaries outdoors with string or another temporary guide, then place movable chairs where the seats would go. Walk the route with the items people will actually carry, such as a towel, robe or basket. Try reaching the sauna, shower and seating without moving the temporary furniture. If someone using the area has a mobility requirement, account for it from the outset and have a qualified designer assess the route, transitions and dimensions for that person’s needs rather than relying on a generic clearance.
Test the area during simultaneous use, not only when it is empty. For example, have one person sit while another walks from the house and a third uses the shower area. Notice whether anyone has to cross a wet path, wait in front of a doorway or step around belongings. This simple rehearsal can reveal that the shower belongs at the other end of the layout, or that storage needs a different home. Adjust the plan before permanent work so that moving through the area does not depend on someone shifting a chair or towel each time.
Confirm product details and site services before ordering
Compare the plan with current information for the exact sauna model and configuration. Confirm the exterior dimensions, entrance position, door operation, required clearances and installation requirements in manufacturer documents. A model name, product photograph or stated catalogue area is not a substitute for those details. Check what is included and which options are separate, then make sure the measurements on the site plan match the product you intend to order. Also verify local availability and configuration before relying on a listing as the basis for the project.
Keep the sauna, its supporting construction, the shower, water and wastewater work, privacy screening and seating as distinct scope items, then check how they meet at the boundaries. Have the relevant qualified professionals assess the site and their part of the project, including drainage and any applicable local approvals or requirements. If the selected setup needs electrical work, have an appropriately qualified professional determine that scope. Resolving these interfaces early helps prevent a location that works on paper but cannot accommodate the actual services, access or installation requirements.
Frequently asked questions
Does a garden sauna include a shower?
Do not assume that it does. A sauna listing identifies the sauna model; check the exact configuration for confirmed inclusions. Treat the shower, enclosure, water supply and wastewater work as separate parts of the project unless they are specifically confirmed.
How much space should I plan for?
There is no single total that suits every yard or layout. Start with the selected sauna’s actual exterior dimensions and any clearances in its documentation, then add the approach, shower, dry changing space and seating. Draw the routes between them as well as the features themselves.
Should the shower be between the sauna and the seating area?
It can be, if the route works for your household and the wet area does not cut across access to a dry seat. Compare that arrangement with placing the shower beside the sauna or beyond the seating zone. Privacy, water management and how several people use the area should guide the choice.
Can the sauna, shower and seating share one platform?
Only if the platform is specified for each structure and for the wet area, with suitable drainage and surfaces. A deck intended for seating should not automatically be treated as suitable for a sauna or shower. Ask the relevant qualified professionals to confirm the proposed construction for the actual site.
Do I need a separate place to change?
Not necessarily an enclosed room, but it helps to plan a dry, reasonably private place for changing, towels and robes. It may be a small defined zone rather than a separate structure. Include it on the plan so storage and changing do not take over the seating area or the main path.
A practical garden sauna area has a clear route between the house, sauna, shower and seating, with a deliberate place for wet items and a dry place to change or sit. Keep the sauna’s actual dimensions, the shower’s service needs and the outdoor furnishings visible as separate parts of the same plan. Testing the route at full size before permanent work makes it easier to adjust the arrangement and gives each qualified professional a clear scope to assess.
