
Planning Outdoor Sauna Lighting for Evening Use
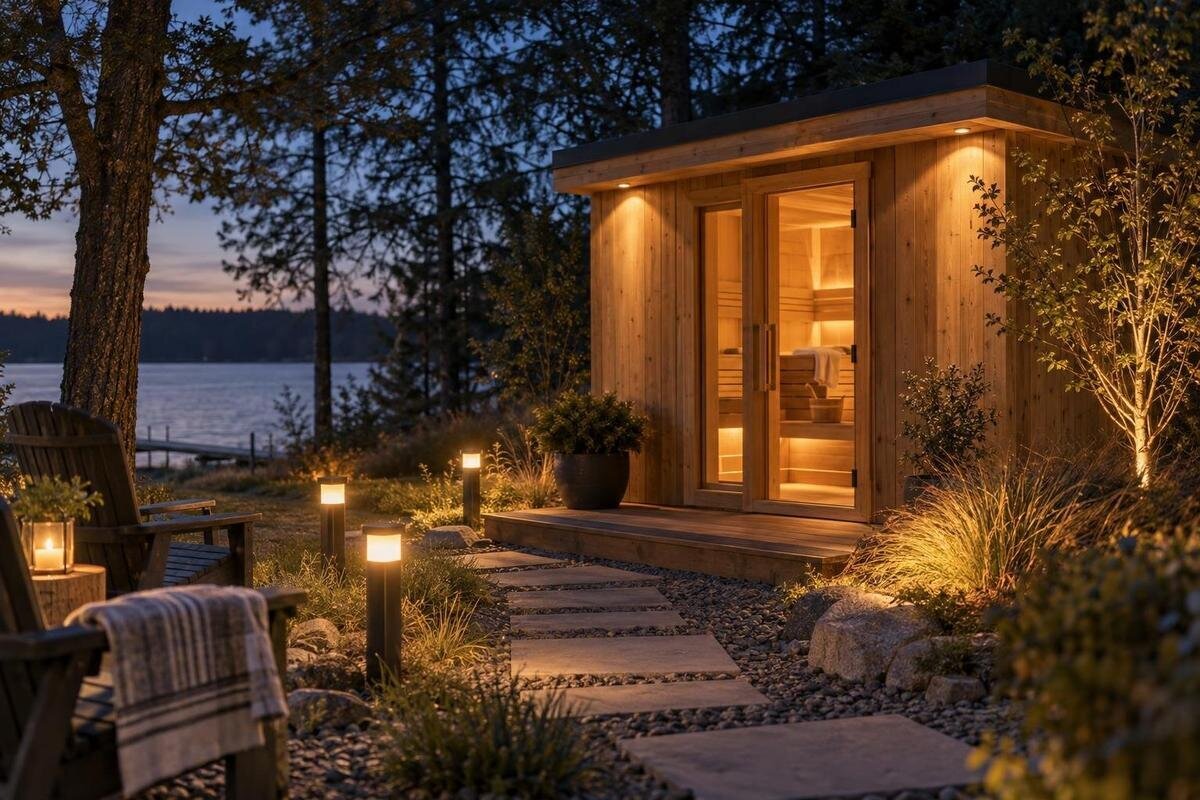
Evening lighting guide
Outdoor sauna lighting works best as a connected route, not as one bright fixture beside the door. Plan the walk from the house, the entrance itself, and the place where you will sit or pause afterwards. Then decide which areas need clear functional light, which can be softer, and how the controls will avoid a dark gap or an uncomfortable beam in someone’s eyes. The sauna and its surroundings can have different lighting requirements, so exterior fixtures and electrical design should be specified for the actual location by a qualified professional.
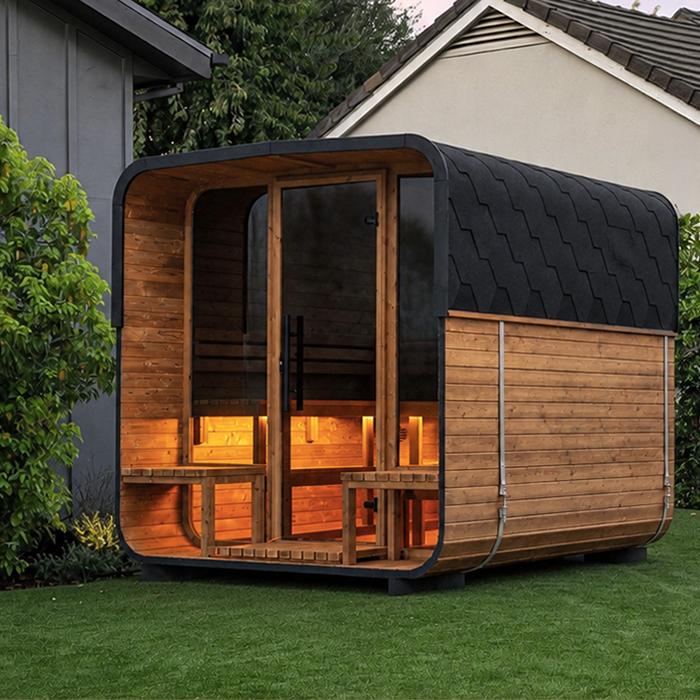
Before you choose 1
Map the route from the house to the sauna
Sketch the full evening route: the point where you leave the house, the sauna entrance, and the place where you sit or pause afterwards. Mark each turn, step, narrow passage and change in surface, then include the return trip. A plan that lights only the sauna frontage can still leave the walk, or the final few metres to a chair, hard to read. Include the usual approach from more than one direction if people can reach the area through different parts of the yard. The drawing can be simple; its purpose is to show how one lit area connects to the next and where a gap would interrupt that sequence.
Walk the route after dusk with existing lights switched on and off. Note where porch or landscape lighting helps, where a wall or planting blocks it, and whether the sauna is recognizable from the approach. Existing light may contribute, but it can leave a dark gap farther along. When a model is shortlisted, use the Sauna HCF-300 listing to identify the unit, then check current manufacturer drawings or instructions, if available, for its footprint and entrance position. Do not estimate those details from a model name or product photo. Also note whether a gate, fence or turn hides the entrance until you are close.
Give the path, entrance and seating distinct lighting roles
Give the path, entrance and relaxation area distinct jobs, even if one fixture contributes to more than one. Path lighting helps reveal direction and changes underfoot; entrance lighting helps locate the door and threshold; lighting near a seat should support settling in and moving away without making the whole yard feel like a work area. Write down what you need each zone to do before choosing fixture styles. A decorative glow on a wall, for example, may not make the walking route any clearer. For each area, identify what someone needs to see and from which direction. At the entrance, that might mean finding the handle while standing beside the door; near a chair, it might mean seeing the route back without a lamp facing the seat. These notes give a lighting professional concrete priorities. A short functional brief is more useful than beginning with a fixture count.
Treat a zone as a planning group, not as an automatic instruction to install a separate fixture or switch. You may want the route to remain visible while the seating area is subdued; the right control arrangement depends on the site and professional specification. Record the model under consideration, such as the Thermowood Barrel Sauna LCF-300, so the lighting plan can be checked against the intended sauna rather than a generic sketch. Use current information for the selected configuration, and keep the needs of the interior and the outdoor route distinct.
Before you choose 2
Make the walking surface easy to read
On the path, aim for a readable surface rather than a row of glowing dots. Light should help you follow the route and notice edges or changes in level from a normal walking approach. Give turns, steps and transitions between paving and lawn particular attention; a light at either end can leave the middle visually detached. Nearby porch or garden lights may reduce what is needed, but only if they reach the walking surface rather than a wall or tree. Path width, bends and surroundings vary, so a generic fixture-spacing diagram is not a substitute for a site-specific layout.
Keep the light source out of a person’s direct view as they walk, and check whether one-sided lighting leaves an edge or step in shadow. Low-mounted fixtures can help mark a route, but their coverage and glare depend on the fixture and its surroundings. If you are considering Sauna S-140, use its confirmed footprint and entrance position to place the destination on your path plan. Then review the route in both directions: which edges need to be visible on arrival, and which will be ahead of you on the way back? Mark any stretch that relies on light from another zone so it can be assessed as part of the complete layout.
Light the entrance and threshold
At the entrance, make the approach, handle area and threshold easy to locate. Someone arriving should be able to see where to stop and what is underfoot without looking straight into a bright lamp. Check for shadows cast by a person standing in front of the door, and consider whether the open door could obscure a fixture. The best position depends on the actual entrance and nearby surfaces; a light that looks well placed from the yard may be uncomfortable from the doorway.
Confirm the selected sauna’s entrance position and door movement as part of the layout review. For a model such as Sauna HC-150, use the current information for the configuration you intend to buy. Leave the approach and standing area clear, and check the view with the door both open and closed. If the sauna has glazing, look for reflections from the path. Whatever the front design, assess the light from the position of someone using the doorway, not just from a distance in the yard.
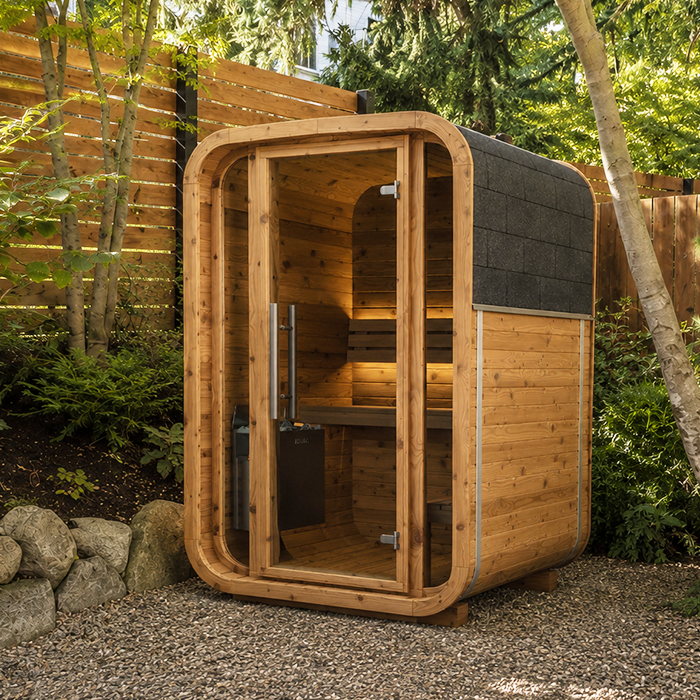
Before you choose 3
Use softer light around the relaxation area
The seating area has a different purpose from the walking route. It should be easy to find a seat, get up and move back towards the sauna or house, without flooding the whole space with task lighting. Mark the seats and any table on your plan, then consider where light is useful for those activities and where softer general lighting is enough. Include the space someone crosses to reach a chair, rather than marking only the chair itself. If seats face different directions, review each seated view; a fixture behind one person may be directly ahead of another. Also decide whether the table needs to be visible independently of the surrounding area. A light that makes a chair easy to locate can still feel intrusive if it is aimed across the seating area or sits directly in a person’s line of sight.
Include nearby fences, planting and existing house lights in the review, since they can change both the apparent brightness and where shadows fall. Check views from the seat as well as from the path, and consider whether a beam will spill towards a neighbour’s windows. If Sauna HC-225 is on your shortlist, show its intended location alongside the seats on the plan. This lets you review the view towards the entrance and the route between the two areas without treating the sauna model as a seating or lighting specification.
Limit glare and abrupt brightness changes
Check for glare from the places people will actually stand or sit: the approach, the doorway and the relaxation area. A visible bulb or bare light source can be distracting even when the surrounding space seems dim. Shielding, careful aiming or a different fixture can help keep the source out of direct view, but the result depends on the site. Glass, pale paving and other reflective surfaces may send light back towards the path or seating area, so inspect the whole view rather than only the fixture itself.
Avoid making the entrance intensely bright while leaving the next part of the route nearly dark. A more balanced change between zones can make the sequence easier to follow without lighting every part of the yard equally. Review those transitions in both directions, including the first part of the walk away from the doorway. The aim is to keep the next stretch visible, not to give every surface the same brightness. Colour appearance is a design choice; compare compatible fixtures after dark and consider whether their light looks consistent across the path, doorway and seating area. If you prefer different effects in different zones, note that preference in the brief rather than choosing each fixture in isolation. Judge the walking surface in that light as well, since decorative colour alone does not show whether a step or edge is easy to distinguish.
Before you choose 4
Specify fixtures for outdoor exposure
Choose exterior fixtures for the conditions at their actual locations, not just for their appearance or a general outdoor label. Exposure can differ between an open path and a more sheltered entrance, and the area near a sauna may have different conditions from a porch. Ask a qualified lighting professional or electrician to check the fixture manufacturer’s guidance for the intended location, including relevant moisture and temperature exposure. Do not assume that an interior fixture or an indoor-style fitting is suitable for an outdoor area.
Treat the sauna purchase and the exterior lighting scope as separate questions. A catalogue listing such as Sauna N-210 identifies a model but does not, by itself, confirm that path, entrance or seating lights, switches or wiring are included. Check the current itemized inclusions and any manufacturer instructions for the configuration you are considering. Then give that information and the site conditions to a qualified professional to specify appropriate fixtures, controls and electrical work. This avoids building an assumed extra into the lighting plan.
Choose controls for the evening routine
Think about when and where each lighting group needs to be controlled. It should be possible to make the route visible before walking out to the sauna, rather than crossing an unlit area to find a switch. You may want entrance and path lighting together, with a separate option for the seating area. Those are planning goals, not instructions for a particular circuit; ask a qualified electrician to recommend a safe, suitable control arrangement for the property.
Timers, photocells and motion sensors can be considered, but decide what you expect them to do before selecting them. For example, a sensor should be assessed for its position and the way it detects movement, while a timer should suit the time people need for the return trip. Think through arrival, time spent sitting outside and departure as separate parts of the routine. Would the seating light remain on when someone is sitting still? Could the route lighting switch off while another person is still outside? These are useful questions for the professional specifying the controls. Consider whether a manual control option is useful if an automatic control does not behave as expected. If Sauna N-250 is under consideration, identify it in the lighting brief, alongside the outdoor control needs. Keep those requirements separate from any controls supplied with the sauna itself.
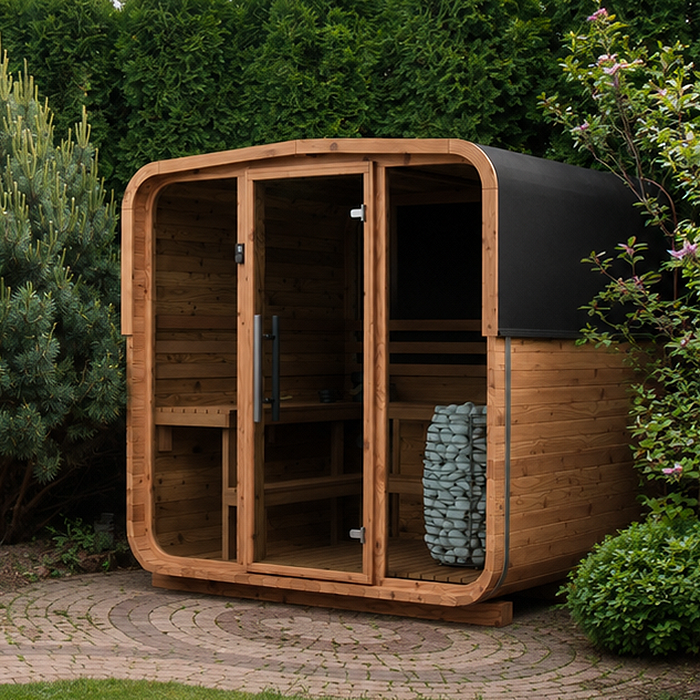
Before you choose 5
Coordinate lighting with the final sauna layout
Coordinate fixture locations and any electrical work with the confirmed sauna position, route and seating plan. Mark existing lights, paving, gates, planting and places where people pause; then discuss possible cable routes with the qualified professional before paving or landscape work is complete. This is a planning conversation, not a reason to choose a universal distance or installation method. The professional needs the actual site and selected configuration to determine what is appropriate.
Use a site plan that shows the sauna entrance, the route from the house, the relaxation area and the intended controls. For a shortlisted model such as Sauna LC-260, use the confirmed configuration on that plan. Add the proposed fixture positions and indicate which area each is intended to illuminate. This makes it easier to discuss a fixture that serves two zones or a route that depends partly on an existing house light. Keep unresolved choices visible on the drawing, such as a seat position or planting layout that may still change, rather than presenting them as settled. Reviewing these elements together can reveal when a light would be hidden by planting, a fence or an open door, and can help the lighting and landscape work fit the same layout.
Test the lighting after dark
Once the system is in place, assess it after dark from the main approach, at the entrance and from the seat. Walk to the sauna and back, paying attention to changes in surface, shadowed edges and the transition between lighting zones. Check each control group on its own and in the combinations you expect to use. Include the quieter seating setting, not just the arrangement with every light on. Pause where you would normally stop, use the doorway and sit in each intended position. Note the location and direction of any distracting beam or hard-to-see edge so the professional can review the specific problem. A fixture can look discreet from the house yet cause glare at the doorway, so view it from more than one position before deciding the layout is finished.
If an edge is hard to see, a beam points into someone’s eyes or a control leaves part of the route dark, ask the qualified professional to review the arrangement. Do not rely on a daytime impression to judge an after-dark plan. Keep fixtures clear and follow their manufacturer’s care instructions; planting growth or a changed seating position can also alter what a light reaches. Revisit the views when the outdoor layout changes, rather than assuming the original aim will always suit it.
Frequently asked questions
How bright should the path to an outdoor sauna be?
There is no single brightness that suits every route. The right amount depends on the path’s surface, turns, steps, surrounding light and the way people approach it. Ask a lighting professional to assess the actual site, then check the route after dark for clear footing without glare or isolated dark gaps.
Should path, entrance and seating lights have separate controls?
Separate control can be useful because the route and entrance may need to stay visible when you want the seating area dimmer. It is not a requirement for every layout. Tell a qualified electrician how you expect to use each area, and ask them to specify controls that fit the plan.
Are outdoor lights included with a sauna?
Do not assume that exterior path, entrance or seating lights are included. Check the current itemized inclusions and manufacturer information for the exact sauna configuration. If they do not specify exterior lighting, treat those fixtures and their controls as a separate part of the project.
What should I check when selecting exterior fixtures?
The fixture must be suitable for its actual outdoor exposure and location. Ask a qualified lighting professional or electrician to check the manufacturer’s guidance, exposure conditions around the sauna, and the requirements that apply to the work. A decorative description alone does not establish that a fixture suits a particular site.
Can motion sensors be part of the plan?
They can be considered for route or entrance lighting, but check where they detect movement and whether the light will be available for the full arrival and return. Think about how the seating area will work too, and discuss manual control and sensor placement with the professional specifying the system.
A comfortable evening setup makes the route, entrance and place to pause work as one sequence, without making every part of the yard equally bright. Decide what each area needs to show, consider the view from both the path and the seat, and have exterior fixtures and controls specified for the actual conditions. An after-dark walk-through is the practical test: it shows whether the way in, the threshold and the return are all easy to read.
