
Outdoor Sauna Roofing: Weather Protection and Care
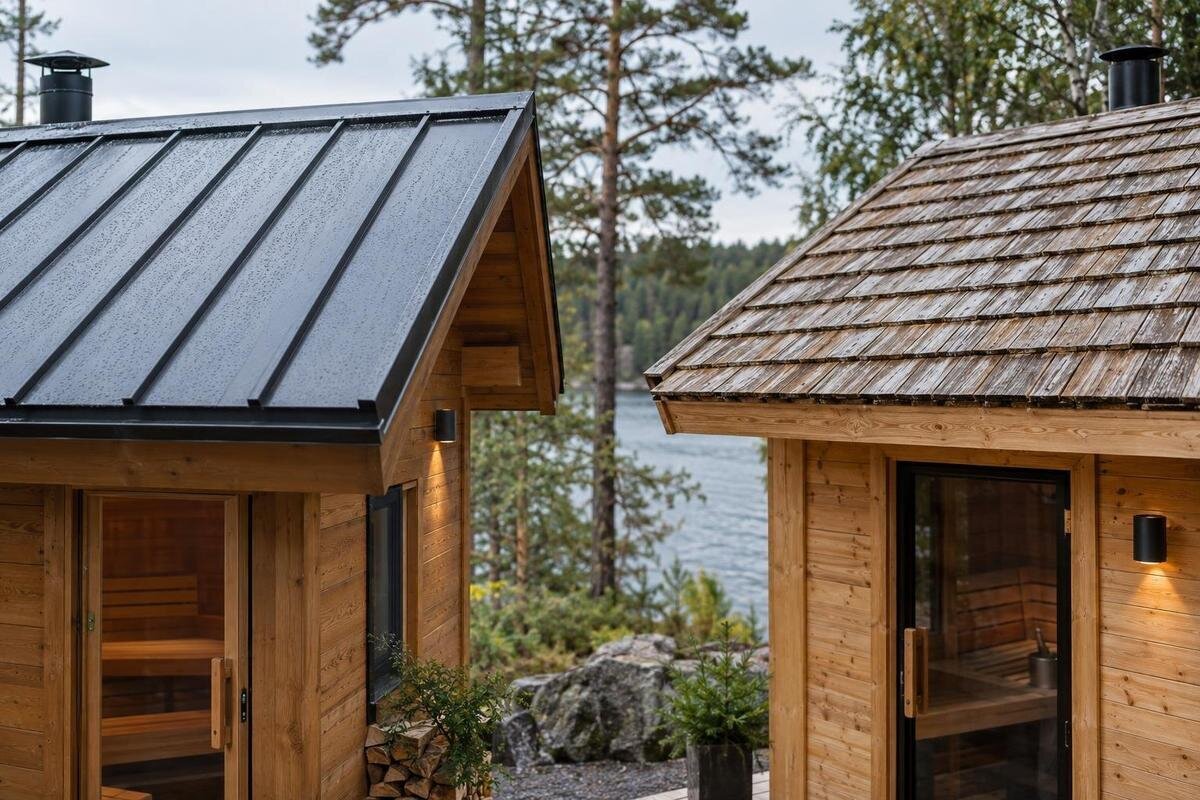
Outdoor sauna roofing guide
An outdoor sauna roof is a system of coverings and details, not a single material name. Depending on the site, rain, wet snow, wind, ice, sun and nearby trees can place different demands on the same-looking roof. Before buying, find out what is included, how joints and edges are detailed, where water goes and what care the manufacturer specifies. This guide explains what to compare without assuming that any listed sauna uses a particular roof.
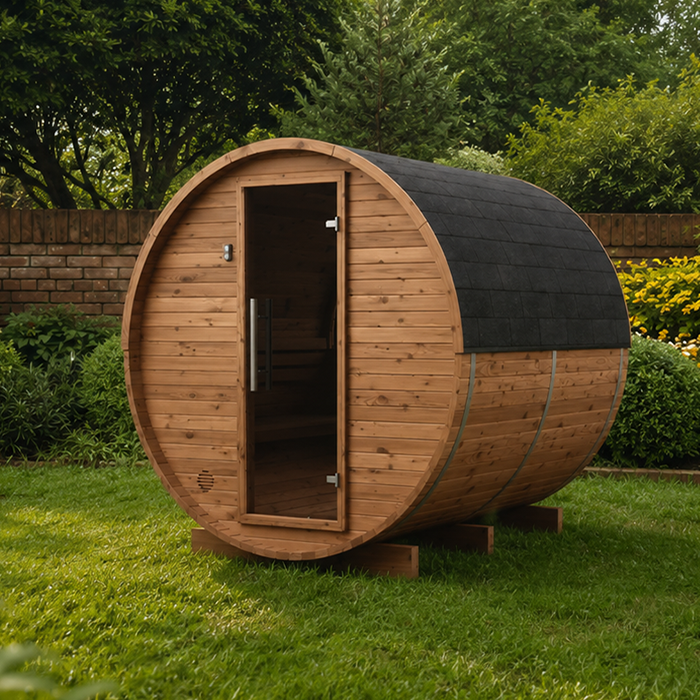
What the roof assembly includes
Compare the complete roof assembly, not just its decorative finish. The outer covering is only one part of the system intended to keep rain and melting snow away from the cabin. The supporting surface, any underlay or membrane, overlaps, joints, edge treatments, fasteners and penetrations also matter where they form part of the design. A visible timber exterior may not be the specified weather-protection layer, and a photograph cannot show what sits beneath it. Ask for the exact roof build-up for the model and configuration you are considering. This avoids comparing one sauna’s listed covering with another’s visible finish as though they were equivalent.
Ask for a roof assembly drawing, an inclusions list and matching installation instructions. Confirm whether the covering is factory-fitted or supplied for on-site assembly, whether underlay and edge components are included, and whether the illustration applies to the exact configuration rather than a sample image. Ask how upgrades or substitutions affect the layers and fasteners. A listing such as Sauna LCF-300 can identify which model you mean, but a model name alone says nothing about its roof system. If a detail is not shown, ask who supplies it and what is required to complete it. Keep the answer with your purchase records so future care advice can be matched to the same configuration.
Compare coverings by joints and repair needs
Common covering categories include overlapping shingles, metal panels and membrane systems, but a label alone does not explain how a particular sauna roof is built. A shingle surface has many overlapping pieces; a panel roof may have laps, seams and visible or concealed fasteners; a membrane relies on its joined sheets and edge terminations. These are places to inspect, not a ranking of materials or a claim that any category is automatically watertight. Confirm the actual covering and installation method, then compare complete details rather than choosing from a colour swatch or a close-up of the top layer.
Think about repair as well as initial appearance. Ask whether damage is normally addressed by replacing an individual unit, a panel or a larger section, and whether the matching material and fasteners can be identified later. The answer depends on the system and manufacturer guidance; don’t assume two similar-looking coverings can be repaired the same way. When comparing the S-140 sauna, include replacement materials in your questions about the roof. Find out how to identify the installed finish when ordering a part and whether a repair requires access to adjacent pieces. Request any care restrictions in writing, including which cleaning products or coatings to avoid and how replacement parts should be matched.
Examine ridges, edges and openings
Water can enter where roof planes meet, terminate or are interrupted. Examine the ridge or highest seam, end caps, side edges, corners, changes in roof shape and the junction between roof and walls. If the design includes a flue, vent, cable route or another penetration, its surround should be shown as part of the roof detail; a plain roof diagram with no opening does not answer that question. Look for notes showing which pieces overlap and in what sequence, where flashing or a membrane turns up, and how exposed fasteners are treated. The drawing needs to make those transitions legible, not merely show a finished exterior.
Ask who is responsible for each junction during assembly and what to do if a part arrives damaged or is missing. Caulk or an extra bead of sealant should not be treated as a universal fix: it may be incompatible, hide a fault or fail to address the joint design. The installation manual should identify approved materials and steps for the exact roof. If a detail is unclear, a qualified roofer or other suitable building professional can review it. For the HC-150 model, include these junctions in the assembly discussion. Resolve unclear details before work begins, rather than leaving the installer to interpret a finished-product photograph.
Plan where rain and meltwater will go
Trace where water leaves every roof edge, not only where it falls during a light shower. Wind can carry rain beyond the drip line, while runoff and melting snow can land at an entrance, on a step, beside supports or against another surface. Check whether the plan includes an overhang, drip edge, gutter or downspout, and distinguish included parts from items arranged on site. Gutters are not automatically needed or suitable for every roof; they also add components that may require inspection. The important comparison is whether the documented discharge path fits the proposed location and can be kept clear.
Walk the proposed footprint and consider where water will travel after reaching the ground, especially near a walkway or a place that needs to remain usable. Avoid assuming the roof’s shape sends water to a predictable side unless the drawing confirms it. Look at neighbouring surfaces that could redirect runoff towards the sauna, and ask what clearances or drainage conditions the design requires. If you are considering the HC-225 sauna, compare its documented runoff path with the entrance and surrounding surfaces on your site plan. Note any drainage components that must be arranged separately. If discharge could affect the base or nearby construction, have a qualified local professional review the plan.
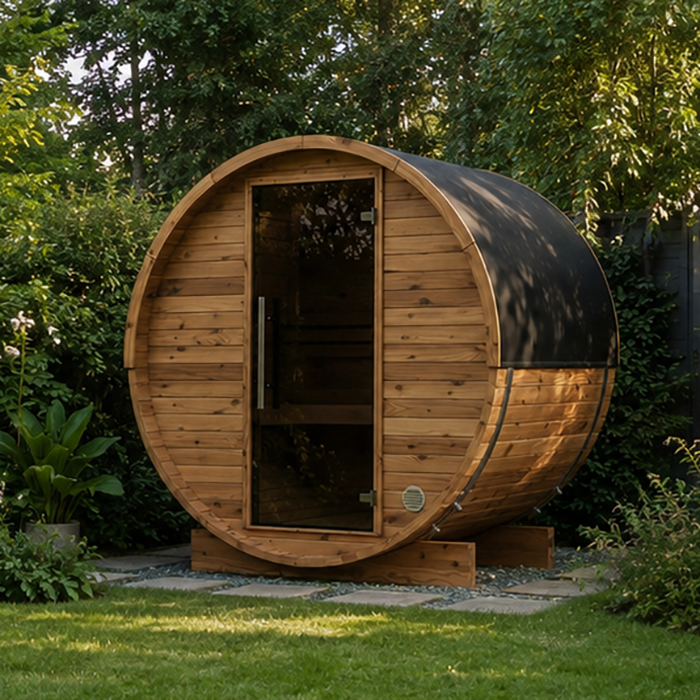
Check the design against local weather exposure
Weather exposure is site-specific. Depending on the location and setting, an outdoor sauna may face wind-driven rain, heavy or wet snow, drifting, ice, freeze-thaw cycles, strong sun or long periods of shade. Nearby buildings and trees can change wind and debris patterns, so a general phrase such as “weather-resistant” does not explain how a particular roof is intended to perform at your site. Ask for the manufacturer’s stated exposure conditions, any limits and the assumptions behind them. If the documents do not address your conditions, don’t infer suitability from the roof shape or product photographs.
Snow and wind are especially important to resolve with documented design information, not guesswork. Request the manufacturer’s applicable roof or site specification for the exact model and configuration. If your conditions fall outside what the documents describe, ask a qualified local building or roofing professional to review them. Don’t estimate capacity from a roof’s dimensions or appearance, or assume information for one model applies to another. When evaluating the N-210 model, describe the proposed setting as well as the weather concerns you want addressed. This gives the review a clear focus: whether the stated exposure assumptions fit that location, rather than whether the roof simply looks substantial.
Factor in trees, shade and nearby surfaces
Look above and around the proposed location. Leaves, needles, seed pods, sap and small branches can collect on a roof or at an edge, and debris can obscure seams or restrict a gutter if one is fitted. Shade can slow drying after rain in some settings, while a more open spot may expose the roof to stronger sun or wind. These are site observations, not a universal rule to avoid trees: consider the species, canopy, prevailing exposure and how easily the roof can be inspected. Note which parts are visible from the ground and where debris is likely to settle.
Ask what cleaning is recommended and whether the manufacturer expects debris to be removed from the covering, edges or drainage components. Don’t turn roof cleaning or branch trimming into an improvised task if it involves working at height; arrange appropriate professional help when access or tree work is unsafe. Check whether the planned location leaves room to service the roof without damaging the sauna or nearby planting. For the N-250 sauna, consider the proposed tree cover alongside the care guidance for its supplied roof. Identify which edges may collect debris and whether those areas will remain visible and accessible as surrounding planting grows.
Make roof inspection practical
Maintenance only works if inspections can be carried out safely. Before choosing a spot, consider sightlines from the ground, access to the roof edges, room for a service professional and whether shrubs, fences or nearby structures will block an inspection. A curved or high roof may not be easy to assess from every side. Photos taken from safe, ground-level positions can help you compare visible details over time, but they cannot replace a closer inspection when one is needed. Avoid planning a routine that depends on climbing onto the sauna. Ask the manufacturer how the roof should be inspected and who is qualified to assess it.
Ask whether the instructions call for checks after particular weather events and how to arrange them without walking on a roof that has not been confirmed safe. If the design has drainage parts, find out how they can be inspected or cleaned safely; don’t add access hardware or alter roof components without approval. A location that leaves room for a professional to work may be easier to maintain than one boxed in by fences or an addition. Before placing the LC-260 model, compare the inspection requirements with the available space on each side. Consider access after landscaping is complete, not only while the site is open for assembly.
Follow material-specific care and repair guidance
Make the manufacturer’s care sheet the authority for cleaning and small repairs. Different roof finishes can react differently to brushes, pressure, detergents, solvents, paint or sealants, so don’t apply a familiar household product until its compatibility is confirmed. Follow the stated method for removing organic debris and use only the repair materials identified for that roof. If a coating is specified, ask whether it is part of routine care or an optional finish, how to prepare the surface and whether applying it changes another part of the assembly. There is no universal interval or treatment to substitute for model-specific instructions.
Once assembly is complete, record the roof covering, installed options and assembly date, and save the relevant instructions. From a safe vantage point, look for new gaps, lifted edges, displaced pieces, damaged sealant or staining inside after wet weather; these are reasons to investigate, not proof of a particular failure. Don’t patch a suspected leak with an arbitrary sealant or paint over a stain before finding its source. Keep the maintenance guidance for the HCF-300 sauna with these records so any repair enquiry refers to the installed configuration. If water is entering the cabin or a component has moved, ask the manufacturer or a qualified roofing professional about an appropriate inspection and repair.
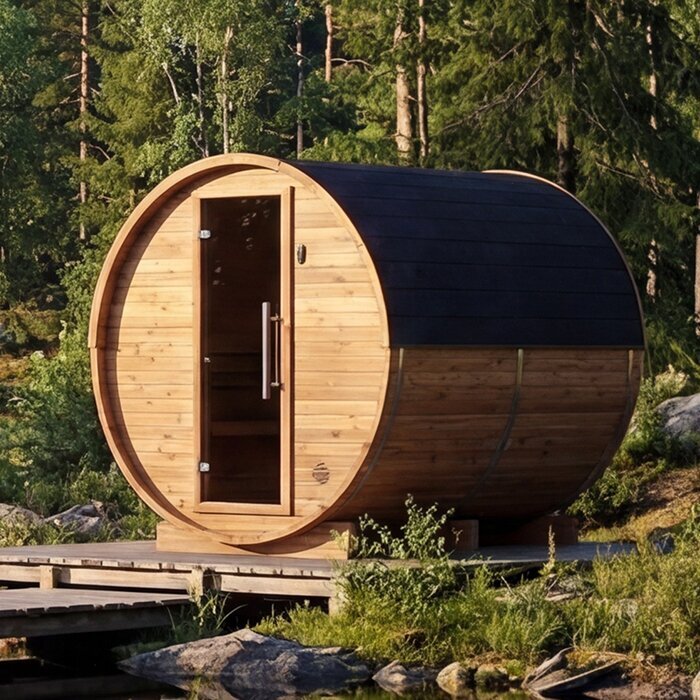
Matching the quotation to the roof documents
Before ordering, reconcile the quotation with the roof drawing, parts list and instructions. Check that the model and option names match across the documents, and ask for clarification if a retailer image or generic manual shows a different configuration. Where relevant, the quotation should make clear whether the covering, underlay, flashings, edge pieces, fasteners and drainage items are supplied, optional or excluded. Separate the cost and responsibility for supplying components from the work required to install them. This turns the earlier technical comparison into a clear purchasing record and helps you identify anything still to be arranged before assembly.
Keep unresolved discrepancies in one record, with the relevant drawing or quotation reference beside each question. For example, an edge component may appear in a drawing but not in the parts list, or an optional finish may be shown without its matching care instructions. Ask what changes if a part is substituted and who will confirm that the substitute is compatible. If warranty documents refer to roof installation or care, read the current terms for the exact model instead of relying on a general verbal summary. Keep the final written answers with the accepted quotation so that the installer and anyone handling later repairs can identify the agreed configuration.
Choose a design you can maintain
Choose a roof that fits the site and the upkeep you can realistically arrange. A simple-looking roof is not necessarily easier to maintain if its edges are hard to inspect or replacement parts are unclear; a more complex finish is not automatically unsuitable if its details and care are well documented. Compare the site’s exposure, whether runoff has somewhere appropriate to go, how debris will be managed and whether an inspection can be organized without unsafe access. Include the time, professional help and replacement-material availability in your ownership comparison, even if you cannot put a reliable dollar figure on them yet.
Weigh the answers according to the work they imply for you. A roof with clearly identified repair materials may be more practical to own than one whose parts are difficult to match, while awkward inspection access may outweigh an appealing finish. Distinguish work you can safely do from work you will need to arrange professionally, using the manufacturer’s instructions rather than assumptions about routine upkeep. Where maintenance needs remain unclear, resolve them before purchase so you can compare the candidates on the same basis. Appearance can then be considered alongside weather protection, access and care, rather than becoming a substitute for understanding the roof.
Frequently asked questions
Is an outdoor sauna roof waterproof?
You can’t establish that from the product name or a photograph. Ask for the roof assembly drawing and confirm which covering, underlay, edges and other components are included. Check that the documents apply to the exact model and configuration, and ask what weather conditions the design is intended to address.
Which roof covering needs the least maintenance?
There isn’t a reliable answer based on material name alone. Maintenance depends on the complete roof system, its details, the site and the manufacturer’s care instructions. Compare the recommended inspections, cleaning methods and repair materials, and consider whether the roof can be assessed safely.
Can I add shingles or metal roofing to any outdoor sauna?
Don’t assume a new covering can be added to every design. Changes may affect attachment, edges, water drainage and other parts of the roof assembly. Check with the manufacturer before altering the roof; if the proposed change is not covered by its instructions, ask a qualified local roofing or building professional to review it.
How often should I inspect an outdoor sauna roof?
Follow the inspection schedule in the manufacturer’s instructions; there is no universal interval for every roof and site. From a safe vantage point, you can note visible changes and check for signs of water entry. Arrange a closer inspection by a suitable professional if access would mean climbing onto a roof that has not been confirmed safe.
Does an outdoor sauna need gutters?
Not necessarily. The answer depends on the roof design, its documented runoff path and the proposed location. If gutters or downspouts are specified, confirm whether they are included and how they are maintained. In either case, consider where roof water will land and whether it could affect an entrance, walkway or nearby construction.
Before you commit, you should understand the complete roof assembly, know where runoff will go and have instructions for its care. If a drawing or exposure statement leaves the roof’s suitability uncertain, resolve that with the manufacturer and a qualified local building or roofing professional before choosing the sauna’s location. The most useful comparison connects the roof’s details with your site and the maintenance you can safely arrange.
