
Siting a Sauna in a Wet or Humid Garden
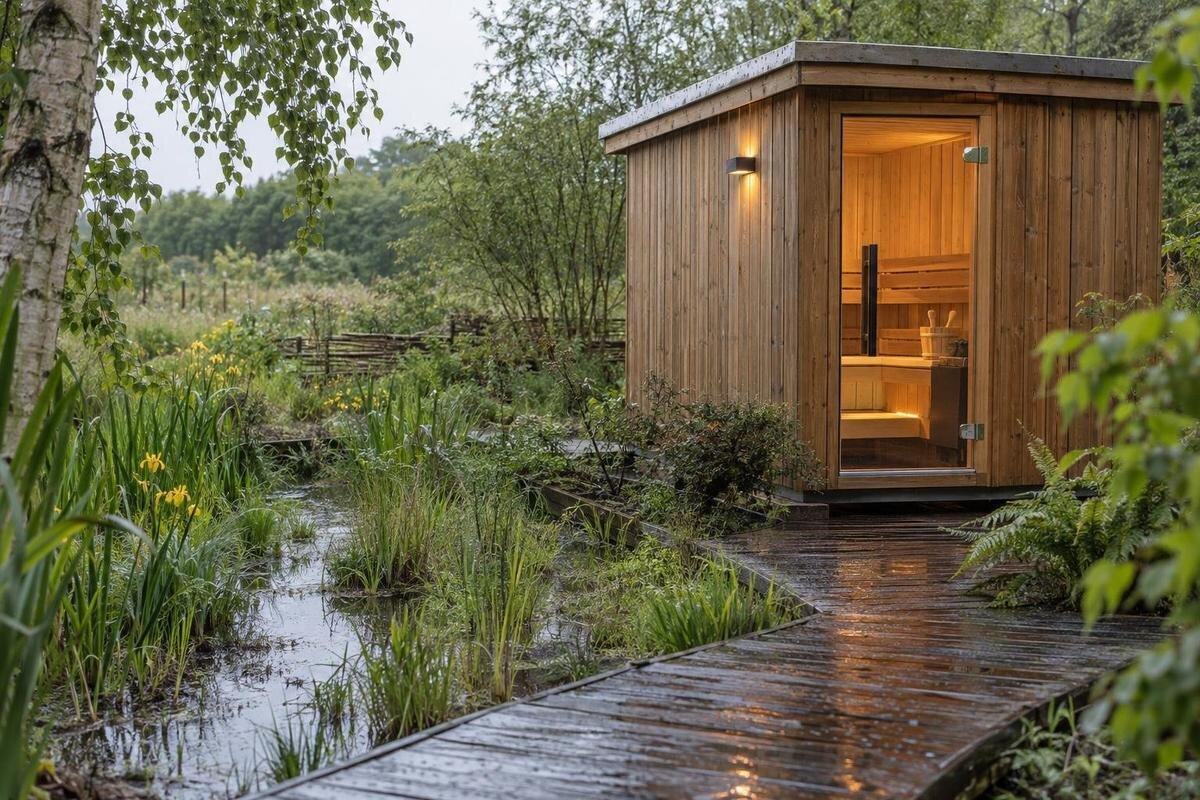
Sauna site planning
A garden can feel humid without its soil being saturated, while another plot may dry at the surface and stay soft underneath. Those conditions create different siting questions. Before choosing a spot for an outdoor sauna, observe it during rain, snowmelt and irrigation; trace runoff from roofs and hard surfaces; and confirm the ground and support plan with the manufacturer’s instructions and a qualified installer. The aim is not to remove ordinary outdoor humidity. It is to avoid persistent water around the base, repeated splashback, obstructed exterior drying and an unpleasant route to the entrance.
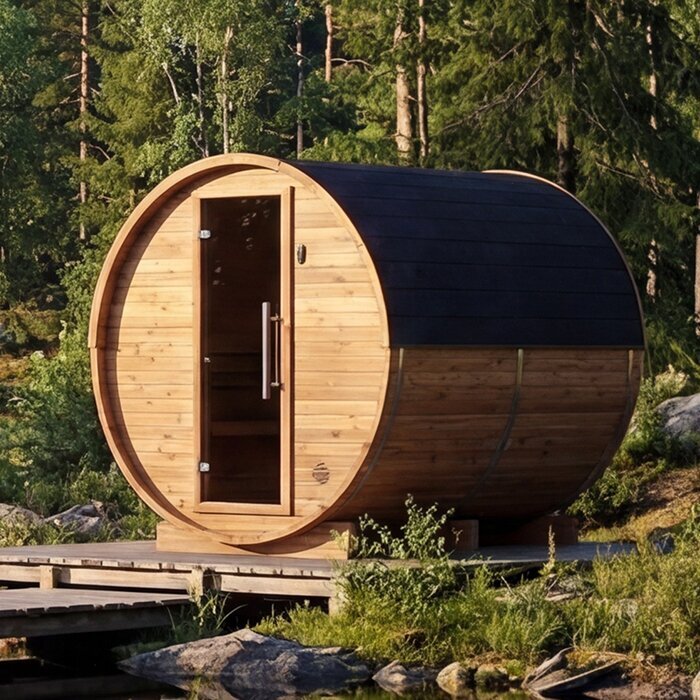
Distinguish humid air from wet ground
Start by distinguishing humid air from wet ground. A sheltered garden may feel clammy while the soil drains normally; another may have standing water after rain, saturated ground or runoff arriving from higher land. A third may have a narrow splash zone beneath an eave or beside a hose. These conditions call for different responses, so one humid afternoon is not enough to judge the whole site. Note whether moisture is in the air, on the surface or in the soil underfoot, and whether it appears across the plot or in one small area.
Check the exact proposed sauna location, the route people would use and the edges near buildings, fences or planting beds. The footprint may stay dry while the approach turns muddy, which can make an otherwise suitable-looking corner awkward in everyday use. Standing water or ground that remains soft after rainfall is more than a cosmetic concern: it can affect the support plan and make the area difficult to inspect. A sunny-day visit alone is not a reliable check, especially beneath dense vegetation. Record where and when you see water, and share those observations with the installer rather than asking them to infer conditions from a dry photograph.
Observe water during rain and spring thaw
Visit the candidate area during or soon after rain, then revisit during spring thaw if meltwater affects your property. Trace water from higher ground, roof edges, downspouts, patios, garden beds and sprinklers. Note where it crosses the proposed area, pools or leaves the soil soft. Check both the structure’s intended position and the route to its entrance. A place that looks dry in midday sun may have a slow-draining edge or an inflow that appears only during heavier rain. A quick sketch with arrows is often clearer than trying to recall where puddles formed. Repeat observations when seasonal conditions differ.
Put the planned footprint and access path on the same sketch. Leave room to reach the sauna and inspect its exterior, using the selected model’s manufacturer drawing to confirm its actual outline and clearances. For a candidate such as the Thermowood Barrel Sauna N-210, obtain a current drawing rather than estimating dimensions from its name or photograph. Mark unconfirmed details as unknown, and distinguish observed water routes from areas you have not yet checked. Add the date and conditions beside each observation so that a puddle seen after heavy rain is not confused with ground that remains wet between showers. The sketch should show where the entrance would sit in relation to these observations. This makes it easier to compare possible positions without losing track of the wet approach, maintenance space or runoff route that prompted the comparison.
Avoid low points and natural runoff routes
A low point, the base of a slope or a hollow between buildings may collect water even when nearby lawn drains. Do not place the sauna across a visible flow route simply because that strip looks level. If a downspout, patio or higher section of the garden sends water toward the proposed location, note the source and assess another position first. Moving the structure out of direct flow may be simpler than redesigning the site around it, but a site assessment is needed to confirm whether another area is stable and suitable. If every possible position is wet, resolve the drainage question before committing to a base.
Plan so that runoff is not channelled beneath or against the sauna, and do not solve one puddle by sending water toward neighbouring property, a path or another low area. Regrading or adding drainage can change where water flows; consult a drainage professional if the route is unclear or needs work. When considering the N-250 barrel sauna, use its manufacturer drawing to compare possible positions on your site sketch. Check the whole proposed outline against the observed flow route, not just the centre of the footprint. Include the approach to the entrance in that comparison: moving the sauna clear of a wet strip is less useful if everyone still has to cross it. Keep a record of why each position was retained or ruled out, so the installer can understand the water-related constraints before discussing the final layout.
Choose a base for the actual ground conditions
A level-looking surface does not prove that the ground beneath it can support the proposed installation. Soil that stays saturated or soft may behave differently from firm, well-drained ground, and seasonal changes such as freeze-thaw can affect site conditions. The required support and preparation depend on the selected sauna’s instructions and the actual plot. Do not choose a base by appearance alone, or assume that a surface that worked for a different garden structure will suit this installation. Ask the installer or another qualified professional to assess the ground and confirm the proposed support plan.
Compare the manufacturer’s base requirements with what is present on site before levelling or building anything. For the Sauna LC-260, obtain the installation details needed to discuss the support method, finished surface and preparation with the installer. Keep the condition of the ground separate from the appearance of the proposed surface: the plan needs to account for both. Show the installer where the soil stayed soft, whether that affected the entire footprint or only one edge, and when you observed it. Ask which parts of the proposed support plan are settled and which depend on further site assessment. If the instructions are unclear about a wet or yielding location, seek clarification from the manufacturer or a qualified installer before work begins. Avoid improvising a foundation to compensate for persistent saturation; resolve the ground and support questions together.
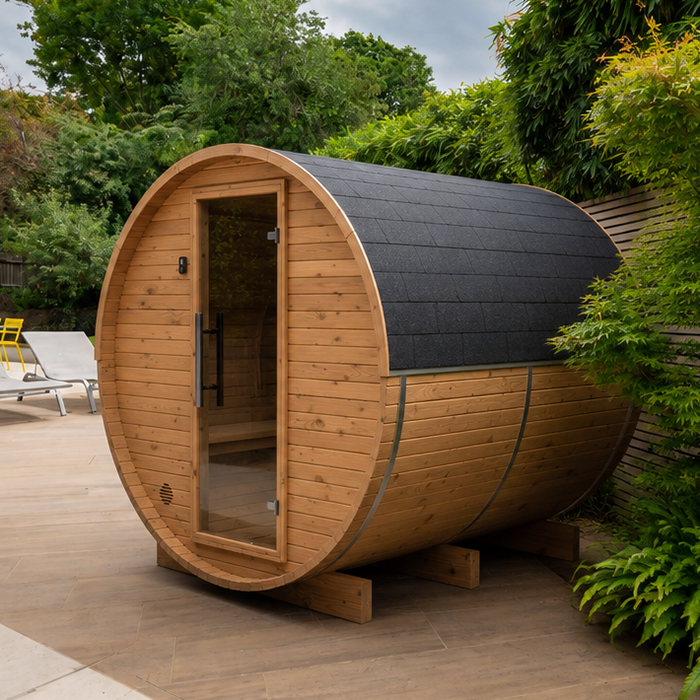
Manage roof runoff and splashback
Look at the roofs and hard surfaces around the proposed site, not just the soil directly beneath it. Eaves can concentrate rainwater at their edges, and downspouts can discharge enough water to keep a nearby patch wet. Patios, paths and retaining edges may also change where surface water travels. Observe these areas during rain where possible, and note whether water splashes onto the intended base or collects beside it. An existing roof overhang is not automatically a dry shelter; it may create a concentrated drip line, and the sauna’s own installation clearances still need to be checked.
A firm path or paved area can reduce mud underfoot, but its layout should not direct water toward the sauna or another low spot. Keep soil, mulch and accumulated debris away from the exterior and base as the manufacturer specifies; do not cover parts that need to remain accessible. When planning a position for the HCF-300 sauna, show nearby roof edges, downspout outlets and hard surfaces alongside the proposed footprint. Distinguish water falling directly from an eave from water arriving across paving, since your site plan should identify each source rather than treating the whole corner as simply wet. If nearby roof drainage feeds the site, resolve its route before installing rather than relying on repeated cleanup. Check the proposed position again after any drainage changes, using the same observation points so you can compare conditions before and after the work.
Allow exterior access and follow ventilation guidance
Avoid planning a tight enclosure of shrubs, stored items or screening around the sauna. The exterior should remain reachable for inspection and maintenance, and the surrounding layout should not trap leaves and damp debris against it. Some open space around a structure can also help the exterior dry after rain, but the required clearances are model-specific. A fence, outbuilding or dense planting may limit access even if the footprint technically fits. Mark nearby obstacles on your plan and check the manufacturer’s stated separation requirements before finalizing the position.
External space around the structure is not the same as ventilation inside the sauna. Follow the current manufacturer manual for ventilation and installation details rather than using a generic vent diagram or a made-up spacing rule. For the LCF-300 sauna, keep the manufacturer’s installation requirements alongside the garden layout when discussing the position with your installer. The layout should identify fences, planting and other obstacles; the technical guidance should establish the requirements that apply to the sauna itself. If a proposed screen or storage area conflicts with those requirements or blocks maintenance access, revise the surrounding arrangement before finalizing it. Do not treat an open strip on one side as a substitute for checking the other sides. This keeps the siting decision focused on exterior moisture and access without attempting to redesign the sauna’s ventilation.
Plan for planting, shade and irrigation
Garden beds and watering systems can create local wet spots that are easy to miss during a dry visit. Check where sprinkler heads reach, whether hoses are commonly left beside the planned location and whether rainwater drains from a raised bed toward the base. Aim regular watering away from the sauna and avoid planting that will make the exterior hard to reach. Shade can slow the drying of soil and surfaces, so compare sheltered corners with more open areas after wet weather rather than assuming shade is either harmless or a problem everywhere.
Consider how planting will change as it grows. Dense foliage, fallen leaves and mulch can hide a wet patch or make it harder to spot water collecting near the base. Keep enough room to see and maintain the exterior, and check any limits on nearby vegetation in the manufacturer’s instructions. When planning around the Thermowood Barrel Sauna S-140, mark existing beds and irrigation coverage on the layout before adding new planting or screening. Separate planting you intend to retain from features you can move, so the installer can see which parts of the arrangement are flexible. Include access for clearing leaves and tending the beds without piling material beside the sauna. If installation work would disturb large roots, seek advice from a qualified tree or landscape professional before deciding where to excavate. Review the planting plan alongside the sauna position, rather than filling every remaining gap.
Keep the entrance route usable in wet weather
Plan the path as part of the sauna location, not as an afterthought. Mud, puddles, wet leaves and seasonal ice can make a short walk inconvenient or difficult to use. Choose a route that can be kept clear and that does not collect water from the sauna site or nearby paving. A hard surface is not automatically the answer if it sends runoff toward the structure. Consider how the approach will work in the weather you actually experience, including rain and snowmelt, and check whether maintenance access can be kept open without crossing a persistently soft patch.
Use the manufacturer’s layout drawing to confirm the entrance position and any door-opening space rather than inferring it from a product photograph. For a candidate such as the HC-150 sauna, mark the entrance and approach on the site sketch before laying out a permanent path. Allow room for people to approach and for routine access to the outside of the structure; a narrow route beside a fence may be difficult to keep clear. Trace the walk from the house to the entrance, noting where it crosses puddles, soft ground or runoff from paving. Consider where someone would stand while opening the door, not just whether the path reaches it. If the route needs steps or a change in level, ask the installer how those features should meet the chosen base and drainage plan. Resolve that junction before treating the path layout as complete.
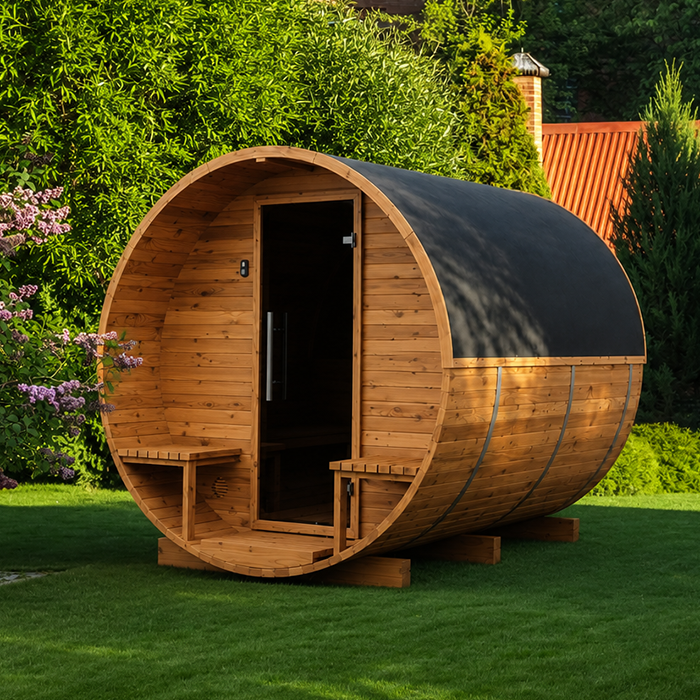
Coordinate drainage work and service routes
If the proposed site needs grading, a drain or another change to how water moves, plan that work before setting the sauna position. A fix that clears one patch can shift water to a different part of the garden, a walkway or neighbouring land. Ask a qualified drainage or landscape professional to review the intended route where the consequences are uncertain. Before any excavation, arrange for underground services to be identified through the appropriate local service or a qualified contractor. Do not guess where buried utilities run, and do not use a general siting article as excavation or construction instructions.
Where the chosen configuration needs electrical, plumbing or other services, have the route and installation requirements confirmed by qualified local professionals. For the HC-225 model listing, confirm the offered configuration before planning connections; the model name alone does not establish which services are required. Put the proposed service routes on the same plan as the base, access path and drainage work, rather than adding them after the location is fixed. Mark routes that are still provisional so they are not mistaken for an agreed installation plan. If more than one contractor is involved, give each the same layout and identify any places where their planned work overlaps. Ask the appropriate professionals to resolve those conflicts before excavation or base preparation begins. This is especially important where a proposed connection crosses wet ground or occupies space already set aside for drainage or maintenance access.
Confirm the complete layout before installation
Bring the observations together in one site plan before installation work starts. Show the proposed footprint, entrance route, nearby buildings and hard surfaces, visible runoff paths, downspouts, planting and known service routes. Add the support plan confirmed for the actual ground, along with the manufacturer’s clearances and any access needed for maintenance. Mark items that still need confirmation rather than filling gaps with estimates. Sharing one plan with the sauna installer and any drainage or service professionals helps reveal conflicts early, such as a path crossing a wet channel or a base occupying the only route for water.
Review the location after wet weather if the earlier assessment took place during a dry spell. If water still collects at the proposed base, the ground remains saturated, flooding is a concern or the drainage plan is uncertain, pause and resolve those questions before proceeding. After installation, keep an eye on the site when heavy rain or thaw changes runoff, and remove debris that blocks existing drainage routes. The right position is one with a confirmed support plan, manageable surface water and practical access—not simply the driest-looking patch on a sunny day.
Frequently asked questions
Is a humid garden automatically unsuitable for a sauna?
No. Humid air is different from ground that stays saturated or a site that receives runoff. Observe the proposed location after rain and thaw, then check the support and clearance requirements for the sauna you are considering.
Can a raised base make a saturated spot suitable?
Not necessarily. A raised support does not, by itself, establish that the ground is stable or that water will drain safely. Have the proposed base assessed against the manufacturer’s requirements and the site conditions before deciding.
Should I place the sauna under an eave for shelter?
Do not assume an eave will keep the site dry. Roof edges can concentrate rainwater, and the exact clearances for the sauna still matter. Check where downspouts discharge and consult the manufacturer’s installation guidance.
How much space should I leave around the sauna?
There is no universal clearance to use for every model and site. Follow the current manufacturer drawings and manual, allowing for the specified clearances as well as access to inspect and maintain the exterior.
Will sauna ventilation solve moisture around the base?
No. The sauna’s ventilation guidance concerns the sauna itself; it does not correct standing water, saturated ground or runoff against the base. Address those site conditions separately with a qualified professional where needed.
In a persistently wet garden, good siting depends on understanding where water goes, what the ground is like beneath the proposed base and whether the entrance can remain usable. Observe the site in wet conditions, record runoff routes and check the exact sauna’s installation documents. If the ground stays saturated or drainage changes are needed, resolve those questions with a qualified professional before installation.
