
Buying a Greenhouse for Seed Starting: Benches, Light & Temperature Control
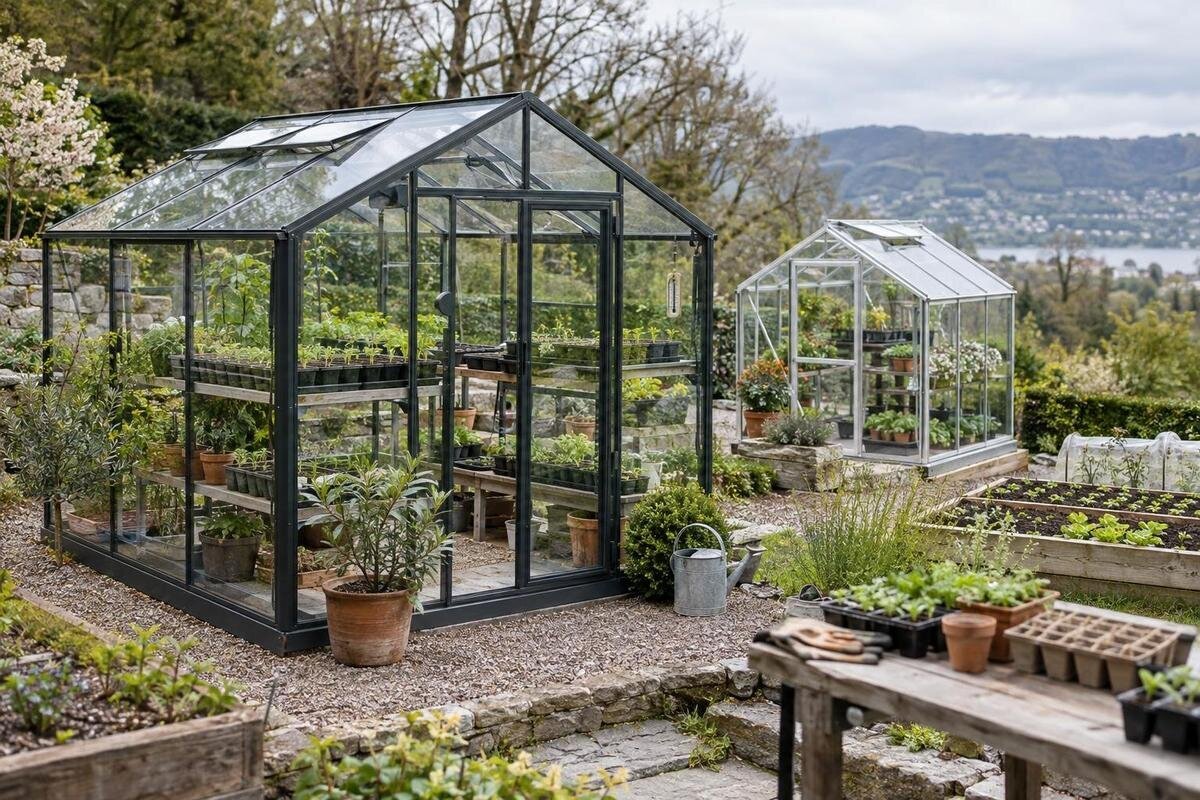
Seed-starting greenhouse buying guide
A greenhouse for seed starting has to fit two things at once: the trays you want to raise and the conditions you can monitor and manage. A large outer footprint does not guarantee convenient bench space; bright sun at one hour does not show how light changes across the day; and an enclosure does not promise a stable temperature. Begin with peak tray demand, map the site and access, then compare documented layout and control features. That keeps the purchase focused on a usable growing routine, rather than simply the largest model you can fit.
Size the greenhouse for your busiest sowing period
Work out capacity from the busiest weeks of the year, not from the number of seed packets in storage. Count trays that will overlap, including slow-growing starts and later sowings, and note their actual dimensions. Leave space to label, water and inspect each tray without lifting one to reach another. If you usually start just a few flats, an oversized structure can mean more area to monitor without improving your workflow; several simultaneous batches may call for staging room beyond the trays themselves. A week-by-week sowing and transplant calendar reveals peak overlap better than a single season total.
List the tasks that must happen under cover: filling trays, sowing, sorting labels, checking emergence, watering and moving starts. Decide whether potting supplies and tools belong there too, since every work surface set aside for preparation reduces growing space. Group crops by sowing date or care instructions. Seed varieties can call for different conditions during germination and after emergence, so a single crowded bench may make it harder to keep track of what each batch needs. Plan for the routine you actually follow, including the time seedlings remain in the greenhouse before they move on. Also allow for trays that cannot leave immediately because outdoor beds are not ready or weather delays transplanting. A few extra places for holding hardened-off or newly potted seedlings can prevent the bench plan from failing during a busy week.
Measure usable bench space, not just the footprint
Measure the proposed site and draw the greenhouse footprint, but do not treat its outside dimensions as the amount of usable growing room. Walls, framing, the entrance and fixed obstacles affect where a bench can go. Note the approach to the door and the space needed to carry a tray in or out. Compare listed interior dimensions, when available, with the width and length of the benches you expect to use. Leave a practical route to reach plants rather than filling every corner, and check that the route still works when you are carrying supplies. Include the clearance needed to turn, set down a tray and open the door without striking a bench. An aisle that looks adequate on a drawing may be awkward once watering cans, bins, or a second person are in the space. Test the route with objects that approximate your tray and supply sizes before treating a layout as workable.
Check what a specification actually describes: overall size, interior area, doorway or a dimension for one section. Those figures are not interchangeable. The aluminum classic greenhouse listing should be assessed against its published dimensions and configuration; its name or an exterior photo cannot tell you how much clear bench area remains. Sketch the proposed layout to scale and mark the entry, obstacles and access route. If a product page does not state a measurement you need, treat it as unknown rather than estimating from an image.
Choose a bench layout that keeps trays within reach
Think about how each tray will be reached. A bench along one side may leave the aisle clear but offer less growing surface; a deeper bench can add room while making the far edge harder to inspect or water. If benches are accessible from both sides, that may change the useful depth, but the fit depends on your space and walking route. Mark tray dimensions on a mock-up or the floor and test whether you can work without reaching around an obstacle. Consider where you will stand to read labels and check seedlings as they grow. Plan for the fact that tray placement changes during the season: newly sown trays, seedlings at different stages, and plants awaiting transplanting may need separate areas. A layout with a modest amount of flexible space is easier to reorganize than one designed around a single, permanently packed row of flats.
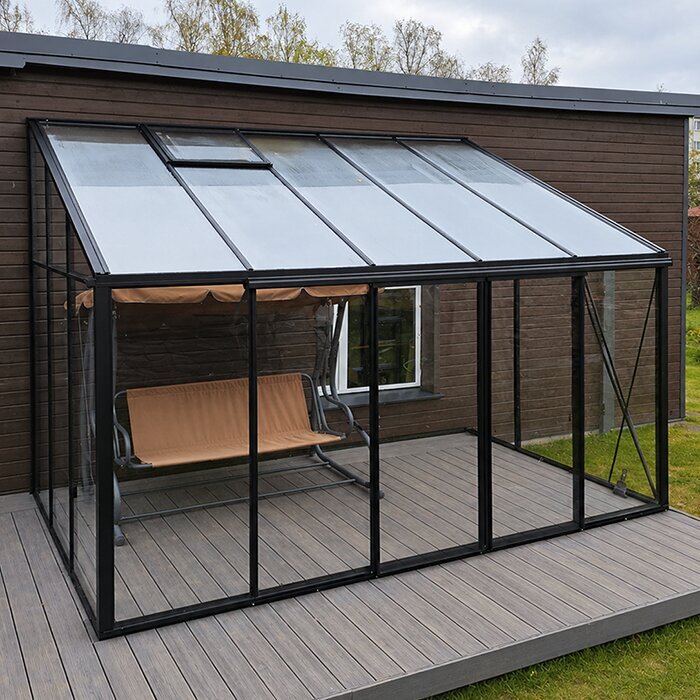
Bench height and arrangement affect daily handling as much as area. Compare measured heights with your usual working position, so labels are easy to read and trays are within comfortable reach. Multi-level shelving may add surface in some layouts, but lower tiers can be shaded or harder to access, depending on the structure and light path. If you are considering a bench that moves, confirm that the product is designed for repositioning rather than assuming this from a photo. Use the stated measurements and access details in the aluminum lean-to greenhouse listing to assess your own plan, not to infer a convenient bench layout from its name.
Reserve room for potting supplies and daily tasks
Keep growing space separate from a small potting and supply zone if you plan to fill trays or label them inside. Reserve a place for clean empty flats, labels, hand tools and watering gear, and avoid turning the work surface into a permanent stack of supplies. Soil, pots and a potting table can take more room than expected. List the items you will store to judge whether they need dedicated shelving, a cabinet or space elsewhere. This prevents you from counting one bench as both a work surface and a full growing area.
Storage names and photographs do not show how much room is available or whether its layout suits your supplies. When reviewing the aluminum greenhouse with built-in storage listing, check the configuration and measurements stated on its page, then decide how much bench area remains for seed trays. Plan the route between storage, water and growing benches as part of the same drawing. If you need to carry water or supplies into the greenhouse, make sure the path stays clear. A compact arrangement can still work when each task has a place and equipment is easy to reach.
Evaluate sunlight at the site throughout the day
Before choosing a location, observe the light there at several points during a typical day and, if possible, in the season when you intend to sow. Nearby buildings, fences, evergreens and leafing trees can cast different shadows over time; a site that seems sunny at noon may be shaded earlier or later. Mark where the shade falls and note how long it lasts. If your sowing schedule spans different seasons, check exposure at more than one time of year. This is more reliable than judging a location from a single visit.
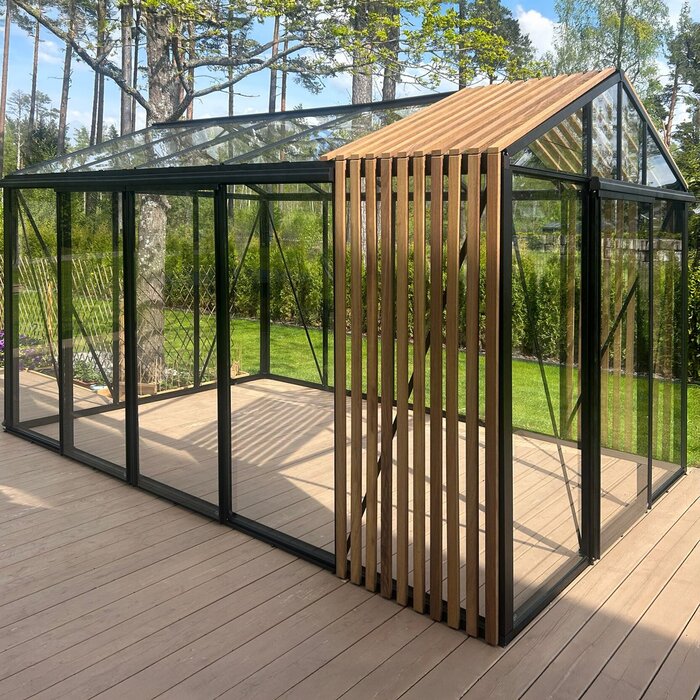
Match those observations with the light needs of your crops and how long seedlings will stay in the greenhouse. Requirements vary by plant and stage, so follow seed supplier guidance rather than assuming every start needs identical exposure. Light can also vary between bench positions: a spot near a side or below a nearby obstruction may receive a different amount than the center. When comparing a product page such as the aluminum limited-edition greenhouse listing, look for explicit glazing information. Do not treat its name or appearance as evidence of light transmission or a suitable location.
Compare glazing, shade and supplemental light
Plan for changing light, not only the brightest hour. On a bright day, some seedlings may need protection from intense direct sun, while fixed shade can reduce useful light on cloudy days. Removable or adjustable shading gives you more scope to respond, but its suitability depends on the greenhouse and how you will use it. Decide whether you can adjust it by hand and check plants regularly. Do not assume shade equipment is included unless the product description or order details say so, and consider how you will respond as the season changes.
Supplemental grow lights are a separate buying decision, not an automatic benefit of choosing a greenhouse. Consider whether the site and glazing provide the light your crop plan requires, and whether a light can serve the planned bench area without blocking access. Product photos do not confirm mounting points, electrical capacity or included equipment. Check the documentation for explicit details about accessories and compatibility. Think through where fixtures, cords, controls, and trays would sit during watering and routine plant care, and avoid designing the bench plan around equipment that has not been confirmed. If you are considering powered lighting, follow the equipment manufacturer’s instructions and consult a qualified professional about installation or compatibility where appropriate. The Garden View T greenhouse listing should be judged by the information it states, not its name, when you compare it with your measured layout and lighting plan.
Match temperature management to each crop
Separate germination requirements from the conditions seedlings need after they emerge. Species and varieties differ, and growing guidance may call for warmth at sowing while later growth needs a different balance. Read the seed packet or supplier advice before deciding what temperature control to buy. Write down the conditions required by the crops you grow most, and note whether several batches will need different settings at the same time. One thermostat setting, if you use one, is not a universal answer for every tray; plan around the actual mix of plants.
An enclosed greenhouse can warm and cool as sunlight and outdoor conditions change; it does not guarantee a particular temperature. Decide how you will measure conditions where the trays sit, rather than relying only on a reading in a convenient but unrepresentative spot. Track highs and lows during typical weather before investing in control equipment, then identify which crops or times may need a response. Compare stated dimensions and ventilation details in the Bloomcabin Oasis pyramid greenhouse listing as product information only; its name does not establish a seedling temperature range or climate performance.
Use ventilation to manage changing temperatures
Ventilation is part of temperature management because you need a way to respond when the greenhouse warms, especially as sunlight changes. Compare the stated position and operation of openings when that information is available, and consider whether you can reach them during routine work. A setup that relies on someone opening vents manually calls for regular attention. If an automatic control is offered, verify whether it is included or compatible rather than assuming it comes with the structure. Check that planned benches will not block access to openings you expect to use.
Ventilation, shade and heating address different parts of the growing environment, and none removes the need to watch conditions. Consider whether air can move around the planned tray area, while following the greenhouse and equipment manufacturers’ guidance. In the Bloomcabin Prestige Premium greenhouse listing, look for the exact vent and accessory details provided rather than inferring them from the name or appearance. If product information leaves an important climate-control point unclear, resolve that question before selecting add-ons or planning how the structure will be set up.
Plan for heaters, heat mats and monitoring
Decide whether your plan relies on ambient conditions, seedling heat mats, supplemental lighting or greenhouse heating. These serve different purposes: a mat warms a propagation tray, while space heating is intended to affect the greenhouse air. Check each device’s instructions, suitable conditions and stated coverage; do not estimate its suitability from the greenhouse footprint alone. If you need active heat, compare the conditions your crops require with the equipment specifications and plan how you will monitor them. One greenhouse climate may not suit several batches with different requirements at the same time.
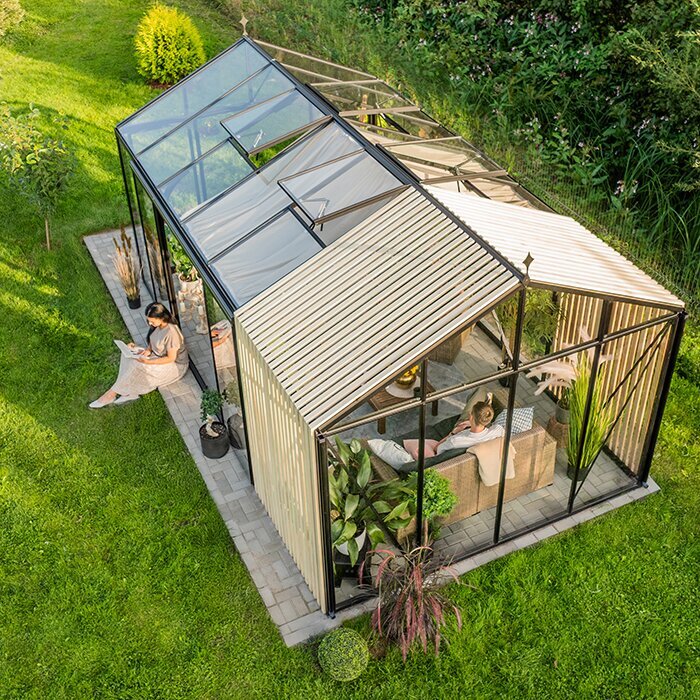
Include the daily work in your buying decision. A thermometer or monitor is useful only if someone checks it and can respond; consider how often you can visit and what you would do during an unexpected warm or cold spell. Keep a simple record of readings, weather, and changes you make during an early sowing period. It can show whether a problem occurs at a particular time of day or affects only one bench position, rather than suggesting that every tray needs the same response. Before adding powered equipment, confirm it is intended for the location, follow its manufacturer’s instructions, and consult a qualified professional about electrical installation or compatibility where relevant. Evaluate the Bloomcabin Orangerie greenhouse listing using explicit product information, not assumptions about included equipment or climate performance.
Check the full configuration before ordering
Make a side-by-side comparison of usable interior dimensions, bench area, access, observed site light, stated glazing and shading details, ventilation, and temperature-control accessories. Mark each feature as confirmed, optional or unknown. Do not count benches, vents, shelving, shade or controls as included unless the product description or order configuration explicitly says so. Compare like with like: one listing may describe a basic configuration while another may show accessories separately. This record makes missing details visible and helps you identify which unanswered questions could change your decision.
Before ordering, check the information about site preparation, assembly, delivery access, returns and accessories ordered separately. Review the product and order terms rather than inferring them from a product-family name or photograph. Compare the total cost of the configuration you actually need, using current quoted amounts for any separate benches or controls instead of considering the base structure alone. For questions about the structure or powered equipment, ask the manufacturer or a qualified installer. A careful order check confirms that the greenhouse, bench plan and temperature routine fit together before you commit.
Frequently asked questions
How much bench space do I need for seed starting?
Count the trays that overlap during your busiest weeks, then allow room to reach them and for any potting or staging surface you will use inside. Measure your trays and sketch them onto the planned benches. A greenhouse’s outside footprint is not the same as its usable bench area.
Can a greenhouse provide enough light for seedlings?
It depends on the site, season, glazing and crops you plan to grow. Observe the proposed location at several times of day, and check product information for explicit glazing details. Follow seed-specific growing guidance rather than assuming a sunny site provides even light at every bench.
Will a greenhouse keep seedlings warm enough?
Not in every condition. Temperature inside changes with sunlight and outdoor weather, and crops may need different conditions during germination and after emergence. Check seed supplier instructions, record readings where trays sit, and compare any heating equipment with its manufacturer’s specifications.
Are fixed or movable benches better?
Neither suits every routine. Fixed benches make a layout predictable; benches designed to move may allow you to change the arrangement. Compare dimensions, access and stability, and confirm that the configuration is actually included before buying.
Do I need vents in a seed-starting greenhouse?
Ventilation can help you respond to rising temperatures and changing conditions, but the arrangement and operation vary. Check which openings and controls are specified, whether you can operate them during daily work, and whether any automation is included or sold separately.
Use your peak tray count and task list to set the size, then compare bench access with the measured interior dimensions. Check light at the actual site and plan temperature monitoring around the crops you grow. Treat ventilation and active controls as features to verify, not assumptions. The right greenhouse for seed starting is one whose documented configuration supports your routine and whose conditions you can monitor throughout the growing season.
