
Buying a T-Shaped Greenhouse: Is the Layout Right for You?
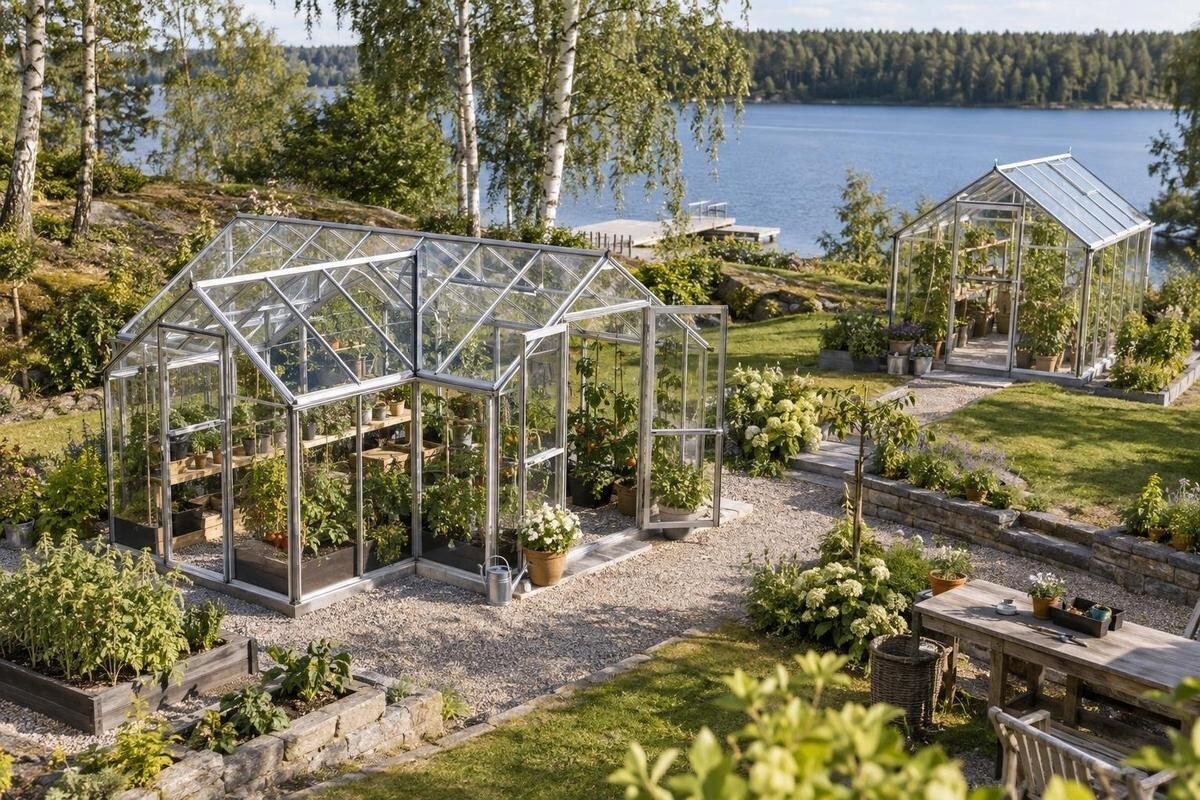
GREENHOUSE BUYING GUIDE
A T-shaped greenhouse can look like an efficient way to combine a long growing area with a crossbar, but the outline alone does not show whether it will work in your garden. Door positions, paths, beds, and everyday tasks all affect how much of the interior is genuinely useful. The main buying question is whether the two arms and extra corners solve a real planning need, rather than simply adding a more complex footprint. Before you buy a T-shaped greenhouse, compare the complete plan with your site, growing routine, and the model’s documented requirements. This guide focuses on that decision and on the product details to verify before ordering.
01
What a T-shaped greenhouse layout means
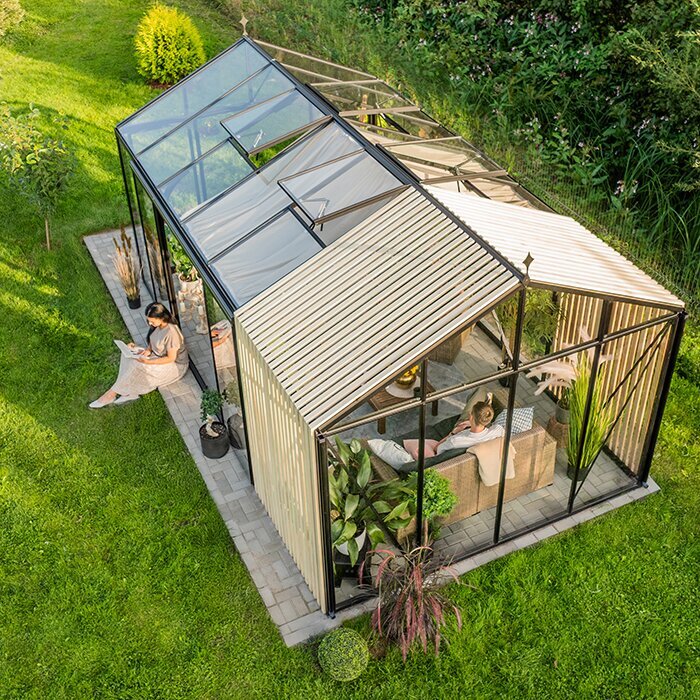
Viewed from above, a T-shaped footprint has a main run that meets a crossbar. That description does not tell you the proportions: the stem might be long or short compared with the crossbar, and the junction can sit in different places. It also does not establish where the entrance is. For a buying decision, treat the T as an outline to test, not as a promise of a particular interior arrangement. Find the model drawing and identify the arms, the point where they meet, and each access point before deciding where plants or work areas could go.
The shape may help organize different tasks, such as raising seedlings in one area and keeping larger plants in another, but it does not create separate rooms or conditions by itself. The interior may remain one connected space unless the model plan shows otherwise. Consider whether the meeting point between the arms will be a passage, a potting area, or a place where plants may collect. That decision affects whether the outline feels purposeful or merely complicated. A T-named listing such as Garden View T greenhouse is a candidate to inspect; its name alone does not tell you its proportions, door locations, or fit in your garden. Compare those details with the way you intend to use the structure.
Measure the entire footprint and surrounding space
Measure both arms of the proposed layout, not just the longest side. A T can occupy ground in several directions, so note the full outline and check every edge against fences, walls, trees, paths, and other fixed features. Compare your measurements with the model’s stated dimensions, and confirm what those figures refer to. A footprint measurement may not include every clearance you need around the structure or at an entrance, so use the product drawing and instructions to understand the space required. Mark the centerline of the main run and crossbar as well as the outer edges. This makes it easier to see whether the junction lands near an existing path, planting bed, or feature that would limit how the greenhouse can be approached.
Mark the outline on the ground with stakes, string, or another temporary guide, then walk around it as you would during ordinary garden work. Include the route from the gate or driveway, space needed to reach the entrance, and any clearance shown for doors. Look beyond the footprint itself: consider whether you can mow, prune nearby plants, maintain fences, or move garden equipment around the completed structure. Keep one comparison sheet for each candidate. A different product label, such as aluminum classic greenhouse, is not a substitute for measurements either; compare the documented dimensions and plan rather than reading a layout into the name.
02
Trace the routes you will use inside
Picture a normal day of greenhouse work: carrying a tray inside, watering, pruning, harvesting, and moving tools back out. Trace those journeys from the actual entrance to both ends of the main run and each end of the crossbar. A route that looks obvious on a drawing may feel awkward if a bed, bench, or container blocks the junction. Decide which areas you need to reach frequently and whether the plan gives you a clear way to get there. Also consider who will use the greenhouse and whether two people may need to pass or work in it at the same time. A route that is acceptable for occasional access can become frustrating when it is the path used for every watering or harvest.
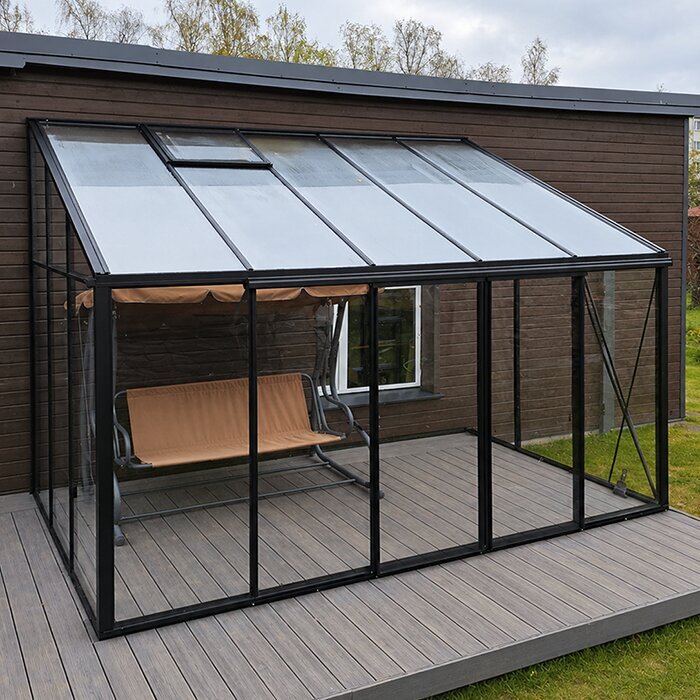
Use tape, string, or a scaled sketch to represent planned paths and furniture before you commit. Check whether you can carry what you use without repeatedly shifting pots, and whether the route still works when plants are mature. Think about the direction in which you will carry watering cans, compost, trays, or harvested produce, rather than testing only an empty floor. If a T-shaped candidate’s access does not suit your routine, compare its documented plan with other listings, such as an aluminum lean-to greenhouse. Judge each by its actual entrances and travel paths; the category name alone does not establish accessibility.
Match the arms to your growing plans
Write down what you expect to grow and do in the greenhouse before assigning a purpose to each part of the T. Include the space needed for seed starting, larger plants, container growing, potting, or other regular tasks. Then mark where each activity could fit on the plan. Consider how often you will need to move between areas and whether a task near the junction would interrupt access to the other arm. Give each arm a specific job only when that job can be supported by its available floor area, light, and route from the entrance. A vague plan to use an arm “for extra plants” can make it harder to judge whether the added footprint is worthwhile.
A crossbar can suggest separate zones, but it does not guarantee that each one will have the light, reach, or usable dimensions you want. Check the available plan and measurements against the plants and equipment you have in mind; avoid assuming that a visually distinct arm will function as an independent growing area. It can help to list seasonal changes as well, since seed trays, tall summer plants, and overwintering containers may require different amounts of floor and bench space. If a non-growing use such as storage is also important, mark it separately. A label like aluminum greenhouse with built-in storage does not tell you how much growing space remains or where that storage sits, so consult the specific product details.
03
Plan beds, benches, and comfortable access
Sketch the beds, shelves, benches, or containers you expect to use at their intended sizes. Fit them into the greenhouse plan before buying, rather than estimating growing area from the outside outline. Pay particular attention to the T’s junction and the ends of the crossbar: these can be useful places for work surfaces, but only if they do not narrow a route you need. If you plan to move containers seasonally, leave room for that task too. Include the space occupied by items when they are being used, not only where they are stored. For example, a potting surface may need clear standing room in front of it, and trays temporarily set down during planting can quickly reduce an otherwise adequate passage.
Think about how you will reach plants from the paths you have drawn. Test the distances with your own equipment or a mock-up instead of relying on a standard bed width or a generic idea of reach. Consider where watering tools, pots, and hand tools will be kept, and how you will turn or carry a tray through the space. Also allow for open doors, temporary staging, and the occasional task of removing a large container. A layout that fits more benches on paper may be less practical if reaching the plants means stepping into beds or shifting furniture.
Check sunlight, shade, and site conditions
Observe how sunlight and shade move across the proposed site during the parts of the growing season that matter to you. Nearby buildings, fences, and trees can shade different sides of a T-shaped outline at different times, and the crossbar may occupy ground with a different exposure from the main run. Compare those observations with the light needs of your planned plants. Do not assume that a particular orientation will suit every garden or every greenhouse; check the model guidance and assess the conditions on your own site. Make notes at more than one time of day and, where practical, in more than one season. This gives you a more useful picture than a single visit, especially when foliage, neighboring structures, or the sun’s angle changes the shade pattern.
Also note slopes, areas where water collects, overhanging branches, and the location of convenient water access. Revisit the site after rain if possible, because an apparently level, dry spot may behave differently during wet weather. These are site-planning questions, not a reason to guess at a base design or make structural changes without advice. Review the exact model’s requirements, and ask a qualified installer or other appropriate professional about concerns involving ground conditions, drainage, utilities, or support. If the site needs work, include that work in your budget and schedule before comparing greenhouse models.
04
Compare the T with other greenhouse footprints
A T layout is one way to organize a greenhouse, not proof that you will get more usable space. Compare it with simpler outlines using the same measures: total area, room for beds, clear paths, entrance locations, and how much of the ground each plan leaves easy to use. A more complex outline may make sense when the arms have clear purposes; if they create corners that are difficult to plant or reach, a different footprint may suit the garden better.
Use actual plans for every option and assess each one against the same growing list and site sketch. Record what each outline leaves available for circulation, working, and plant placement instead of comparing only overall dimensions. A rectangular design may be easier to arrange when a single central route serves all your plants, while a T may be worthwhile when its arms support separate, regularly used activities. Do not assume that a category label reveals a product’s dimensions or interior. For example, a Pyramid Greenhouse Bloomcabin Oasis listing should be evaluated from its own documented plan, just as a T-shaped model should. The useful comparison is how the specific greenhouse fits your garden and routine, not which shape sounds roomiest.
Check delivery, assembly, and site requirements
Consider how a greenhouse package would reach the chosen site. Measure the route through gates and around corners, and identify any narrow passage, step, or surface that could affect moving components. Before placing an order, ask what package or unloading information is available, who is responsible for receiving and moving the parts, and whether assembly is included or arranged separately. Do not assume that delivery or installation services are part of a product listing unless the order details say so.
Read the exact model’s assembly and base requirements before deciding that your site is ready. Confirm which components are included, what may be optional, and whether the instructions identify conditions that require professional help. Set aside time for preparing the site, checking the delivered parts, and completing any steps the documentation calls for; these practical considerations can affect when the greenhouse can be used. Keep a written list of questions about access, preparation, and assembly so that answers for one model can be compared fairly with answers for another. Ask the seller or installer to clarify anything you cannot resolve from the documentation. Apply the same checks to each candidate, including a listing such as Bloomcabin Prestige Premium greenhouse; its name does not establish the assembly process, package contents, or site requirements.
05
Verify the exact model details before paying
Use the product page and its supporting documents to confirm the overall dimensions, floor plan, entrance positions, and any interior measurements provided. Check that you are comparing the same version or configuration if more than one is described. Read the information about frame, covering, ventilation, and included components rather than inferring those details from a model name. A listing such as aluminum limited-edition greenhouse still needs to be assessed by its own published specifications; wording about a collection or edition does not determine whether it matches your T-shaped plan.
Separate standard items from optional accessories, and confirm what is included in the quoted total before you compare costs. Review assembly instructions, maintenance guidance, warranty terms, and the seller’s purchase and return conditions for the exact model. Check that any option you are considering is compatible with the version in your plan, and note whether it changes the interior space or access you have drawn. If a key dimension or requirement is missing, request clarification before ordering rather than filling the gap with an estimate. Keep the plan, product details, and any answers together so you can check that the item being ordered matches the greenhouse you measured for.
Decide whether the shape earns its space
Before choosing, rank the factors that matter most: fitting the garden, usable growing area, convenient routes, room for planned equipment, and the total cost of the greenhouse and any site preparation. A T-shaped layout is a stronger candidate when its arms support tasks you will actually do and its junction does not compromise access. If one arm has no clear purpose, compare the space and cost with a simpler option instead of treating the extra outline as a benefit on its own.
Run through an ordinary workday using the final plan. Imagine bringing supplies in, tending plants in both arms, and removing what you harvest; note any point where you would need to cross a crowded area or move equipment. Repeat the exercise for a busy period, when seedlings, pots, and tools may all be in use at once. If your intended use includes needs beyond growing, examine other product descriptions and plans on their own terms. A listing such as Bloomcabin Orangerie is not evidence of a particular layout or capacity; verify its stated purpose and details before comparing it with a T-shaped greenhouse.
Frequently asked questions
What makes a greenhouse T-shaped?
Its footprint has a main run that meets a crossbar, forming a T when viewed from above. The proportions, door locations, and interior arrangement vary by model, so check the specific plan rather than assuming every T-shaped greenhouse is laid out the same way.
Does a T-shaped greenhouse provide more growing space?
Not necessarily. The outline may cover more ground without providing more usable bed or bench area. Compare the model’s listed dimensions and plan, then account for access routes, corners, and any areas reserved for work or storage.
How should I check whether a T-shaped greenhouse fits my garden?
Measure the full proposed footprint and map it against boundaries, obstacles, garden paths, and the route from the entrance to the site. Include the clearances indicated in the model’s drawings, and check that doors and daily access will work where you plan to place them.
What should I verify before ordering a T-shaped greenhouse?
Confirm the exact model’s overall dimensions, floor plan, entrance positions, included components, and requirements for the base or foundation. Also review assembly information, delivery and unloading responsibilities, optional items, and the purchase terms that apply to that order.
Is a T-shaped greenhouse suitable for growing different types of plants?
It can be, if the planned crops and tasks fit the actual space and access routes. The crossbar does not automatically create separate growing conditions, so consider each area’s light, reach, and intended use before assigning it to a particular crop.
Choose a T-shaped greenhouse when its measured outline fits the site and the shape gives useful space to tasks you already plan to do. The final check is practical: confirm that the doors, paths, beds, and work areas fit together on the exact model plan, then verify its site and ordering requirements. If the crossbar or junction adds area you cannot comfortably use, another footprint may be a better purchase. Let the drawing and your day-to-day routine, rather than the shape name, make the decision.
