
Why Is Condensation Dripping on My Greenhouse Plants?
Greenhouse moisture troubleshooting
Condensation dripping onto greenhouse plants is often a local surface problem: moist air meets a roof panel, frame, or leaf that has cooled enough for water to form. A wet plant does not reveal which surface came first, and a single humidity reading rarely settles the question. Track where drops begin, when they appear, what the weather and watering were doing, and how nearby air and surfaces cooled overnight. A simple map, timestamped photos, and repeatable temperature and humidity notes can help distinguish condensation from a leak or irrigation splash before you change the setup.

How condensation forms on greenhouse surfaces
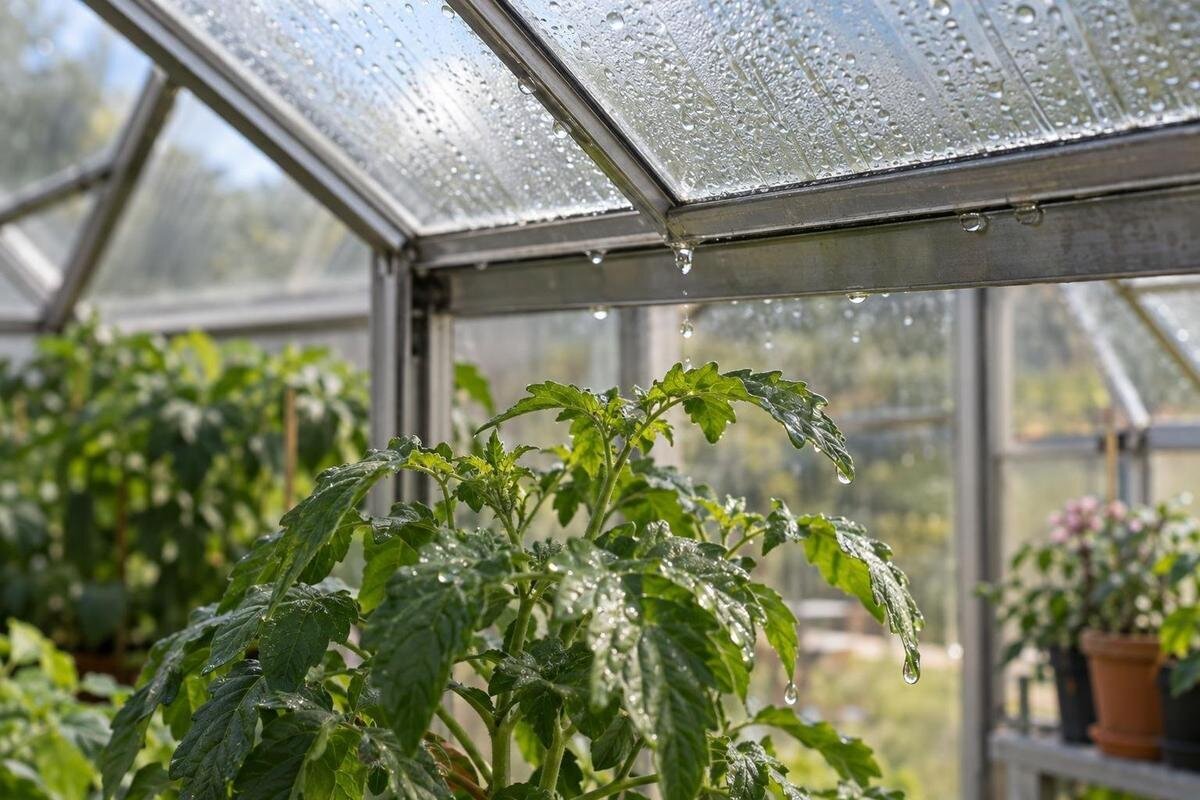
Condensation forms when water vapor in greenhouse air meets an interior surface at or below the air’s dew point. Moisture may come from damp growing mix, wet floors, and plants releasing water through transpiration; a leak is not required. After sunset, roof glazing, frame members, and leaves can cool at different rates, so air at plant height may still feel mild while one pane is already beaded. As droplets merge, they can run along a panel or frame and fall once they collect. That is why the plant catching water may be several feet from the first wet spot. The useful question is where liquid first appears.
A wet leaf by itself cannot identify the source. If the underside of a roof panel or frame is visibly beaded before foliage gets wet, overhead condensation is plausible. If individual leaves are wet with no matching wet surface above, condensation directly on leaf surfaces is possible; irrigation splash and a leak remain possibilities too. Note whether the wetness follows watering, rainfall, or a dry night. Rain can travel along a frame before dropping, while condensation can gather at panel edges, so neither a seam nor a timing clue proves the cause alone. Compare the sequence on a dry night with observations after rain, keeping the same viewing positions.
Map where each drip begins and lands
Sketch the greenhouse roof and growing area, then divide them into landmarks you can find again: the door end, ridge, sides, vents, benches, and crop rows. Mark each first wet spot separately from each landing spot. Add the plant or tray that received the drop, whether leaves above it were wet, and whether a pane showed beads, a film, or a runnel. If a drip moves, draw the path as best you can; mark unknowns rather than guessing. This simple map helps distinguish one repeatable cold patch from scattered droplets and makes observations on separate nights easier to compare.
Take a wide photo showing the plant and the roof area above it, then close-ups of the wet surface and any visible track. Use the same viewing positions and include timestamps; photos from different parts of the night can show when the pattern changes. Note rain, watering, and vent position alongside each image. For a planned purchase, use this map to identify where you need access for inspection and where benches would sit beneath roof joints. If you are considering the Lean-To Greenhouse range, request the drawing for the size you want and mark these locations on it. A floor-area figure alone will not show the relationship between plants, roof panels, and vents.
Compare overnight temperature and humidity readings
Use a data logger that records temperature and relative humidity through the evening and night, if one is available. Place a sensor at representative crop height, away from direct sun, wet foliage, heaters, and a vent’s direct airflow. A second sensor near the suspected drip zone can show whether conditions differ higher up. Do not let an air sensor touch a pane unless it is designed for surface measurement. Record each sensor’s location and height: readings from different spots are not interchangeable. Follow the device manual and use a consistent recording interval; a single reading at dawn may miss the change that produced the drip.
Keep the logger’s times aligned with your photos, and note outdoor weather, watering, and changes to vents or shade. Relative humidity depends on air temperature, so a high percentage at dawn does not by itself show that a pane is wet or reveal its temperature. If your logger calculates dew point, compare that air value with a separate surface-temperature reading made with a suitable instrument. When discussing a purchase from the Limited Edition aluminum greenhouse range, ask for the exact model drawing so you can plan representative sensor locations. Include the drawing and sensor positions with your records; this gives the supplier a clearer basis for discussing the observed conditions than a humidity percentage alone.
Check which greenhouse surfaces cool first
Inspect reachable interior surfaces across more than one roof area: broad glazing, edges, the ridge, frame members, corners, and areas around vents or doors. These are places to compare, not a fixed ranking. A panel edge or frame can behave differently from the center of a pane, and sun exposure, nearby shade, and wind may affect which area cools first. Note whether water begins as a film, separate beads, or a streak, and whether the same location is wet on successive nights. Don’t assume the darkest-looking patch is coldest; use observations and readings to check.
If you can measure surface temperature with a tool suited to that surface, follow its instructions and compare readings with the indoor dew point at consistent times. Infrared thermometers can give misleading readings on glass or reflective metal; check the instrument’s limitations before relying on a result. Stay off wet roofing and do not reach across equipment to take a measurement. For a prospective T-Model Greenhouse Orangery, ask how the proposed roof layout allows safe interior inspection and cleaning. Mark reachable observation points on its drawing. A panel that cools early and shows beads before water falls is a stronger suspect than one noticed only after plants are wet.

Trace the route from a wet surface to the plant
A drop’s landing point may be below or to one side of where it formed. Water can collect on glazing, move along a frame, and detach at a lower point; a plant beneath that point is the catcher, not necessarily the source. Starting from a wet leaf, inspect the directly overhead panel and nearby frame from a safe position, then follow any visible trail toward its upper end. Include supports, benches, hanging trays, and other objects that might redirect a drop or splash. Keep the inspection observational; don’t dismantle a roof part or seal a joint just because water appears nearby.
Photograph the first wet point you can identify, not only the drip’s final landing place. A short sequence from the same angle can show whether beads appear across a panel, travel toward a frame, or emerge at one concentrated point. Compare the map with rainfall: a line that appears after rain calls for a different investigation from a broad overnight film on a dry night, although timing alone is not conclusive. When comparing a replacement such as the Pyramid-type greenhouse, ask the supplier to explain the intended drainage paths and maintenance access using the exact model’s documentation. Use that information to assess the proposed layout rather than assuming a different roof design will eliminate condensation.
Check whether the foliage is getting wet directly
Condensation can form directly on foliage when a leaf surface cools to the local dew point, even if the roof above looks dry. Check more than one plant and note whether wetness is on upper or lower leaf surfaces, concentrated at the outer canopy, or tucked among leaves. Some plants also release liquid at leaf tips or edges through guttation, which is different from condensation. Don’t interpret every leaf pattern as a temperature signal: irrigation spray, runoff from a shelf, and water carried by hands or tools can create similar spots. Compare a wet leaf with the overhead surface, nearby pot rim, and floor to see whether there is a continuous path.
Record what is wet before the first morning watering, then inspect after watering on another occasion if practical; this can help separate timing without changing the crop’s needed care. Trays, shelves, stored items, and dense foliage can obscure a drop’s route, so include them in the sketch rather than assuming water fell straight down. If you are considering a greenhouse with built-in storage, request the interior layout and check where shelving and growing space would sit relative to roof joints. Plan enough access to inspect both the foliage and the surfaces above it. If leaf wetness repeats without overhead droplets, investigate leaf-level conditions separately from roof condensation.
Test ventilation without assuming it is the whole answer
Ventilation can affect condensation by exchanging indoor and outdoor air, but the result depends on when it operates and on the temperature and moisture of incoming air. An open vent is not a guaranteed fix: incoming air may cool surfaces, and outdoor relative humidity alone does not tell you how much water vapor it carries. First check what the existing vents actually do—when they open, whether anything obstructs them, and what the greenhouse manual says about manual or automatic operation. This is a diagnosis question, not a reason to leave a vent open without considering the crop and overnight conditions.
Test one safe, reversible ventilation change at a time, within the equipment instructions, while keeping watering, shade, and other conditions as steady as practical. Note when the vent opened and whether it actually moved, then compare readings and drip locations on nights with similar conditions. A circulation fan may mix air without exchanging it with outdoors, which matters if moisture removal is the goal. If you are evaluating the Bloomcabin Prestige Greenhouse, request the vent locations, opening arrangements, and applicable operating manuals for the version quoted. Those details let you compare how the proposed setup would operate overnight; a product name or exterior photograph cannot establish that.
Look for moisture sources around the plants
List moisture sources that could change overnight: recent irrigation, wet potting mix, damp flooring, standing water in trays, leaking hoses, and the number and condition of the plants. Transpiration continues after watering stops, so a dry-looking floor does not mean the air has no moisture source. Note the timing and location of each source, not just whether it exists; a spill near one bed may explain a local patch, while widespread surface wetness needs broader comparison. When possible, keep observation days separate from source changes so you can see whether one source matches the drip pattern.
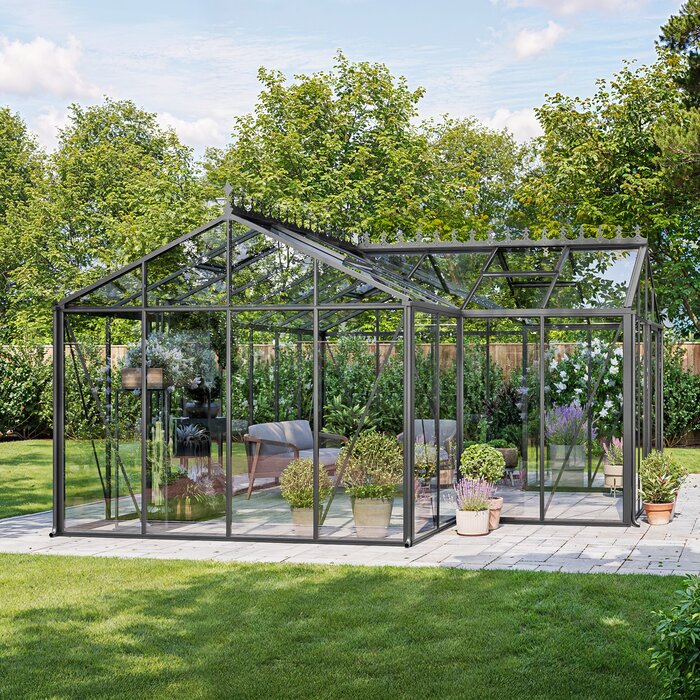
Change only a source you can address without disrupting a plant’s required watering. For example, correct an obvious irrigation leak or remove accidental standing water, then keep normal crop care as consistent as practical and note what changed. Avoid cutting back water simply to make the greenhouse drier; that creates a separate plant-care issue and muddies the comparison. When comparing large backyard greenhouse options, plan the crop area, irrigation zones, and wet work areas separately rather than treating the whole floor as growing space. Share that proposed layout when discussing ventilation with the supplier. More floor area alone does not establish how much moisture the plants and wet surfaces will release overnight.
How shading affects the investigation
Shade is not a way to remove water vapor from greenhouse air. It changes how much sunlight warms the enclosure during the day and can therefore shift the overnight temperature pattern, but the effect on a particular surface depends on the site and setup. If strong daytime sun appears connected to where or when surfaces become wet, record that pattern before adding or changing shade. Compare the temperatures and drip locations on similar nights; a change in light alone does not establish that condensation has been solved.
Before using a shading option, verify that it is intended for the exact greenhouse and follow the relevant product instructions. Ask whether the proposed shade would affect vent movement or access to the surfaces you need to inspect, and confirm when it should be deployed or retracted. If you are considering a Classic aluminum greenhouse, request documentation for any shading accessory included in the proposal; the greenhouse listing alone does not establish accessory compatibility. Track the actual shade position in your log, including any overnight use. This keeps a change in shading separate from a change in ventilation and helps explain why two otherwise similar nights produced different drip patterns.
Compare results before choosing a fix
Once you have a map and several observations, choose one factor to test, such as vent timing or an accidental source of standing water. Keep plant arrangement, normal watering, and other conditions as similar as practical, and record outdoor weather because different nights may not be comparable. Use the same photo positions and sensor locations. Then compare the first time a surface gets wet, its temperature relative to the air’s dew point, and where drops land—not only whether the plants seem less damp. If several things change at once, the result will not identify which change mattered.
Use the pattern to choose the next inspection. If broad interior surfaces become wet as they approach the air’s dew point, review moisture sources and ventilation together. If one panel, frame, or corner gets wet first, focus on that location. If water repeatedly follows rainfall at a seam, document the weather and ask a qualified greenhouse supplier or installer to assess possible water entry rather than trying random sealants. A map, timestamped photos, sensor locations, and notes about watering and vent operation make the pattern much easier to explain.
Frequently asked questions
Why does condensation often drip before sunrise?
Greenhouse surfaces can cool through the night while moisture continues to come from plants and damp growing media. Droplets may collect over several hours and fall later, but the timing varies. Compare observations from more than one night rather than assuming there is a fixed hour when condensation should appear.
How can I tell condensation from a roof leak?
Check whether wetness follows rainfall, irrigation, or a dry night, and look for the first wet point rather than only the plants below it. Broad beading on interior surfaces on a dry night supports condensation; a repeatable drip near a joint after rain may point to water entry. These are clues, not proof.
Will opening a greenhouse vent stop the drips?
It may help in some conditions, but opening a vent also changes temperature, and incoming air does not always reduce moisture. Check the vent’s actual operation and its manual. Record the opening and compare overnight readings and drip locations before deciding whether a change made a difference.
Does a humidity reading tell me how cold the roof is?
No. A temperature and relative-humidity reading can help estimate the air’s dew point, but it does not measure the roof surface. To compare the two, use a thermometer suited to that surface and follow its instructions; readings from a sensor in the growing area are not a substitute.
Should I water less to prevent greenhouse condensation?
Not automatically. Plants still need appropriate watering, and reducing it can create a separate problem. First look for accidental standing water, irrigation leaks, wet floors, and watering that coincides with the drips. Keep normal plant care as consistent as practical while you test other causes.
The most reliable diagnosis comes from connecting a drip to its first wet surface and the conditions at that time. When the map, photos, and overnight readings point to the same place or pattern, you can focus on the relevant moisture source, ventilation setting, shade, or possible water entry instead of making several unrelated changes.
