
Lean-To or Freestanding Greenhouse: A Site Comparison
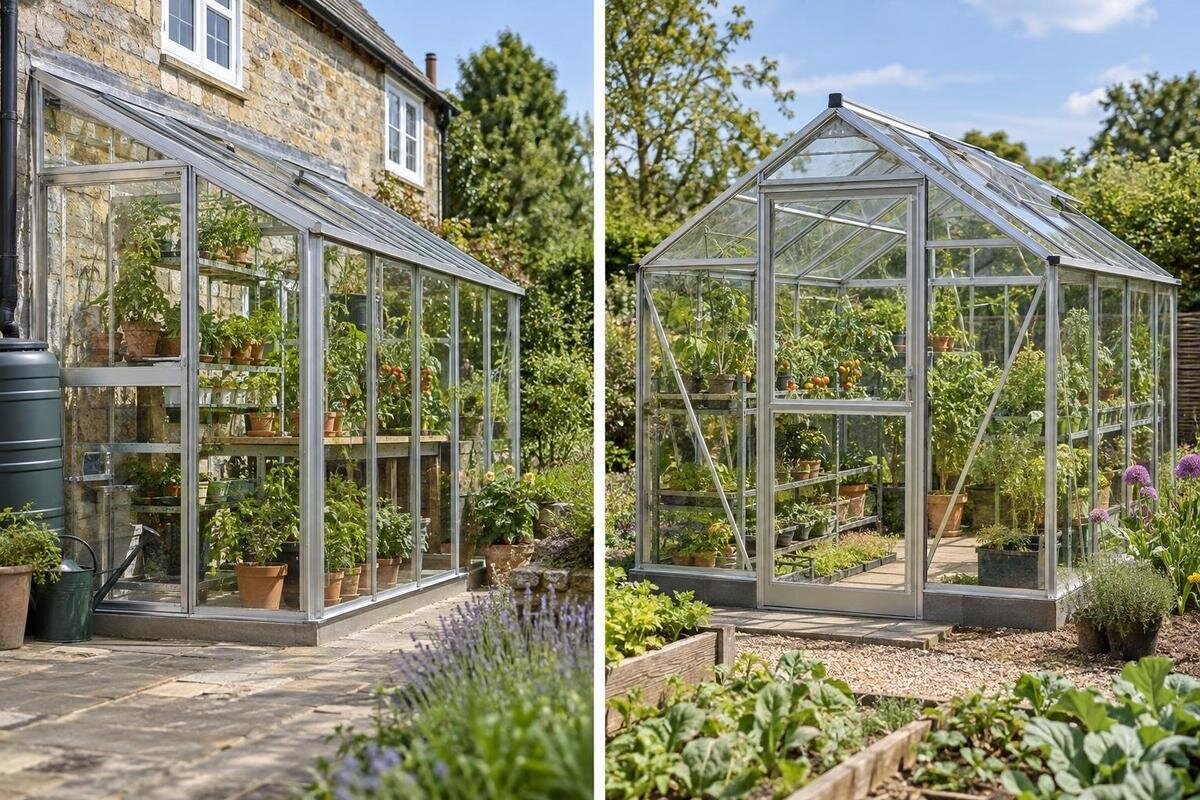
Greenhouse site planning
Choosing between a lean-to and a freestanding greenhouse is a site decision, not a contest over which shape uses less space. On the same plot, a lean-to makes the adjacent building wall, entry route, and wall-side strip part of the plan. A freestanding structure can be positioned independently, but it takes open ground and may need a clear route around it. Compare both on one measured drawing, keeping existing beds, trees, gates, paths, and utility points fixed. Then compare the space you can actually grow in, not just a model’s listed floor area.
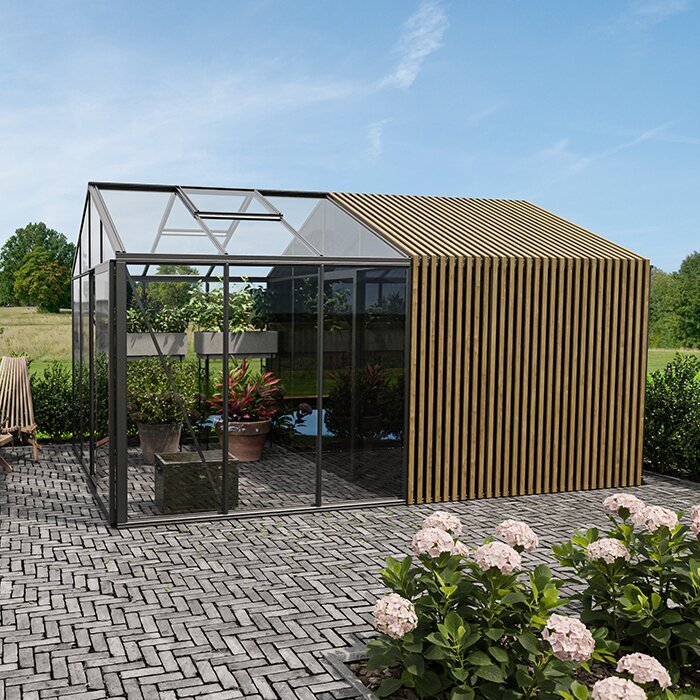
A measured plan for both greenhouse types
Start with one measured drawing of the entire yard, not two cropped greenhouse sketches. Mark the house or garage wall, fences, gate, existing paths, beds, trees, water and utility points, and doors or windows that must stay accessible. Add the plot boundary and any known shade from nearby structures. Also mark whether an existing gate swings into the proposed area. Keep these fixed features identical in both versions; otherwise, one option may seem roomier only because a path or obstruction vanished from its sketch. Measurements in feet and inches are fine, provided the outline is accurate enough to place a selected model rather than a generic rectangle. For an illustrative comparison, imagine a rectangular yard with a garage along one side, a gate at the rear, and a vegetable bed opposite the garage. One overlay places a lean-to beside the garage; the other places a freestanding greenhouse toward the rear. Keep the vegetable bed and gate route in both drawings. This reveals whether the lean-to narrows the passage beside the garage or the freestanding option separates the gate from the rest of the yard. These are planning alternatives, not suggested dimensions or approved locations.
Draw the lean-to against the wall under consideration, then the freestanding option in its best open position. Compare similar selected floor areas when practical, but show the whole footprint, door approach, and outside room needed for access. The Lean-To Greenhouse listing ranges from 40 to 154 square feet; use that as an initial size range, not as one plan or proof that a configuration fits your wall. If the available versions differ in area, record that difference rather than treating the options as equal. Use the exact drawing before deciding how much lawn, planting space, or passage remains.
Wall suitability and structural support
A lean-to is usually planned beside an existing building, but the label alone does not confirm that a particular wall is suitable or that all models use the same attachment arrangement. Check the chosen drawing and instructions for required wall area, height, attachment location, roof and eave relationships, and access needed for assembly or upkeep. Mark windows, exterior doors, vents, meters, hose bibs, gutters, and downspouts before placing the outline. If the wall’s condition or capacity is uncertain, ask the manufacturer what support is required and have a qualified building professional assess it; a visual fit is not a structural check.
A freestanding greenhouse removes the building wall from the enclosure’s support plan, but not the need for a suitable prepared base and any anchoring specified for that model. Requirements depend on the product and site, so use its documentation and get qualified advice if ground conditions or the proposed base are uncertain. Include the area needed to assemble the structure in your plan, particularly when a fence, wall, or narrow gate limits access. A tidy final outline can conceal a site that is difficult to build on, so consider how the structure would reach its intended position.
Placement affects the rest of the yard
Along a building, a lean-to may leave more of the central lawn open, but it occupies a strip beside the building and can pinch a route there. A freestanding greenhouse placed centrally may divide one open garden into separate zones; placed near an edge, it can preserve the center while using border space. Neither result follows from the type alone. Trace both positions on the same plan and mark what must remain usable: lawn, a path to a gate, existing beds, or a route to a compost area. Evaluate the leftover space as a connected layout, not as a set of empty rectangles.
A T-Model Greenhouse Orangery listing gives a range of 178 to 323 square feet. That is a scale reference, not a plan: square footage does not reveal the exact outline or how much connected yard remains. Use the selected configuration’s dimensions to trace its footprint, then check whether the leftover areas are large and connected enough for the routes or beds you want. A thin strip may add to the area on paper without functioning as a useful bed or passage.
Entry doors and paths shape daily access
Locate the entrance on the selected model drawing and trace its approach from the gate, patio, or house. If a door leaf swings outward, mark the area it sweeps; if the chosen design uses another opening arrangement, draw that instead. Keep the opening clear of raised beds, furniture, stored pots, steps, and the main through-route. Test the path with what you actually carry—seed trays, a watering can, harvested produce, or a cart—and mark where you would turn. Measure the widest item or cart you plan to use rather than choosing a path width by eye. A gate, greenhouse door, and path that do not line up can add repeated handling.
A lean-to entrance may sit near a house-side path, but the same gap can become the only route to the greenhouse; a freestanding unit may offer an approach from open ground while interrupting a path already crossing the yard. Check the exact door position, opening direction, and threshold shown for the selected model. The Classic aluminum greenhouse listing ranges from 40.6 to 302.3 square feet across its listed sizes; that family range cannot tell you where the entrance will land in your version. Use its drawing, then walk the route on the ground before assigning permanent beds.
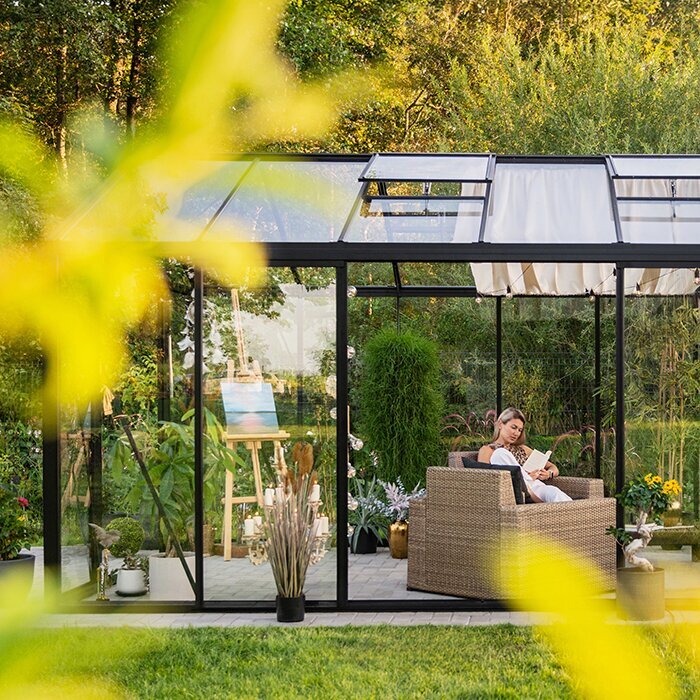
Gross floor area is not planted area
Inside, reserve circulation before counting beds. Draw the main aisle, any side access, potting bench or shelves, and the room needed to turn or lift trays. Then add the growing beds and containers. A row against a wall may be reached only from its aisle-facing edge; a freestanding interior may allow access from more than one side if the beds are arranged that way, but extra aisles also use floor area. Choose the layout for the crops and daily work, not by maximizing bed rectangles. Leave a route to the far end without stepping into planting space. For a practical test, place a shallow bench along the building wall in the lean-to drawing and a growing bed along its outer side. In the freestanding drawing, test two side beds with a central aisle. Use the same bench depth and bed dimensions wherever they appear, then see which arrangement accommodates your actual crop list. Compare vertical space as well: a floor-level position beneath a sloping roof may fit a low tray but not a tall plant. Verify the available height from the selected model’s drawing.
List what each alternative can hold: the number and length of beds, reach to the back edge, space for taller crops, propagation trays, and seasonal pots. Count a dedicated storage zone separately from growing area, and do not assume a catalog figure includes it in a particular way. The Limited Edition greenhouse listing covers 40.6 to 302 square feet across its listed sizes; that range does not tell you how much of a selected plan remains clear for plants after aisles and equipment. Compare the exact plan with the same bed modules and work surfaces in both options.
Check sunlight at both proposed positions
Compare exposure where the greenhouse would actually sit, not at the sunniest point in the yard. Mark shade from the house, eaves, fences, mature trees, and neighboring structures at different times of day; tree cover and the sun’s path also change over the year. Note which parts of each proposed footprint are shaded and when. The wall beside a lean-to can affect available light, while a freestanding position can still fall under a tree or another structure’s shadow. There is no universal orientation that makes one layout right for every plot. Take photographs from fixed positions in the morning, around midday, and later in the afternoon, recording the date and time. On your drawing, distinguish a shadow covering the entire proposed structure from one crossing only a bed or bench. In the garage-side example, compare light at the wall-side bench with light at the outer bed; for the rear-yard option, check both side beds. This makes the comparison about usable growing zones rather than simply labeling one location sunny and the other shaded.
Use the same observation schedule for both overlays and consider the crops you intend to grow, since their light needs differ. Do not use floor area as a proxy for exposure: the Pyramid-type greenhouse listing ranges from 60 to 203 square feet, but those figures say nothing about the shade at a particular location. The chosen configuration’s outline helps you compare its position with your shade notes; observing the actual yard checks what a catalog range cannot. If the pattern changes substantially by season, revisit both proposed locations before deciding.
Water, runoff, and utility routes need space
Mark each water source and the route for any hose, rain barrel, or irrigation equipment you expect to use. Also note electrical service if you plan to use equipment that needs it. For either layout, check whether a route crosses a doorway, main path, or planting bed. A wall-side option may be close to an existing service point, but proximity does not prove a connection is suitable; a freestanding greenhouse may require a longer route. Draw the intended service path and keep it accessible rather than putting a bed or other fixed feature over it. Have planned fixed plumbing or electrical work evaluated by a qualified professional.
Map rainwater separately. Note gutters and downspouts on nearby buildings, places where water already collects, and where the proposed greenhouse roof would discharge according to its design. Do not assume runoff from the house or greenhouse can be directed into a convenient corner; drainage choices depend on the site and product details. If you plan to collect water, include space to reach and manage the containers as well as room for them to stand. If surface flow or the base is uncertain, get site-specific advice from a qualified professional before fixing the layout.
Keep the house and greenhouse accessible
Treat the building wall as part of the lived-in property. Preserve routine access to windows, doors, vents, meters, hose bibs, and exterior surfaces that need inspection or cleaning; a greenhouse can turn a familiar strip into a difficult corridor. Also consider household circulation: taking bins out, reaching a side gate, mowing, carrying garden waste, and moving larger items. A lean-to may use less central lawn yet disrupt these tasks along the building. Mark the routes you actually use and keep them open in the proposed plan, rather than judging the layout only from the garden-facing side.
Freestanding placement trades the wall-side corridor for an area of open yard and may call for a route around the outside, depending on the model and how you plan to maintain it. Storage is another area to budget. The aluminum greenhouse with built-in storage listing ranges from 59.4 to 302 square feet; consult the drawing to see how storage is arranged and whether the listed area includes it before counting plant space. In either layout, show tools, pots, and other supplies in the plan instead of letting them quietly take over an aisle.

Compare exact model drawings, not names
Once the site plan is settled, compare exact configurations rather than category names. Record outside dimensions, any roof outline that projects beyond the base, wall-side attachment details, door position, and requirements for the base. Note other documented features that affect your intended layout, but do not assume that products with similar floor-area figures occupy the same shape, offer the same interior clearance, or use the same attachment method. Ask for a dimensioned plan and installation documentation for the selected version. Keep unconfirmed questions on a separate list so a design assumption does not become a purchase decision.
Catalog ranges are useful for screening, not for deciding site fit. For example, the Prestige greenhouse listing gives a range of 40.6 to 302 square feet. Record the specific size and configuration you are comparing, along with the drawing’s date or version if available. Confirm whether the listed area describes the outside footprint or interior floor space before using it to compare growing capacity. Keep supplier-confirmed dimensions separate from measurements you estimated yourself. If a door location or other option changes after your initial comparison, update that overlay rather than relying on the earlier layout. This gives you a clear record of what each shortlisted version actually includes.
Choosing between the two site layouts
A lean-to is worth considering when the proposed wall, exposure, and access along its attached side all work together. Its space advantage is less persuasive if the wall is interrupted, shade is a problem, or the approach is awkward. A freestanding greenhouse can solve a poor wall position or preserve a particular route, provided the rest of the yard can absorb its full outline and the access you need. These are tests, not guarantees that either category will fit. If both plans compromise an important route or bed, try a different size or position and redraw before comparing secondary preferences.
Make the final comparison using the remaining usable yard and plantable area, not the greenhouse label. The Large backyard greenhouse listing ranges from 506 to 753 square feet; those figures do not identify a suitable option for your plot, but they make it especially important to compare a selected area with the whole site plan. Write down the nonnegotiables—wall suitability, entry route, growing beds, and service access—and set aside any layout that fails one. That prevents a neat-looking outline from winning on paper while being difficult to use.
Frequently asked questions
Is a lean-to greenhouse always more space-efficient?
No. It may keep the center of the yard open when it fits along a building, but it still occupies a wall-side strip and needs a practical route to its entrance. Compare the structure, the approach path, any space needed for access, and the beds or paths displaced on your plot.
Can any house or garage wall support a lean-to greenhouse?
No. The chosen model’s attachment instructions and wall requirements matter. Check for interruptions, nearby openings, and conflicts with roof edges or gutters. Ask the manufacturer about the required support, and have a qualified building professional assess any uncertain wall or base condition.
Does a freestanding greenhouse need clearance on every side?
Not automatically. Positioning depends on the model’s instructions and the access you need for assembly and upkeep. Mark those routes on your plan instead of assuming that a narrow gap will be useful. Confirm any required clearances for the selected configuration before settling on a location.
How do I compare the growing space inside each option?
Draw the same beds, containers, aisle, shelves, and work surfaces inside both plans. Account separately for paths and storage, then consider whether you can reach the crops without stepping into a bed. A listed floor area is not the same as the area available for plants.
Do listed square-foot ranges show whether a greenhouse will fit?
No. A range can help you shortlist sizes, but it does not show the footprint, door position, or clearances of the configuration you are considering. Use that version’s dimensioned drawing, place it on a measured site plan, and include the approach to the entrance.
The fairer test is simple: keep the yard fixed, draw each structure at its actual size, and include every route and growing zone you intend to keep. If the lean-to makes the wall-side corridor unworkable, its smaller-looking footprint is no saving; if a freestanding model leaves awkward remnants of lawn or beds, its placement freedom has not solved the site problem. Choose the option that fits the wall, daily access, and plantable layout together.
