
Greenhouse Winter Goals: Frost Protection or Growth
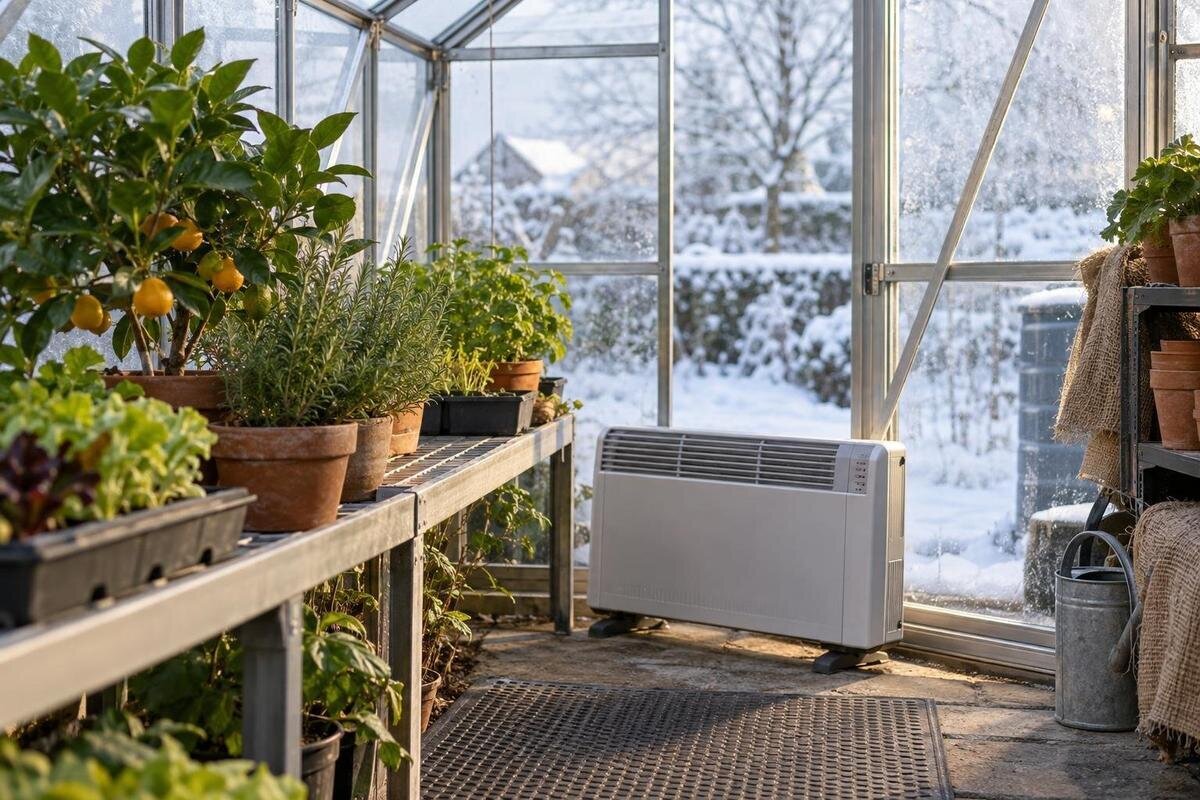
Greenhouse winter planning
Before choosing a heater, decide what winter should achieve for the plants: survive the coldest nights, or continue growing. Frost protection can call for a carefully monitored minimum; active growth is a different commitment involving daytime and night-time temperatures, light and more heat over time. A greenhouse does not guarantee either outcome by its name or shape. In Australia, winter exposure varies by site, so use plant-specific thresholds and conditions measured where the greenhouse will stand.

01
Frost protection is not the same as winter growth
Frost protection aims to prevent a particular plant from reaching conditions that damage it, even if the plant stops growing or grows very slowly. Active winter growth requires temperatures and light that support the crop’s intended development, not just survival. One plant may tolerate conditions that halt growth; another may be injured sooner. A label such as “winter greenhouse” therefore says little about what you can keep. State the outcome plainly—overwinter dormant plants, maintain foliage, raise seedlings or harvest through winter—before comparing heating equipment. These aims can overlap, but they are not interchangeable; a protective minimum is not automatically a growth setting. For plants that naturally rest, dormancy can be a successful outcome.
Write down the plant groups, how many plants are involved, and whether each group will be dormant or actively growing. Note their position too: a few containers on one bench need different monitoring from beds spread across the floor. Include exposed positions around the edges, since these may set the protection requirement. Base your initial target on the collection rather than the maximum floor area you could heat. As a footprint reference, the Wall Greenhouse range is listed from 3.69 m² to 14.34 m²; that area helps compare space, but it cannot tell you whether plants will stay frost-free. Revisit the plan if you add crops or move plants into colder parts of the structure.
Set a target for each plant group
Look up the minimum cold exposure a plant can tolerate and the conditions that support its growth, using guidance for the actual species or cultivar and its current stage. Check what a published number means: a short dip is not the same as prolonged overnight cold, and a figure for established plants may not apply to seedlings or recent transplants. Container-grown roots may experience conditions unlike those in a garden bed. A general hardiness description or a local frost date is a useful prompt to investigate, not a greenhouse thermostat setting. When references differ, favour crop-specific advice that explains the exposure and growing stage it covers. Record the units and whether the figure refers to air or root conditions, and check any temperature conversions carefully.
Make a short table for each group: plant name, winter state, damaging minimum, intended growth range, and the source for those values. Mark which groups need heat at all, and keep plants with similar requirements together where practical. Do not average two very different targets and assume the result will suit both. If you cannot give every group its own zone, decide which plants take priority and which can be moved or left dormant. Set controls with a margin above the stated damaging point; sensor accuracy, temperature variation within the house and response time all argue against using the threshold itself as a setpoint. Revisit the list when plants move from dormancy into active growth.
02
Plan for the coldest nights at your site
Use overnight lows, not a sunny afternoon reading, to judge frost exposure. Review local weather records and forecasts, then consider what differs at the actual greenhouse position: open exposure, shelter from buildings, a low point where cold air may settle, or shade that shortens useful daylight. A station some distance away is a guide, not a reading from inside your greenhouse. If possible, log conditions over representative cold nights and compare them with the forecast. This reveals whether the site is routinely milder than the forecast point, or whether the structure cools faster than expected, without assuming that one mild week defines the whole winter. Keep separate notes for your own sensor, a nearby station and the forecast; these are not interchangeable.
Decide how you will react if a forecast changes or the heating fails: a temperature alert, an extra check, or moving the most sensitive pots may form part of the plan. Do not treat a thermostat number as proof that every leaf or container stays above that number; the coldest plant position matters. Keep the target provisional until readings show how the greenhouse behaves, but do not lower it simply because a few early nights were mild. Use cold spells to assess whether the setup maintains your chosen margin above the plants’ damaging threshold, and note any positions that need closer attention.
Active growth needs warmth and enough light
Warm air alone does not guarantee useful winter growth. Day length and natural light can be limiting, and crops vary in how they respond to cooler nights, brighter days and seasonal conditions. Define what “growth” means for your purpose—steady leaf production, flowering, fruiting or raising seedlings—and check whether the crop is suited to the light available as well as the proposed temperature. A plant may remain alive in a cool greenhouse yet make little progress; a much warmer space may still fail to produce the result if light is inadequate. Avoid choosing a growth target solely because a heater can be set to it. Include the intended flowering, harvest or seedling schedule when defining acceptable progress.
Active growth will usually require a higher target, or more hours of heating, than survival-only protection, especially through cold nights. The resulting energy use depends on the weather, enclosure, control and local tariff, so the target is not a cost estimate by itself. The Limited Edition Aluminium Greenhouses listing covers areas from 3.77 m² to 28.08 m²; use the exact footprint you intend to warm when requesting an assessment. Area is not a heat-loss rating, and the listing cannot establish the temperature a particular heater will maintain. If growth is seasonal, compare a crop-specific schedule with maintaining the same warmth throughout winter. Check whether the crop needs different daytime and overnight conditions rather than assuming one number covers both.

03
Greenhouse size and heat loss limit the result
Every greenhouse loses heat as outside temperatures fall, but the rate depends on the enclosure and its conditions: covering, exposed area, air leaks, wind, and whether doors or vents are open all matter. A structure used as a shelter for dormant plants has a different job from one expected to support active growth overnight. Do not infer thermal performance from a greenhouse’s name, appearance, stated floor area or frame description. The relevant evidence is for the exact model and variant: confirmed glazing and construction details, compatible insulation options, and any documented temperature performance for the complete setup. The same house can behave differently after a vent is left open or the covering changes, so compare actual setup conditions rather than a generic description.
Floor area helps describe the space to be warmed, but it cannot be converted into a guaranteed indoor temperature without assumptions about heat loss and outdoor conditions. The T-Model Orangery Greenhouse is listed from 16.52 m² to 30 m²; check the selected variant’s confirmed details before asking about heater capacity. A useful assessment states the outside condition, indoor target and the assumptions behind the greenhouse’s construction and air exchange. That is separate from choosing the temperature your plants need. Running-cost estimates also need transparent assumptions and local energy tariffs; a product’s area range is not a heating specification.
Match the heated area to the plants
If only a few containers need protection, ask whether the goal can be met by warming or shielding a defined plant area instead of the entire greenhouse. The relevant question is how much of the collection must stay within the target, not how much unused airspace happens to be available. Grouping plants with similar needs can make a smaller zone easier to monitor, while beds or pots spread through the structure may need broader coverage. Keep access to the plants and normal ventilation in the plan; any heater or barrier must follow the equipment maker’s compatibility and clearance guidance. A local zone is useful only if readings represent the plants inside it. A defined area can also help you decide which plants to move during severe weather.
Before dividing a house into zones, check that a screen, cover or local heater is compatible with the greenhouse and does not obstruct vents or distort the control sensor’s reading. Do not assume that a partition produces an even temperature on both sides; measure each occupied area. The Pyramid Greenhouse range is listed from 5.53 m² to 18.9 m², but use confirmed layout information for the exact model when deciding where plants and sensors could sit. If several groups have conflicting needs, decide whether separate zones are manageable or whether moving some plants is simpler. Avoid taking a local reading as proof that the whole house is protected.
04
Measure temperatures at plant level
Place a minimum/maximum thermometer or data logger at the height of the most vulnerable foliage, in a representative position. Avoid putting it directly beside a heater, in direct sun or against a cold panel, because each position can give a reading that does not represent the plants. If shelves and floor areas are both in use, take readings at more than one point over several cold nights; then keep a sensor where records show the risk is greatest. Check the instrument’s accuracy and follow its instructions. Note exactly where the sensor sits and keep it there while comparing cold events, so readings remain comparable.
Compare overnight minimums with the thermostat setting, forecast and plant response, and record when doors, vents or controls were adjusted. Air temperature does not directly describe conditions at a pot’s root zone, so note which plants are in containers and where they sit. If comparing the Limited Edition Aluminium Greenhouses with Storage, check any published plan for the exact variant before assigning plant and sensor positions; the model label cannot show the coldest point. Keep a simple log of date, outdoor conditions, indoor minimum and any intervention. A few weeks of consistent records are more useful for refining a target than reacting to one isolated reading.
Insulation, ventilation and daylight have to work together
Insulation may reduce heat loss, but suitability depends on the greenhouse’s glazing, frame, fixing method and the accessory’s documented compatibility. Added material can also reduce light or change airflow, condensation and vent operation; the effect depends on the material and how it is used. Do not assume that every insulation product fits every model, or that a quoted saving applies to your site. Check which options are supported for the exact variant, whether they obscure vents, and what effect is documented on light transmission. Review the setup if the winter target changes from protection to growth. Temporary insulation may need seasonal removal; follow model and accessory instructions rather than improvising.
Ventilation still matters in winter. Sun can lift greenhouse temperatures on a bright day, while moisture from plants and watering can collect in a poorly aired space. Keep openings and any fitted controls usable; a frost-protection target is not a reason to block ventilation, and active growth is not served by repeated overheating. If the Bloomcabin Prestige Greenhouse is on your shortlist, confirm the published ventilation details and any compatible insulation option for the exact variant rather than inferring them from its name. Plan how to air the house during bright hours, not just how to manage overnight lows.

05
Heating controls and running costs
Choose a heater and control only after setting the target and identifying the area they must protect. Check documented heater output and operating requirements against the greenhouse details, using an appropriately qualified supplier or installer where needed; do not treat a heater’s stated rating as a guaranteed greenhouse temperature. Cost estimates need the equipment’s actual consumption or efficiency information, expected running hours under cold conditions, and your electricity or fuel tariff. A price per unit of energy alone cannot predict a winter bill. Keep heater sizing, installation suitability and the horticultural target as separate questions, even though all three affect the final plan. Check the control’s sensor location and operating range against your chosen target.
Use more than one weather assumption when comparing frost-only and active-growth plans; a mild spell will understate what a cold period may demand. A larger heated area or higher setpoint can increase energy use, but actual consumption depends on heat loss, weather, controls and operating hours. The Spacious Greenhouse listing covers 47 m² to 70 m²; use the selected area and verified enclosure details when asking for a running-cost estimate, not the catalogue name as a cost forecast. Once operating, compare estimated hours with a meter or the heater’s records if available, then revise the plan using measured data.
Compare greenhouses against your winter requirements
Put the same information beside each candidate: exact variant and floor area, confirmed glazing and insulation options, ventilation arrangement, usable planting layout, and any stated limits on heating equipment. Ask what conditions underpin any temperature statement and whether it applies to the complete setup, rather than a component on its own. A photograph, model label or broad material description cannot establish winter performance. If no performance evidence matches your target and coldest conditions, treat the outcome as uncertain and plan to monitor it closely. This comparison helps you assess each greenhouse’s practical winter features rather than choosing on shape or catalogue name alone.
Compare each greenhouse with the site, not just the price: exposure, available light, access to a suitable energy source, maintenance and the way you will ventilate on sunny days all affect the plan. The Aluminium Greenhouses range is listed from 3.77 m² to 28.08 m²; compare the exact size with your plant layout, then verify construction and options for that variant. Before aiming for growth throughout winter, check that the plant requirements, light, greenhouse evidence and heater information agree. If the documented setup only supports a frost-protection brief, recognise that limit rather than assuming warmer air will deliver growth. A written brief helps avoid choosing equipment for a growth target you do not need.
Frequently asked questions
Will an unheated greenhouse stay frost-free?
Not reliably. Daytime warmth can fade overnight, and the minimum inside depends on the weather, site exposure, enclosure and whether openings are left open. Measure where the plants sit rather than assuming the greenhouse prevents frost.
What temperature should I set for winter plants?
There is no single setting for every plant. Check reliable guidance for the species or cultivar and its current stage, distinguish its survival limit from its growth range, and allow a margin above the damaging threshold.
Can plants survive winter without actively growing?
Yes, some plants can be kept through winter while dormant or growing very slowly. Their survival requirement is not necessarily warm enough for active growth, so choose the target to match the outcome you want.
Is greenhouse insulation enough to prevent frost damage?
Insulation may reduce heat loss, but it does not establish a guaranteed temperature. Check compatibility, light and ventilation effects, then use readings at plant level to see what conditions the complete setup achieves.
How can I estimate winter heating costs?
Use documented heater information, likely running hours for the conditions you expect, and your local energy tariff. Treat any estimate as conditional: actual use depends on weather, heat loss, controls and the target you choose.
Choose the winter target around your plants: identify which must survive, which should grow and what conditions each group needs. Then assess the plan against the coldest conditions at the site, measured temperatures, the greenhouse’s documented features and the heater information. If available light or the equipment cannot support active growth, aim for protection and allow for slower growth or dormancy rather than treating a higher thermostat setting as a guarantee.
