
Adding a Potting Station Without Losing Growing Space
Greenhouse planning
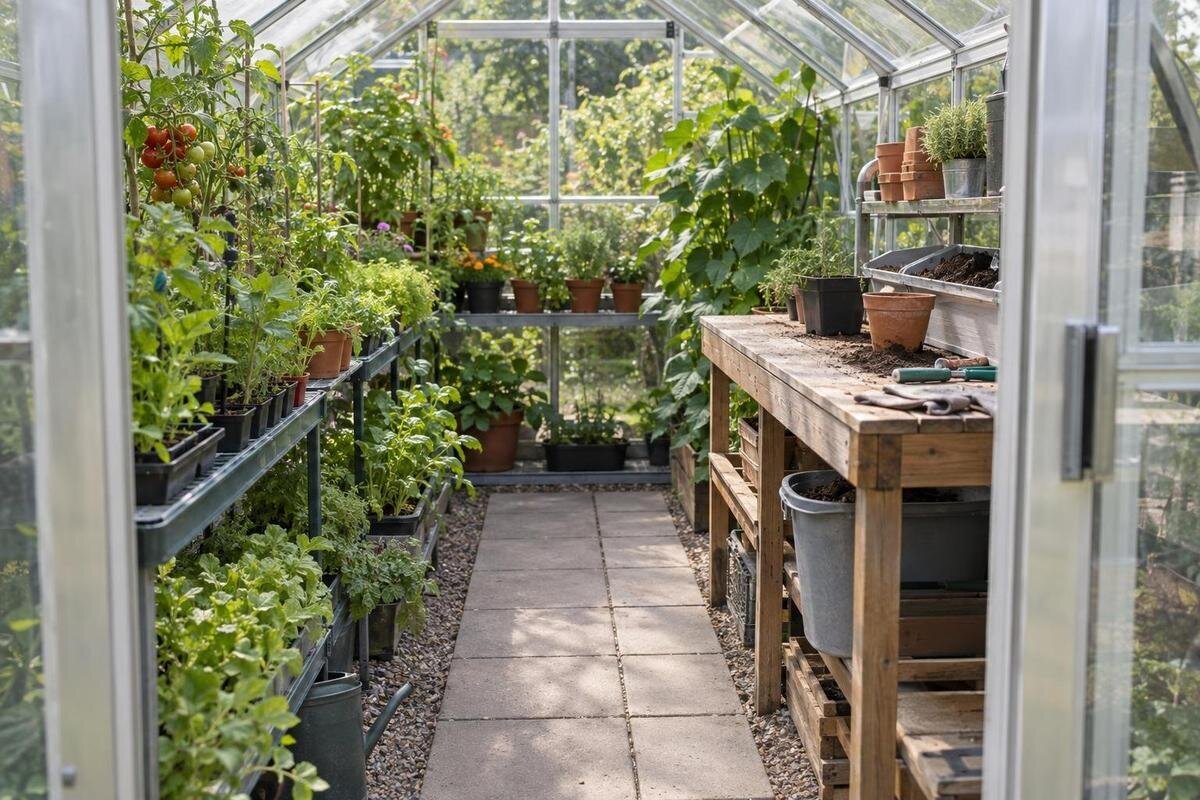
Adding a potting station can make sowing and repotting easier, but the bench is only part of its footprint. The person working there, an open tray, supplies, and a route back to the beds all occupy room at the same time. To preserve growing space, plan around the busiest task and season—not an empty greenhouse or the bench’s listed dimensions alone.
01
Count the station’s full working footprint
Treat the station as a complete work zone, not just a tabletop. On a sketch, mark the bench footprint, the place you stand or sit, any drawer or cabinet that opens, and a landing spot for the tray or pots you are handling. Add the containers and tools you use at the same time: a potting tub at one side and a tray at the other can make a small top take up more room in practice. If you carry filled trays elsewhere, trace that route too. Count overlapping tasks rather than adding every object as if it is always present, but include what must share space during one job.
Mark the combined zone on the floor with painter’s tape, cardboard, or empty boxes. Walk through a typical session: bring in supplies, set down a tray, fill containers, move the finished work, then reach the plants without stepping over stored items. Note whether the outline cuts into a bed, a doorway, or a route you use regularly. For broad size context, the Classic Accoya / Limited Edition greenhouse range is listed from 40.6 to 302 square feet. That range describes model area, not the room left for a bench, plants, and movement inside a particular greenhouse.
Choose worktop depth around the tasks you do
Set the depth by measuring the furthest task, not by choosing a surface that can hold the most supplies. Measure your largest tray, the widest pot you handle, and any tub or container that sits on the top while you work. Arrange those items in the order you use them and notice how much clear surface remains. A deep top can put frequently used tools beyond easy reach; a shallow one can leave a tray or soil container sticking into the space in front. Your own equipment and working position are more useful guides than a standard depth.
A 24-inch-deep top can serve as an illustrative planning example, but it is not a universal recommendation or a product dimension. Compare different depths with tape or a temporary surface before settling on one. Check whether you can reach the back of the worktop without shifting everything at the front, and whether a bin can sit there without taking over the whole surface. Each extra strip of depth also uses floor space along the full length of the bench. The Classic aluminum greenhouse options are listed from 40.6 to 302.3 square feet; total floor area does not determine how deep a worktop can be without affecting your plants or aisle.
02
Set the bench width for your work sequence
Choose the width around the tasks that have to share the surface, not the largest collection of pots you own. Lay out the largest tray, soil container, empty pots, labels, and hand tools in the order you handle them. If you need only one staging area at a time, a narrower top may work with separate storage. If filling containers and setting out trays happen side by side, account for both zones. Keep everyday work on the top rather than letting pots and tools project into the aisle. This tabletop test can prevent reserving greenhouse floor for a width that ends up holding only clutter.
Arrange the surface to suit your own working sequence. Some gardeners prefer to keep the clean sowing task separate from the messier filling or repotting task; others need one uninterrupted area for a tray. Leave space to place a completed container without knocking over items you still need. If the bench seems too wide after this test, move rarely used supplies to storage rather than widening the top automatically. If a Prestige greenhouse option is on your shortlist, compare your marked bench and bed plan with the interior dimensions for the specific size, not just the model name.
Keep the tray route clear while you work
An open patch of floor is not automatically a usable route for moving trays. Carry your largest loaded tray from the bench to its planned destination, including any turn, doorway, or pause along the way. Use the tray’s outside dimensions, not just the area where plants sit; rims and handles can affect how it moves. Test the route with the tray in your hands, and do not count the same strip as both your working position at the bench and an always-clear passage. This is a practical way to spot a pinch point before it becomes part of your daily routine.
During the test, identify where a tray can wait briefly without touching plants, blocking access to them, or occupying a doorway. If the route bends around existing benches, include that bend in your sketch. The T-Model Greenhouse Orangery is listed in options from 178 to 323 square feet, but a model’s total area does not show whether a particular tray route is clear. Check the selected configuration’s dimensions against the path you have marked, especially where the bench and a bed come close together.
03
Plan for the busiest period of seed-tray use
Count the trays that will be in the greenhouse at the same time during your busiest period, not only the trays you store there when it is quiet. Some may be in use for sowing, others waiting to be transplanted, and others set aside while you work. Make a simple inventory of those overlapping uses and measure the trays you actually own. Include covers or other parts that change how much space a tray occupies. This gives you a realistic number of active trays to plan around, rather than a vague allowance for a future busy season.
Give active trays a defined place before choosing where empty trays will go. Check vertical clearance as well as shelf length: plants can grow beyond the height that an empty tray needs, and you still need to lift a tray in and out without disturbing its neighbors. Map the overlap on a simple calendar. For example, if a second batch is sown before the first batch leaves, both need growing space during that interval. Repotting can increase the footprint again when plants move from a shared tray into individual pots. Use the actual pot arrangement to estimate that change; counting plants alone will not show how much shelf space they need. Stacking empty trays saves storage space, but stacking planted trays is not an equivalent solution because access, light, and plant height still matter. Reserve a temporary landing spot for trays being moved, separate from their longer-term growing position. If peak demand exceeds the available space, adjust batch timing or the number kept inside rather than relying on the aisle for overflow.
Store supplies by how often you use them
Sort supplies into daily, occasional, and seasonal groups before adding shelves or bins. Keep small, frequently used items such as labels and hand tools close to the worktop, and place rarely used containers farther away or outside the greenhouse if that suits your setup. Empty pots and trays can take up more room than expected, so measure the stack rather than estimating from a single item. Decide where bulky materials will sit before bringing them in; do not assume a shelf can hold a heavy container unless its maker specifies that it is suitable for the intended load.
Under-bench storage can use space that would otherwise be empty, but it still needs to leave room for your feet and the tasks at the worktop. Test the storage with its contents in place: a bin that fits beneath the top may need extra room to slide out or lift its lid. If you work seated, leave the knee space you need instead of filling the entire underside with shelves. Keep frequently retrieved items near the front, and check that handles or projecting containers do not catch you as you move along the bench. A shallow drawer may suit labels and small tools better than a deep bin that you have to rummage through. Shelves above the bench can free floor area, yet may restrict access or cast shade; also check that any attachment is allowed and appropriate for the greenhouse frame. If integrated storage is part of your comparison, the Limited Edition greenhouse with built-in storage is listed from 59.4 to 302 square feet. Check the exact configuration details to see what storage is included and how much room it occupies.
04
Protect the growing areas beside the station
Mark the bed edges and the space needed to reach plants before settling the bench position. Account for the mature size of the plants you intend to grow, not just the clear patch visible on planting day. A bench that seems to fit against an edge can make a bed difficult to tend if it occupies the space you need to reach in or move along. If storage sits above or beside the work surface, consider whether it will shade plants at different times of day. Observe the area as light changes rather than assuming an unused-looking corner is always spare space.
Distinguish floor space saved from growing capacity preserved. As an illustrative example—not an available product size—a bench 24 inches deep and 48 inches wide occupies 8 square feet before allowing for the person using it. If that footprint replaces part of a planted bed, the work surface does not automatically compensate for the lost growing area. It may be occupied by potting supplies when plants need it, and plants beneath it may not receive suitable light. Record what currently grows in the proposed location and where those plants would go. If the site is already an unused hard-surfaced area, the main trade-off may instead be access to the neighboring bed. A removable station only restores growing capacity when it can be cleared before that space is needed for crops. For a model comparison, the Lean-To Greenhouse options are listed from 40 to 154 square feet; the selected configuration’s plan, rather than its name or total area, will show how the station relates to the growing space. Compare both the remaining bed area and your ability to water, prune, and harvest it.
Contain soil and reset the work area
Potting can spread loose mix, plant pieces, and small tools beyond the worktop if there is no place to catch or collect them. Plan for a removable tray, container, or other catch area that suits your tasks, and include its footprint in the station sketch. Keep the work surface clear enough to set down a tray without balancing it on supplies. If you sometimes sow seeds and sometimes handle soil, decide whether those tasks can share a clean surface in sequence or need distinct spots. That choice affects how much top you need more than adding a general-purpose shelf does.
Set a simple reset routine: put tools back, collect used containers, and clear any floor area that needs to stay open for plants or movement. A collection bin should have a measured home rather than being left wherever there is room that day. Choose a work surface and containers that can be cleaned in a way suitable for their materials, and follow their care instructions. If the station is tidy only when it is not being used, it is probably missing storage or landing space; revise the plan instead of letting supplies spread into the growing area.
05
Check the interior dimensions of the selected model
Use the dimensions for the exact greenhouse size you are considering. A listed floor area is not the same as clear interior width, and it cannot tell you whether a bench fits along a particular edge. Check what the drawing measures and note the inside dimensions, door opening, and any posts or other features that affect the station or route. If you plan overhead storage, check the available height where it will go as well. Do not turn a total area figure into an assumed rectangular usable floor; the actual boundaries and clearances matter.
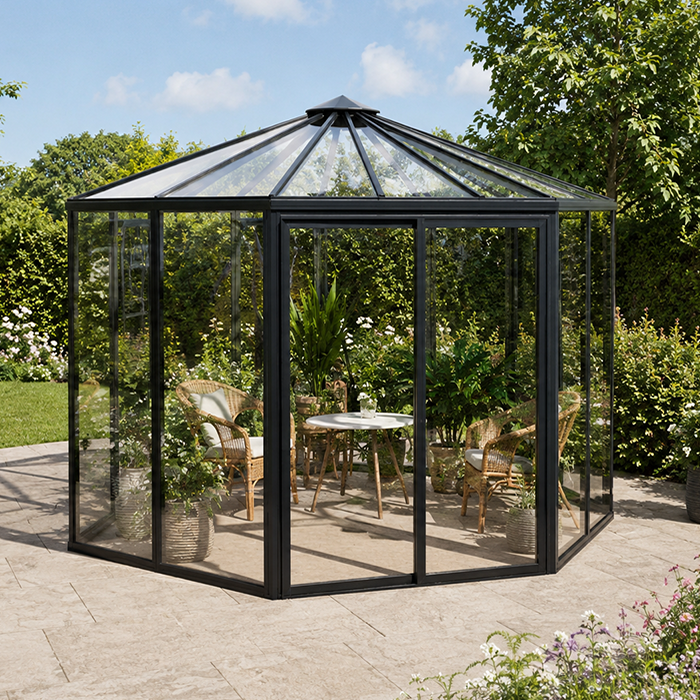
Overlay the measured station, working position, trays, and planned beds on the interior plan. Keep each measurement on the same basis: a usable inside dimension cannot be compared directly with an outside measurement. If a drawing leaves a dimension you need unclear, verify that specific measurement before making the setup permanent. When comparing Pyramid-type greenhouse options, use the plan for the chosen size rather than assuming its listed floor area describes the shape or clear space available for a bench.
Test the setup before making it permanent
Mock up the station with boxes, a temporary tabletop, or a movable bench, then repeat the jobs you do most often. Include a full-size tray, your usual supply containers, and the route back to the plants. Try the test during the period when trays and growing areas are both at their busiest, or recreate that overlap with empty containers. Note each time you have to move something twice, step into a bed, or block the route to make a task work. Those observations reveal whether the issue is bench depth, storage, width, or the amount of clear floor.
If potting is occasional, a removable or seasonal station may preserve more growing space than a fixed bench, but count where that furniture will live when it is put away. If a smaller worktop and more deliberate storage still leave a persistent conflict, compare greenhouse sizes using the same measured plan. The Large backyard greenhouse range is listed from 506 to 753 square feet; that range is a scale reference, not a guarantee that a particular layout will suit your plants or station. Choose based on the exact interior dimensions and your measured needs.
Frequently asked questions
How deep should a greenhouse potting bench be?
There is no one depth that suits every task. Measure the largest tray, pot, and supply container you use, then test a mock-up from your normal working position. Allow room for the task without pushing tools out of reach or extending the bench into a route you need to keep clear.
How much space should I leave in front of the bench?
Measure the space you need to stand, handle a tray, and move between the worktop and your plants. The greenhouse door and other routes matter too. Test the area with a full-size tray rather than relying on a universal clearance number.
Can I put a potting station under shelves?
Possibly, if the shelves leave enough room to work and retrieve supplies. Check headroom for the tallest trays or plants you expect to handle, and make sure the shelves do not block access to plants or cast unwanted shade. Confirm that any shelf supports are suitable for their intended use.
Where should I store empty seed trays?
Store them where they do not take up the space reserved for active plants or obstruct the route from the bench. Measure the actual stack and check that you can remove it without disturbing trays in use. Under-bench storage can work if it does not interfere with your feet or task area.
Should I get a larger greenhouse to fit a potting station?
Consider that only after measuring the station, growing areas, and busy-season tray needs in your current plan. A larger listed floor area does not guarantee a useful bench location or clear route. Compare the exact internal dimensions and layout of the sizes you are considering.
A potting station earns its place when its peak-use zone is measured as carefully as the growing space beside it. Plan for the largest task and busiest tray period, keep supplies within a defined footprint, and test the arrangement before making it permanent. A narrower worktop or a seasonal setup may be enough to make daily potting easier without giving up a bed.
