
Greenhouses in Frost Pockets: Assessing a Low-Lying Yard
Greenhouse site planning
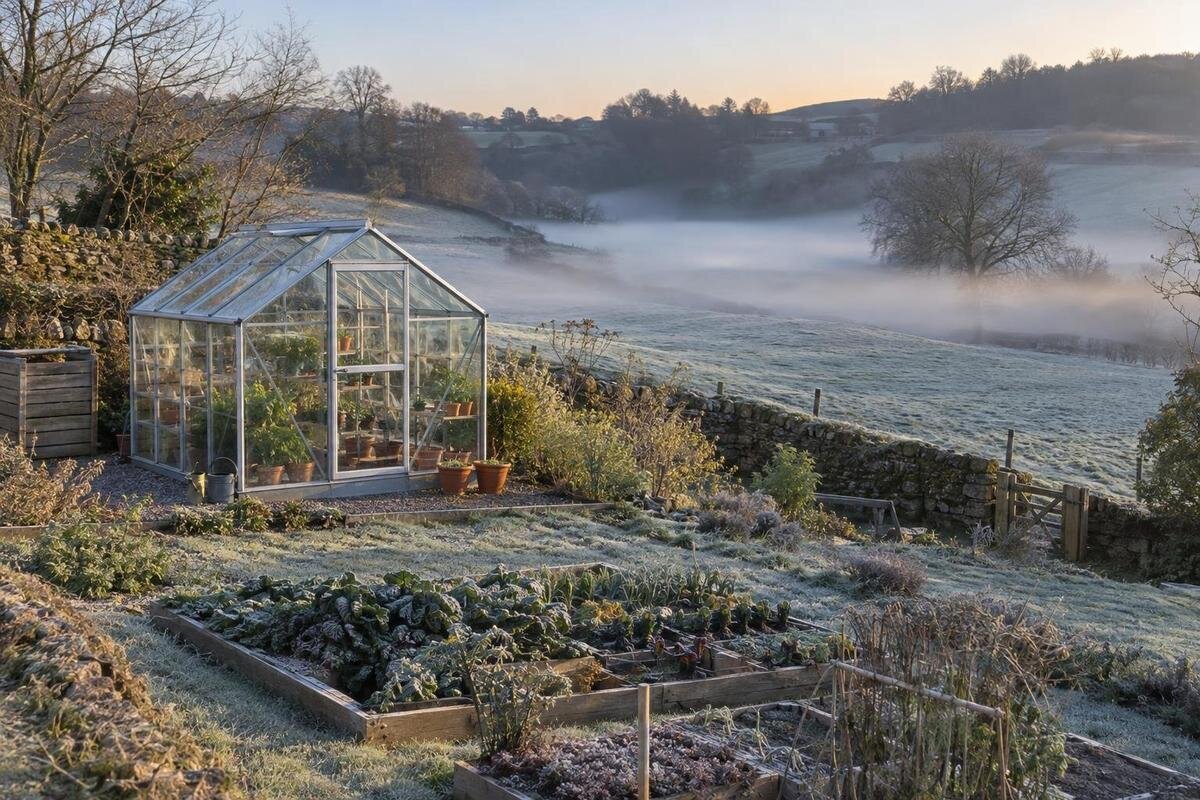
A low-lying garden is not automatically unsuitable for a greenhouse, but a reading at the house or a nearby weather station can miss a colder pocket elsewhere in the yard. On clear, calm nights, cold air may drain into hollows and collect behind features that interrupt its route. Compare possible locations with repeated temperature records, a simple map of the ground and notes on the weather. That evidence can distinguish a site that merely looks low from one that repeatedly reaches colder minimums, and gives you a sounder basis for choosing a position or considering heat.

How a low yard becomes a frost pocket
On clear, relatively calm nights, the ground loses heat and cools the air close to it. That cooler, denser air can move downhill and gather in a hollow or behind a rise if there is no easy route out. In a yard, the relevant change in elevation may be a subtle dip, retaining edge, hedge or fence rather than a dramatic valley. Two spots a short distance apart can record different overnight minimums. A regional forecast, a thermometer by the house or the apparent height of the yard boundary cannot show exactly how the proposed greenhouse location behaves.
Cold-air pooling is weather-dependent: clouds and wind can weaken or alter the pattern, while a still, clear night can make it easier to detect. A sensor measures air at its own location, not the temperature of every leaf, soil surface or greenhouse panel. Visible frost or fog can help identify places worth testing, but does not quantify the temperature at crop height. Leaves can also cool below the surrounding air temperature, so an air reading above freezing does not guarantee that frost-sensitive plants escaped damage. Record visible frost separately from the instrument reading rather than treating the two as interchangeable. Nor is the highest point automatically the best site; it may have more wind exposure, shade or access problems. Treat elevation as one factor, then compare actual readings with the growing conditions you need.
Map the ground and the planned footprint
Draw a scaled sketch of the yard and nearby ground, not just the proposed greenhouse base. Mark relative high and low points, slope directions, hollows, narrow channels, retaining walls, fences, hedges, buildings and gaps between them. Include features beyond your fence if they could help explain where cold air enters or settles. Add paths and places where water moves after rain, while keeping water flow distinct from cold-air flow. Dated photographs from repeatable viewpoints will help you interpret the sketch later. If the grade is hard to read by eye, note that uncertainty rather than assigning false precision.
Draw each candidate greenhouse at its full intended size and orientation instead of marking only its center. Include the entry side and the space needed to approach it, then check whether any part would sit in a low area or across a likely drainage route. The Lean-To Greenhouse is listed in sizes from 40 to 154 sq ft; that range is not an outline. Verify the dimensions of the exact option you are considering and plot that version. A broad product range cannot show where the edges of your chosen size will fall in the yard.
Place sensors where the greenhouse would sit
Use matching minimum/maximum thermometers or temperature data loggers at the candidate locations, outdoors and at a consistent height near the crop canopy you expect to manage. A ventilated radiation shield helps prevent direct sun from skewing readings while allowing air to circulate. Keep sensors away from walls, vents, paving, eaves and heat sources unless the proposed greenhouse would be close to one of those features. Before deployment, place the instruments side by side under the same conditions for a night. An offset between devices can otherwise look like a difference between sites. Label each instrument, record its height above the ground and synchronize logger clocks. Use the same recording interval for all loggers; with minimum/maximum thermometers, read and reset them at the same time each day. Check the manufacturer's stated accuracy before interpreting a small difference as a meaningful site advantage.
Where possible, log candidate sites simultaneously and include a reference point on slightly higher or more open ground. Compare the minimum reading and the overnight trace: a minimum shows how cold it became, while a timestamped record also shows when locations began to differ. If you have only one instrument, repeat measurements on comparable nights and treat small differences cautiously. The Limited Edition aluminum greenhouse is listed from 40.6 to 302 sq ft, so settle on an intended size before placing test points around its proposed area. A single central reading may not represent a larger site.
Record temperatures throughout cold nights
Leave sensors in place for whole nights; a reading at dusk or a quick morning check cannot show how the minimum developed. Sample multiple cold nights in the season when you intend to grow, including clear, calm conditions that favor cold-air pooling and some contrasting nights with more cloud or wind. There is no universal number of nights that guarantees a reliable result. Extend the record if the period has not included the weather that concerns you, or if one candidate looks colder only once. A repeated pattern is more useful than a single dramatic low.
For each night, note the date, time span, cloud cover and approximate wind direction and strength alongside the readings. A nearby weather station can help describe the broader event, but it cannot replace yard-level measurements. Keep notes tied to the same sensor positions and record any changes in the garden. If you are considering the T-Model Greenhouse Orangery, use its selected-size drawing to decide whether additional test points are needed across the proposed footprint. Place those points where the terrain or surroundings differ, rather than spacing them arbitrarily. Photograph sensor locations so you can repeat the comparison later. Also distinguish observed conditions from forecasts in your notes: an expected clear night that turns cloudy should not be grouped with nights that stayed clear.

Use temperature patterns to trace cold-air movement
Read the map and time-stamped temperatures together to infer where cold air may travel. On comparable nights, note which sensor cools first, where the lowest minimum appears and whether a lower point stays cold after an upper point begins to recover. A repeated sequence that follows the slope supports a likely route, but does not prove airflow: shade, nearby surfaces and local wind can also affect readings. Mark the route as likely or uncertain, and use observed frost or fog only as additional clues. If your candidate locations are on different slopes, make sure the sensors are actually measuring comparable positions.
Pay attention to possible obstructions and openings. A wall, dense hedge or fence may slow or redirect air, while gaps and lower channels may provide an outlet; the effect depends on their shape and surroundings. Do not assume every boundary acts as a dam. When considering the Pyramid-type greenhouse, overlay the selected option's outline on the route map and examine the remaining gaps between it and nearby boundaries. An empty patch of lawn and that same patch occupied by a greenhouse are not identical airflow situations. Your measurements establish a baseline before construction, not a promise that the pattern will remain unchanged afterward. Note any route the structure might interrupt, but do not use the sketch alone to justify removing a hedge, altering a boundary or undertaking earthworks.
Compare frost readings with sun and site access
Frost exposure is only one part of a workable site. For each candidate, compare the temperature record with seasonal shadow diagrams: trees and buildings can shade the ground differently as the sun angle and foliage change. Also note wind exposure, approach routes and access to planned utilities. A warmer spot that is heavily shaded during the growing period may be a poor trade, while a more open position may require a different crop or protection plan. The aim is not to find one universally ideal position, but to identify locations that fail an essential condition.
Photograph candidate patches at relevant times of year and draw the whole selected size, not just its area label. When comparing the aluminum greenhouse with built-in storage, request a drawing that identifies the growing area, storage area and entrances for the option you want. Check where each would fall relative to seasonal shade and the colder patches you recorded. Do not assume the storage arrangement leaves the same planting space as another model with a similar total area. Mark the route you would use to carry trays, soil and tools, including any stretch that becomes muddy or slippery during cold weather. This helps distinguish a location that looks convenient in summer from one that remains practical during your intended growing season.
Choose greenhouse form after comparing sites
Compare a lean-to with a freestanding greenhouse only after marking viable locations. A lean-to may place the structure close to a wall, so assess that wall's shade, runoff and effect on local exposure; do not count it as guaranteed warmth. A freestanding option can be placed elsewhere in the yard, but its footprint can still overlap a low pocket. Neither form, by itself, changes the site record or proves that a cold location will suit your crops. Choose the form that fits a measured site and the way you intend to use it.
Compare each model's documentation against the constraints of the shortlisted sites. For the Prestige Greenhouse, request the selected option's dimensions, glazing details, ventilation arrangements and installation requirements before committing to a position. Use the drawing to check orientation and footprint, and retain the construction information for the heating assessment. Compare alternatives using equivalent information rather than assuming a model name describes thermal performance. Separate documented features from questions still awaiting an answer; that distinction keeps an attractive design from becoming an unsupported frost-protection assumption. If a supplier offers several configurations, make sure the drawing and specifications refer to the same version. A change in size or glazing can require revisiting both the site layout and the heating proposal.
Use the readings to plan heating
Use outdoor measurements to define the conditions a heating plan may need to address, not to size a heater on their own. First identify the minimum temperature required by the crops and planting dates you have in mind, using reliable crop-specific guidance. Then have the proposed greenhouse's size, height, glazing, ventilation and air leakage considered alongside local cold-weather data. The lowest air reading in the yard does not predict the temperature inside a greenhouse or account for how its design performs. Avoid choosing equipment from one outdoor minimum or a generic square-foot rule.
The large backyard greenhouse listing covers 506 to 753 sq ft, but a heating assessment also needs the selected structure's height, enclosed volume and construction details. Give a qualified professional the model documentation, outdoor temperature records, crop requirements and intended operating season so they can assess and size appropriate equipment. Ask them to distinguish maintaining a crop temperature through a cold night from briefly restoring warmth after a door has been opened. Your logs can show how long cold conditions persisted as well as the lowest reading, although a short yard survey does not establish the most severe weather the system may face. After installation, use an indoor logger near plant height alongside an outdoor reference to check actual conditions through cold nights. Record the thermostat setting and whether the system was operating normally, so the results have a clear context. An unusually mild test night cannot establish performance during a colder spell.
Check water and installation conditions separately
Cold-air pooling and surface-water problems can occur in the same low area, but they are different site questions. A temperature log cannot tell you whether rain or snowmelt collects, whether the ground stays saturated or whether runoff crosses the proposed base. Visit after wet weather, photograph standing water and note where it flows and how long damp areas persist. If drainage or grading changes appear necessary, ask a qualified local landscape or building professional to assess the site. Do not infer a drainage design from cold-night readings.
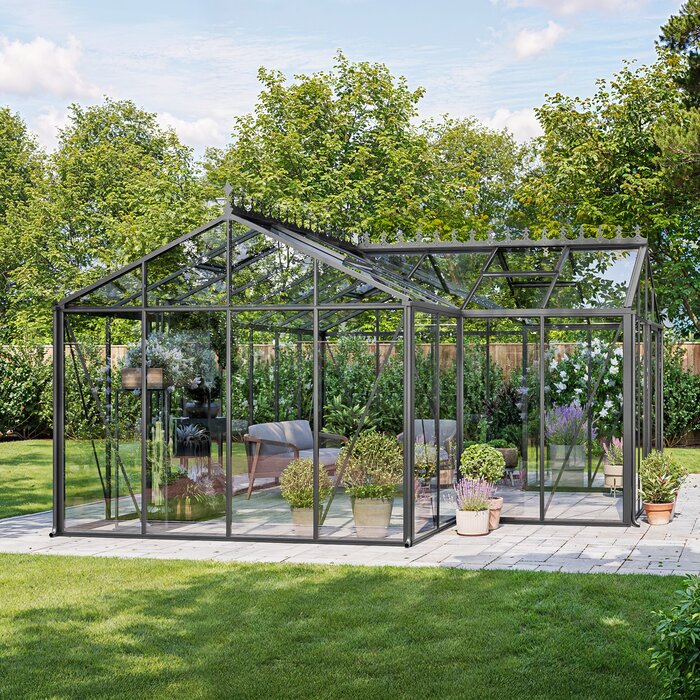
Before ordering the Classic aluminum greenhouse, obtain the selected option's installation instructions and base dimensions for review with your installer. Keep the temperature map alongside a separate sketch of runoff, wet ground and the proposed mounting surface. Discuss whether any planned preparation would change local ground levels or obstruct an existing water route. For a sloped or uneven location, a qualified installer should assess the mounting surface and necessary preparation; a cold-air observation does not establish foundation suitability. Revisit the site after any agreed ground work and update the photographs and sketches. If the work changes a low channel or nearby boundary, repeat relevant temperature observations rather than assuming the original pattern still applies. Avoid imposing a universal setback or foundation rule on an unknown yard.
What the final site comparison should show
Summarize each candidate in a comparison table: the exact planned outline, lowest reading on each logged night, how often the site was the coldest, weather conditions, sensor height, seasonal shade and any unresolved water or access issue. Keep individual nights visible rather than averaging away an occasional low. Where simultaneous readings are available, record each site's difference from the reference on that same night. This helps separate a colder regional event from a consistently colder yard location. Use consistent temperature units and retain the original records, including missing readings or instrument problems. Note gaps in the sample, such as no clear, calm night or a sensor moved during testing. A short survey can rank candidate locations under the conditions observed, but it cannot establish a long-term extreme minimum. This makes the basis for your decision clear and shows whether another round of logging might change the ranking.
Choose a position only when its repeated minimum temperatures make sense for the crops and season you plan, and its sun, access and drainage constraints are manageable. If no site meets the crop's temperature requirements without heat, use the records to discuss a properly specified heating plan with a qualified professional, or reconsider the crop and growing period. If the candidates differ very little or the weather sample is incomplete, keep measuring instead of treating a small gap as a dependable advantage. The useful conclusion is the pattern across nights, not one number.
Frequently asked questions
Does a low-lying yard rule out a greenhouse?
No. Low ground can be more prone to cold-air pooling, but the risk varies across a yard. Compare candidate locations with repeated temperature readings, then consider whether the recorded conditions suit your crops and growing season.
How long should I log temperatures?
There is no single number of nights that guarantees a reliable result. Record several relevant cold nights, including clear, calm conditions, and keep measuring if the weather has not included the conditions you are concerned about.
Where should I place an outdoor thermometer?
Use a ventilated radiation shield and put the sensor at a consistent height near the crop canopy you expect to manage. Measure at the actual candidate locations, away from walls and paving unless the greenhouse would be close to them.
Can a heater make a frost-pocket site suitable?
Heating may be part of a plan, but the site readings alone cannot establish what equipment is needed. Crop temperature requirements and the specific greenhouse design matter; have a qualified professional assess and size any heating system.
Is the highest point in the yard always the best location?
No. A higher spot may be less affected by pooling, but it can have different wind exposure, shade or access. Compare frost readings alongside seasonal sunlight, drainage and practical use of the site.
A low spot is a reason to investigate, not an automatic reason to rule out a greenhouse. Repeated readings, taken at the intended locations and matched with notes on weather and terrain, show whether cold air regularly collects where you plan to grow. Pair that evidence with crop requirements, seasonal shade and a separate check of water and installation conditions. If the record has not captured the nights that matter, keep measuring before relying on a site or heating plan.
