
Removable Benches or Permanent Beds in a Greenhouse?
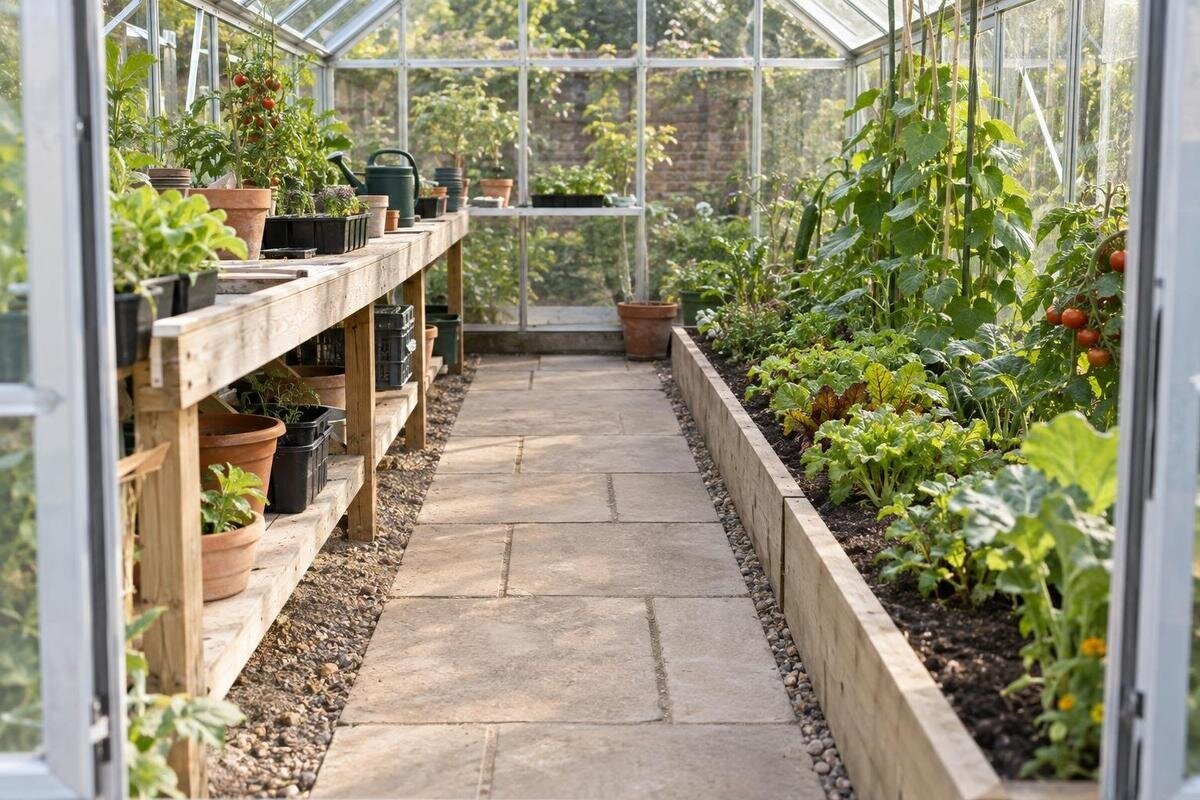
Greenhouse layout guide
Choosing between removable greenhouse benches and permanent beds is really a question about which floor plan must work in midsummer. Benches provide an elevated growing or work surface; taking them out can open the floor for tall crops or large containers, but only if the units are meant to be moved and you have somewhere to store them. Fixed beds keep a dependable planting strip in place and make the growing area easy to identify, while committing that floor space year-round. The two measured plans below compare the same hypothetical 10-by-12-foot interior. Their dimensions are illustrative, not available product sizes.
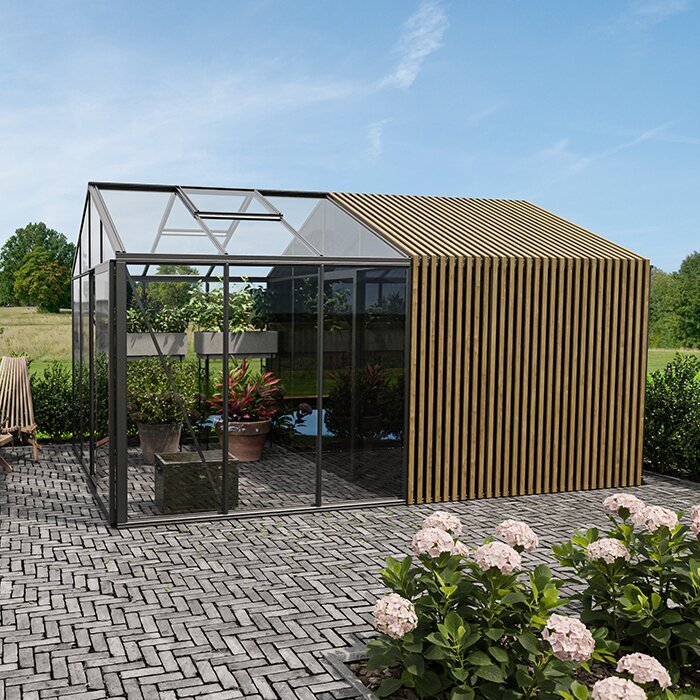
How benches and beds use greenhouse space
Removable benches and permanent beds are not interchangeable square footage. A bench provides a raised surface for trays, pots or small crops while occupying floor beneath it; it can also serve as a work surface. A permanent bed is a floor-level planting zone, bounded or in-ground, that stays in the layout as crops change. Both need a route from the entrance and room to tend plants, but they support different routines. A bench may keep starts off the floor; a bed keeps its planting area in one place. Neither choice by itself guarantees comfortable access—the widths and the path matter.
A catalog area is not a floor plan. The Classic aluminum greenhouse range lists stated areas from 40.6 to 302.3 sq ft, but that span does not show whether a 2-ft bench, entry clearance and working aisle fit in a particular configuration. Compare the selected size’s inside width and length, then mark doors and fixed features. Do not treat the 10-by-12-foot illustration below as a matching Classic size; it is a layout test, not a product dimension.
Let the summer crop plan set the test
Start with the time of year when the current layout is most likely to feel crowded. In spring, trays and small pots may benefit from a raised surface. By summer, floor-level crops or larger containers may need the same side strips. Draw plants at their expected mature spread rather than at transplant size, and mark supports, the route from the door, and a place to set a harvest bucket. Foliage can narrow a passage, and some planting tasks need access from more than one side. This sketch helps distinguish a shortage of bench surface from a real need for open floor.
When considering a Lean-To Greenhouse, use the selected configuration’s inside measurements and door position rather than transferring the rectangle in this article. In a compact layout, a path that looks generous while empty can become pinched by foliage, pot rims, trays or items set down during work. Plan a continuous route for the busiest season, and judge its width between the mature crop outlines—not just between empty bed edges.
Illustrative plan A: removable side benches
Use a hypothetical interior rectangle 10 ft wide by 12 ft long, or 120 sq ft, with the entrance at one short end. These are illustrative planning dimensions, not dimensions of an available product size. Put a 2-ft-deep, 12-ft-long bench along each long side. Across the width, the layout is 2 ft of bench, 6 ft of aisle and 2 ft of bench. Each bench has a nominal 24 sq ft surface, for 48 sq ft total; the central path measures 6 ft by 12 ft, or 72 sq ft, before door swings, stored items or plants intrude. To estimate useful tray capacity, draw the actual tray rectangles on each bench surface. Leave room to lift them without catching neighboring plants, and reserve any area needed for potting rather than counting it as growing space. Gaps between trays and a dedicated work area reduce the surface available for plants, even though the bench footprint stays the same.
With both benches in place, the arrangement provides raised surface for seasonal starts or other small plants while keeping the central route open. If the benches are designed to come out, removing them exposes two side strips, each 2 by 12 ft, or 48 sq ft of floor in total. For a clearance test, allow a hypothetical 1 ft of mature canopy to extend inward from each strip. The 6-ft aisle then measures 4 ft between the assumed crop edges. That 1-ft projection is only a placeholder, not a crop specification or aisle standard; replace it with the spread of the plants you intend to grow.
Illustrative plan B: permanent side beds
Keep the same assumed 10-by-12-foot interior and short-end entrance, but draw a permanent 2-by-12-foot bed along each long wall. The two beds occupy 48 sq ft altogether, and the central route remains 6 ft wide by 12 ft long. The width still adds up to 2 ft of bed, 6 ft of aisle and 2 ft of bed. This makes the top-down comparison straightforward, but the example widths do not suit every crop or routine. Include the actual edges or frames of any bed, and adjust the drawing if they project into the aisle. Label whether the 2-ft width represents the outside footprint or the soil surface: bed walls can make those measurements different. The illustration measures space, not soil volume. An in-ground bed and a permanent raised bed can share a footprint while providing different rooting depths and working heights, so record those details separately before choosing the bed construction.
The beds remain planting zones through the seasons, so their floor is not available later as open standing or storage space. Under the same illustrative 1-ft canopy allowance on each side, the aisle narrows from 6 ft to 4 ft between mature plants. When adapting the idea to a T-Model greenhouse, place the selected configuration’s actual interior outline on the page first; the illustrative rectangle does not describe a product size. Then test whether the proposed beds leave a continuous route from the entrance.
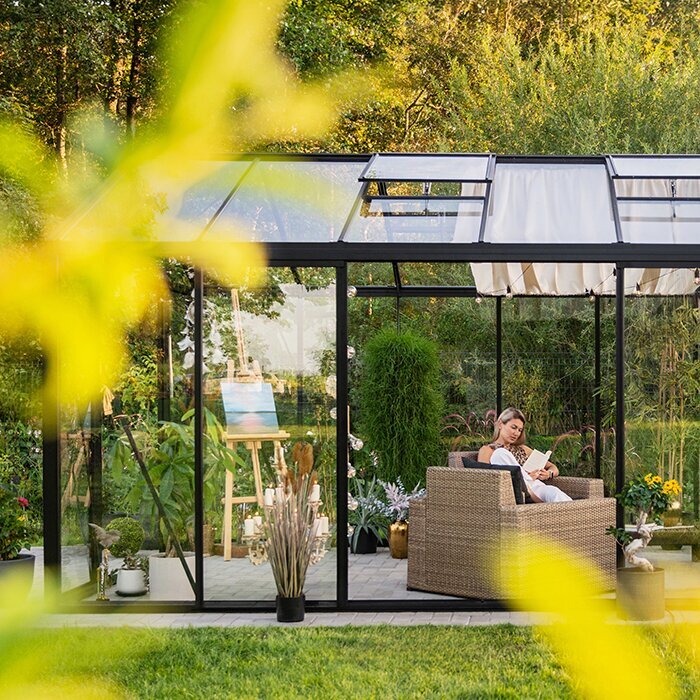
Compare growing surface with open floor
Both plans show 48 sq ft of side growing zones, but those figures describe different things. The removable plan counts bench-top surface; the permanent-bed plan counts floor-level bed footprint. In the bench plan, the floor beneath the benches is not open while they are installed. After removal, that floor can be reassigned, but its usefulness depends on the plants, containers and access you put there. Neither plan turns the full 120 sq ft into planting space: the aisle and entrance route still have a job.
Total area alone does not tell you how much of a greenhouse can be planted or how its paths will work. The Pyramid-type greenhouse range states areas from 60 to 203 sq ft, but a catalog range is not a floor plan for any one selected size. Use the specific interior outline to locate beds, benches and the narrowest point in the route. A useful comparison records the planting surface, the floor committed to fixed items and the clear aisle separately instead of combining them into one planting-area number.
Measure clearance around doors and mature plants
Before counting a planned aisle as clear, add features that take up room or interrupt access. Mark the actual door opening and its swing, frame posts, fixed shelves, storage zones and any controls that need to remain reachable. A bench placed near an opening may shorten the usable path even if the overall area arithmetic still adds up. Check the dimensions for the exact configuration you are considering; do not assume that every inch of a catalog area is an unobstructed rectangle.
Next, draw mature foliage and any crop supports that affect where you can stand or reach. Decide whether each bed must be worked from one side or both, and check access for routine tasks such as pruning and harvesting. If a greenhouse with built-in storage is part of your comparison, mark storage as a separate zone and verify its footprint and access in the selected configuration. Do not allocate the same floor area to storage, a bench and a working route.
Count the effort and storage required to move benches
Removable describes a layout option, not a guarantee that a bench is easy to move. Confirm that the bench you plan to use is meant to be taken out or repositioned. Plan to remove trays, pots and other items before moving it, and follow the bench maker’s handling instructions. Include the route through the door and the space needed to set it down. A seasonal change can also require clearing the newly opened floor and placing summer crops there. Compare the dimensions of each bench section with the doorway and any turns along the removal route; a long side bench may need to consist of several removable units rather than one continuous piece. Check whether attached shelves or irrigation lines must be disconnected and where those parts will go. Avoid a plan that requires maneuvering a bench through established plants. If that sequence is awkward, the theoretical flexibility may not help your everyday routine.
The storage location matters as much as the cleared floor. A bench kept inside the greenhouse still occupies space; one stored elsewhere needs a planned place and a practical route in and out. Consider how often you will make the change and whether the extra open floor answers a recurring need. The Large backyard greenhouse range lists stated areas from 506 to 753 sq ft, but even a larger catalog area does not allocate a separate place for removed benches. Include storage and staging in the layout rather than treating them as invisible.
When permanent beds fit a steady routine
Fixed beds suit a routine in which the same floor-level planting zones remain useful from one season to the next. Their boundaries make it easy to see where planting belongs and where the walking route starts, without moving a bench each time the greenhouse use changes. An empty bed still reserves that strip of floor, however. Choose this arrangement when keeping a consistent growing area matters more than turning the same footprint into open floor for part of the year.
Permanent beds are not maintenance-free, and they can be less adaptable if your needs change. Set their width around how you will reach and tend the planting area from the aisle; avoid assuming you can step into a bed whenever a plant becomes hard to reach. The Prestige greenhouse range should be considered one selected size at a time, with its interior outline matched to the bed and aisle plan. The category name alone cannot show whether a particular permanent layout fits.

Use the selected greenhouse’s interior drawing
Catalog area can help narrow a size, but it is not the measurement to use when laying out benches and beds. Distinguish the stated area from the usable inside width and length, then account for the entrance and any fixed features. If the interior outline narrows near the walls or has interruptions, draw those details instead of forcing the rectangular example onto it. Use measurements for the exact model and size under consideration; another version in the same range may have a different usable outline.
A simple scale sketch makes the comparison easier. At one-half inch per foot, the illustrative 10-by-12-foot interior becomes a rectangle 5 in by 6 in on paper; each 2-ft side strip is 1 in wide, and the 6-ft aisle is 3 in wide. The Limited Edition aluminum greenhouse range lists stated areas from 40.6 to 302 sq ft, but that span is not one interior plan. Redraw the selected configuration at scale and mark its door, obstructions, beds or benches, and mature crop clearance.
Test the layout and consider a mixed arrangement
Before settling on a plan, mark the proposed bed and bench edges at full size with tape or another temporary marker. Include the door approach and the narrowest point in the aisle. Floor markings show the footprint, but they cannot test the experience of working at a raised surface; if bench height matters, try a temporary surface at the intended height. Walk the route carrying the tray or container you commonly use, reach the planned planting edges and notice where you would need to turn or set something down. Adjust the drawing if a normal task blocks the path.
A hybrid can preserve one permanent planting strip while allowing the opposite side to change. In the illustrative 10-by-12-foot plan, one 2-by-12-foot bed and one 2-by-12-foot removable bench still leave a 6-ft central aisle. Removing the bench opens one 24-sq-ft strip; planting both sides may then narrow the aisle again as foliage grows. This arrangement is worth considering when the two sides have different seasonal jobs. Add a simple seasonal schedule to the drawing: when the last trays leave, when the bench comes out, when summer plants move in, and when the bench returns. If those uses overlap, identify where the remaining trays will sit during the changeover. A layout that works in spring and summer separately may still lack space during the transition between them. Choose the hybrid for that practical distinction, not simply because a mixed layout sounds more flexible.
Frequently asked questions
Are removable benches worth it if I grow tall summer crops?
They can be useful if taking them out creates the floor space those crops need and you have somewhere to store the benches. Sketch the mature crop outline first; a cleared bench footprint is not automatically all usable planting space once foliage and access are considered.
How much growing area is in the 10-by-12-foot example?
Each plan assigns 48 sq ft to side growing zones and 72 sq ft to a central aisle before plants, door swings or other features intrude. The bench plan’s 48 sq ft is raised surface; the bed plan’s 48 sq ft is floor-level bed footprint. These are illustrative figures, not product dimensions or yield estimates.
Will permanent beds leave enough room to walk?
In the example, the empty central aisle is 6 ft wide. With the stated illustrative allowance of 1 ft of crop canopy from each side, it becomes 4 ft between mature plants. Measure your actual crops and greenhouse features; those figures are not a universal aisle recommendation.
Can I use removable benches for part of the year and floor beds later?
That can work as a layout concept if the benches are intended to come out and the planting area, access route and storage location are planned in advance. Include the time and space needed to empty, move and store the benches in your seasonal plan.
Can I combine permanent beds with removable benches?
Yes. In the illustrative 10-by-12-foot layout, one 2-by-12-foot bed and one 2-by-12-foot bench leave a 6-ft aisle. Removing the bench opens one side strip, while the fixed bed stays in place. Recheck the aisle against mature plant spread.
Neither arrangement wins on square footage alone. In the illustrative 10-by-12-foot plan, each layout provides a nominal 48 sq ft of side growing area and a 6-ft aisle before mature plants or other features intrude. The practical difference appears when summer crops need the floor: removable benches trade seasonal rearranging and storage for flexibility, while permanent beds keep the planting strip in place. Let crop clearance, everyday access and a realistic storage plan decide which layout you will actually use.
