
Finding the Cause of Condensation Drips on Greenhouse Plants
Greenhouse troubleshooting
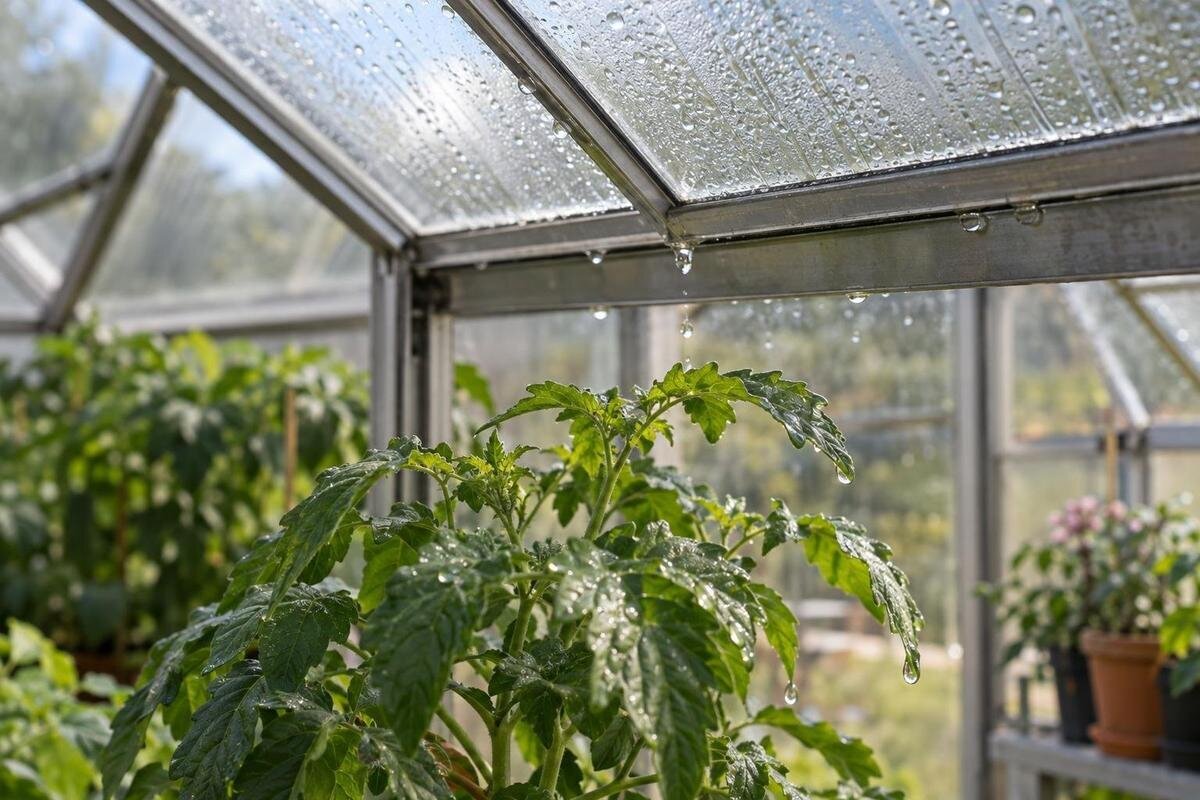
Condensation is easy to blame when greenhouse leaves are wet in the morning, but the plants may only be where water lands. The source could be a cool roof panel or frame, an irrigation fitting, or water entering through a leak and travelling before it drips. A useful diagnosis connects three things: the exact drip locations, the wet surface above each point, and the overnight temperature and humidity pattern. Photograph the evidence before changing vents or adding shade, so the original pattern is still available for comparison.

Check irrigation and leaks before blaming condensation
Before treating wet foliage as condensation, check whether water is arriving from irrigation or entering through the structure. Look at the plant and the surface directly above it: droplets on a leaf may have been splashed from a hose, dripper or watering can, while water on the underside of a roof panel or frame points towards a surface source. Inspect pipe joints, emitters and overhead watering lines for leaks, and note whether wetting follows irrigation. After rain or wind-driven rain, record that too; a roof leak can travel along a frame before dropping away from the entry point. Similar-looking droplets are not enough to distinguish these sources.
Keep the normal crop-watering routine while you observe; withholding water can damage plants and muddle the comparison. If practical, place a clean, dry tray beneath one suspected drip path for a single night, clear of foliage and irrigation spray, then check it at dawn. Note when watering stopped, whether it rained and whether droplets formed on the roof above the tray. A tray confirms only that water fell there, not whether it came from condensation or a leak, so use it alongside an overhead inspection and photographs. If wetting happens only during irrigation, trace that equipment before changing greenhouse ventilation.
Map and photograph the drip pattern
Draw a quick plan of the greenhouse and mark benches, crop groups, doors, vents, roof supports and every place where a drip lands. Give each wet zone a short label, then note whether it is a single point, a line or a broad patch; that description can help distinguish a likely tracking path from widespread wetting. Include plant height and whether leaves sit directly beneath a seam or frame member. Mark nearby areas that stayed dry as well as wet ones. A plan helps because water can land on one bench even when its source lies some distance away along a sloping roof or frame.
Photograph each area from a fixed position: take a wide view that shows its location, a close-up of the wet foliage and, where it is safely visible, a view of the roof surface above. Include a ruler or another fixed scale marker without touching the structure. Record the date and time, and whether the image was taken before sunrise, after sunrise or after ventilation began. Repeat the same views on later nights and keep the images in date order. A single morning photograph cannot show when moisture first formed; pictures also show location, not surface temperature, so pair them with written observations.
Trace each wet patch back to the roof or frame
Start at a marked drip zone and look straight above it, then follow any damp track along the underside of the roof, a cross-member or a frame joint. Water can run along a sloping surface or channel before dropping, so the landing point need not sit directly beneath the place where it first collected. A bead that repeatedly forms at one seam suggests a different route from fine droplets spread across a broad area. Note where the track begins, where it changes direction and the point from which water finally falls. Inspect from the ground or another safe viewing position; never climb onto greenhouse glazing.
If the pattern leads you to compare another greenhouse, keep its proposed roof drawing alongside your drip map. For the Lean-to Greenhouse, request the plan for your chosen size so that you can compare roof joints, vents and intended bench positions. Mark openings and frame lines against your growing layout, noting where they would sit above crops or paths. Record any later-added panel, vent or repair in your existing greenhouse separately, as it may not appear on its original drawing. Compare both plans in the same orientation: this helps you assess the proposed layout without assuming that a different structure would remove the cause of the drips.
Identify the cold surface collecting moisture
Condensation forms when moist greenhouse air meets a surface cold enough for water vapour to condense. That surface can be cooler than the air measured at plant height, so a comfortable canopy reading does not rule out a wet roof panel, frame or joint. The relevant threshold is the dew point: the temperature at which condensation begins. Different roof areas can reach it at different times, particularly where their exposure or shade differs. Treat visible droplets as evidence of moisture on a surface, not proof of which surface caused the plant drips.
At a marked roof point, distinguish the first dampness from the later formation of drops large enough to fall. Record whether a frame line becomes wet first or whether moisture appears across the adjoining panel, then connect that sequence to the drip zone below. This separates the surface where moisture first appears from the point where water leaves the structure. When comparing the Limited Edition Aluminium Greenhouses, use the roof and frame details for the exact version to identify comparable observation points. Keep those proposed locations separate from your existing measurements: the comparison describes the layout, not how cold each surface will become.

Read the overnight temperature and humidity together
Use a logger if available; otherwise, take readings at consistent times rather than relying on one morning snapshot. Put an indoor temperature and relative-humidity sensor near crop height, away from wet leaves, direct drips, strong sunlight and the greenhouse frame. A second reading nearer the roof can reveal a difference between the growing area and the upper space. Record the time, outside conditions, vent position, irrigation and when you first see wetness. Follow the logger’s instructions for placement and intervals. A short table with the same details each night is more useful than a series of unlabelled screenshots.
Follow the pattern from late afternoon through the night to the first inspection after sunrise, using intervals your logger supports. Relative humidity is temperature-dependent: it can rise as air cools even when the amount of water vapour has not increased, so a rising RH line alone does not locate a moisture source. Match the readings with the time and place where droplets first form, and note when the greenhouse warms or vents change state. If comparing a larger layout, the Spacious Greenhouse range is listed from 47 to 70 m². Plan readings for the exact footprint and separate crop zones rather than treating one sensor as an average for the whole structure.
Compare air readings with the surface itself
Pair air data with observations of the actual surfaces. At the same marked locations, note whether moisture appears in the centre of a panel, along a frame, near a ridge, around a vent or beside a wall. If you have a suitable surface-temperature instrument, use it as directed and repeat readings at the same points; a reading from an adjacent air sensor is not a substitute. Avoid placing a logger where falling drops can wet it, since that can distort readings or damage equipment. Without a surface thermometer, the timing and location of the first visible wetness still provide useful evidence.
Compare more than one roof or frame location instead of assuming the wettest spot represents the whole greenhouse. A cool spot is a clue, but it becomes more persuasive when moisture repeatedly forms there before drops reach the same plant zone. If the Pyramid Greenhouse is on your shortlist, use a drawing of the selected version to mark possible observation points above the intended crop positions. Include both panel and frame locations, as you did in your existing greenhouse. Keep site measurements separate from catalogue details so that observations made under your local shade and weather conditions are not mistaken for product specifications.
Record how the vents operate overnight
Record the vent state as carefully as the readings: which openings are open, when they move, and whether an automatic opener reaches its usual position. Note any blocked opening, screen or nearby object that changes the airflow path, but do not force a stiff mechanism or dismantle it. Check the exact product instructions before making adjustments; seek a suitably qualified technician if a mechanism needs repair. A vent can change both air exchange and temperature, so the fact that it was open does not by itself prove that it caused or prevented condensation.
Compare the timing of vent movement with the first visible moisture, rather than recording only whether a vent was open at dawn. Note whether wetness appeared before an opening moved, while it was open or after it closed. Record outside conditions too, since different nights are not a clean comparison. When considering the Bloomcabin Prestige Greenhouse, establish the vent locations, operating method and opener compatibility for the exact size and version. Relate those details to the access needed for routine observation and operation. This makes the ventilation comparison useful without treating the choice of a different greenhouse as a remedy for an unidentified moisture source.
Track shade without treating it as a cure
Map shade as well as vents. Record which parts of the roof and frame are shaded by trees, a wall or an existing covering, and when the shade reaches them. A photograph at the same time each afternoon can help distinguish a permanently shaded panel from one that receives sun and cools later. Also note whether the plants are shaded when the roof is not, or the reverse. Shading changes the sunlight reaching a surface and can alter its day-to-night temperature pattern; it does not, by itself, explain why water fell on a particular plant. Compare the shade map with repeated wet patches and the time surface moisture first appears.
Do not add shade cloth simply because leaves are wet at dawn. First establish whether the water comes from condensation, a leak or irrigation, then assess whether existing shade coincides with the surface collecting moisture. A covering may change conditions without addressing the source. If you consider a shading product, verify that its dimensions, fittings and operation are documented for the exact greenhouse and follow its instructions. For a model in the Aluminium Greenhouses range, check compatibility with the selected configuration rather than assuming an accessory suits every frame. Keep shading separate from ventilation in your trial so that any change in the drip pattern remains interpretable.

Match the response to the source
Turn your notes into a working explanation, not a guess. Wetting that follows irrigation first calls for an irrigation check; water appearing after rain or wind-driven rain needs a leak inspection; droplets forming on a cold roof or frame before falling onto plants point towards condensation. These patterns are clues, not guarantees: water can travel along a member, and two causes can occur together. If a fitting is wet, check it against the irrigation equipment instructions. If the structure appears to leak or a vent is damaged, use the manufacturer’s guidance or professional repair rather than sealing or adjusting parts blindly. Keep an unusual one-off event in the log, but do not treat it as a repeat pattern.
When evidence points to condensation, choose a controlled, reversible test that does not compromise crop care. For example, follow the vent manual and log a permitted change while keeping watering and shade consistent. If the drip sits above one bench, a temporary move may protect plants, but it will not identify the source. If you are also considering a replacement layout, the Limited Edition Aluminium Greenhouses with Storage range is listed from 5.52 to 28.08 m². Use the plan for the selected version to distinguish the growing and storage areas, then place benches and sensors on that plan. The total area alone does not describe the usable growing layout.
What to confirm before changing ventilation or shade
Prepare a one-page record before asking someone to assess the greenhouse. Include a labelled plan, repeat photographs, dates and first-wet times, overnight temperature and RH readings, surface observations, vent positions, shade, and irrigation or rain notes. State what changed between observations and what stayed constant. Include any alterations to vents, panels or screens. If you have only a short run of data or cannot see the roof safely, say so rather than filling gaps with assumptions. A clear record makes it easier to discuss a repeated cold-surface pattern, a likely leak or another source.
If a product change is being considered, separate two questions in your enquiry: what explains the present drips, and what would the proposed configuration change? For the T-Model Orangery Greenhouse, request details for the exact model and size, including the roof and frame layout, vent arrangement, opener compatibility and any verified shading option. Compare that arrangement with your drip map, intended bench positions and overnight observations. Explain which recurring wet zone you want to address, rather than asking only for more ventilation or shade. This keeps the purchase discussion tied to the observed problem and makes clear which details still need confirmation.
Frequently asked questions
Why do greenhouse drips often appear in the morning?
During the night, roof or frame surfaces can become cold enough for moisture to collect. Droplets may then grow and fall, while the first morning inspection is simply when they are noticed. Record when the surface first looks wet, not only when you see water on plants.
How can I tell condensation from a roof leak?
Look for a repeated link with rain, wind-driven rain or irrigation, and trace any wet track above the drip point. Condensation is more likely when a roof or frame surface becomes damp during the overnight cooling period. Neither clue is conclusive on its own, so compare photographs and notes over more than one event.
Can one humidity reading confirm condensation?
No. A humidity sensor measures the air where it is placed, not the temperature of a roof panel or frame. Relative humidity can also rise as air cools. Pair readings with the location and timing of visible moisture, and, if possible, measurements of the surface itself.
Will opening a greenhouse vent stop the dripping?
Not necessarily. A vent changes both air exchange and temperature, and its effect depends on the conditions at the time. Record the vent position and follow its instructions, then compare repeat observations before treating a vent adjustment as the solution.
Should I add shade cloth to prevent condensation?
Not before identifying the source. Shade changes how much sunlight reaches a surface, but that does not establish why water is falling onto a plant. Map existing shade first, then verify that any proposed shading option is specified for the exact greenhouse and configuration.
Repeated timing and location are stronger clues than wet leaves alone. When the same roof or frame point becomes damp before the same plant zone receives drops, and the overnight log supports that pattern, you have a sound basis for checking ventilation or shade options. If the evidence points elsewhere, investigate that source first. Keep the photographs and notes, then test one well-supported change at a time.
