
Planning Greenhouse Bench Space for Spring Seed Trays
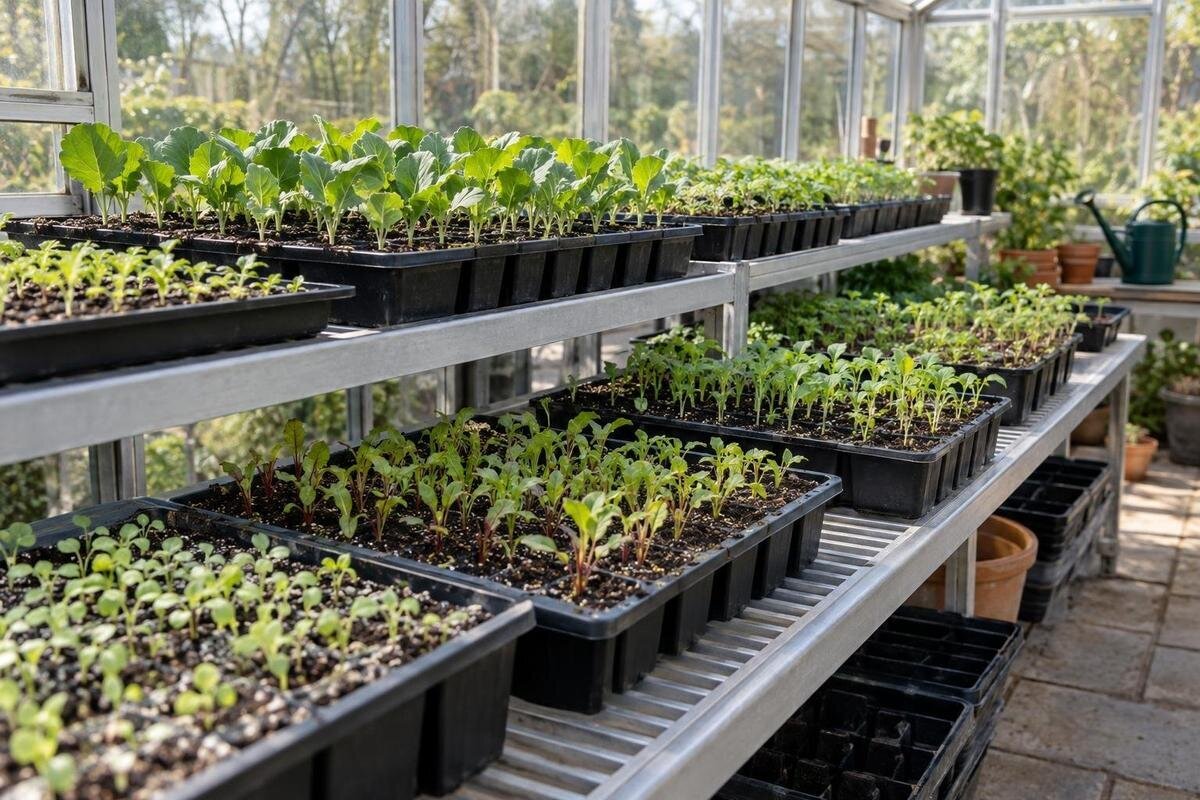
Greenhouse planning
Bench space is often tightest when a new sowing arrives before earlier seedlings are ready to move. A weekly tray count can miss that overlap. Plan for the busiest period by recording when every batch occupies the bench, then compare its peak footprint with the clear dimensions of each bench. Spring dates vary by crop and local growing conditions, so use crop-specific guidance and your own records rather than treating one calendar date as universal.

Calculate peak tray demand
Treat each sowing batch as a period of bench occupancy, not as a one-day event. Record the date its trays first need a greenhouse bench and the date you expect them to leave for a larger container, a growing bed or another growing area. The bench stay can continue well beyond germination, so use the planned growing stage and your own observations rather than germination time alone. If trays begin in a separate propagator or another location, count them from the day they arrive on this bench, not from the sowing date. If a batch changes benches, record the move so you know which surface it occupies. This focuses the calculation on demand for the bench you are assessing.
Put all the occupancy periods on one calendar and add the trays from every batch present on each date. For example, suppose batch A uses 12 trays from day 1 to day 21, batch B uses 8 from day 8 to day 28, and batch C uses 6 from day 18 to day 35. The busiest overlap is 26 trays on days 18 to 21, even though no single sowing event calls for that number. This is an arithmetic example, not a crop timetable; replace the dates with timings suited to your plants and conditions. Use one consistent rule for arrival and removal dates, counting any day when trays still occupy the bench.
Measure the usable bench surface
Measure the clear top of every bench rather than estimating from the greenhouse footprint or nominal furniture dimensions. Include only surfaces where a tray can sit flat, and mark cut-outs, fixed equipment and edges that cannot take a full tray. Draw disconnected benches as separate shapes, even when their combined area is easy to add. For example, two bench pieces totalling 2.4 m² need not fit the same trays as one uninterrupted rectangle measuring 1.2 m by 2 m. Gaps, narrow sections and access routes affect what can be placed, so keep the clear width and length of each piece as well as its area.
Write down the clear width and length of each usable bench and label permanent uses. The Classic Aluminium Greenhouse listings cover 3.77 m² to 28.08 m², but the listed area does not tell you how much bench surface a chosen greenhouse contains. Use a dimensioned plan for the exact option if available, then add the benches, aisles, work zones and fixed items you intend to include. If the benches are already in place, measure their tops directly rather than inferring their size from the greenhouse model. Keep measurements in one unit so later calculations do not mix centimetres and metres. Include space currently occupied by another item only if moving that item is part of your working plan.
Measure the outside of each tray
Measure trays along their outside edges, including the base, a projecting rim and any lid or under-tray that occupies extra bench width. Record both length and width, and note whether the tray can be turned without affecting how you handle it. Cell count is not a footprint: two formats with different numbers of cells may take up the same space, while a tray with fewer cells can be larger. If you use more than one format, label each one clearly. A tray measurement taken from its inner planting area will understate the space it occupies on the bench.
Multiply the outside length by the width to estimate the area needed for one tray, then keep a separate count for each format. When comparing options in the Lean-to Greenhouse range, listed from 3.69 m² to 14.34 m², put your tray measurements beside the proposed bench measurements on the drawing. Label each tray format with its outside dimensions so you can test the same set against different layouts without measuring everything again. Dividing greenhouse area by tray area leaves out aisles, bench placement and the need to fit whole trays. Keep the area calculation as a rough cross-check; use the measured outlines to establish how many trays fit.
Build a calendar of overlapping batches
Create a row for each batch, showing its tray format, quantity, intended bench-arrival date and expected removal date. Mark estimated dates clearly so they can be updated without losing track of what changed. Use daily columns when batches arrive close together; weekly blocks are useful only when no important change happens within a week. Choose the expected occupancy period using crop-specific guidance and your own observations, rather than applying one number of days to every crop. Keep separate entries for separate benches. When a batch moves within the greenhouse, its departure from one surface and arrival on another should be visible, even though the greenhouse's total tray count has not changed.
Mark the occupied dates in each row, then total the trays in each date column. For mixed formats, keep subtotals by tray type—for example, six shallow trays and four larger module trays—rather than recording only ten trays. The date with the greatest count may not have the greatest footprint, so retain the combinations for any dates that look close to capacity. Those combinations are what you will test on the bench drawing. Include a possible re-sowing only when it is a realistic part of the plan, and label it separately from confirmed batches. This lets you compare expected demand with contingency demand without confusing the two.

Test the tray layout in both orientations
For a clean theoretical fit, imagine a clear rectangular bench measuring 1.2 m wide by 2.4 m long and identical trays measuring 0.6 m by 0.4 m. With one orientation, two trays fit across and six along; turned the other way, three fit across and four along. Both arrangements give 12 trays before any allowances. These dimensions are illustrative only, not standard tray or bench sizes. Use your own measurements and compare both orientations where trays can be turned, because a different direction may use a narrow bench more effectively.
Draw the actual bench outline and mark any gaps you need for lifting trays, reaching the back row or handling your plants. Do not assume that every remaining patch is large enough for another tray. For a mixed layout, draw each tray format to the same scale and try the positions individually rather than relying on their combined area. A proposed layout for a Limited Edition Aluminium Greenhouse should use the dimensions of the exact option and intended benches, not dimensions inferred from the model name. Test each separate bench surface, and record the arrangement that fits so your capacity figure refers to a layout you can actually use.
Include the space needed after pricking out
A calculation based only on newly sown trays can understate the spring peak. As seedlings are moved from a shared seed tray into larger cells or pots, the original tray may be replaced by more containers, wider modules or a different number of trays. Record the outgoing and incoming spaces as separate stages, with a date for each change. Do not count the old tray and new modules at the same time unless both really occupy bench space during the transfer. If the batch needs to remain in two places during a planned move, include that overlap on the calendar.
Measure the later-stage containers as well as the first trays, and use the expected number of containers for the batch rather than assuming the count stays constant. For the T-Model Orangery Greenhouse, listed in area options from 16.52 m² to 30 m², assess these stages against your proposed bench layout. Mark where the incoming containers will go while any earlier trays remain in place. A separate layout for the transfer period can show whether both stages fit together, something the listed greenhouse area cannot establish. Compare this arrangement with the sowing-stage layout to identify whether the tightest period comes immediately after sowing or later, when the seedlings need more room.
Plan a realistic reserve for delays
Allow for the delays you have actually observed, such as a batch staying on the bench longer than planned or a re-sowing occupying space alongside the original batch. Use your records to decide which dates could change, rather than adding the same percentage to every calculation. A vague margin can be hard to translate into a layout: a fraction of a tray does not create a usable position. Instead, add a clearly labelled contingency batch with a realistic tray count and dates, then recalculate the overlap.
Mark the reserve positions on your bench drawing and keep them separate from positions already assigned to crops. If you are considering a Pyramid Greenhouse, with listed areas from 5.53 m² to 18.9 m², include this reserve in the proposed layout rather than treating unused greenhouse area as spare bench capacity. Label each reserve position with the tray format it can accommodate: an empty strip is useful only if the extra tray fits there. If the realistic peak leaves no spare position, identify which batch could be moved, rescheduled or placed on another suitable surface. Make that decision before the delayed batch and the next sowing need the same space.
Keep access and other greenhouse uses in the plan
A tray count can fit on paper and still make routine work awkward. On the floor plan, mark the route to the entrance, the area needed for doors to open, work surfaces and any permanent equipment or other growing areas. On the bench drawing, check that you can reach trays for watering, inspection and lifting. If reaching the back row means moving several front trays each time, note that limitation rather than treating every position as equally convenient. Keep floor space and work surfaces out of the tray count unless they are deliberately reserved and measured for propagation.
Keep storage and growing space as separate entries in your plan. When assessing the Limited Edition Aluminium Greenhouse with Storage, listed from 5.52 m² to 28.08 m², mark the space intended for storage before allocating bench positions. The overall area range does not show how much bench surface remains alongside it. Count only the measured surfaces assigned to trays, and make sure access to stored items remains part of the layout. If a work surface will temporarily hold trays, record when it must be cleared for other tasks. This prevents a flexible surface from being counted as permanently available when two activities need it at the same time.

Keep records of actual bench use
For each batch, record the crop or variety, sowing date, tray format, number of trays, bench-arrival date and date moved on. Add the bench or surface used if there is more than one, and note the actual dimensions of each tray type. At the end of the season, compare expected dates with actual dates. A short note that a batch stayed longer, was re-sown or moved to larger containers can explain why the real peak differed from the plan. These details make the next calculation more useful than relying on memory or copying a calendar without checking it.
Keep the record tied to the greenhouse and bench layout you used. If you are comparing the Bloomcabin Prestige Greenhouse, save the exact option alongside the measured bench dimensions, rather than recording only the model name or overall area. For an existing layout, keep the tray arrangement that actually fitted and note any positions that proved awkward to use. Update the drawing when a bench moves or its usable surface changes. Together, the dated batch records and layout show both when space was occupied and where the trays stood. Next season, you can distinguish a timing problem from a fitting problem instead of treating both as a general shortage of space.
Resolve a shortfall before sowing
If the peak arrangement does not fit, first check that the calculation includes only trays that will really be on this bench and that no batch has been counted twice. Then consider whether sowings can be staggered without conflicting with the needs of the crop. If not, identify another suitable growing surface or revise the batch plan before the trays arrive. Do not solve a shortage on paper by assuming that seedlings will be ready to move earlier than their actual stage allows. A workable plan should accommodate the full period each batch is expected to occupy the bench.
If a larger greenhouse is under consideration, compare proposed layouts using the same peak tray mix so the options are assessed on equal terms. The Spacious Greenhouse listings cover 47 m² to 70 m²; use that range to identify an option to assess, not as a tray-capacity figure. Draw the intended benches for the exact option, keeping the access routes, work areas and other uses already identified in your plan. Then place the peak mix on those benches. If it still does not fit, the remaining choice is to revise the batch timing or assess another option before committing to the spring plan.
Frequently asked questions
How do I calculate the peak number of seed trays?
Record the dates each batch arrives on and leaves the bench, then add the trays present on each date. The largest total is the numerical peak. If the batches use different tray sizes, record the mix as well: the date with the most trays may not have the greatest space requirement.
Should I count tray cells or whole trays?
Count whole trays, using their outside dimensions, including any base or lid that projects beyond the tray. Cell count tells you how many seeds or seedlings a tray can hold; it does not tell you how much bench space the tray occupies.
Can I use a greenhouse's listed area to work out tray capacity?
No. A listed area is not the same as usable bench surface, and even total bench area can hide fitting problems. Measure clear bench width and length, note separate surfaces and access routes, then test the actual tray footprints against a drawn layout.
How much spare bench space should I allow?
There is no reliable universal percentage. Use your records to identify likely late transfers or re-sowings, add any realistic contingency trays to the dates when they would be present, and check that those positions are genuinely available without blocking access.
What if my peak tray demand is higher than my bench capacity?
Check whether batches can be staggered without conflicting with crop-specific timing. You can also identify another suitable growing surface or revise the batch plan. Do not assume seedlings can leave the bench earlier than their actual stage allows.
A useful bench plan combines a dated peak with a tray-by-tray arrangement that fits the benches you actually have. Once you know which batch creates the greatest demand, you can adjust the sowing sequence or planned growing space rather than discovering the shortage when seedlings are ready to move. Keep the calendar and measurements together so next spring’s plan can start from observed use, not guesswork.
