
Want to Lie Down? Compare Sauna Bench Layouts
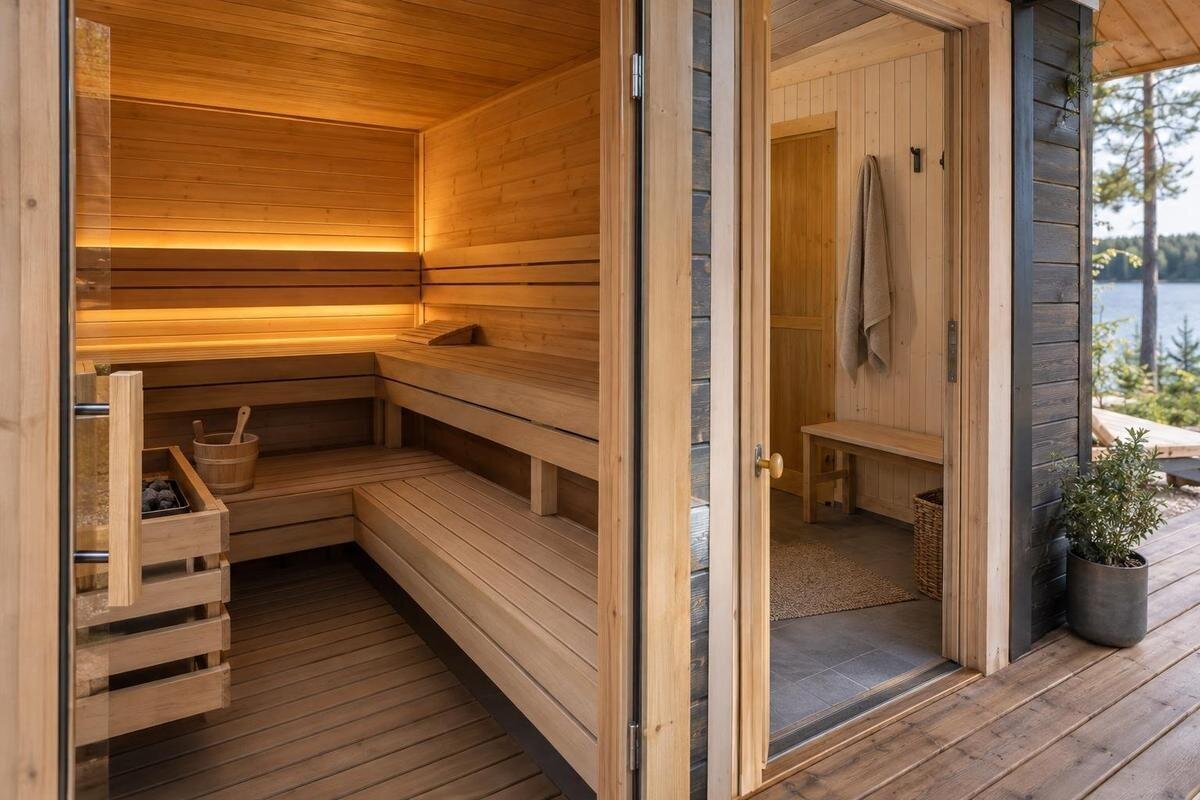
Sauna layout guide
Want to lie down in a sauna? Compare the bench itself, not a person-count label or the cabin’s outside dimensions. A reclining place needs a continuous, level surface long enough for your body and wide enough for the posture you prefer. Corners, changes in bench level, heater guards, backrests and access gaps can reduce that area. If two people may recline at once, test two separate body-sized spaces on the plan; a layout that fits one doesn’t automatically fit two.
01
Measure the clear bench surface, not the cabin footprint
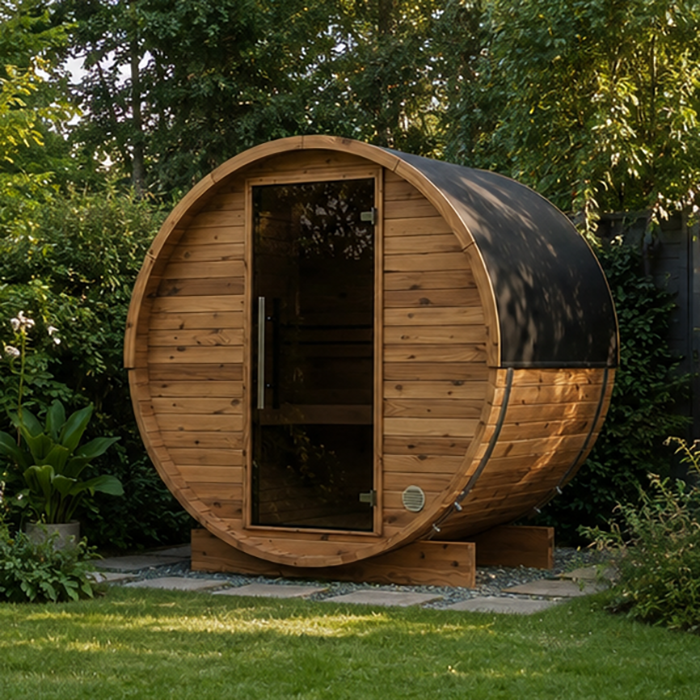
Start by separating cabin size from bench fit. The floor area printed beside a model, its external length or an advertised number of users does not tell you whether you can stretch out on its benches. What matters is the continuous, usable surface in the direction you would recline, plus its clear width. A top-down cabin plan includes floor space as well as raised benches; the passage to a seat and the area in front of it do not add to the reclining surface. Sketch the bench outline and mark where it changes depth or level, turns a corner, meets a wall, sits beside a heater or gives way to an entry area. A generous footprint can still contain no single long, wide run.
Use the HC-150 sauna listing to identify a model, then look for its current manufacturer drawing or manual; the listing name alone cannot confirm a reclining fit. Trace the internal bench edge, not the outside shell, and note which parts are included in the version offered locally. If no dimensioned plan shows the clear bench area, ask for it rather than scaling a product photograph. A catalogue floor area describes the cabin, not the bench length and width. Record dimensions in millimetres, and keep clear length, clear width and interruptions in separate notes so one figure isn’t mistaken for another.
Calculate the uninterrupted lying length
Measure your own lying length before shopping. Lie on a firm surface in the position you expect to use, with your legs and arms arranged naturally. Measure from the furthest point of your head to your heels; if you like your arms overhead or stretched beside you, record that reach separately. Add the open space you personally want at both ends. That allowance isn’t a universal sauna standard, so write down your target rather than borrowing a generic dimension. If you sometimes bend your knees, still use a fully stretched posture as the stricter test when a straight recline matters. Keeping your body measurement and end allowance separate makes it easier to compare layouts.
Compare your target with one uninterrupted, level bench run. A curved wall may shorten the flat section; a corner changes direction, so its two legs can’t be added together, and measuring diagonally can exaggerate the available space. If two sections join, confirm that the top stays at a usable level for the whole run. When assessing the HC-225 product page, distinguish exterior dimensions from internal bench measurements. Check where each stated measurement begins and ends: you need the distance between the actual limits of the reclining surface. Keep your body length and preferred end allowance beside that figure so you can see whether the bench meets both, rather than merely fitting your body.
02
Check usable width along the whole run
Width is a separate test from length. A bench can accommodate your head-to-heel measurement and still feel too narrow for your chosen position, particularly if your shoulders or arms extend beyond the surface. Measure the span of your body as you intend to lie, then decide whether your arms will rest beside you, be folded or lie elsewhere. Compare that personal span with the uninterrupted, flat bench width. A comfortable sitting width isn’t a substitute: a seated posture takes up a different shape. You may also want spare room to change position, so treat the width you can physically occupy and the width you’d prefer as separate figures.
On a drawing, check what the stated depth actually measures. A line from the wall to the front edge may include a backrest or a shaped area that isn’t level with the reclining surface. In a curved or tapered layout, clear width can vary along the run, so check it at more than one point and note the narrowest section. If you’re considering the N-210 sauna listing, ask for the usable bench width rather than estimating it from the image. Record where each width was measured, particularly if the head, shoulder and foot areas differ. A single maximum-depth figure won’t explain how much space remains along your whole reclining position.
Treat corners and levels as separate surfaces
Straight, L-shaped, U-shaped and tiered arrangements should be assessed by the shape they leave, not by their labels. A straight run is easiest to test: measure its clear length and width. On an L-shaped bench, the two legs point in different directions, so their lengths can’t be added to claim one straight reclining space. The corner may work if it’s flat, deep enough and free of a level change, but it may interrupt a stretched-out position. With a U-shaped plan, each side is a separate run unless the corner surface genuinely continues across it. A stepped layout also needs each level measured on its own.
Look closely at joins, gaps and changes in depth. Two sections at the same level may form one useful surface if the join doesn’t leave a gap or obstruction where your body would rest; don’t assume they align from a marketing image. Mark the straight line you would lie along and measure that section only. If the N-250 product page is on your shortlist, use its exact bench arrangement for this check. Ask for any unclear junction to be marked on the plan, including whether adjoining surfaces are level. Keep separate notes for each possible reclining direction, rather than combining measurements from different positions. This distinguishes a genuinely continuous surface from several seats that happen to meet.
03
Keep heater and access areas out of the reclining space
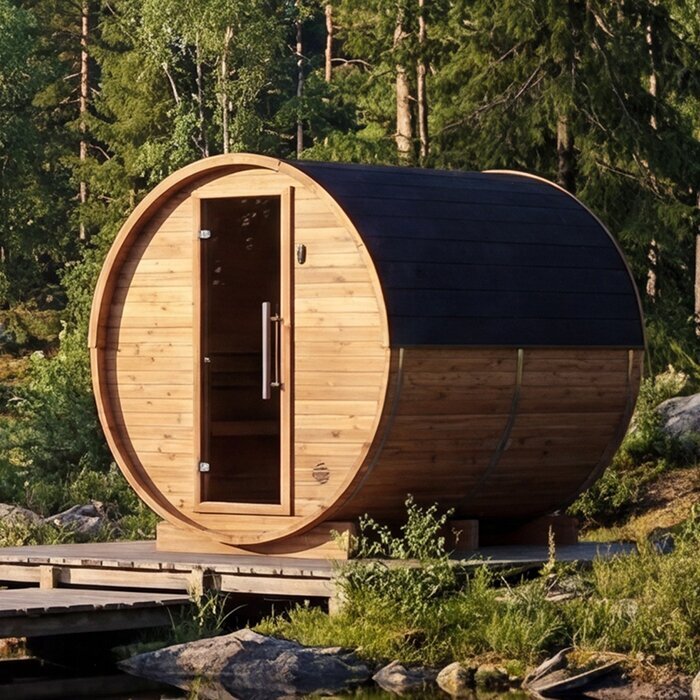
Fixed objects and the space needed to approach the bench can reduce its usable outline. Mark the heater, any guard or rail, a backrest, support posts, entry step and door opening on the drawing. Count only the area you can occupy without overlapping those features or blocking routine access. A rail may narrow the edge; a post may break an otherwise long run; a doorway may leave a bench end awkward to use. Don’t treat the whole outline of a bench board as clear space if a fixture sits over or beside it. Shading excluded areas on the plan helps prevent them being counted twice where bench runs meet.
Use this as a layout check, not a way to set heater clearances yourself. Follow the heater and sauna manufacturer’s instructions, and have a qualified installer confirm any required clearance for the specific configuration. The LC-260 sauna listing is a model reference only; the position of the heater, guard and bench needs to come from the current plan or manual. If an object cuts into the bench area, account for its effect on usable length or width rather than assuming it can be avoided later. Include the route onto and off the bench when deciding whether the remaining space is practical.
Test two reclining spaces at the same time
For two people to lie down together, make two tests on the same plan. Side by side, each person needs a continuous length and enough width for their chosen posture, plus any separation they want. End to end on one long bench, both clear lengths and the space between them must fit along the same uninterrupted run. A shared corner, the width of a footwell or a separate seat can’t be added to either person’s space. Sketching two body-sized shapes is more reliable than assuming a bench described for several sitters will allow several reclining positions. If users differ in size, test each position against the person who needs more room.
Decide whether both people need to recline at once or whether one would sit while the other lies down; those are different arrangements. For shared reclining, assign each person a position and check the two outlines together. If either person moves to a different run, test that pairing separately rather than combining the best measurement from each arrangement. When comparing the HCF-300 sauna listing, use the internal bench plan to record which pairs of positions fit. Include the heater, access and any corner interruptions in each pairing. This gives you a clear answer about the arrangement you want, without converting a sitting-capacity label into a lying-down count.
04
Compare straight, parallel and tiered bench layouts
Compare each arrangement using the same three measures: its longest clear run, the narrowest useful width along that run, and the number of separate body-sized spaces. A straight bench is straightforward to assess because you can follow one reclining direction. With parallel or opposing benches, record each run separately and check how the two positions relate to the aisle. Don’t include that aisle in either bench’s width. For an L- or U-shaped arrangement, identify which individual run best fits your outline before comparing it with a straight bench. For a tiered arrangement, list the usable dimensions at each level separately. This keeps unlike shapes comparable without relying on their total bench length.
Use a consistent comparison sheet rather than judging each model from a different photograph or viewing angle. Give every option the same entries: clear length, narrowest width, interruptions and possible reclining positions. If the LCF-300 product listing is on your shortlist, record its offered configuration alongside those measurements so you don’t confuse it with another version. Keep an unknown dimension blank until it is clarified; don’t let an impressive overall shape substitute for a missing measurement. Where two layouts both fit your outline, note whether one gives you more choice of position or leaves access less restricted. Those differences are more useful than simply counting bench edges.
Verify the drawing and the supplied configuration
Ask for documentation that shows the internal bench arrangement, not just the cabin’s outside measurements. A useful plan should show the direction of each run and its length and width. If levels or curved sections are hard to interpret, a side view or written clarification may help. Check whether dimensions refer to the bare bench, include a backrest or use another reference point. Read the inclusion list alongside the plan: rails, backrests or other pieces may alter the clear surface, and a product image can’t confirm what comes with that configuration. Match the drawing to the exact model and version being offered; if alternatives exist, check that the plan matches the one you’re considering.
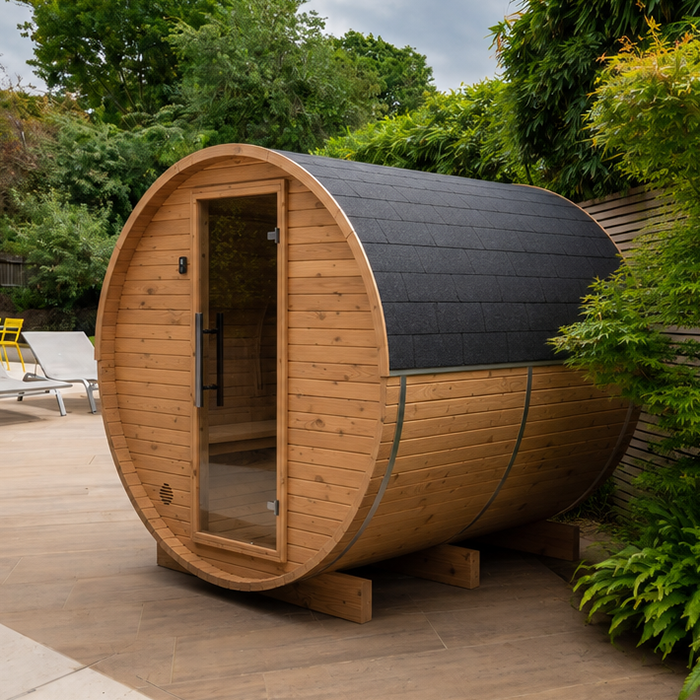
For the S-140 Thermowood Barrel Sauna page, keep the product identity, configuration and bench drawing together in your comparison notes. Record which dimensions are stated, which components are included and any clarification supplied by the seller or manufacturer. If an optional backrest or rail appears in the image, establish whether it is part of the version being quoted before treating its outline as fixed. Ask for ambiguous measurement points to be labelled on the drawing, and retain that clarification with the plan. This makes it easier to compare the supplied arrangement with the one you assessed, without transferring details between similarly named versions.
05
Test the bench outline with a floor mock-up
Once you have your personal target and the bench dimensions, use removable tape on the floor to compare the two at full size. Mark the usable bench boundary first, then place your reclining outline within it, including your chosen head and foot space. Keep the outline straight rather than bending it around a corner to make it fit. This separates two questions that can look similar on a small drawing: whether your body fits at all, and whether the spare room is where you want it. Include your intended arm position, especially if it extends beyond your shoulders. The exercise is a way to assess the measured shape, not to estimate missing product dimensions.
Mark the exclusions shown on the plan, including a backrest, guard, step, supports, gaps and door access. Try the reclining outline in each position the bench allows, keeping those exclusions visible rather than shifting them to make room. For two people, add the second outline at the same time and check whether either position overlaps the other or the access route. Note where the fit feels restrictive: at the shoulders, beside the arms or at an end. Take those observations back to your comparison sheet as specific preferences. A floor mock-up cannot reproduce the bench’s level or surrounding structure, so use it alongside the drawing rather than as a substitute for it.
Balance reclining space with everyday seating
Your preferred layout depends on how reclining fits into everyday use. If one person wants to stretch out while another sits, draw both positions together rather than assessing them at different times. The reclining outline may occupy a section that otherwise provides several sitting positions, so decide whether that trade-off suits your routine. Check whether the seated person still has a place to sit and a route to it without overlapping the reclining area. If everyone needs to lie down, assess that arrangement separately. A layout that supports a useful mix of sitting and reclining may suit you better than one chosen only for its longest bench.
Distinguish requirements from preferences before making the final comparison. You might require one fully stretched position but only occasionally want a second, or accept less spare width while keeping your full head-to-heel length. Record those choices explicitly so a compromise does not disappear behind an overall size or capacity label. Compare the arrangements you will actually use, with the supplied components in place, and leave unresolved dimensions marked as unknown. If two options meet your essential dimensions, consider which preserves the sitting positions and access you want during shared use. The best fit is the layout that accommodates your intended combination of postures, not simply the one with the greatest bench perimeter.
Frequently asked questions
How long should a sauna bench be for lying down?
Measure from head to heel in the position you intend to use, then add the end space you want. Compare that total with one straight, level, unobstructed bench run. There is no universal length: your body and preferred posture set the target.
Can I lie down across an L-shaped bench?
Only if the corner provides a level, gap-free surface with enough clear width for your posture. Don’t add the lengths of the two legs and call the sum one reclining length; measure the straight run available in the direction you’ll lie.
Is bench width as important as length?
Yes. A long, narrow bench may fit your body from head to heel but not give you the side room you want. Measure the clear, usable width across the surface, checking its narrowest point along the intended run.
How can I tell if two people can lie down at once?
Draw two body-sized spaces on the same plan. They could lie alongside each other if the bench is wide enough, or end to end on a longer run. Include the gap you want and account for the heater, access areas and changes in level.
Does a four-person rating mean two people can lie down?
No. A sitting-capacity label doesn’t specify the number of uninterrupted reclining spaces. Check the plan for two positions with the required lengths and widths; a bench that seats several people may be too narrow or divided for two to lie down.
Treat each option as a measured shape. For one person, look for the uninterrupted run and usable width that match your preferred position. For two, confirm that the same plan contains two clear spaces at once. When corners, heater areas, levels and access are marked, the bench layout—not the footprint or a seat count—shows whether you can lie down comfortably.
