
Plan a Garden Sauna Area with a Shower and Rest Space
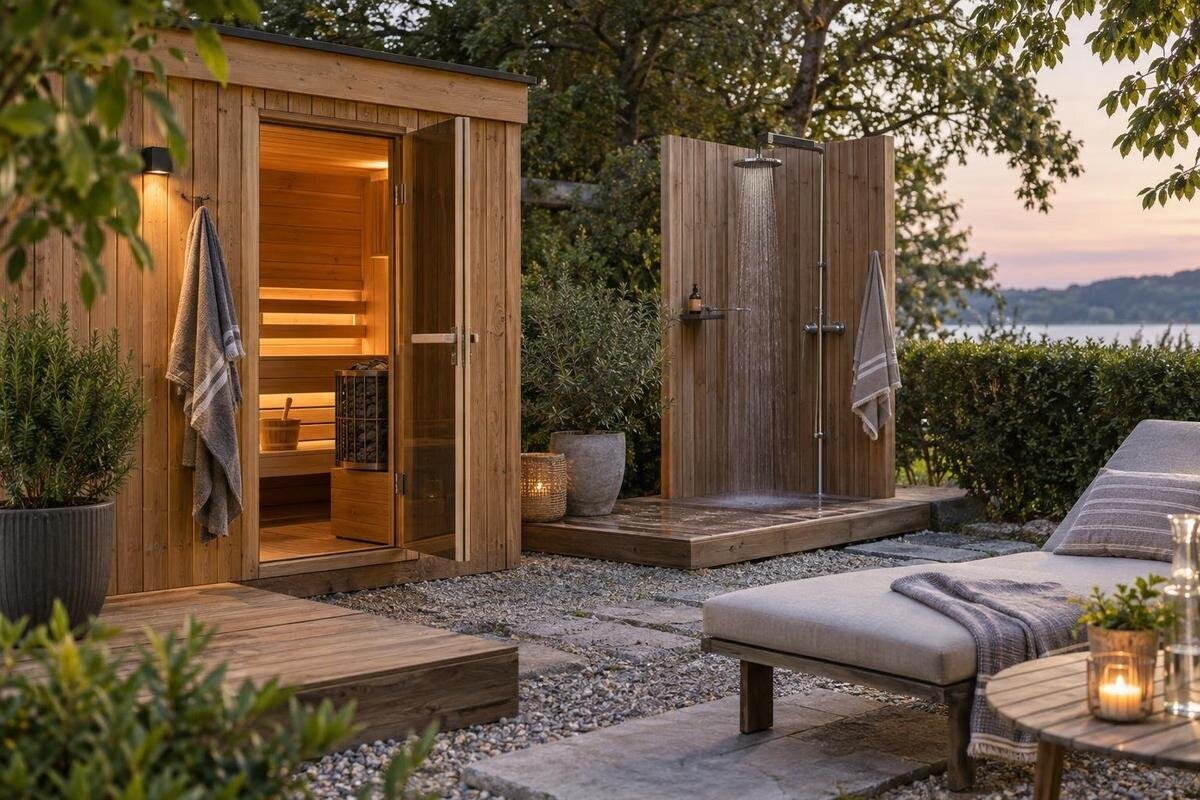
Garden sauna planning
An outdoor sauna works best when its surroundings are planned as part of the same routine: arrive, put belongings somewhere dry, enter, use an optional shower, dry off and rest. That does not mean every element has to touch or be supplied together. It means the route between them should be clear, and the sauna, shower, seating, services and screens each need their own allowance. This guide focuses on garden circulation and the relationship between those zones. It helps distinguish a model’s listed area from the space needed around it, and identifies the drawings and specialist specifications to obtain before finalising a layout.
Map the full route before placing the sauna
Start with a measured plan of the part of the garden you can use, rather than a rough sketch of where the sauna might look attractive. Mark house doors, gates, established paths, fixed planting, existing paving, changes in level and routes needed for ordinary garden access. Note where people arrive from and where they can pause to take off shoes or set down a bag. Then draw three separate zones: the sauna, optional shower and dry resting area. Show the paths between them as their own bands. This exposes conflicts early, such as a chair narrowing the entrance or a shower route crossing a gate. Mark space that must stay available for bins, gardening or access to other parts of the garden.
Keep a model’s listed area separate from the allowance for the whole setting. The page for Sauna N-250 lists 5.27 m², but that figure alone does not show entry clearance, access for upkeep, or room for a shower, changing point and chairs. Treat it as one product-page figure, then obtain the current dimensioned drawing and the manufacturer’s siting requirements. Add any specified clearances and the three outdoor zones to your plan; don’t assume the sauna’s listed area is the size of the garden space you need.
Orient the sauna around its entrance
Set the sauna position by its entrance and the way people approach it, rather than by the back wall alone. On the manufacturer’s dimensioned drawing, identify the entry face, any opening movement, and any sides that need access for installation or upkeep. Add a standing area in front of the entrance and a clear path to reach it without weaving between a chair, fence or shower screen. A photograph may help you picture the appearance, but it cannot establish orientation, dimensions or required access. If an existing path meets the sauna at an awkward angle, adjust the position or path on paper before deciding where paving or planting will go.
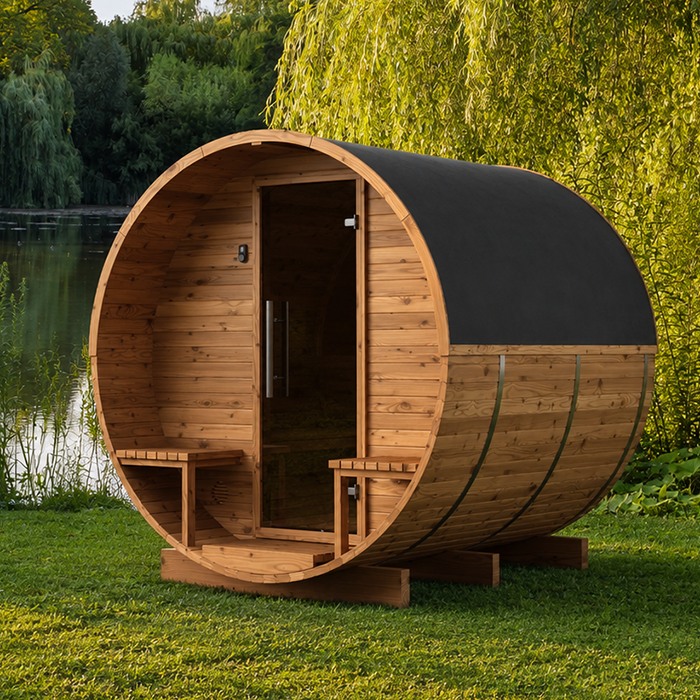
When comparing models, consider the entrance arrangement alongside the listed area. The page for Thermowood Barrel Sauna LC-260 records 5.12 m²; use the manufacturer’s plan to position its entrance and surrounding paving accurately. Consider how someone carrying a towel or robe reaches the door, and where another person can wait without blocking it. If users may arrive from both the house and a side gate, check both routes rather than assuming one will always be used. Show furniture, planters and any proposed screen on the same drawing so you can check that they leave the approach and required access clear.
Allow for changing, towels and belongings
People need a transition between the garden and the sauna, even when there is no separate changing cabin. Decide where outdoor shoes, bags, robes and used towels will go, and whether changing will happen indoors or in a screened corner. Keep this activity out of the entrance approach and away from the wet shower route. Draw the bench or storage unit at its actual size, then allow room to open cupboard doors, sit down and turn around. If more than one person may use the area, show where someone can wait while another changes, rather than making the access path the waiting spot.
A changing point can be simple, but its surface and privacy should suit its position. An outdoor nook needs room to stand, a dry place for belongings and a route back to the house that does not cross standing water. Keep clothing away from the shower’s direct splash and leave doors or gates usable. If you are considering Sauna HCF-300, listed at 6.89 m², mark the separate changing and storage area beside its outline. Check whether someone using that space would obstruct another person approaching the sauna, and adjust the storage position before settling on the layout.
Treat the optional shower as a separate zone
Decide what the optional shower is meant to do in your routine before choosing its position. Some people may want access before sauna use, others afterwards; the layout can accommodate both if that matters to your household. Keep the route direct, but avoid placing the shower so its wet approach cuts through dry seating or blocks the sauna entrance. A screen may provide privacy, but it should not make the route cramped or leave the controls awkward to reach. Treat the shower as its own fixture and area, even if it sits beside the sauna: proximity does not establish that either product is designed to connect to the other.
List the shower equipment, water supply, controls, enclosure or screen, and drainage as separate decisions. A qualified plumbing professional can confirm what the site needs and how the proposed arrangement can be supplied and drained. If your plan includes Sauna LCF-300, whose listing records 6.89 m², draw the shower zone separately and label the services it needs. Keep the shower optional in the sketch until it is specified. Compare the layout with and without it, checking that the entrance and resting area remain usable in either version and that a later addition would not require moving the seating or changing point.
Keep wet movement out of the dry resting area
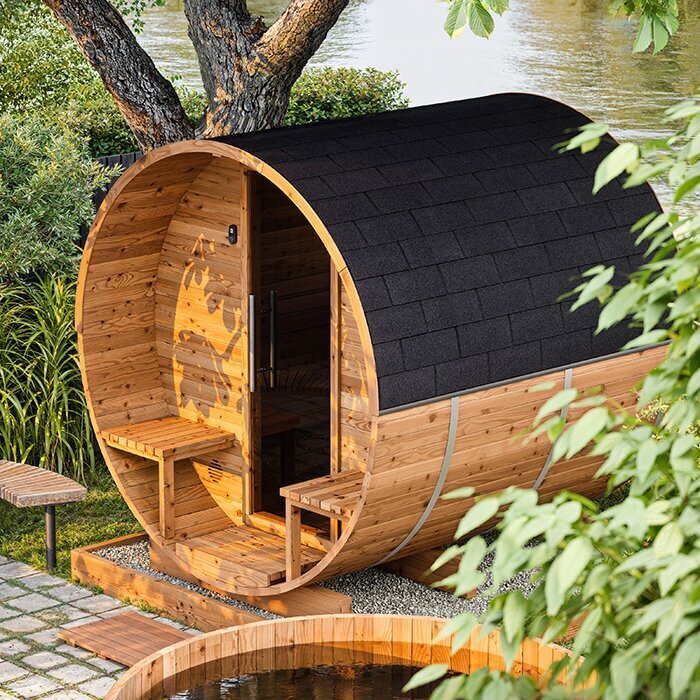
Show the wet and dry routes separately on the plan. Trace where people will travel from the sauna to the shower and then to the resting area; if that route cuts through the seating area or crosses the main path to the house, reconsider the arrangement. Allow a place to dry off and put down a towel before sitting, with somewhere for wet items to be hung or collected without blocking the next person. The aim is not to force one order of use. It is to avoid making the only route between zones pass through the part intended for dry seating.
Choose paving and other walking surfaces for the conditions they will face, including shower water and outdoor weather. Ask the relevant installer or surface supplier about suitability for wet foot traffic and how water will be managed; appearance alone is not enough to judge it. When planning around Sauna S-140, listed at 1.93 m², pay particular attention to the route outside the sauna outline. Mark where paving ends and the garden surface begins, and check that access continues clearly between zones. Keep hoses, drain covers or loose mats out of places where they could obstruct walking or access for maintenance.
Give the resting area its own usable footprint
Size the resting zone for the way it will be used, rather than treating it as a leftover strip beside the sauna. Draw the chairs or bench, a small surface for towels or a drink, and space to sit down and stand up without stepping into a path. If several people may rest at once, mark all the seats rather than assuming they can be added later. Keep the main route past the zone open, and decide where footwear and used towels will go. A chair that works in isolation can make the shower-to-sauna route awkward when it sits in the wrong corner, so test the arrangement with real furniture dimensions.
Consider the view, shade, wind exposure and whether people can sit without being overlooked. Observe the garden at likely times of use instead of assuming one position will suit every season. A shade sail, umbrella or other cover is a separate product and may need its own suitability assessment; it is not a sauna inclusion. The Sauna HC-150 page lists 2.97 m². To compare seating positions around it, use the sauna drawing and actual furniture dimensions rather than estimating from a photograph. Check the space around occupied seats as well as empty ones, keeping both clear of shower splash and the entrance.
Plan the sauna base and shower drainage
Plan the ground around the shower and sauna as two related but not automatically identical conditions. The shower area must deal with water from use, while the sauna site must meet the maker’s installation and ground requirements. Mark proposed drains, service routes and paving edges on the plan, but leave gradients, connections and base construction to the relevant qualified trades and the sauna manufacturer’s instructions. Don’t assume water can simply disperse through nearby garden beds, or that a surface that looks even will suit either product. If the sauna base and shower zone need different treatments, show their boundary so water from one is not directed into the other.
Leave room to clean both the wet area and the space beside the sauna; a screen, seat or planter should not block access. Ask for the actual siting drawing before choosing the size of a base or paved area, because a catalogue figure is not a construction specification. The Sauna HC-225 page lists 4.4 m²; use the manufacturer’s dimensions, clearances and preparation instructions to define the sauna base on your plan. Have a trade professional assess the shower drainage and any ground work separately. Show where the two areas meet so their respective requirements can be considered together before surfaces are laid.
Check privacy and shelter across the whole layout
Check privacy from the places people will actually stand, not just from the garden boundary. Sightlines from the house, neighbouring windows, paths and the main sitting area can differ at the sauna entrance, changing point and shower. Mark those viewpoints and decide where a screen, planting or a change of orientation would help without closing off the route. Privacy treatment for an outdoor shower may need to differ from screening around the sauna; plan each zone for its own use. Leave any manufacturer-required access unobstructed, and don’t attach a screen to the sauna unless its instructions and a qualified installer confirm that arrangement.
Weather affects the comfort of the route as well as the seating. Observe where sun, shade and wind fall during likely times of use, and note these on the layout. If you are considering Sauna N-210, listed at 4.43 m², compare its proposed position with the shower route and resting seats rather than assessing the sauna in isolation. Avoid a route that becomes difficult when the ground is wet. If you want a pergola, awning or other shelter, specify that structure separately for its location and use, and show how its position would affect movement between the three zones.
Keep access clear after dark and for maintenance
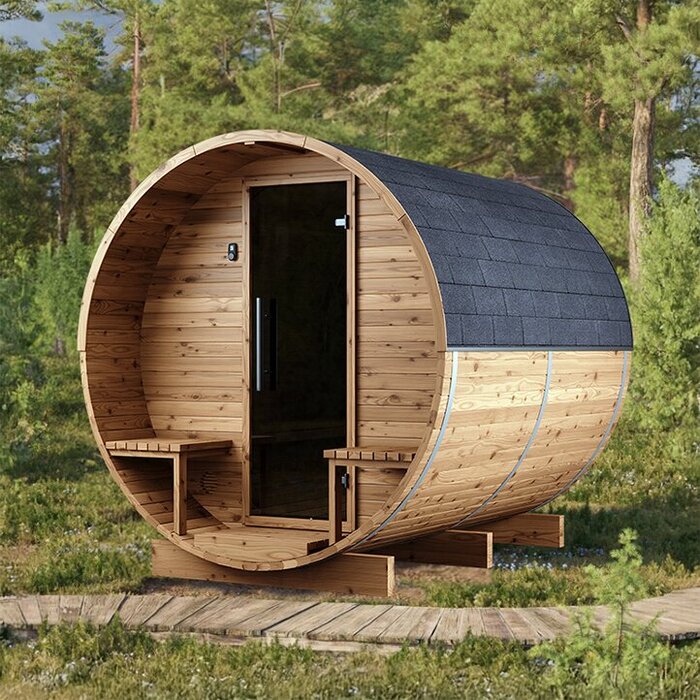
Plan the approach after dark while mapping circulation, even if detailed lighting is a later project. Mark where the path changes direction, where the entrance is, and where someone might need to find a towel or control without leaving the route. Don’t let a lighting unit, cable or switch become an obstacle at the narrowest point. Ask a qualified electrician to specify any outdoor electrical work for the actual equipment and site; the sauna’s listing or a photograph cannot establish what is supplied or how it should be installed. The layout question is where lighting and service points could go without compromising clear access.
Include access for cleaning and maintenance as well as everyday use. Keep the manufacturer’s stated service space available, leave gates and garden paths functioning, and consider how larger items can reach their intended position before the surrounding area is finished. If later access would require moving a built-in seat or screen, note that constraint now. Coordinate the sauna supplier’s drawing with the shower and ground-work plans, then identify who is responsible for each separate element. This can reveal a clash, such as a tap, cupboard or plant obstructing a route, before installers are asked to work from a settled plan.
Test the layout against drawings and daily use
Before committing to positions, mark the proposed footprints on the ground with tape, chalk or temporary objects, using dimensions from the product drawings. Include entrance clearance, changing storage, shower enclosure, furniture and the routes between them; don’t mock up only the sauna outline. Walk from the gate or house, pause where belongings would go, approach the entrance, then follow the shower and resting routes in both directions. Try the sequence with the number of people who will normally use the space. A full-size layout may reveal that a shower screen narrows a turn or a seat blocks a door, even when a small plan view looks clear.
Before ordering, confirm the exact model configuration, current local availability, manufacturer’s dimensioned drawing, installation requirements and listed inclusions. Have the sauna’s electrical specification and connection work assessed by a qualified electrician; ask a plumbing professional to specify the separate shower supply and drainage. Confirm who is providing paving or the base, screen, storage, seating and any lighting, rather than treating these as part of the sauna package. If an element is not in the product details or written scope, have it specified separately. That keeps the layout and the work schedule aligned without relying on a photograph or an assumed bundle.
Frequently asked questions
How much space should I allow for the whole garden sauna area?
Allow for more than the sauna’s listed area. Your plan also needs the manufacturer’s stated access and siting requirements, a clear route, any changing or storage space, the optional shower and its drainage, and room for seats and movement. Use the dimensioned drawing for the chosen model, then map the surrounding zones separately.
Should the shower be beside the sauna?
It can be nearby if the layout, manufacturer’s requirements and plumbing plan support it. Keep the route practical without making wet traffic cross the dry resting area or block the sauna entrance. Treat the shower, water supply and drainage as separate items to specify; proximity alone does not mean the sauna is designed to connect to them.
Where should I put the resting seats?
Choose a dry spot that is easy to reach after showering, but not in the only route between the shower, sauna and house. Draw the actual furniture and space to sit down and stand up, then check privacy, shade and wind at likely times of use. Keep towels and other belongings out of the wet route.
Can I put an outdoor shower directly against the sauna?
Do not assume that the two can be attached or placed together without checking. Confirm the sauna’s instructions and access requirements, and have a plumbing professional assess the shower supply and drainage for the site. Keep the shower as a separate zone on the plan until the proposed arrangement has been specified.
Does a sauna listing’s square-metre figure tell me what is included?
No. A listed area is a product-page figure; by itself, it does not establish the full dimensions, required clearances, capacity or inclusions. Check the current listing and the manufacturer’s drawing for the exact model, and specify the shower, screens, storage, seating, lighting and site work separately where needed.
A practical garden sauna area has a clear entrance route, a shower that is easy to reach without disrupting the dry resting space, and enough room for changing and belongings. Check those relationships on a measured plan and a full-size mock-up, then confirm the sauna’s drawing and the separate requirements for water, drainage, ground work and electrical services. Treat seats, screens, shelter and lighting as distinct parts of the plan, so the finished area works as one setting without assuming every element comes with the sauna.
