
Plan Lighting Around an Outdoor Sauna for Evening Use
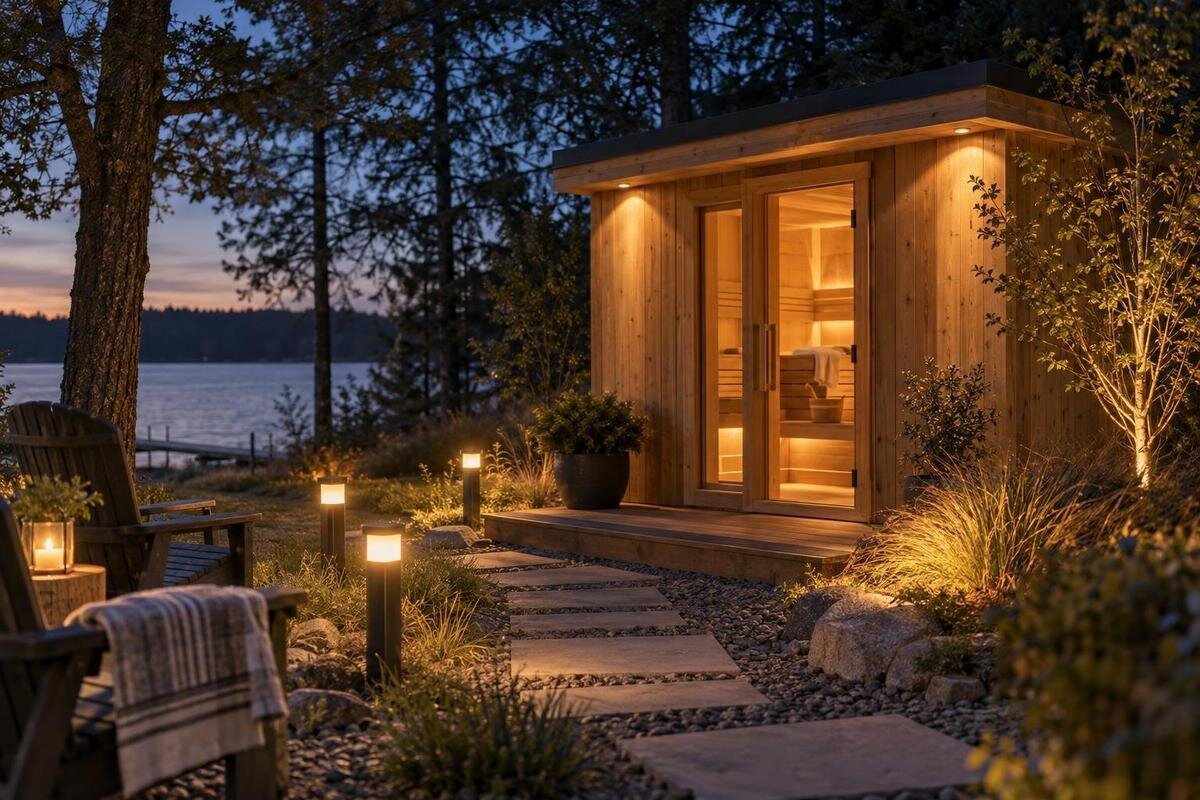
Outdoor sauna lighting
Evening lighting around an outdoor sauna has three separate jobs: make the approach easy to read, show the entrance clearly and let people settle in the outdoor rest area without flooding the garden. A light that helps someone walk is not automatically comfortable beside a chair. Mark the route and places to pause before choosing fittings, then have a qualified electrician specify equipment and controls for the actual site. Check the selected sauna’s inclusions separately; this guide does not assume exterior lighting comes with it.
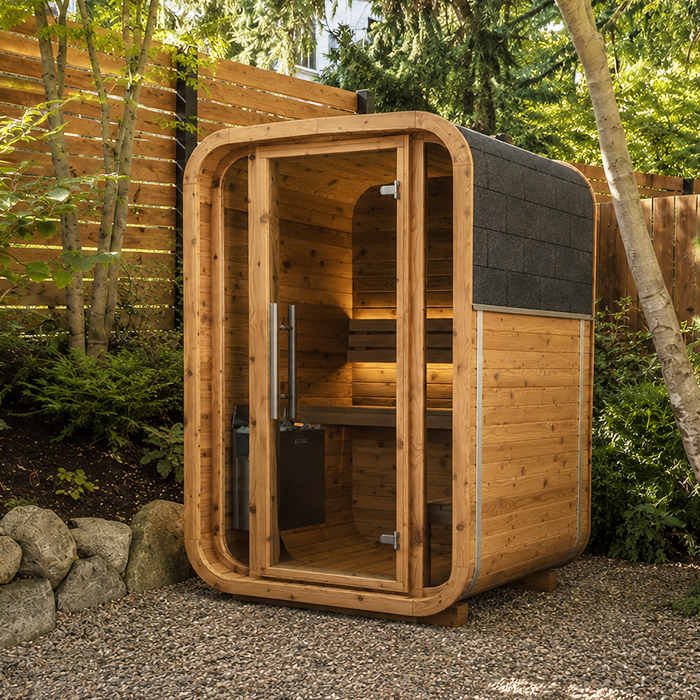
Before installation 1
Map the approach, entrance and sitting area
Begin with a simple site sketch rather than a fittings catalogue. Mark the sauna’s proposed position, its doorway, the point people will set out from, and the intended place to sit after a session. Draw the route in the order it is walked, including turns, surface changes and places where someone may pause to unlock, open a door or put something down. This shows where orientation matters and where a softer pool of light may be enough. It also prevents the mistake of judging the whole garden from the door: the route can look obvious from indoors yet disappear behind planting or a change in level when approached from outside. If people arrive from two directions, mark both approaches.
Keep the three tasks distinct on the sketch: approach lighting should show the route; threshold lighting should reveal the entry and any change in level; rest-area lighting should make seats and nearby items easy to find. Record the exact model, such as the HCF-300 sauna, beside its position. Use its manufacturer drawings and instructions to establish the entry orientation, rather than estimating it from a photograph. Include seating, boundaries and fixed obstacles that affect sightlines. Confirm whether lighting is included in the chosen configuration rather than assuming exterior fittings are supplied.
Make the path readable from end to end
Follow the walking route from its real starting point, rather than adding lights only beside the sauna. A person may leave from a back door, cross a paved area and then use a narrower garden path; each junction needs to be visible before it is reached. Mark steps, raised edges, drains, gates, changes between paving and lawn, and objects that are easy to miss in low light. The plan should show the return route as well as the arrival. The goal is not a bright line from end to end, but enough continuity that the next stretch and its boundaries can be read without searching for the next lamp. Note where two people may pass or stop, rather than assuming everyone walks alone.
At each turn, check whether someone can see where the path goes before reaching it. Evenly spaced fittings may not reveal a bend or an edge, while one distant floodlight can leave shadows across the walking surface. A bend may need a visual cue on the approach, not just at the corner. If you shortlist the LCF-300 barrel sauna, use its manufacturer drawings to locate the doorway on your sketch and align the path with that entry. Have the electrician review lighting positions against the finished surfaces and likely garden use.
Before installation 2
Give the threshold its own light
Treat the final few metres as a distinct entry zone. People need to find the door, see its handle and understand the threshold without staring into a bare lamp. Look from the approach direction and from just outside the doorway: a fitting that is hidden from one viewpoint can be directly visible from another. If the entrance has a step, change of surface or a door that opens into the route, show that detail on the plan and let the manufacturer’s instructions establish the actual door position and clearances. Check the view from close to the door as well as from further along the path. Do not assume that a light fixed to the sauna is supplied or suitable; exterior fittings and cabin equipment have separate specifications.
Consider how people use the entry with their hands occupied by a towel or drink. A well-placed light at the handle can be more useful than a broad wash across the wall. Keep the fitting clear of the door’s movement and the place where someone stands to open it. When considering the S-140 Thermowood Barrel Sauna, check its drawings for these details rather than estimating them from the product image. Ask the electrician to coordinate the entry light with the actual door, threshold and approach, including the view for an unfamiliar guest.
Check glare from the path and the seats
Glare is often a position problem rather than a lack of brightness. A lamp can appear comfortable when viewed head-on from the house but feel harsh from a low garden seat or while walking towards it. On the sketch, mark the usual eye positions along the path, at the door and at each chair. Ask where a person will see the light source itself, where light reflects from glazing or pale paving, and whether an overhanging branch or fence will create a distracting bright-dark patch. The aim is to put useful light on the walking surface or nearby objects while keeping the brightest part out of direct view where practicable. Check both standing and seated views; the source can enter the line of sight when someone sits down.
Shielding, careful aiming and a different mounting position may reduce direct glare, depending on the fitting, surfaces and viewing angles. Light cast across a wall can look even from one side yet reflect towards a seat on the other. If you are considering the HC-150 sauna, locate its openings and surfaces on the plan using the manufacturer’s drawings. Ask the electrician to assess nearby fittings from the relevant viewpoints. Increasing brightness is not necessarily the answer to a dim-looking path, and dimming alone will not resolve an exposed view of the light source.
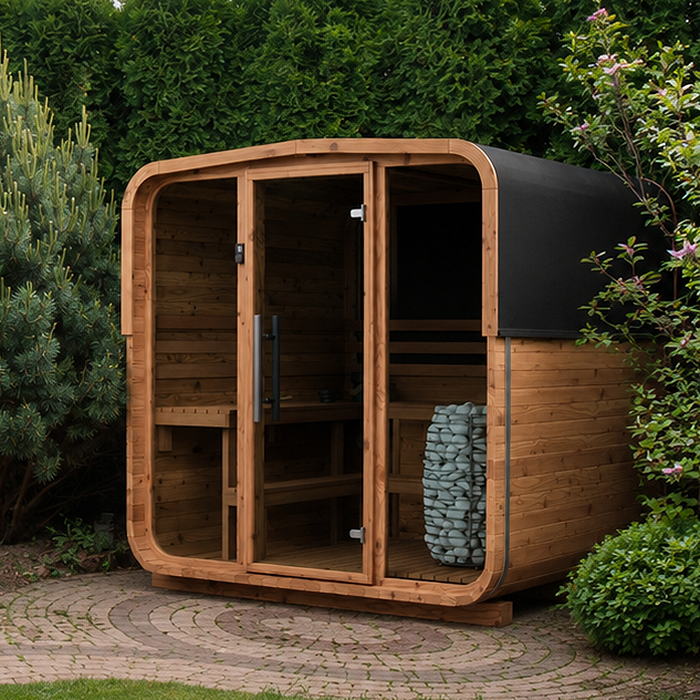
Before installation 3
Choose fittings for their actual outdoor location
Outdoor exposure changes from one part of a garden to another. One fitting may be sheltered beneath an eave, while another is exposed to rain, irrigation spray, coastal air, direct sun or dust. Near a sauna, the unit’s own operating instructions may also affect where external equipment can be placed. These are reasons to specify the fitting for its actual location, not just to choose something labelled for gardens. Give the electrician the site conditions and the sauna’s manufacturer information so they can select an appropriate product and mounting arrangement. Mention limited maintenance access, nearby irrigation and planting that could grow around a fitting. There is no one rating or material to assume suitable for every outdoor sauna layout.
Keep exterior and interior lighting specifications separate. A cabin fitting may have different temperature, moisture and manufacturer requirements from a path light; the products are not interchangeable. For the HC-225 model, as for any selected sauna, check the instructions before planning attachments or cable routes. Do not drill into the structure or run equipment through it on the basis of a general guide. Establish permitted attachment points and clearances with the supplier where necessary, and have the electrician specify an appropriate installation.
Balance useful brightness with the garden after dark
Brightness needs to suit the task and the surrounding darkness. The route should be easy to follow, but a floodlit garden can make the rest area feel exposed and send light towards windows or neighbouring properties. Think in terms of distinct areas rather than one high-output source: a gentle cue along the path, enough light at the threshold to recognise the entry, and a lower level where people sit. Exact output depends on the fitting, surface reflectance, spacing and ambient light, so avoid copying a wattage or spacing rule from another garden. Consider light spilling towards the house, adjoining windows or a part of the garden you want to keep dark. A qualified professional can specify levels for the layout and check them from relevant viewpoints.
Surface contrast matters too. Dark paving beside a pale wall can look different from a timber path under trees, while shiny or wet surfaces may produce reflections absent in daylight. When comparing a sauna such as the N-210 Thermowood Barrel Sauna, consider its proposed surroundings rather than choosing lighting to reproduce a product photograph. Review surfaces in the conditions likely during use, including after rain or watering. Avoid aiming the brightest source across the seating area, and consider whether existing house or garden lights can be switched off independently.
Before installation 4
Light the outdoor rest area separately
Decide where people will sit before choosing the rest-area light. A chair beside the door, a bench facing the garden and a table near the path create different sightlines and lighting needs. Mark the seat, any table or shelf, and the approach from the threshold; then look for the task that genuinely needs light, such as finding a place to sit or setting down belongings. Keep the main light source out of the seated person’s direct view where possible. Light falling on a nearby surface can be more comfortable than a bright fitting at eye level, but the final effect needs to be checked at the actual position. Consider the view for both the seated person and someone walking back to the house.
Separate controls can keep the route visible without leaving every light at full output. Dimming or a lower-level setting is useful only with compatible equipment, so include it in the electrician’s specification. If the N-250 barrel sauna is on your shortlist, show the proposed outdoor seats alongside it on the plan; their lighting needs a separate decision from the cabin equipment. Describe whether people will sit alone or together and where they will put their belongings. This helps establish which areas need light while the seats are occupied.
Plan switches, sensors and dimming together
Plan the way the lights will be operated as carefully as their positions. Decide whether someone should be able to switch the approach, entry and rest area separately, and whether a low-level setting is wanted for sitting after arrival. A sensor may help with a route, but its field of view and timing need to suit the way people move; an unexpected switch-off beside a seat can be irritating and may leave the path dark. Include a straightforward manual control or override in the discussion if appropriate. Agree what should happen when more than one zone is on at once, and whether the sensor can be bypassed easily. The electrician should confirm which combinations are compatible with the chosen fittings and controls before specifying dimming or scenes.
Show control points on the site plan, whether at the house exit, route entrance or another accessible position. Someone stepping outside should not need to cross an unlit section to reach a switch. Group or label controls so a guest can identify the threshold light without trial and error. For a selected model such as the LC-260 sauna, distinguish any supplied cabin controls from separately specified exterior controls. Agree the arrangement before work starts, including which zones must operate independently and how someone returning from the sauna will switch them on.
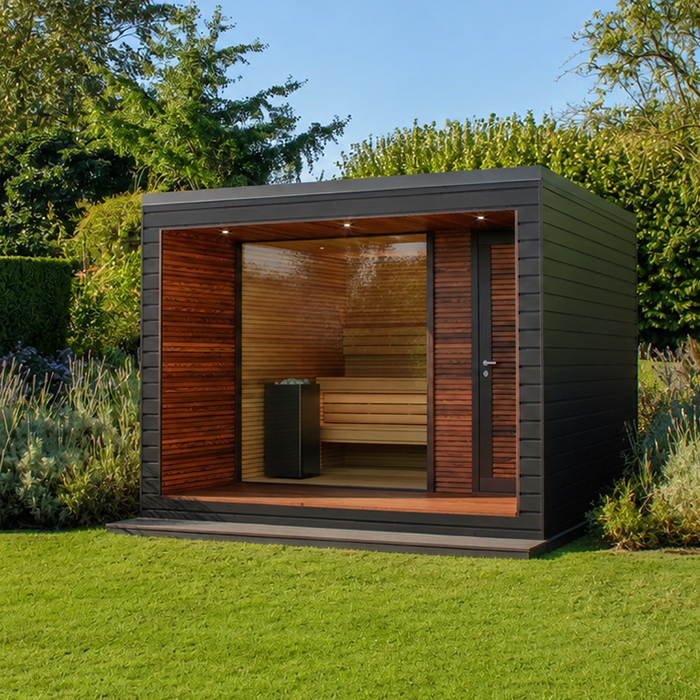
Before installation 5
Allow for landscape changes and maintenance
Landscape changes can alter a lighting plan after installation. New plants may cover a fitting or cast a shadow across the path; garden furniture may move into a beam; and seasonal growth can make an entrance harder to see. Mark trees, established planting, fences, eaves and likely furniture positions on the sketch, then ask the electrician to advise on mounting positions that remain appropriate. Avoid choosing locations that will be repeatedly blocked by mowing, pruning or routine access. If garden work is planned later, include the lighting route in that discussion so planting or paving does not obscure the threshold or create an awkward cable route. Mark hose taps, storage and garden tools that may affect beams or walking lines.
Think about upkeep before choosing fitting styles and locations. Ask how each fitting is accessed for cleaning or replacement, what its instructions say about care, and whether routine garden work could damage it. Avoid making a single fitting the only visible cue for a turn or change in level: consider how the route will look if that light is temporarily unavailable. Keep a record of fitting positions, controls and care instructions. This makes it easier to identify the affected part of the route when a light stops working, without assuming a particular service life or maintenance interval.
Review the layout before installation
Before a quote is finalised, turn the sketch into a short lighting brief. Include the sauna’s exact model and position, the route from the house or gate, the entry and any step, the seats, likely viewpoints, surface types, and areas where glare would be unwelcome. Note where power and controls are to be considered, but leave circuit design and installation details to the qualified electrician. Ask for fittings and controls to be specified for their locations, and for any relevant limits in the sauna instructions to be taken into account. This keeps the discussion about the real site, rather than a generic arrangement copied from a picture. If the route is used in both directions or by people unfamiliar with the garden, say so.
Review the proposal from the places people will stand or sit: inside the house looking out, at the start of the path, on the approach, at the threshold and from each seat. Once the lighting is installed, arrange a dusk review to check for an exposed lamp, an unlit turn or an unexpectedly bright patch. Compare different combinations of lighting zones, as glare may be noticeable with one combination but not another. Ask the professional to make any adjustments rather than changing fittings or wiring yourself. The finished arrangement should be straightforward to use, with each zone serving its intended purpose.
Frequently asked questions
Should the sauna and the outdoor area use the same lights?
Treat cabin and garden lighting as separate specification questions. Equipment associated with the sauna must follow the selected model’s instructions, while path and rest-area fittings need to suit their outdoor locations. Check the actual inclusions and have a qualified electrician assess any external lights.
How bright should the path lights be?
There is no single brightness or spacing that suits every layout. The surface, surrounding darkness, direction of approach and nearby windows all affect what works. Ask the electrician to specify enough continuity to read the route and threshold without putting a bare or harsh light source in view.
Where should a light go at the sauna entrance?
Plan it so the door edge, handle and any step can be seen from the approach, without shining directly into someone’s eyes. Check the model’s actual doorway and door movement in its instructions, then review the light from the standing position at the threshold as well as from further along the path.
Are motion sensors a good option?
They may suit an approach route, but the sensor’s coverage and timing need to match how the area is used. Discuss manual control or an override, particularly if the seating zone should stay dim or someone may remain still. Have the electrician confirm compatible equipment and controls.
What information should I give the electrician?
Bring a site sketch with the selected sauna model, door position, route, changes in level, seating, typical viewpoints, outdoor exposure and intended control zones. Include the manufacturer’s instructions and confirm what is supplied. Ask which fittings suit each location, how glare will be checked, and how the route remains visible if one light is off.
A useful evening layout does not ask one fitting to guide the walk, reveal the threshold and light a seat. Each zone can do its job at a level suited to that place, while careful sightline checks keep bright sources out of view. When the selected sauna’s actual position and instructions are on the same plan as the path, entrance and seating, the electrician can specify the surrounding lighting for the real site. The result is a garden that remains legible on arrival and comfortable to use once everyone has settled.
