
Positioning a Sauna Beside a Swimming Pool
Poolside sauna planning
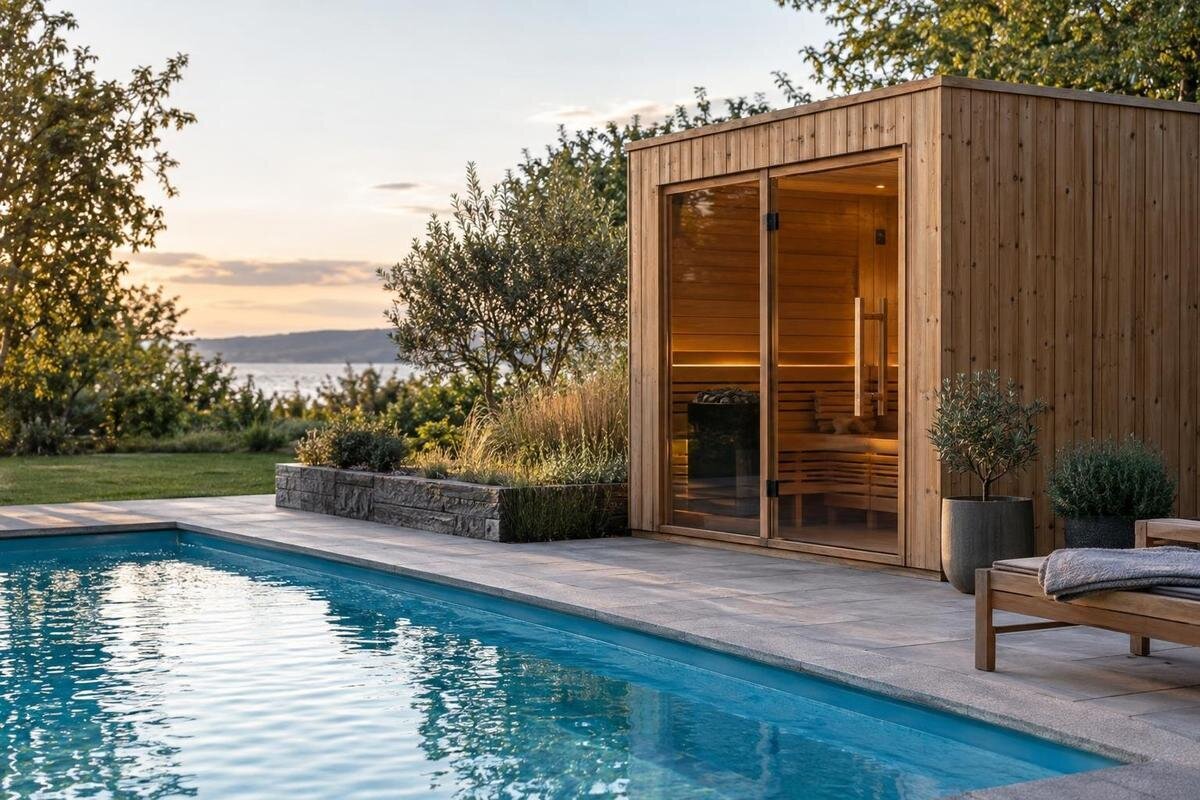
Putting a sauna beside a swimming pool can make the two areas work together, but the space between them needs careful planning. It has to accommodate wet foot traffic, entry, drainage and service access without disrupting circulation around the pool or the pool barrier. Plan the route and surface first, then assess the proposed sauna position against verified manufacturer information and the local requirements for the actual site.
Map the route between the pool and sauna
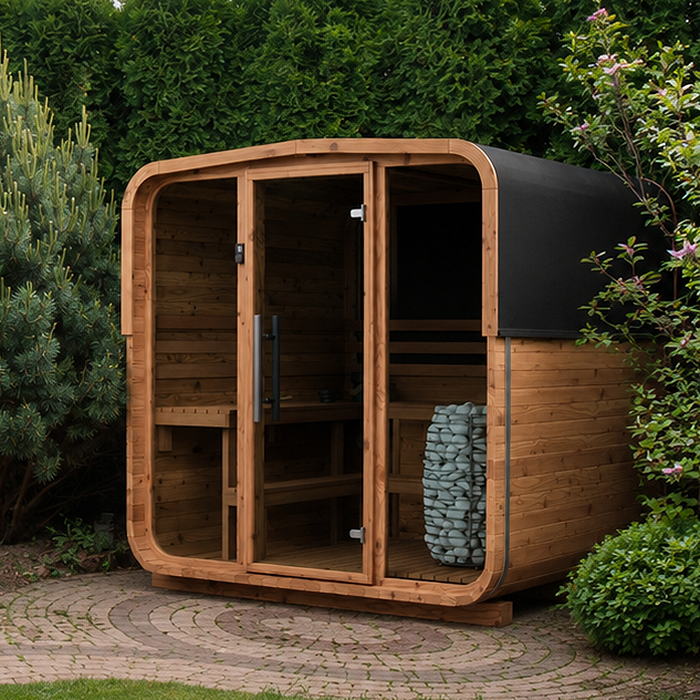
Draw the proposed sauna and pool area to scale, marking the pool edge, steps, gates, shower, house access and any existing path. Follow how people will move after leaving the water and how they will return, including children, guests carrying towels and anyone using the pool while another person enters the sauna. Mark the changing area and towel storage too; those destinations create cross-traffic as well as the direct trip between water and sauna. A direct line may look convenient on paper but can cut across a gate swing or the busiest part of the deck. Keep the main passing route separate from places where people need to pause, dry off or wait. Check the layout when the pool is in use, not only when the area is empty.
Use the manufacturer's drawing to distinguish the sauna's external footprint from the surrounding space needed for access. The Sauna S-140 listing reports 1.93 m² of floor area, a useful comparison figure, but not the outdoor footprint or the width of a walking route. Mark the main path separately from the unit outline so the same space is not counted as both a walkway and an entrance area. People should be able to pass without squeezing beside the wet pool edge or blocking access to the water. If the proposed position creates a pinch point, revise the circulation before deciding on the model.
Allow room to enter, turn and wait
People need somewhere to stand at the entrance without occupying the through-route. Include the door's full movement, its approach, any step or threshold shown in the installation information, and room to turn back towards the pool or changing area. Do not assume the entrance opens in a particular direction or that a product photograph shows exact clearances; confirm the model's door position and operation from verified drawings or the manual. If people are likely to wait, mark them on the plan rather than treating the space as unused. This also shows whether someone leaving can pass a person arriving without either having to step into a gate swing or block another swimmer's route.
Treat changing and towel storage as separate functions rather than letting them spread across the wet path. A screen or cabinet may help with privacy, but it should not narrow the route, impede a gate or block any opening or service access specified by the manufacturer. The Sauna HC-150 is listed with a floor area of 2.97 m²; that number does not show the outside dimensions or the space needed to use its doorway. Put the verified unit outline and entry clearance on the plan, showing doors and gates open and people standing at the entrance. Include somewhere to put wet towels without creating another obstacle.
Choose a surface suited to wet foot traffic
An outdoor pool deck changes character when wet, and a path to a sauna may be used barefoot, in sandals or with a towel in hand. Ask the paving supplier for information on performance when wet and suitability for the intended poolside use; do not judge a surface by dry appearance or texture alone. Where possible, compare information for products assessed under the same conditions, and consider the particular route rather than the broad paving category. A coarse finish may be uncomfortable on bare feet, while a smooth finish may call for a different assessment. Review transitions, edges and joints as well as the main area, especially where people turn, stop or step across a threshold.
Consider how the surface feels in full sun, how readily it can be cleaned and whether routine pool water or cleaning products affect its finish. The HC-225 Thermowood Barrel Sauna listing gives floor area as 4.4 m²; it does not specify what walking surface should surround it or establish a slip property for the deck. Choose paving with the pool's existing maintenance routine in mind, and ask both the supplier and installer how to handle joints, edges and any required surface treatment. Keep the transition into the sauna consistent with the manufacturer's entry detail rather than improvising a raised edge. A sample viewed dry is not a substitute for product information about the intended wet setting.
Plan drainage before setting the base
Show drainage and likely water flow on the site plan. Mark where rain falls from overhead structures, where splash travels across the deck, where hoses are used or cleaning takes place, and where existing drains, channels and outlets sit. Include downpipes and areas where surface water already collects after rain. The area next to the sauna should not become a collection point because the unit occupies a low spot or interrupts an existing drainage path. Do not block a drain or redirect run-off towards a door, pool barrier or neighbouring area without professional advice. If possible, observe the site in wet weather; a dry-day sketch can hide persistent puddles and the routes water actually takes.
Ask a landscape or drainage professional to assess surface levels, outlets and how the proposed base fits into the existing drainage. The required arrangement depends on actual ground levels and the sauna manufacturer's base instructions, so do not invent a slope or trench detail from a product photograph. Sauna N-210 is listed at 4.43 m² of floor area; that gives no base size, drainage detail or external dimensions. Use verified drawings and installation documentation to coordinate the support area and water path. Keep drains accessible for cleaning, and confirm that the plan still works when the sauna and surrounding paving are in place.
Account for splash, cleaning and weather
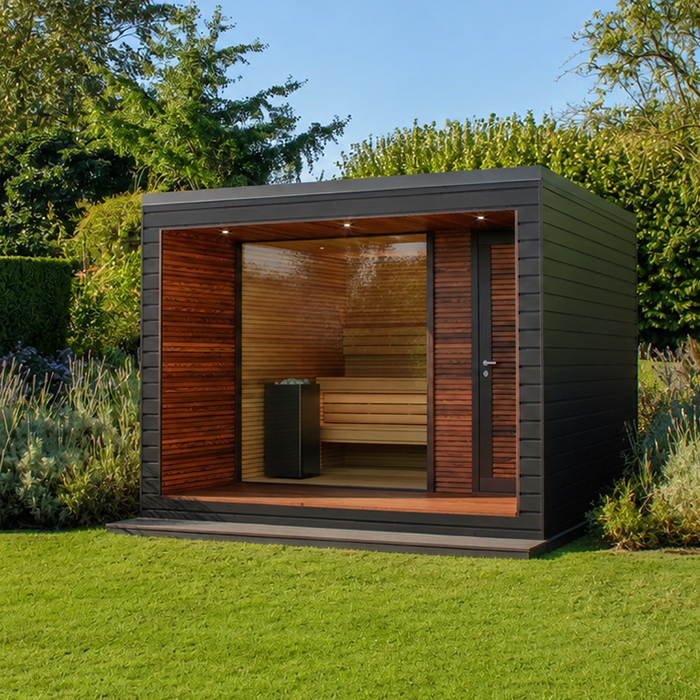
Pool water is not the only wetting to consider: think about ordinary splash, wind-driven rain, wet towels, hose-downs and the way water from deck cleaning is directed. Pool water, including additives such as chlorine or salt, can be relevant to material compatibility and cleaning; effects depend on the material and exposure. Do not infer resistance to repeated spray from an outdoor setting alone. Ask the seller or manufacturer for documented location and care guidance for the exact configuration, and factor in the pool's cleaning routine when choosing a position. Check the site during routine cleaning as well as when swimmers are using the pool.
Compare exposure at several possible locations around the pool. A spot outside the direct splash zone may still receive spray during cleaning or wind-driven rain, while a screen can change airflow and drying conditions; check any screen or enclosure against the sauna instructions. Sauna N-250 is listed with 5.27 m² of floor area, but that figure says nothing about finish resistance or acceptable exposure. Use the exact product documentation to confirm suitable conditions, cleaning and maintenance. Ask a paving or landscape professional to assess whether the proposed position would create a poorly drained corner that is difficult to clean.
Have poolside services assessed professionally
Set out service routes before choosing the final position, not after the sauna and paving are fixed. Identify the proposed supply point, any controls or lighting, existing pool equipment and the places a qualified tradesperson will need to reach. Show how each service approaches the sauna without assuming a line can cross a wet path, gate or door. The exact equipment, connection method and location constraints depend on the sauna configuration and the site. Ask an electrician familiar with pool-area work to assess the layout and applicable requirements; do not decide cable routes or clearances from a generic diagram. Include future access, not just initial installation.
Include access for inspection and future work in that conversation: equipment hidden behind the sauna or sealed beneath a deck can be difficult to reach, and later excavation may disturb drainage or paving. Give the tradesperson the sauna and heater details available, the product manual, pool-equipment layout and a marked site plan. The Sauna LC-260 is listed with 5.12 m² of floor area, but its listing does not establish electrical suitability, connection requirements or separation from pool equipment. Do not apply a universal spacing figure; have relevant professionals set out requirements for the actual installation and local rules. Note who is responsible for each service so details are not left between trades.
Check the base, delivery path and maintenance access
Poolside paving can look like a ready-made base, but appearance alone does not confirm that it meets the sauna manufacturer's support requirements. Obtain verified external dimensions and base instructions for the exact model, then have the proposed surface assessed by an appropriate installer or building professional where needed. Check that the support area does not cover a drain, obstruct access to pool equipment or create a step that catches the walking route. The existing deck's use as a pool surface is not proof that it is suitable as a sauna base. Do not plan a foundation from a floor-area number or product photograph; neither gives the installation details.
Trace the whole delivery and assembly path from the access point to the final position. Measure gates, tight turns, steps and overhead obstructions against component dimensions and the handling method confirmed by the supplier or installer; also ask what access will be needed for later maintenance. The Sauna HCF-300 is listed with a floor area of 6.89 m², but floor area does not give an outside envelope or packing dimensions. Confirm the exact model, configuration, access and base plan together before arranging paving, landscaping or service work. That coordination helps prevent a late delivery constraint from forcing a new position after drainage or utilities have been laid.
Confirm local requirements around the pool
Pool areas can involve planning, building, barrier, drainage and electrical considerations, and the applicable ones depend on the property, pool arrangement and sauna equipment. Before setting out a base or ordering, ask the local council or an appropriate building professional which checks apply to the proposed installation. Treat any existing pool barrier as part of the layout: a sauna, screen, storage unit or service run should not be assumed to have no effect on access, gate operation or the barrier's intended function. Do not rely on a distance quoted for another property, appliance or jurisdiction. Seek local review before the design is fixed.
Ask the reviewer to consider the complete arrangement, not just a sauna shape pencilled onto a site plan: exact model, heater and controls, base, service routes, nearby pool equipment, gates and any proposed screen all matter. Keep a record of the advice and note which assumptions depend on the selected configuration, then revisit the plan if the model or position changes. The Sauna LCF-300 listing gives a floor area of 6.89 m²; that alone cannot establish whether a poolside installation meets local requirements. Have relevant local professionals assess the final site rather than deriving compliance from a product page. If one review identifies another specialist, share the same drawings so details stay consistent.
Consider privacy, lighting and garden layout
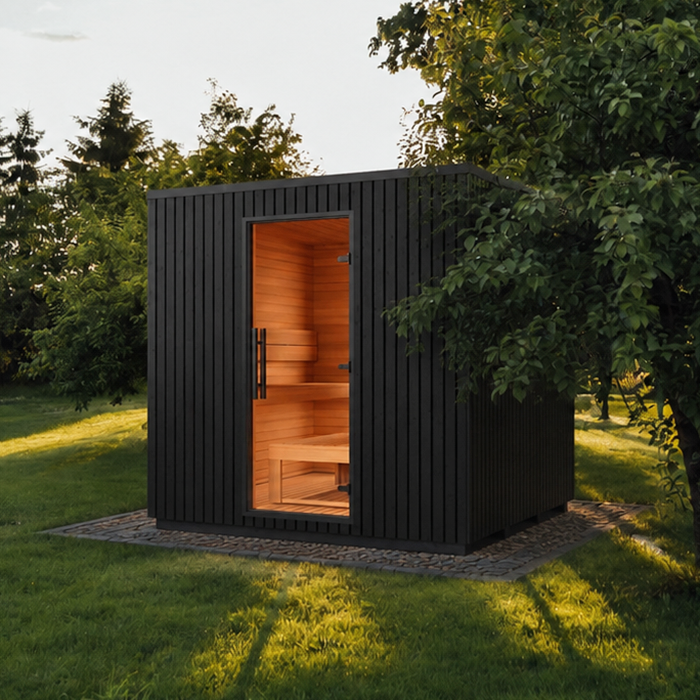
Privacy is worth checking from inside the sauna as well as from the pool deck. Mark sightlines from neighbouring windows, shared outdoor areas and the house, then consider whether the entrance and any windows, if included in the chosen configuration, can be oriented away from direct views without compromising circulation, manufacturer clearances or access. Do not assume a privacy screen is harmless: it may change ventilation, drying, views across the pool area or gate operation, so compare it with manufacturer instructions and the local review. Planting can take time to mature and may shed leaves over a deck or drain, so judge the arrangement as it will work now, not only as a finished garden image.
Consider how outdoor lighting falls on the route, entrance and controls, and how sauna use may overlap with pool activity or neighbours' quiet periods. Plan lighting so people can see the wet walking surface and doorway clearly, while avoiding glare into nearby homes or from reflective paving. Keep trees, screens and furniture clear of service access and drainage points. Assess the layout after dark as well as during the day: the entrance and route need to remain easy to find when the pool is busy, rather than relying on an unobstructed daytime view.
Coordinate the final poolside site plan
Bring the decisions together in one dimensioned site plan. Show the pool edge and barrier, gate swings, walking routes, sauna's external outline and door movement, manufacturer clearances, drains, service routes, existing pool equipment, proposed screens and delivery access. Use measurements from verified manufacturer documents, not listed floor area or an image. Mark facts still awaiting confirmation, such as the final heater configuration or drainage review, instead of allowing an estimate to look settled. Add who provided each measurement and which model it refers to; that makes it easier to identify when a change invalidates an earlier check.
Before committing to a model, compare the drawing with the actual poolside routine: where wet feet travel, where people wait, how cleaning water leaves the deck and whether every gate and equipment point remains accessible. Ask the sauna supplier for current drawings and manuals for the precise model and configuration, and confirm local availability before purchasing. Share the same plan with the relevant electrician, pool or building professional, and installer so separate trades do not work from conflicting assumptions. If a review changes the position, update the drawing before fixed paving, services or landscaping are completed. Resolve open questions before delivery rather than leaving them until the sauna arrives.
Frequently asked questions
How close can a sauna be to a swimming pool?
Do not assume a separation distance from a general guide. Requirements depend on the site, pool and equipment arrangement, sauna and heater configuration, and manufacturer instructions. Have a qualified professional familiar with pool-area electrical work and an appropriate local building or pool professional review the proposed position.
Can a sauna sit on the existing pool deck?
Possibly, but paving is not automatically a suitable base. Confirm the manufacturer's base requirements and verified dimensions, then have an appropriate installer or building professional assess the proposed surface and drainage. Do not infer support suitability from the deck's appearance or from a sauna's listed floor area.
Does listed floor area tell me how much poolside space to leave?
No. A floor-area figure does not show the sauna's external dimensions, door operation, required clearances or the space people need to walk and wait. Use verified manufacturer drawings to mark the unit and its operating space, then add the pool route and service access.
Do I need a drain beside the sauna?
That depends on the site's existing drainage, ground levels, rainfall, splash and cleaning water, as well as the manufacturer's base instructions. Have a drainage or landscape professional assess the proposed location. Keep existing drains accessible and do not redirect water without suitable advice.
Who should review the services near a pool?
Ask a suitably qualified electrician familiar with pool areas to assess the exact sauna configuration, heater, controls, existing pool equipment and proposed service routes. A relevant local building or pool professional can identify other checks that apply. Do not rely on a generic separation distance or an example for a different setup.
A poolside sauna needs to fit the way the whole area is used, not just occupy an available patch of deck. Its position should leave swimmers a clear route, provide room at the entrance and allow water to drain without obstructing maintenance access. Bring those needs together with the model's dimensions, installation requirements and local professional advice before work begins. The aim is a sauna and pool that work comfortably alongside each other, including when people are swimming, cleaning or maintaining the area.
